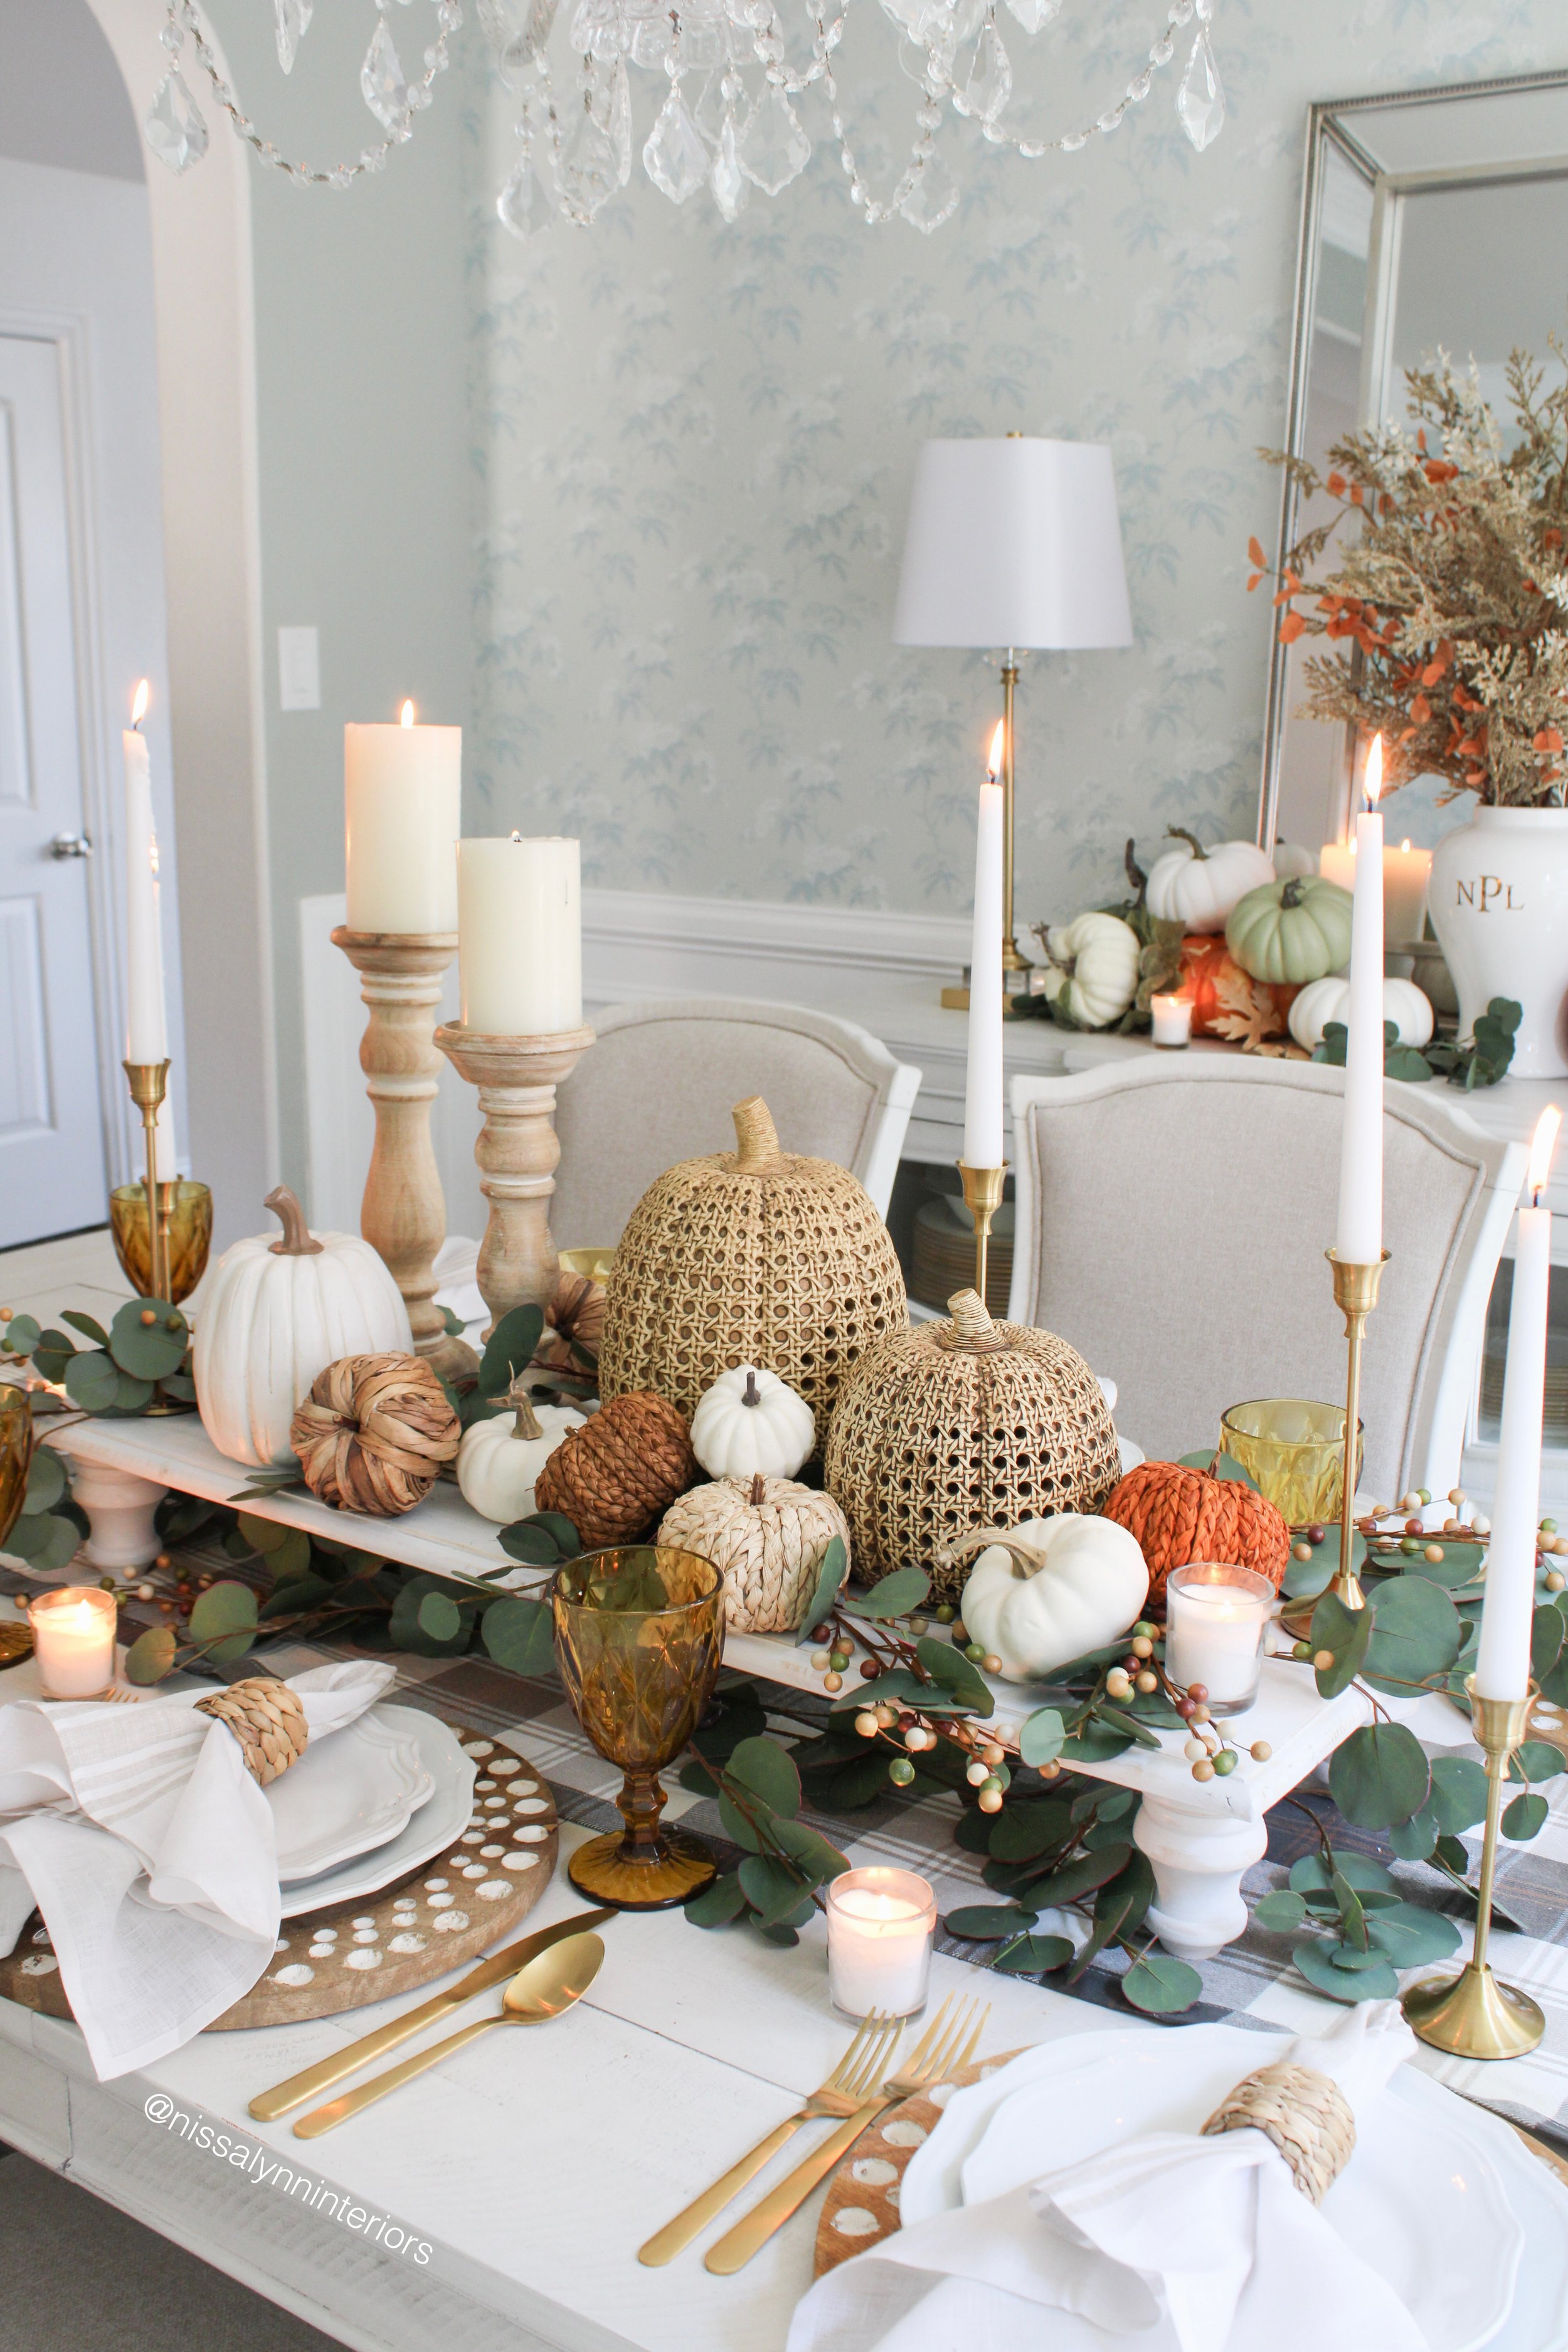
DIY Thanksgiving Tablescape with American Farmhouse Style Magazine

Last year after a nation wide search with thousands of entries, I was honored to selected one of the top four finalists for the 2022 American Farmhouse Style Magazine Ambassador contest. Below is the DIY table riser I built for the final project. You can view the magazine article here.

As the seasons change, fall ushers in cool crisp nights, falling leaves, pumpkin decor, cider, and cozy sweaters. 

A Time for Gratitude

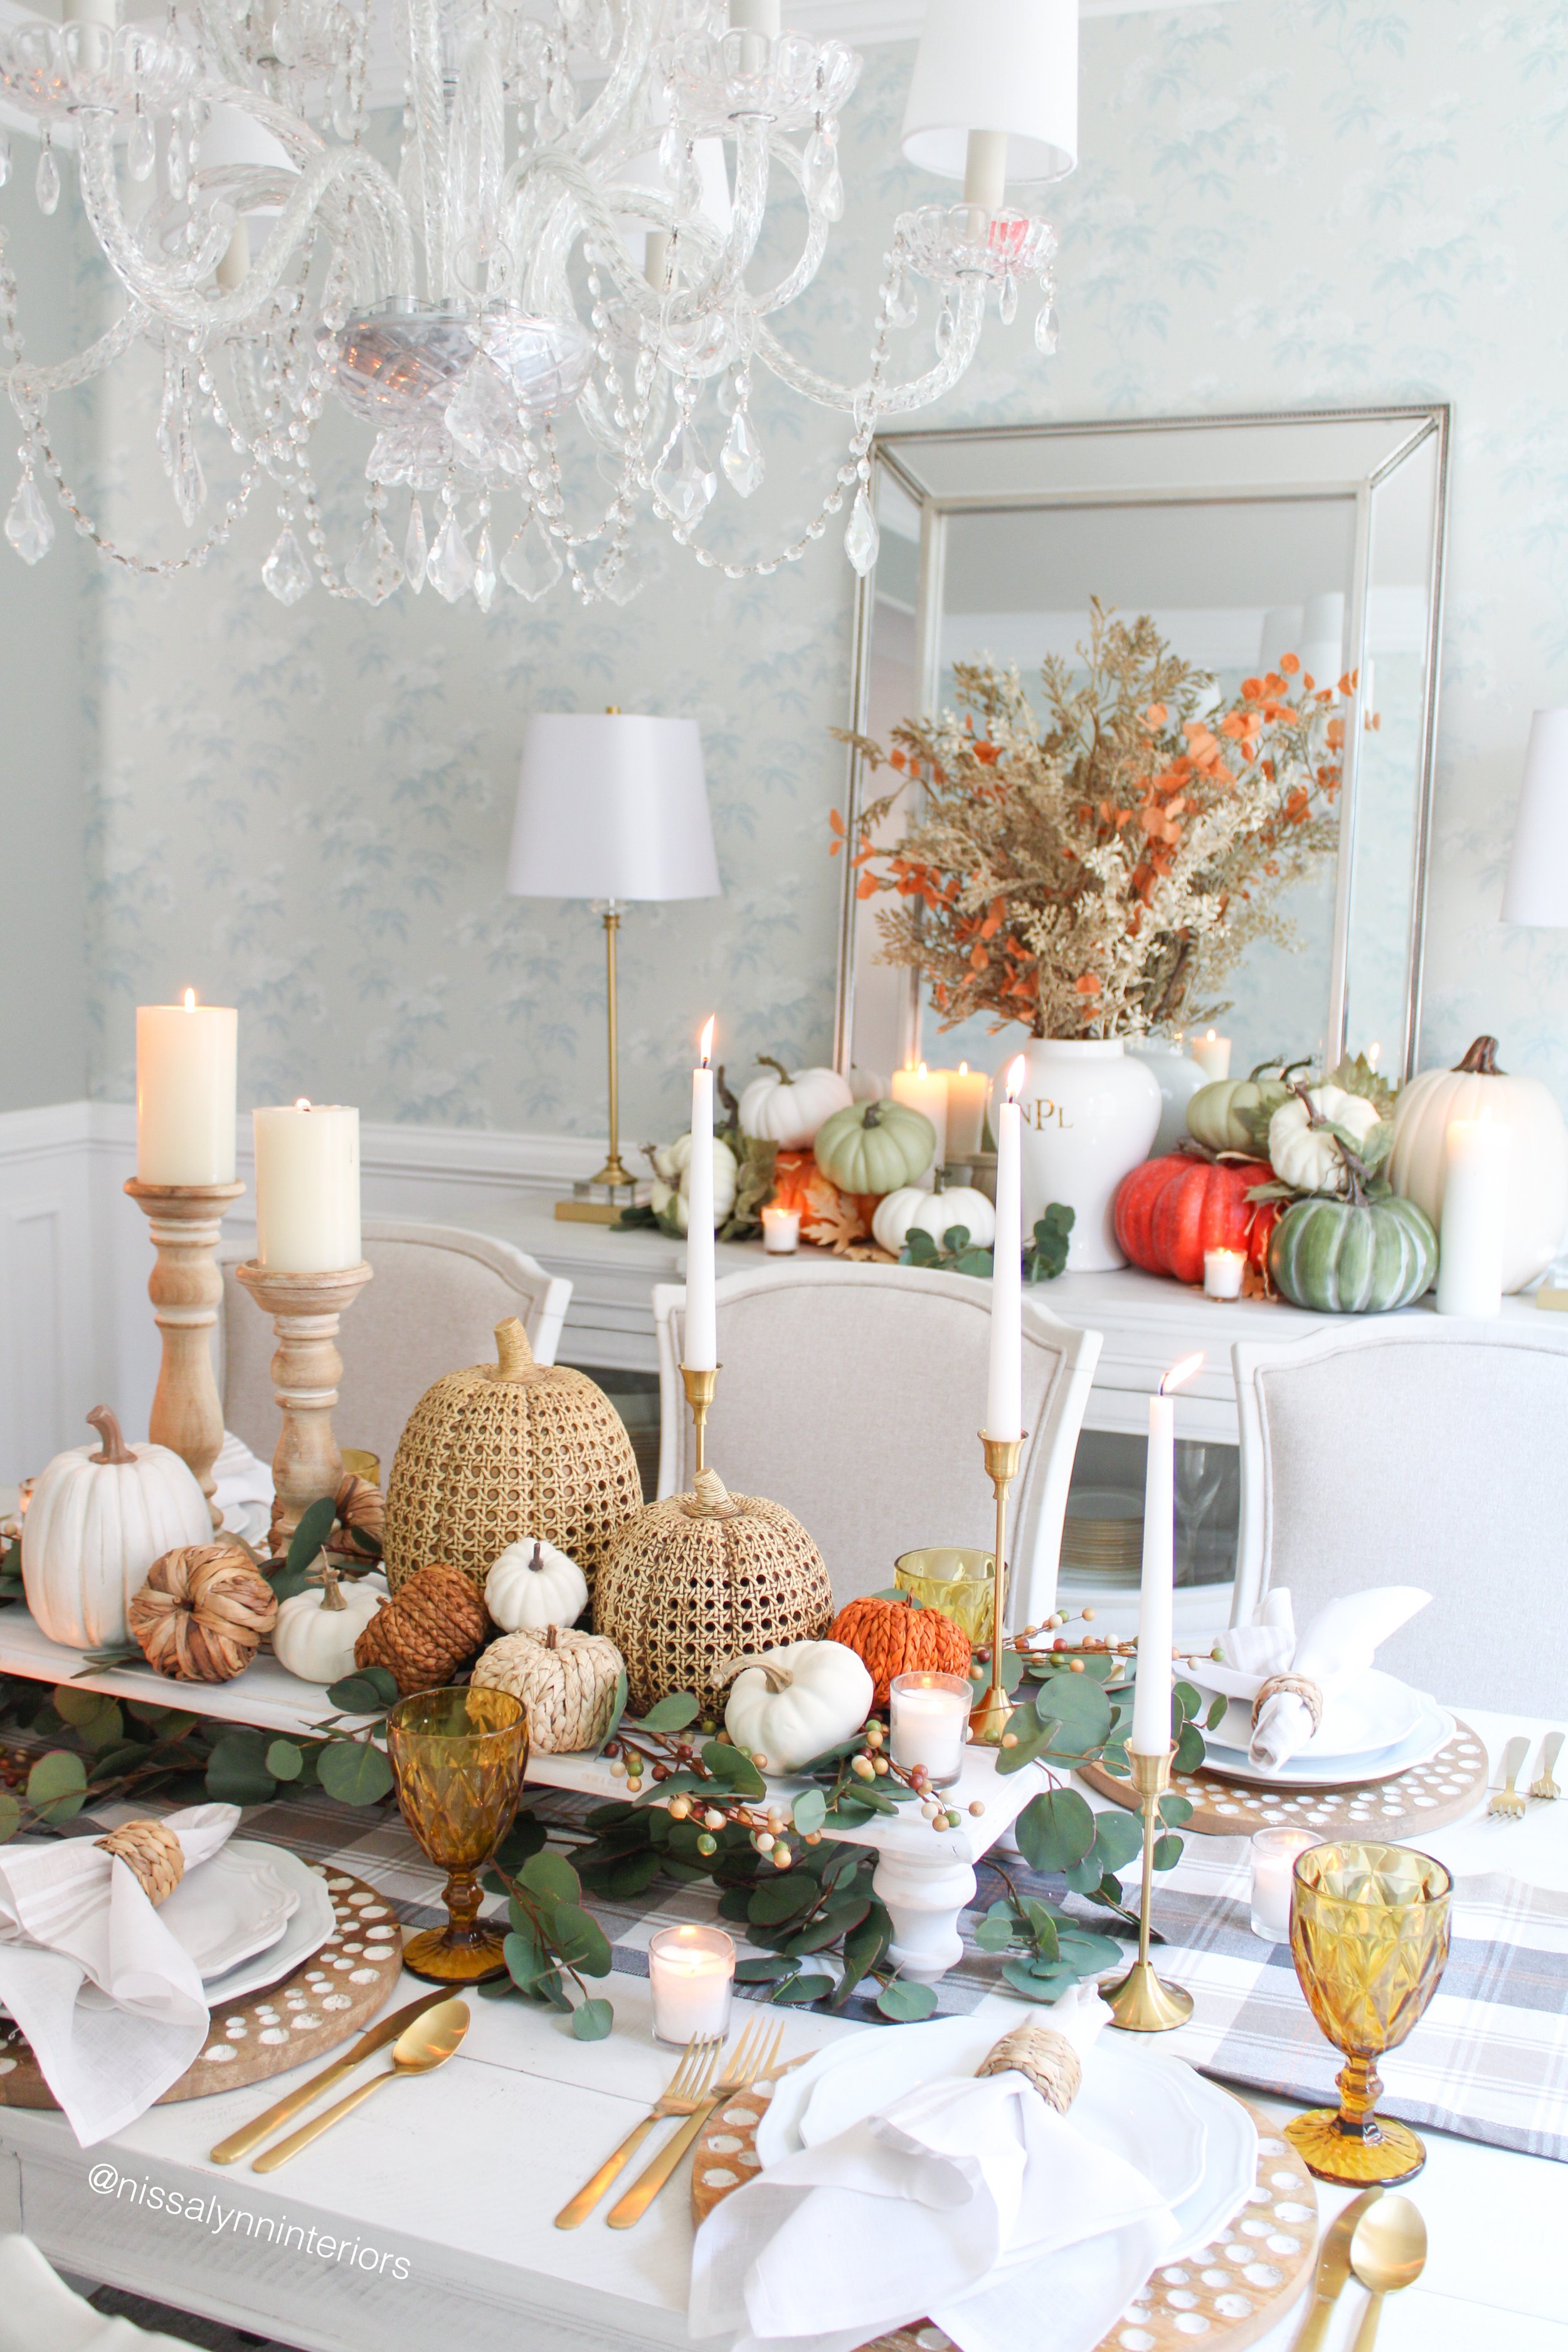
Thanksgiving will soon be here and families will gather around a loved one’s kitchen or dining room table to celebrate the season of gratitude and renewed blessings. Creating a fun and festive thanksgiving tablescape is my way to welcome family and friends into my home and help make the holiday feel special.

DIY Centerpiece for the Thanksgiving Tablescape

I love to think of an empty table as a canvas, and the pieces as the paint. Creating a Thanksgiving tablescape can be a wonderful way to be creative and expressive. I always start with the centerpiece and make it the focal point of the table.

My table is just over eight feet long, so I wanted to use an extra long elevated centerpiece. But I couldn’t find one in the stores so I decided to make my own! I went to my local hardware store and bought a large board and some furniture feet.

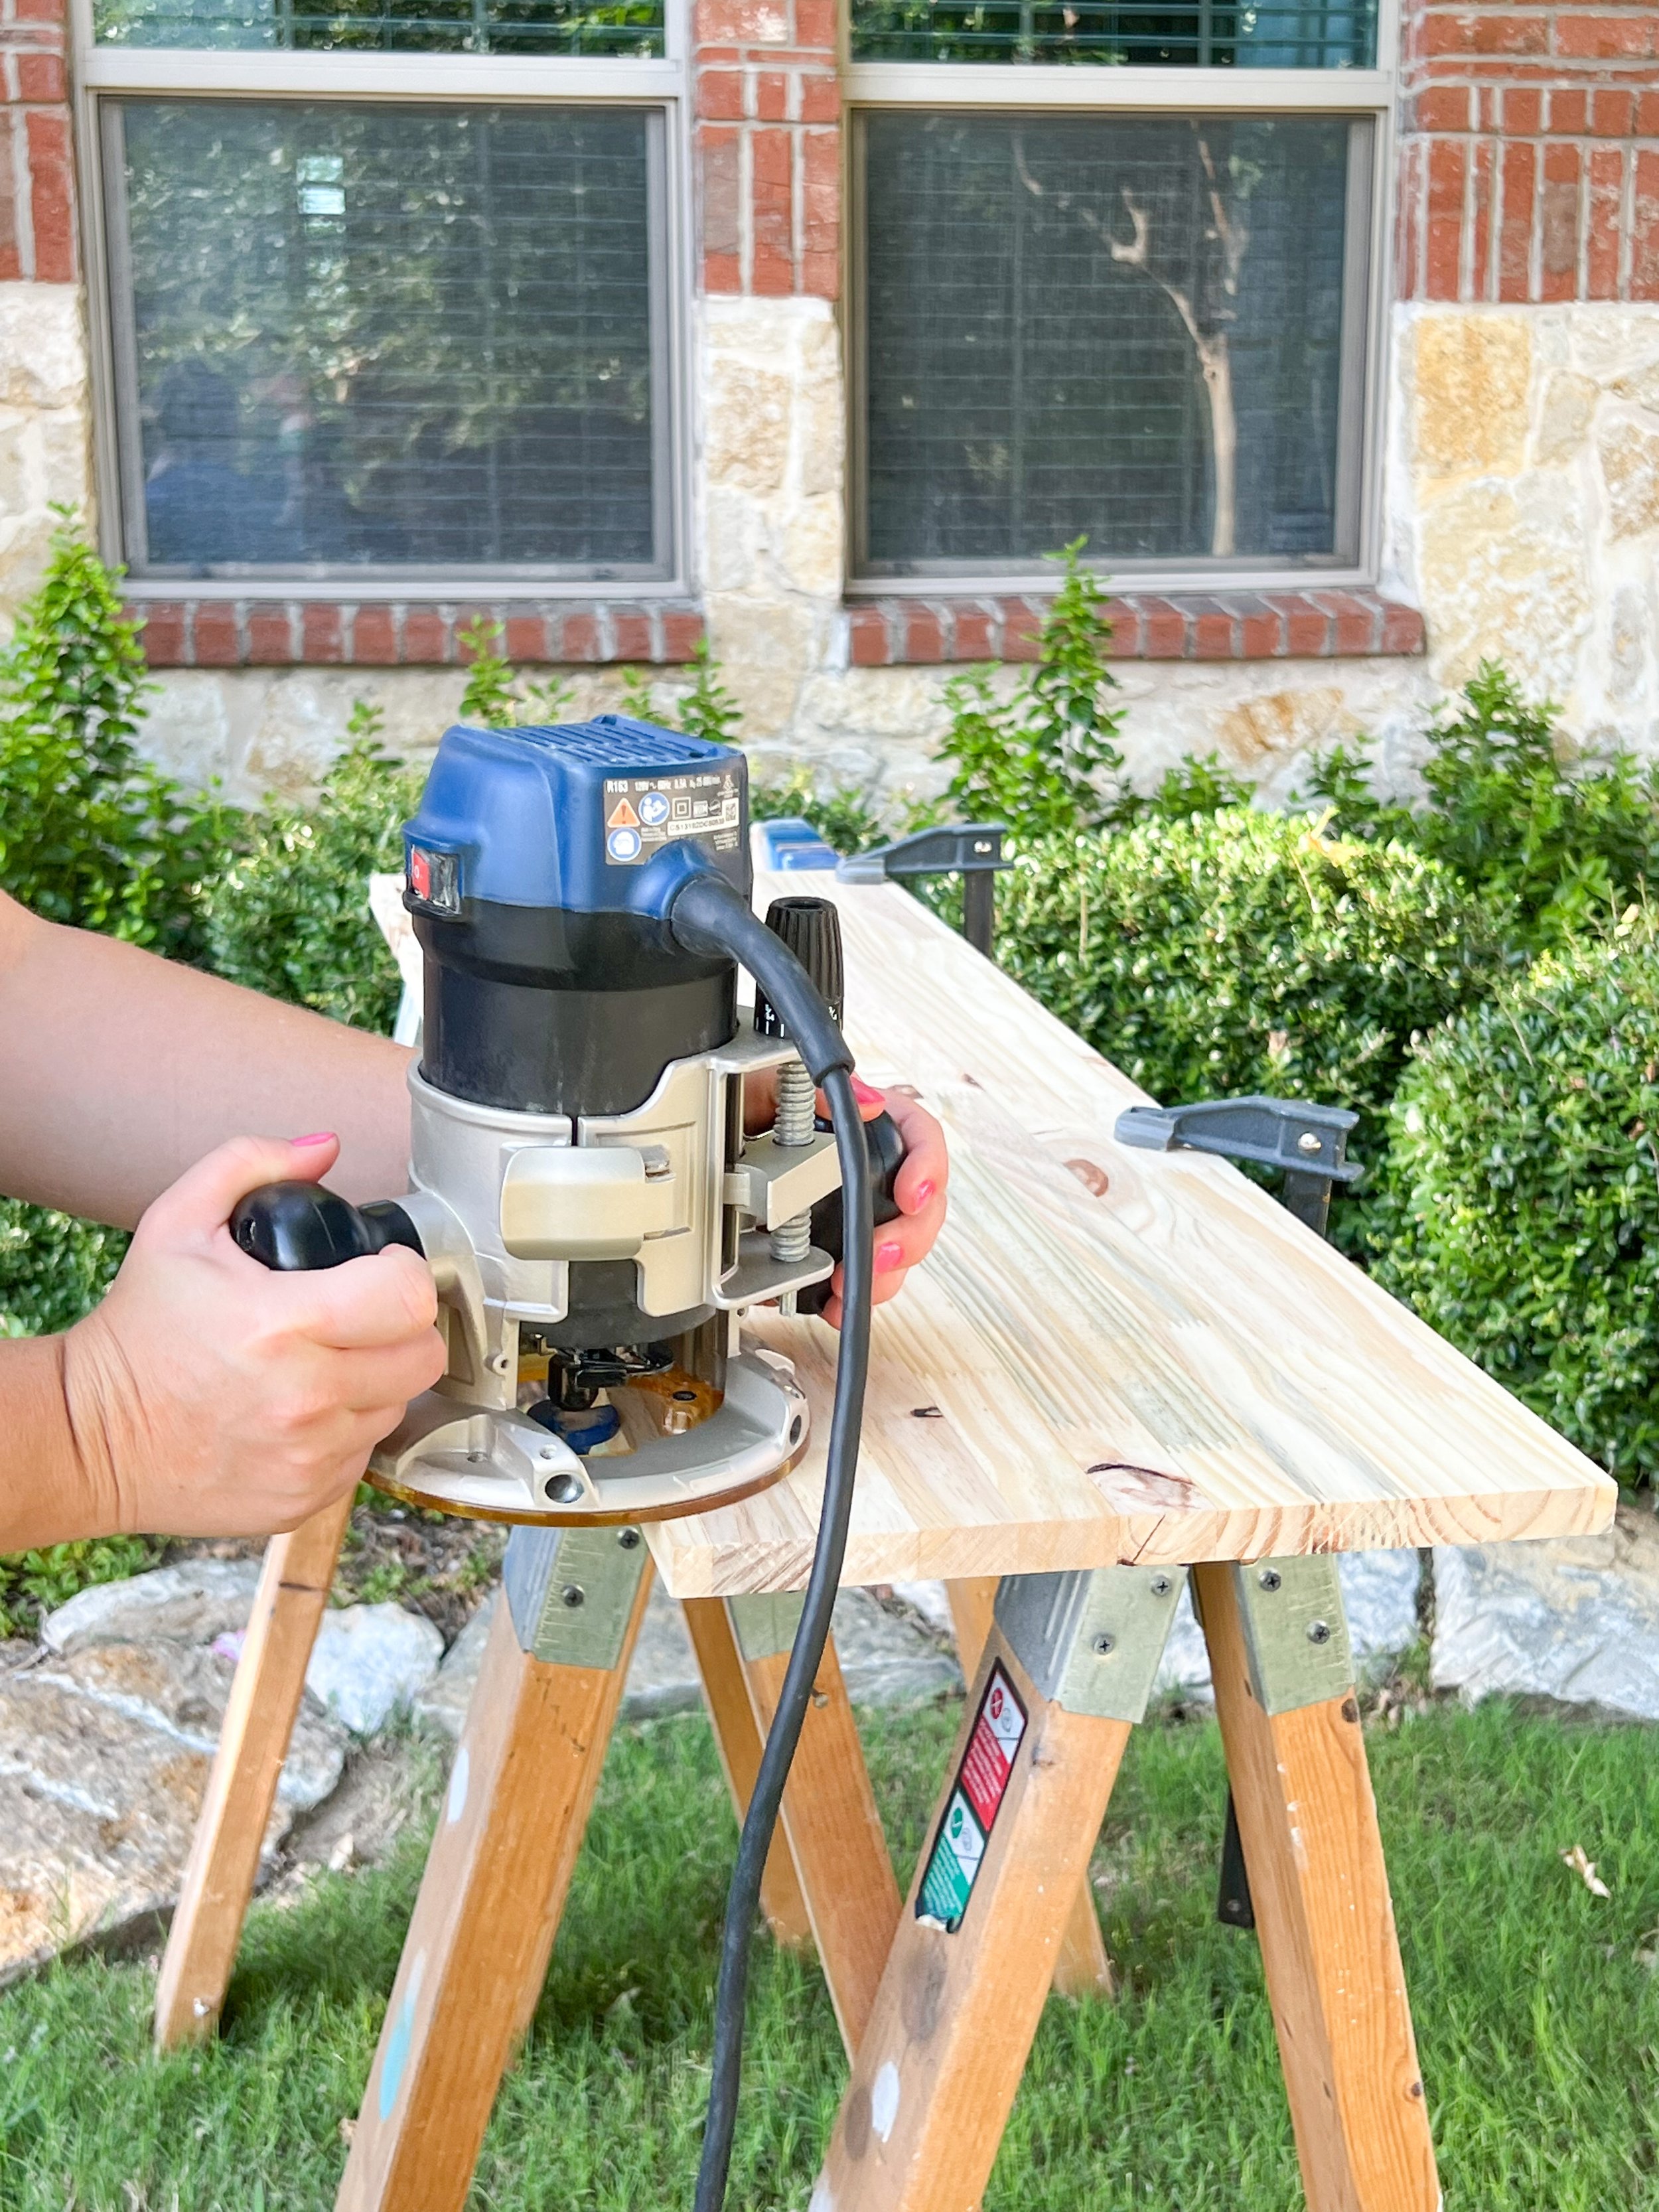
Once home, I gathered the materials and planned out my next steps. To make this centerpiece a bit more interesting, I used a router to create a decorative edge. If you don’t have a router, or want a simpler technique, just use sandpaper to round off the corners for a smooth finished look.

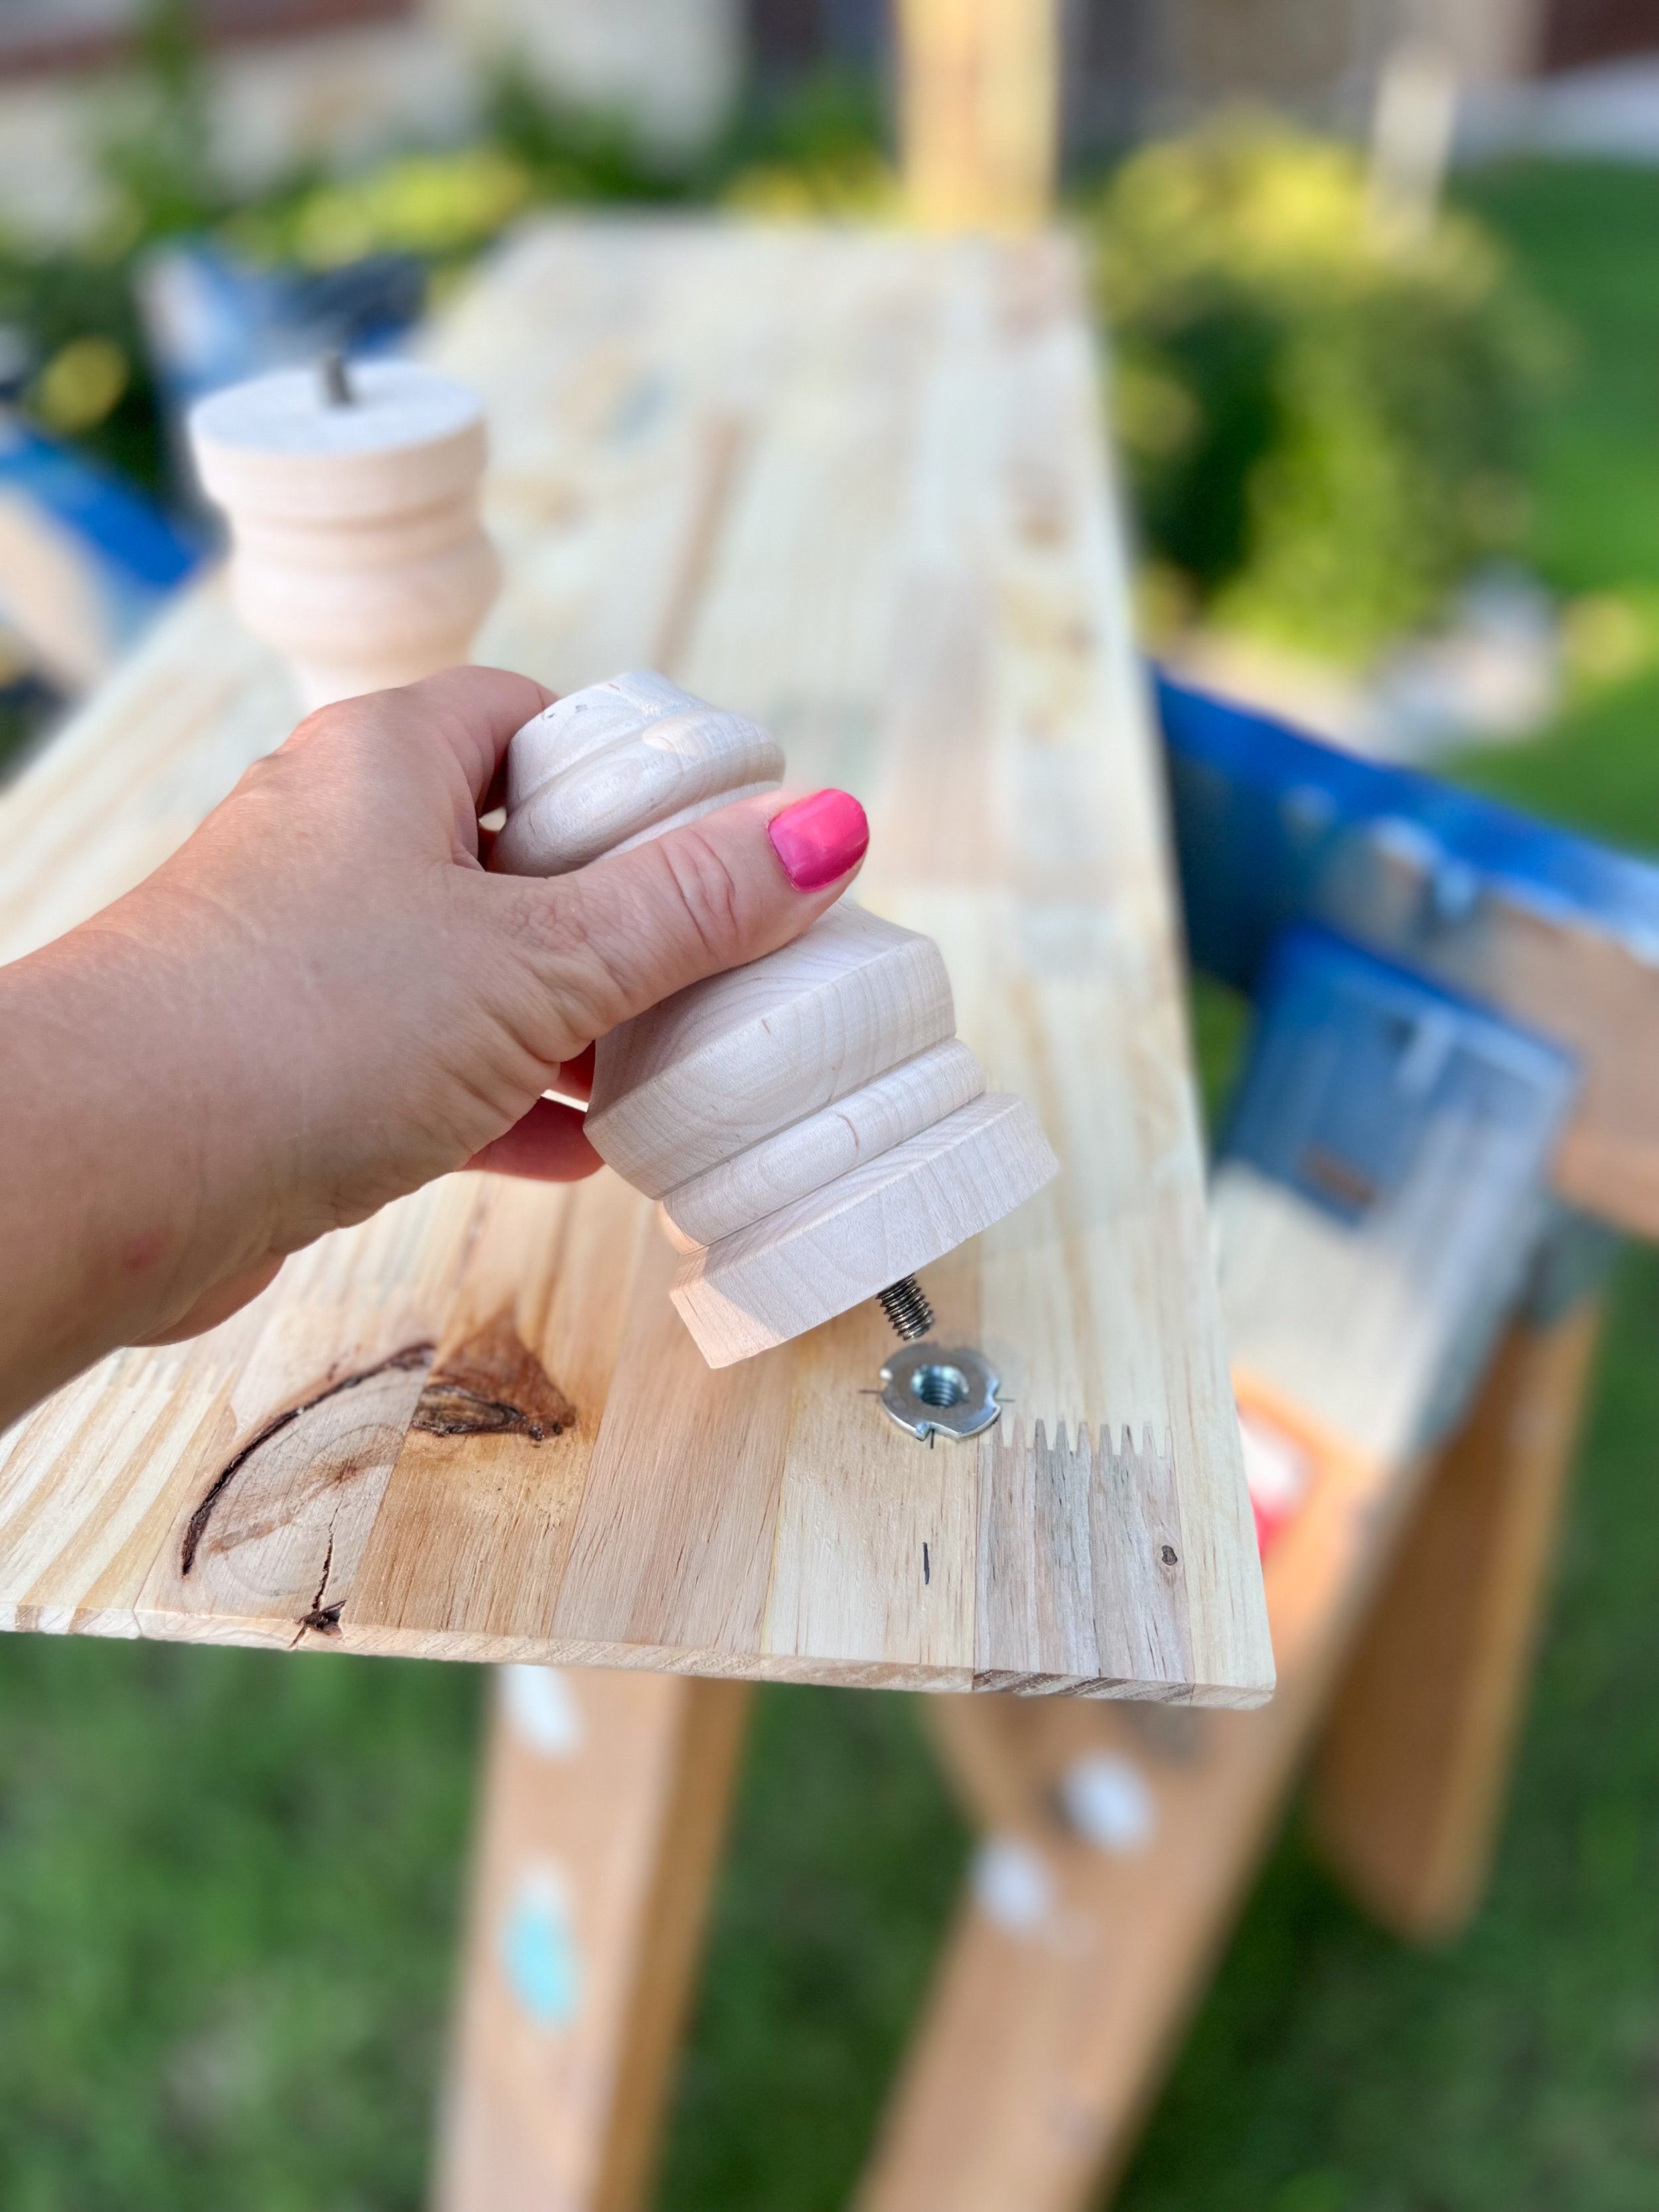
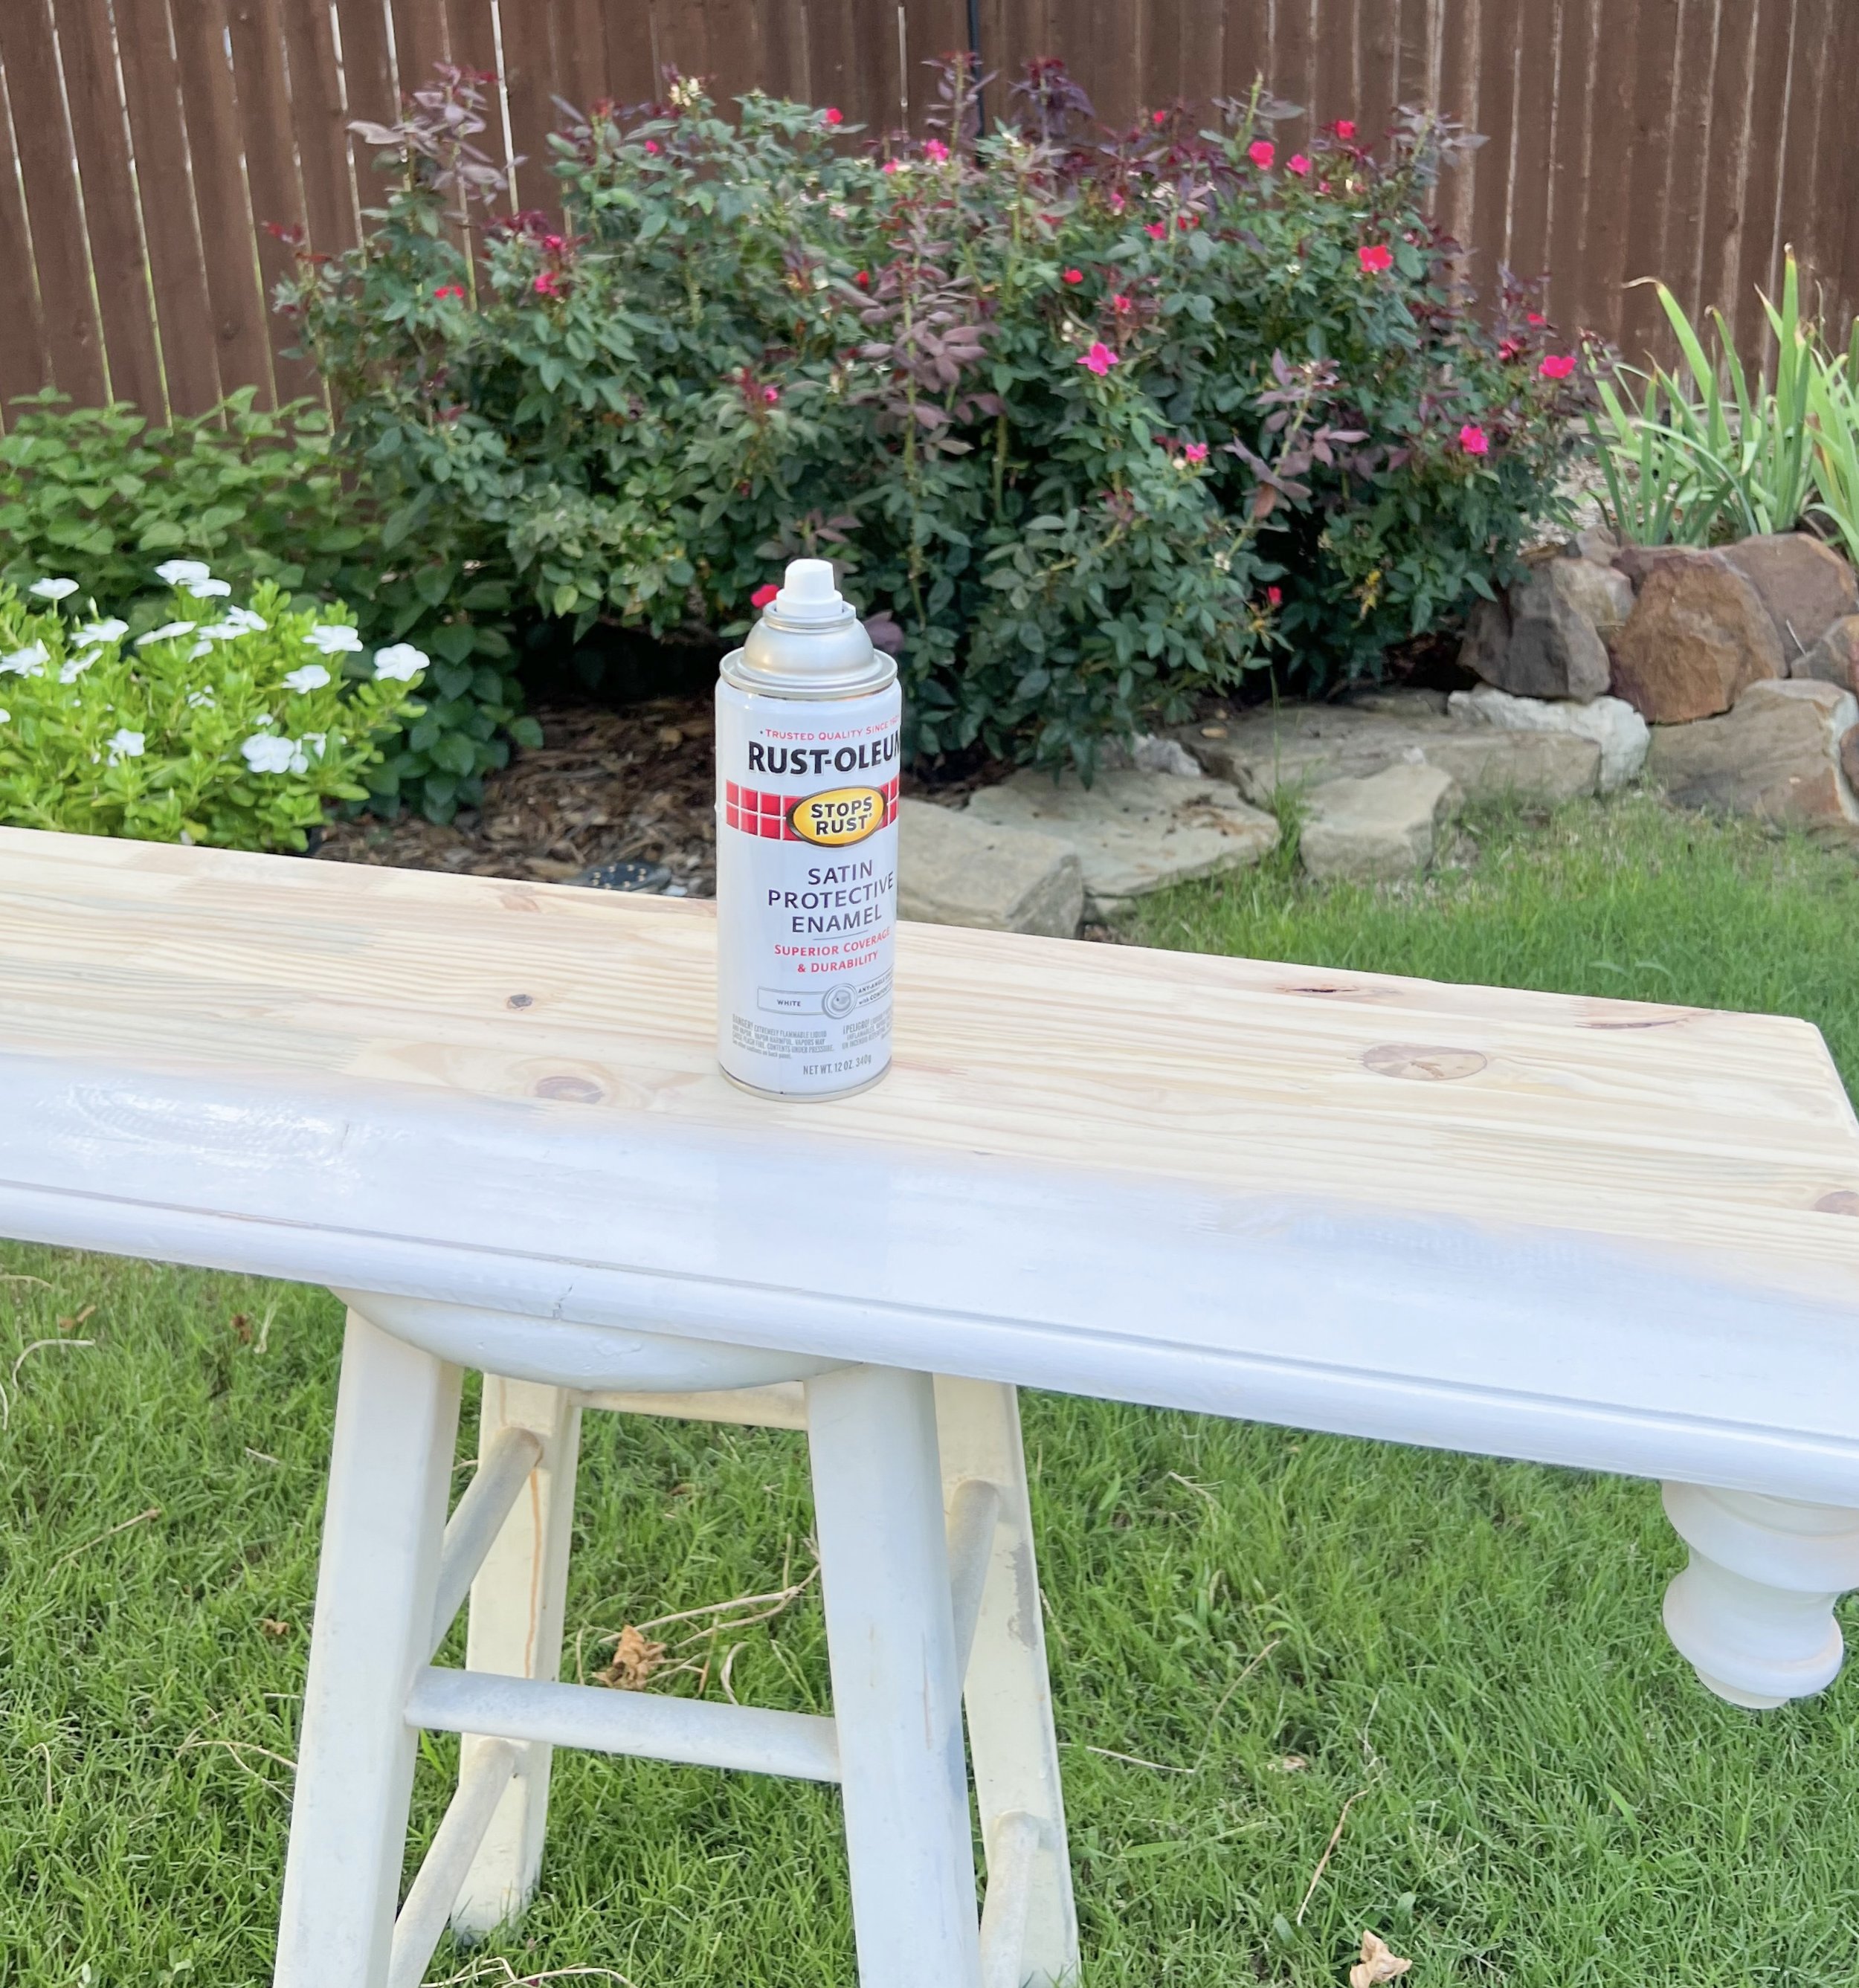
Afterwards, I drilled holes in one side of the board and hammered in threaded plugs to attach the feet. With the feet attached, it was time to paint. I chose a satin white spray paint for a quick durable finish. After the paint dried I went back over it with sandpaper to create a rustic texture for my Thanksgiving tablescape.

 Creating Coziness with Decor

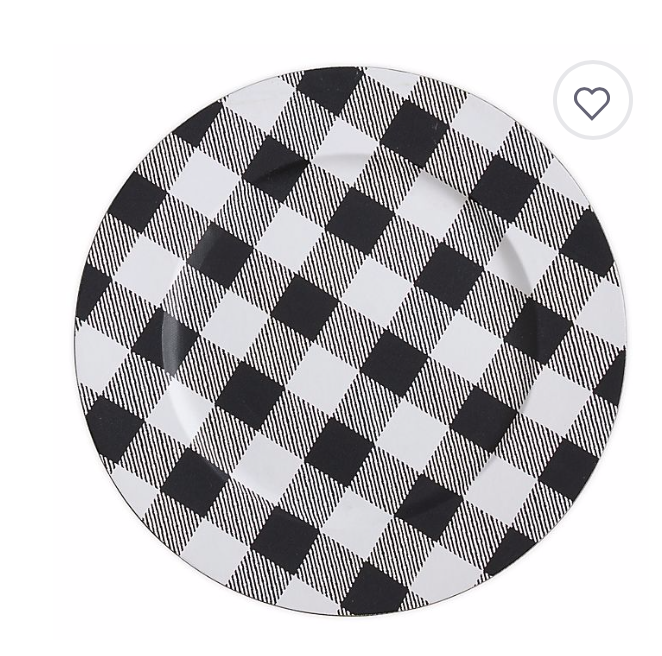
With the board complete, it was time to decorate the table. (My favorite part!) Going around the table I started layering the plates using a charger as a base, followed by the dinner and salad plates. By putting the largest plates down first, it gives me an idea on how much room I have to add the decorative pieces, uch as candles near the centerpiece. 

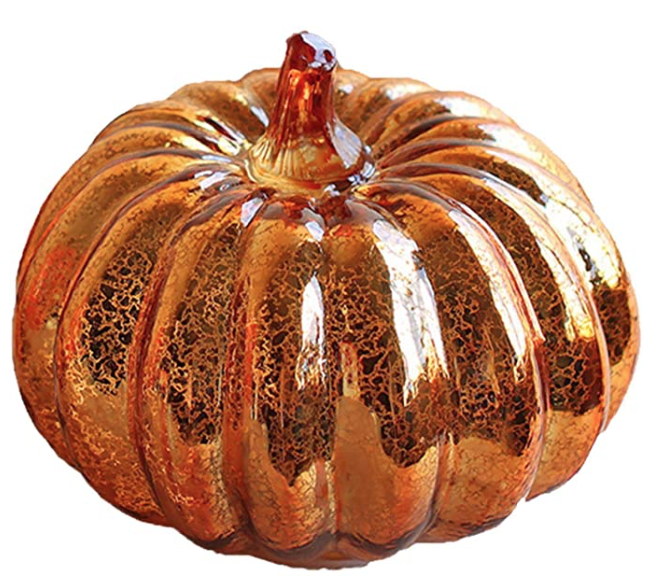
Next I place the glasses, silverware napkins with napkin holders. (There’s a wide assortment of napkin holders available.) I love to mix in florals, pumpkins, faux leaves, and sprinkle them around the Thanksgiving table to create ambiance. You could also incorporate a small charcuterie board mixed in with the decor. 

I hope these ideas spark your creativity and get you excited for the upcoming holiday season! 

Bridgerton Inspired Mother’s Day Tablescape!

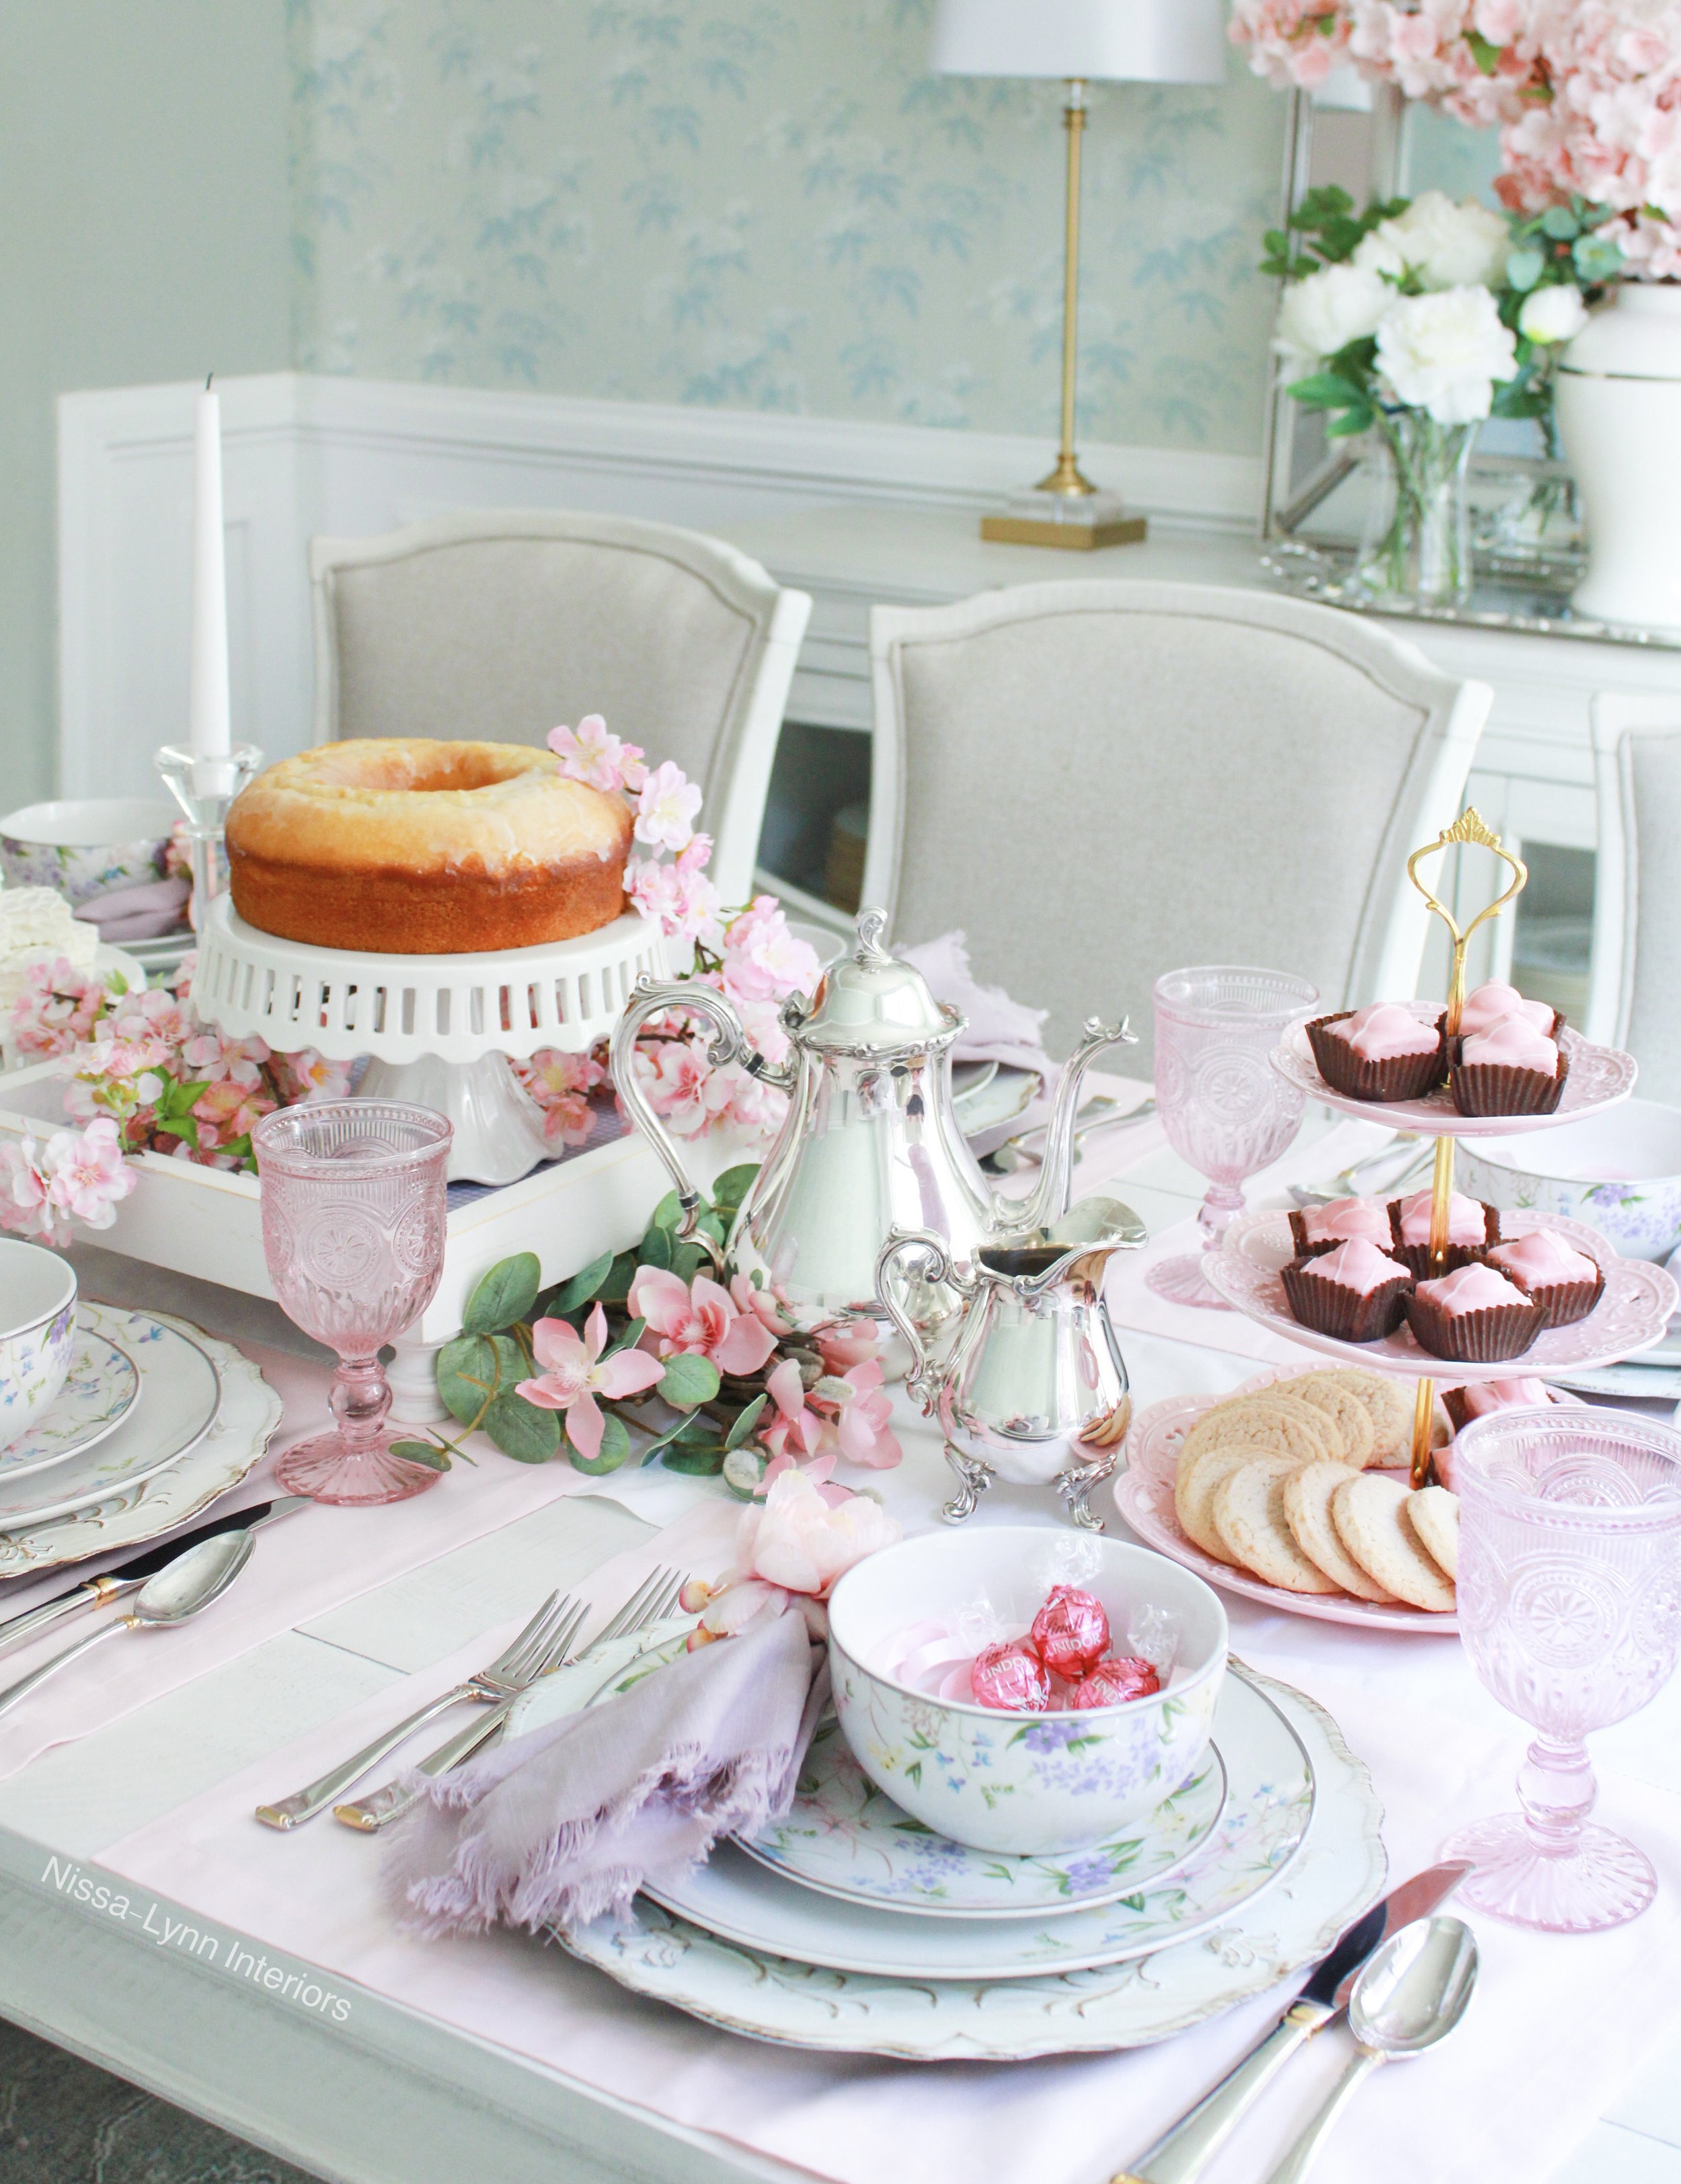
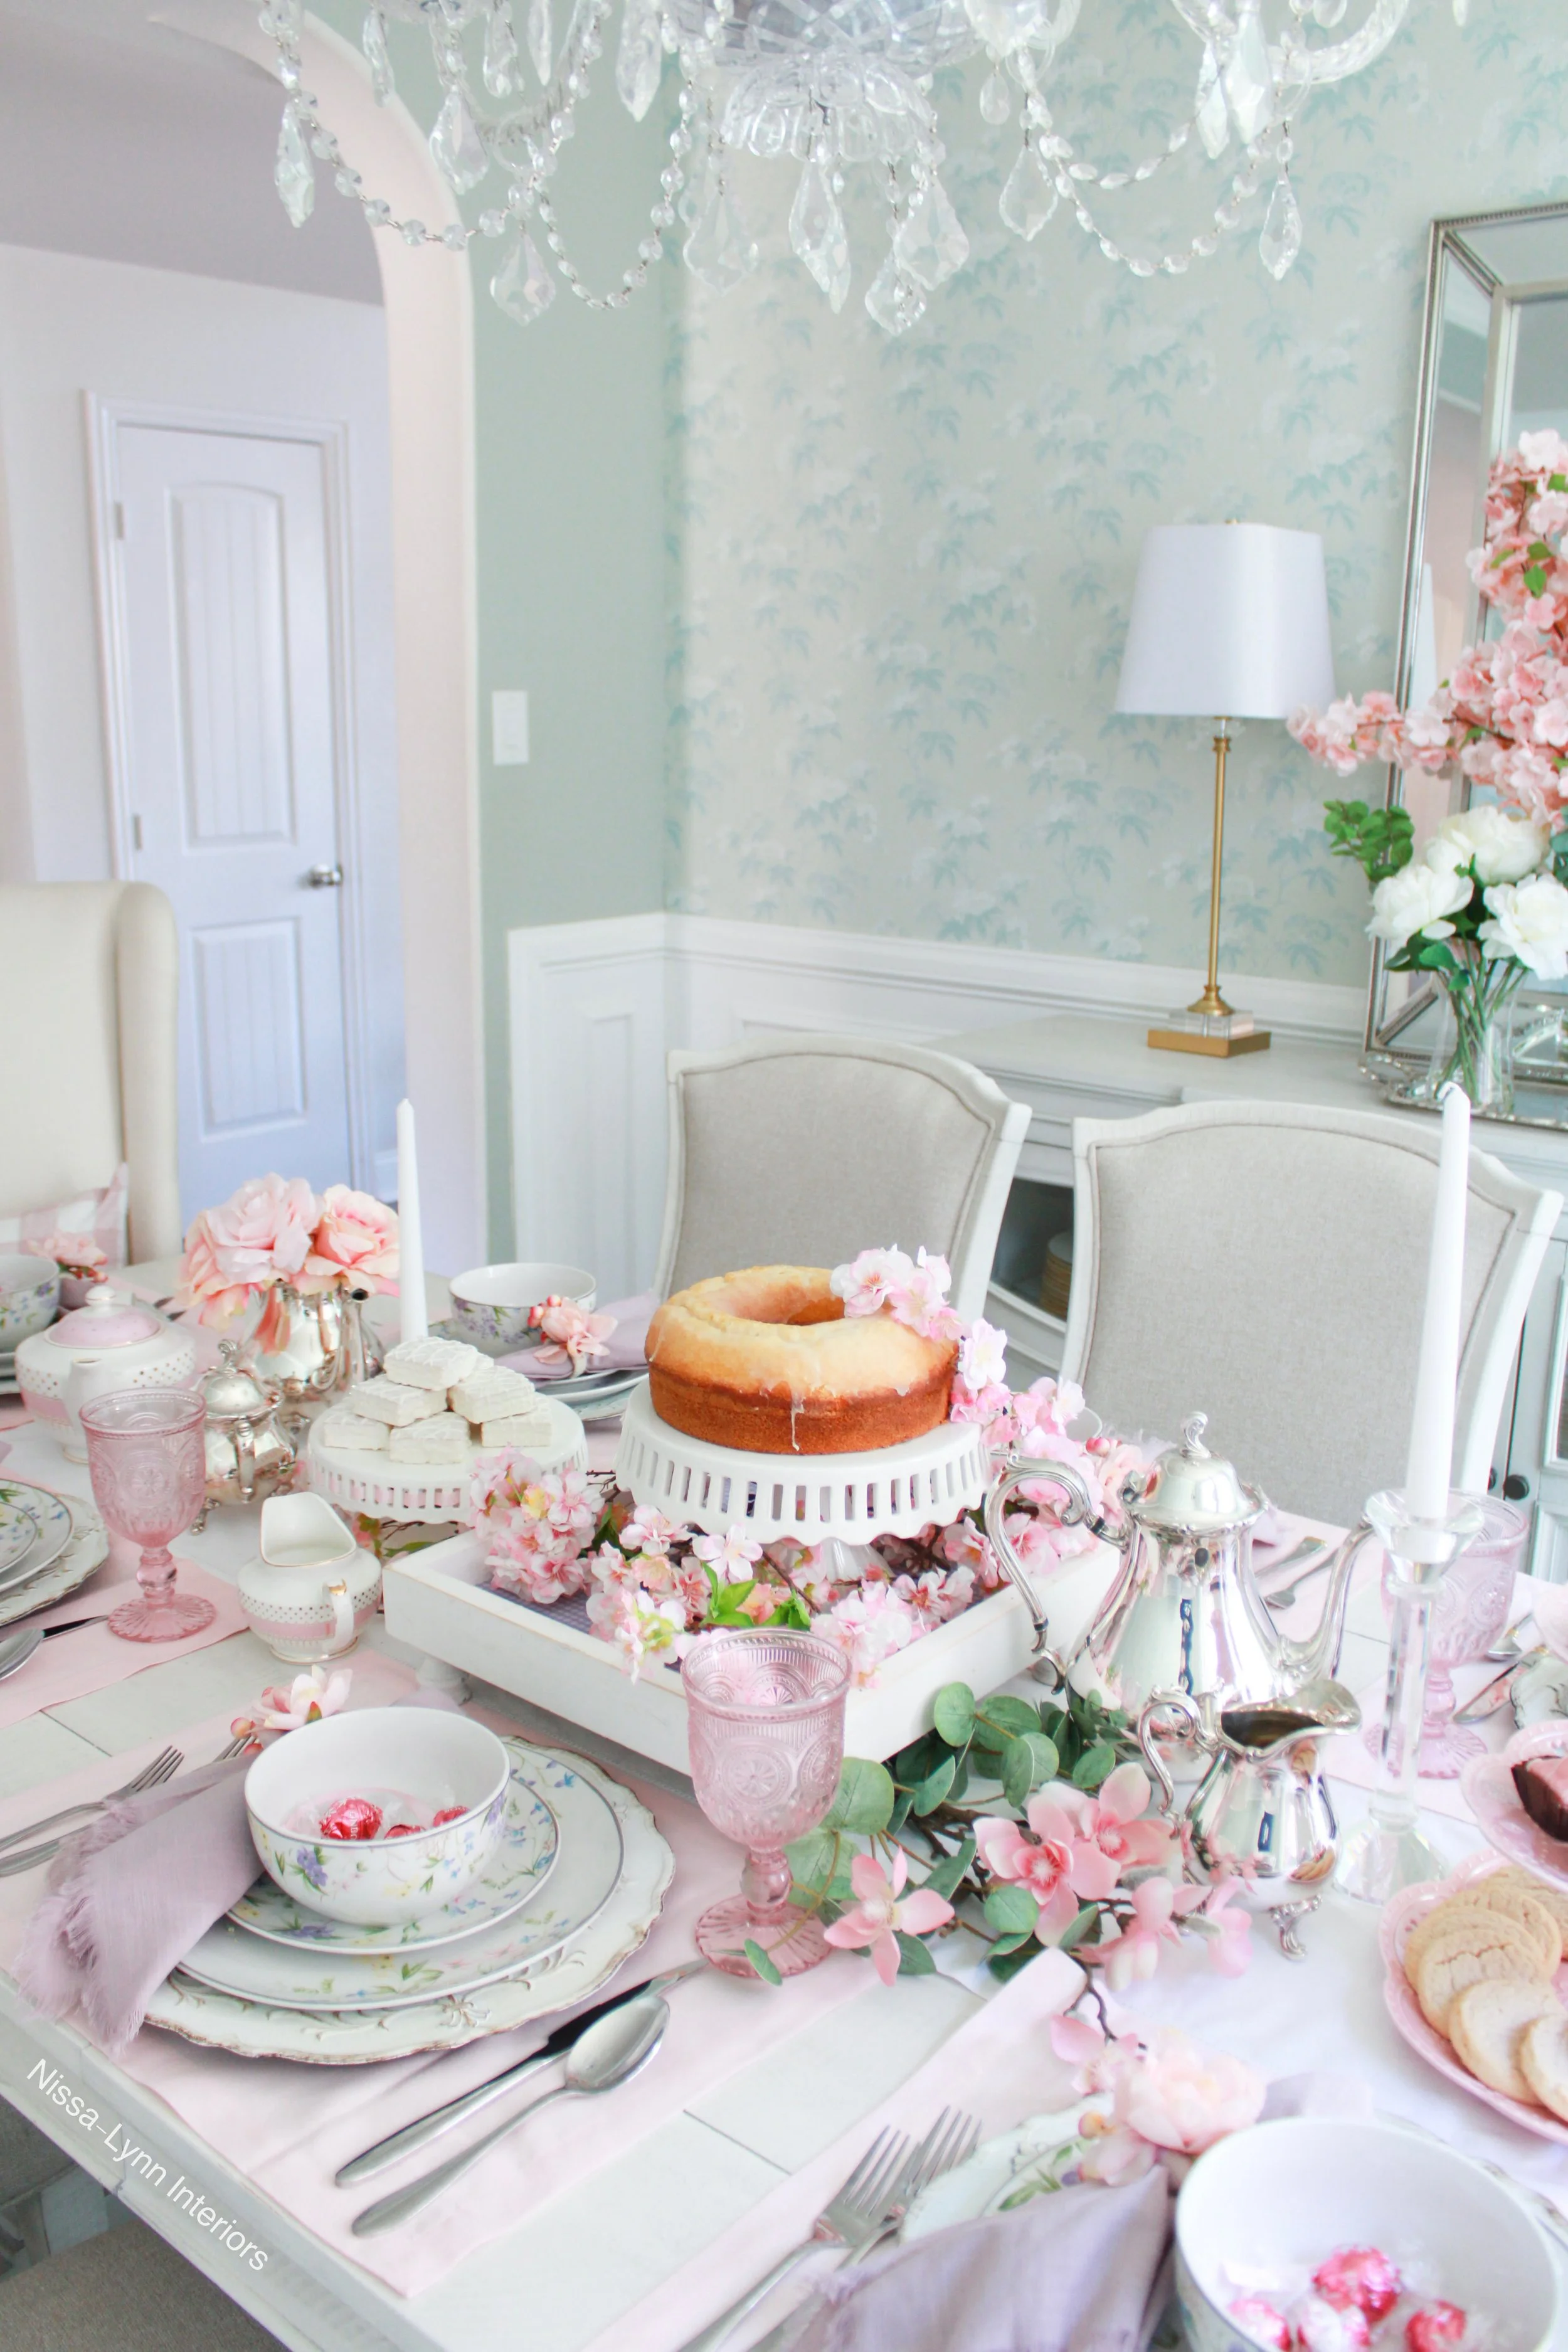
Let’s celebrate Mother’s Day with a charming cherry blossom themed tea party!

But you don’t need to wait for Mother’s Day to have a celebration like this - you could host a similar lovely event for occasions like bridal or baby showers. (Click on highlighted words for links.)

When planning this elegant tablescape I knew it had to have a soft romantic color palette made up of pastel pinks and sweet lavenders. Once I decided on the color scheme, I went searching for the perfect pieces. I found these perfect linen placemats, cloth napkins, floral napkin rings, spring patterned floral dish ware, and complimentary light pink water goblets - that all paired perfectly!

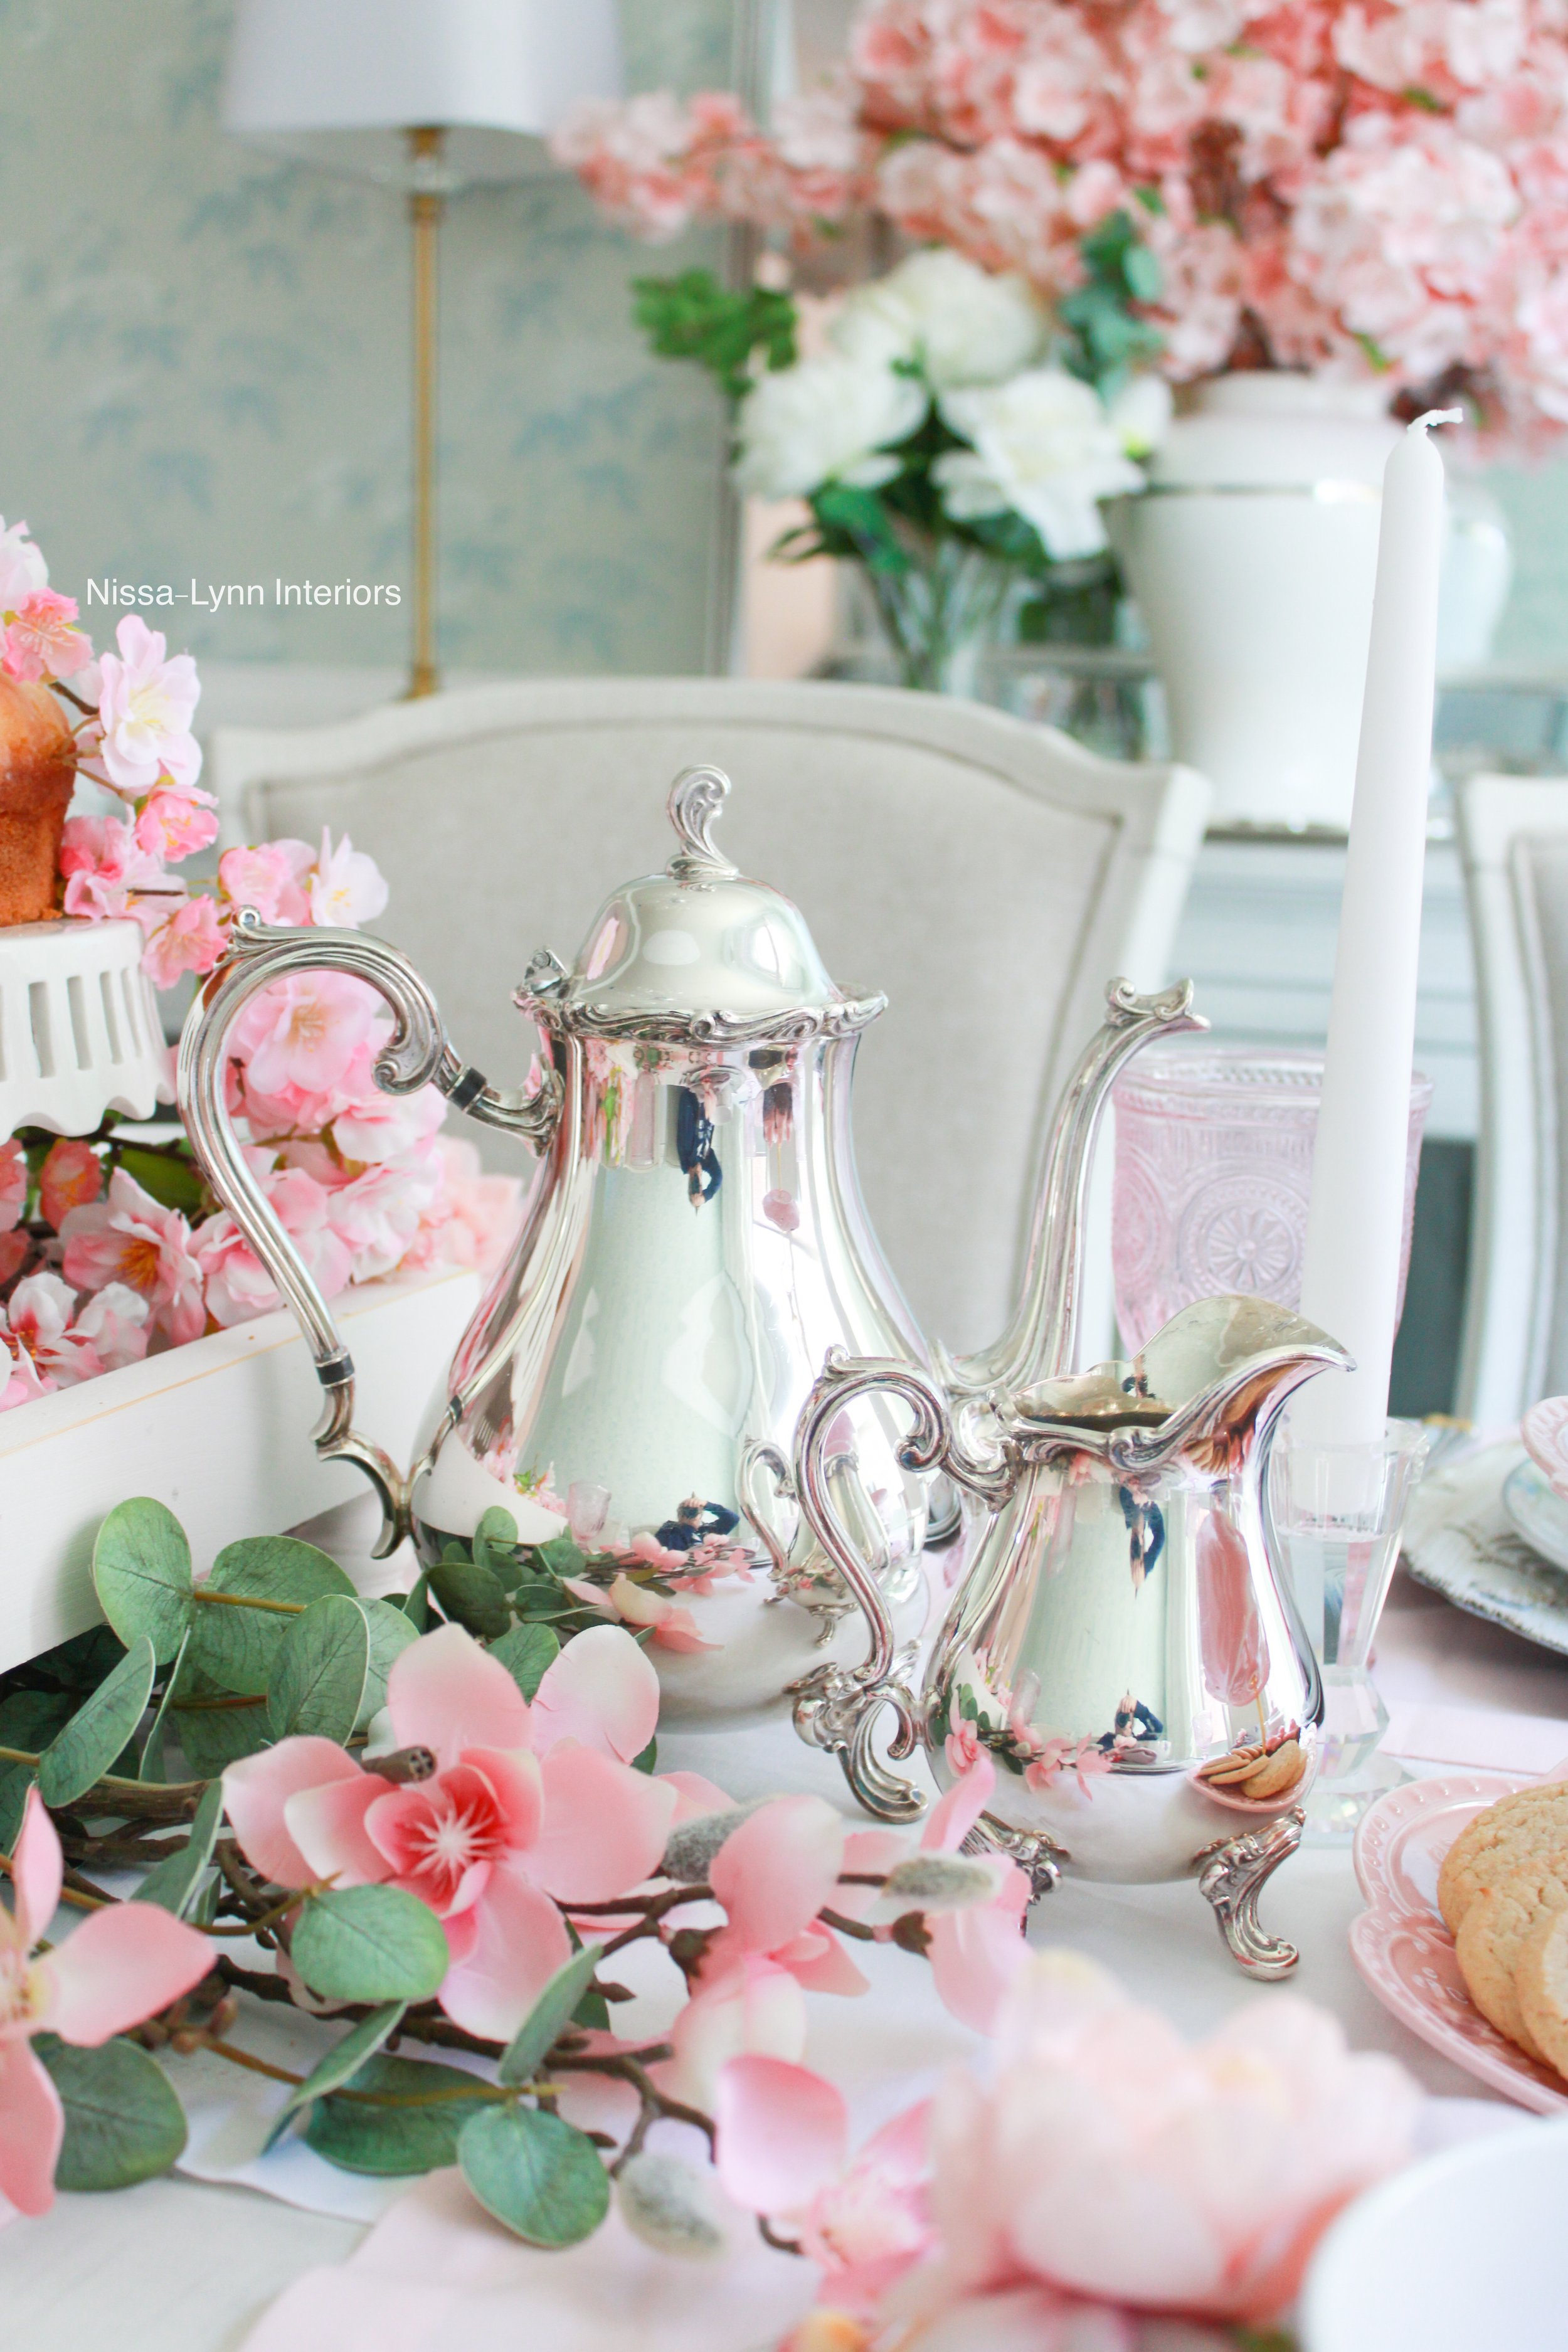
But my favorite thing on the table is the vintage silver tea set. It was my late grandmother’s and dates back to the 1940’s. She gave it to me when I got married about twenty-four years ago, and it has been a treasure to me ever since. This tea set is a family heirloom that I cherish wholeheartedly.💕 

Tablescape Tip: Always start with the centerpiece so you know how much room you have for decorative pieces on the sides and space for the dishes. Then if you need more room for glasses, dishes etc, you can easily adjust items instead of having to move everything.

I wanted to display the desserts on the table and use them also as decorative pieces.

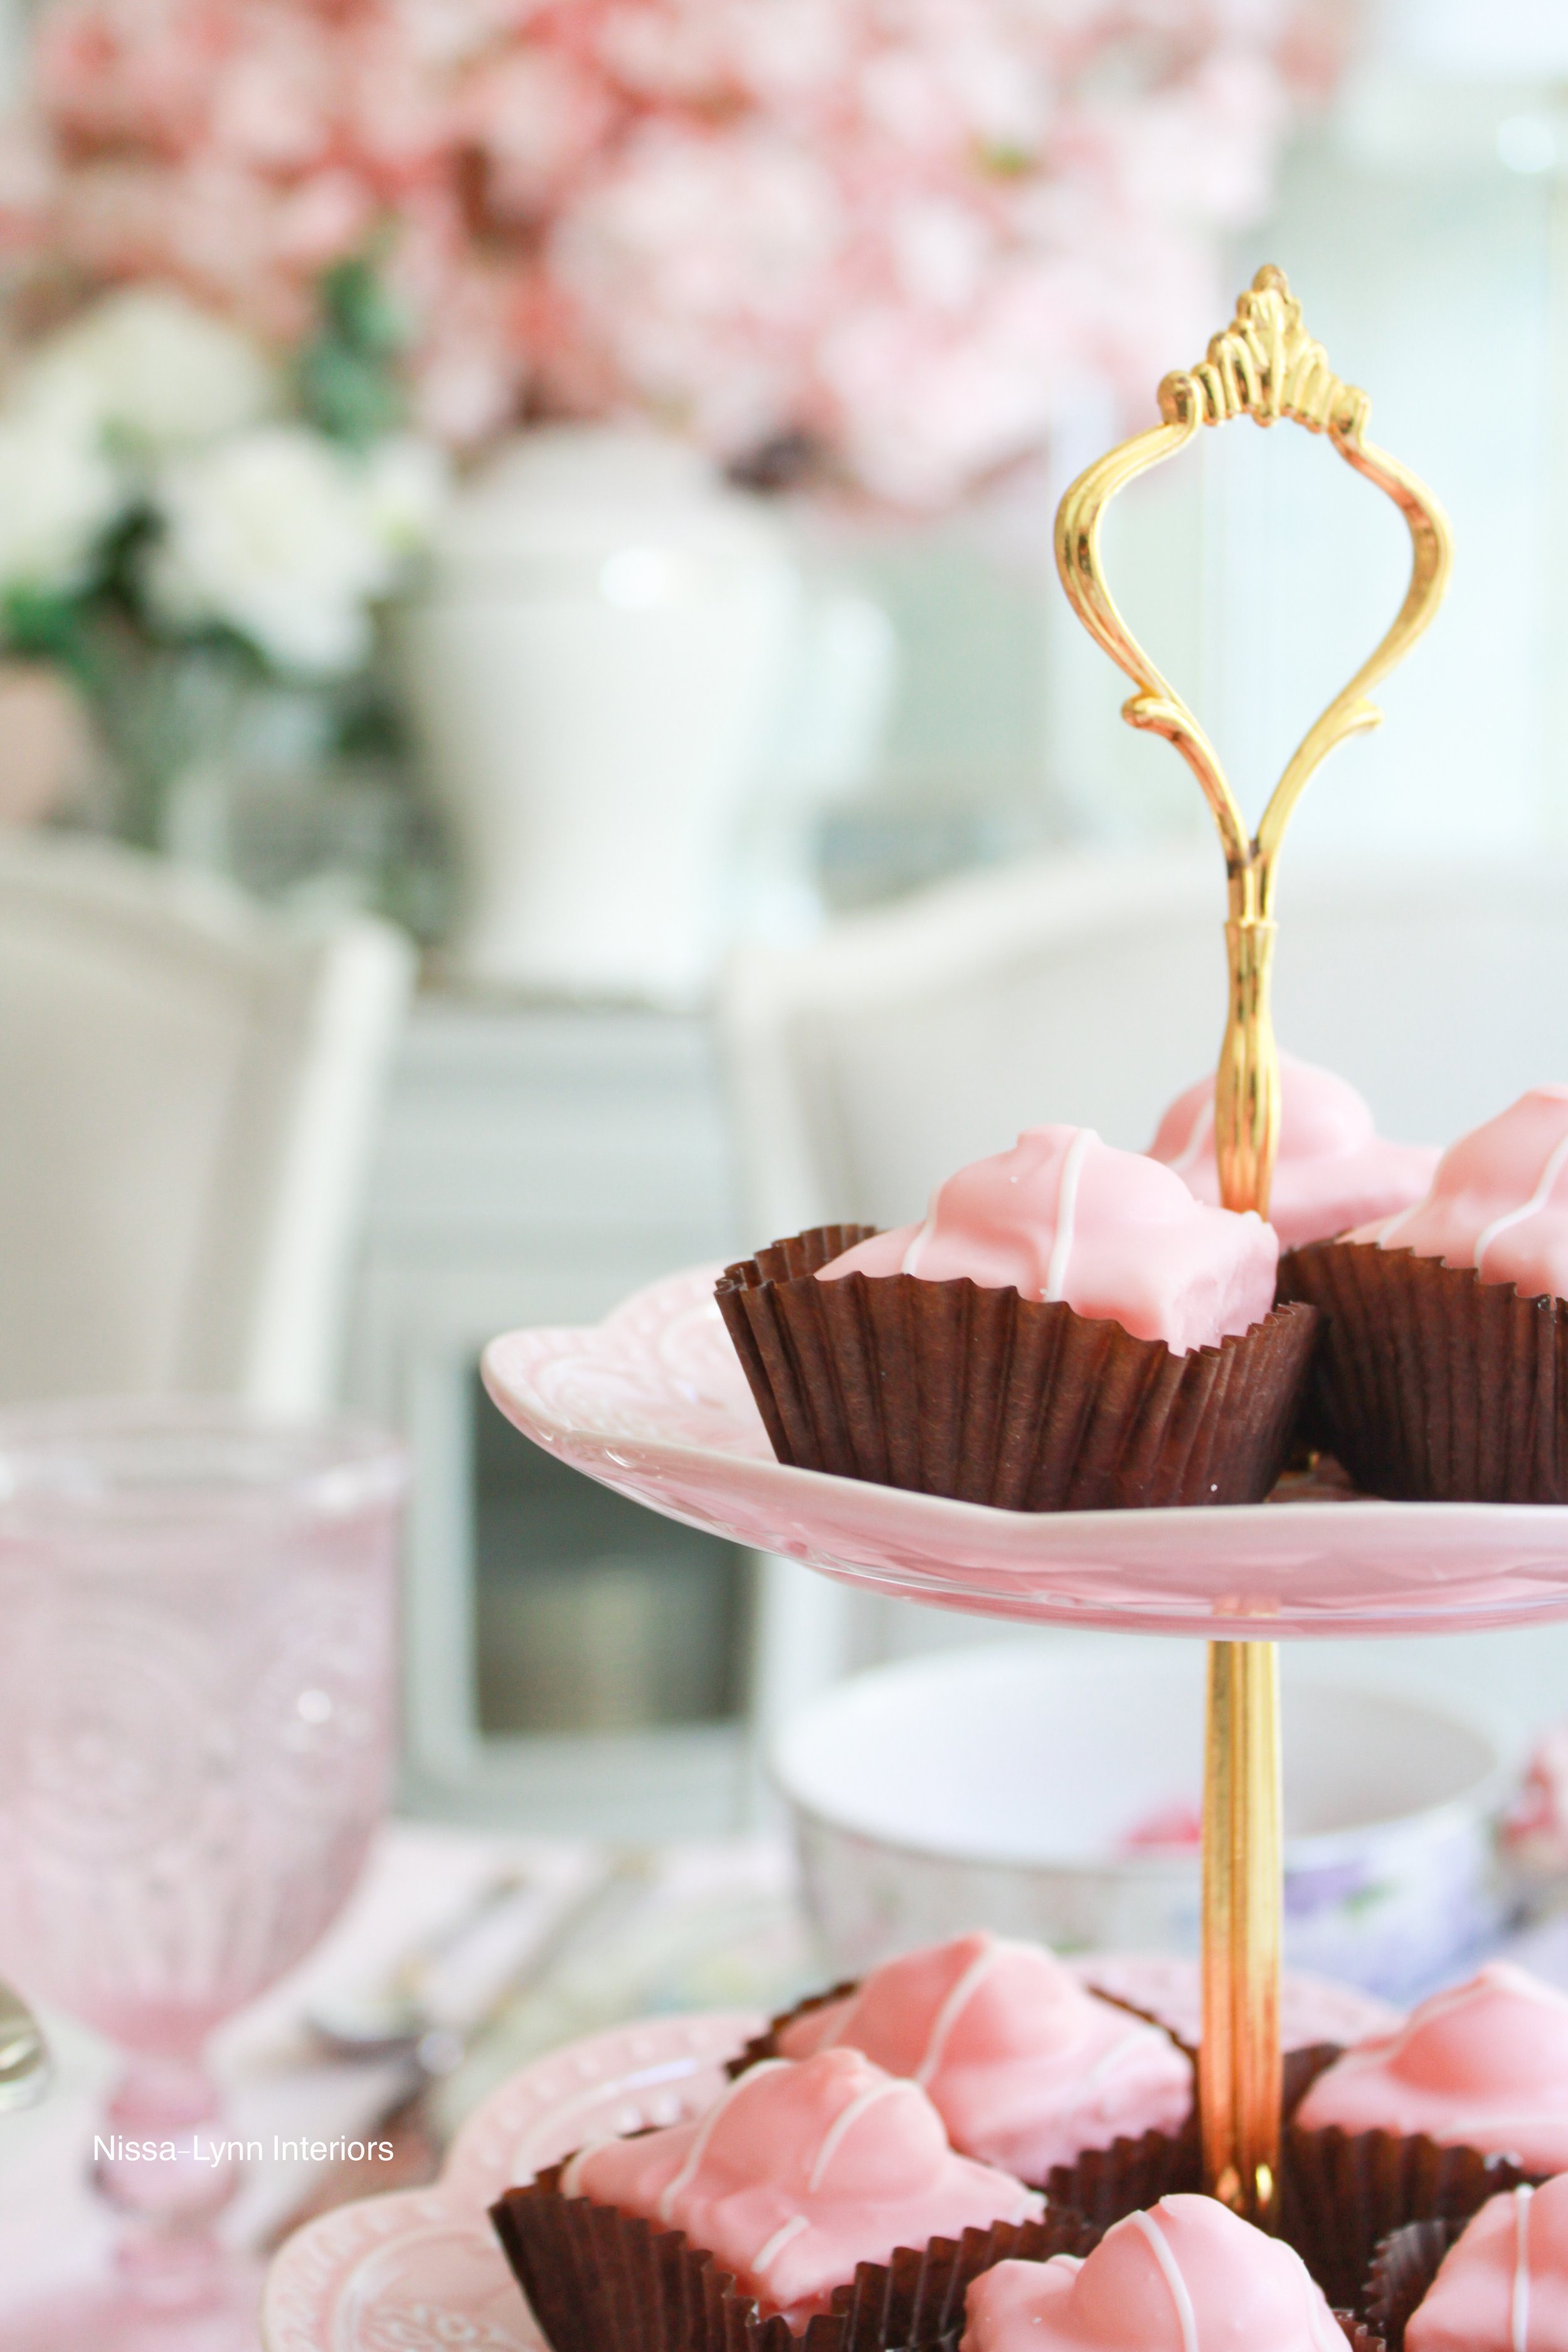
And of course no tea party is complete without petit fours and chocolates. Petit fours have been a favorite of mine since I was young and saw the 1995 movie Little Women. I displayed the pink petit fours on a vintage looking dessert stand for that classic, English tea luncheon feel.

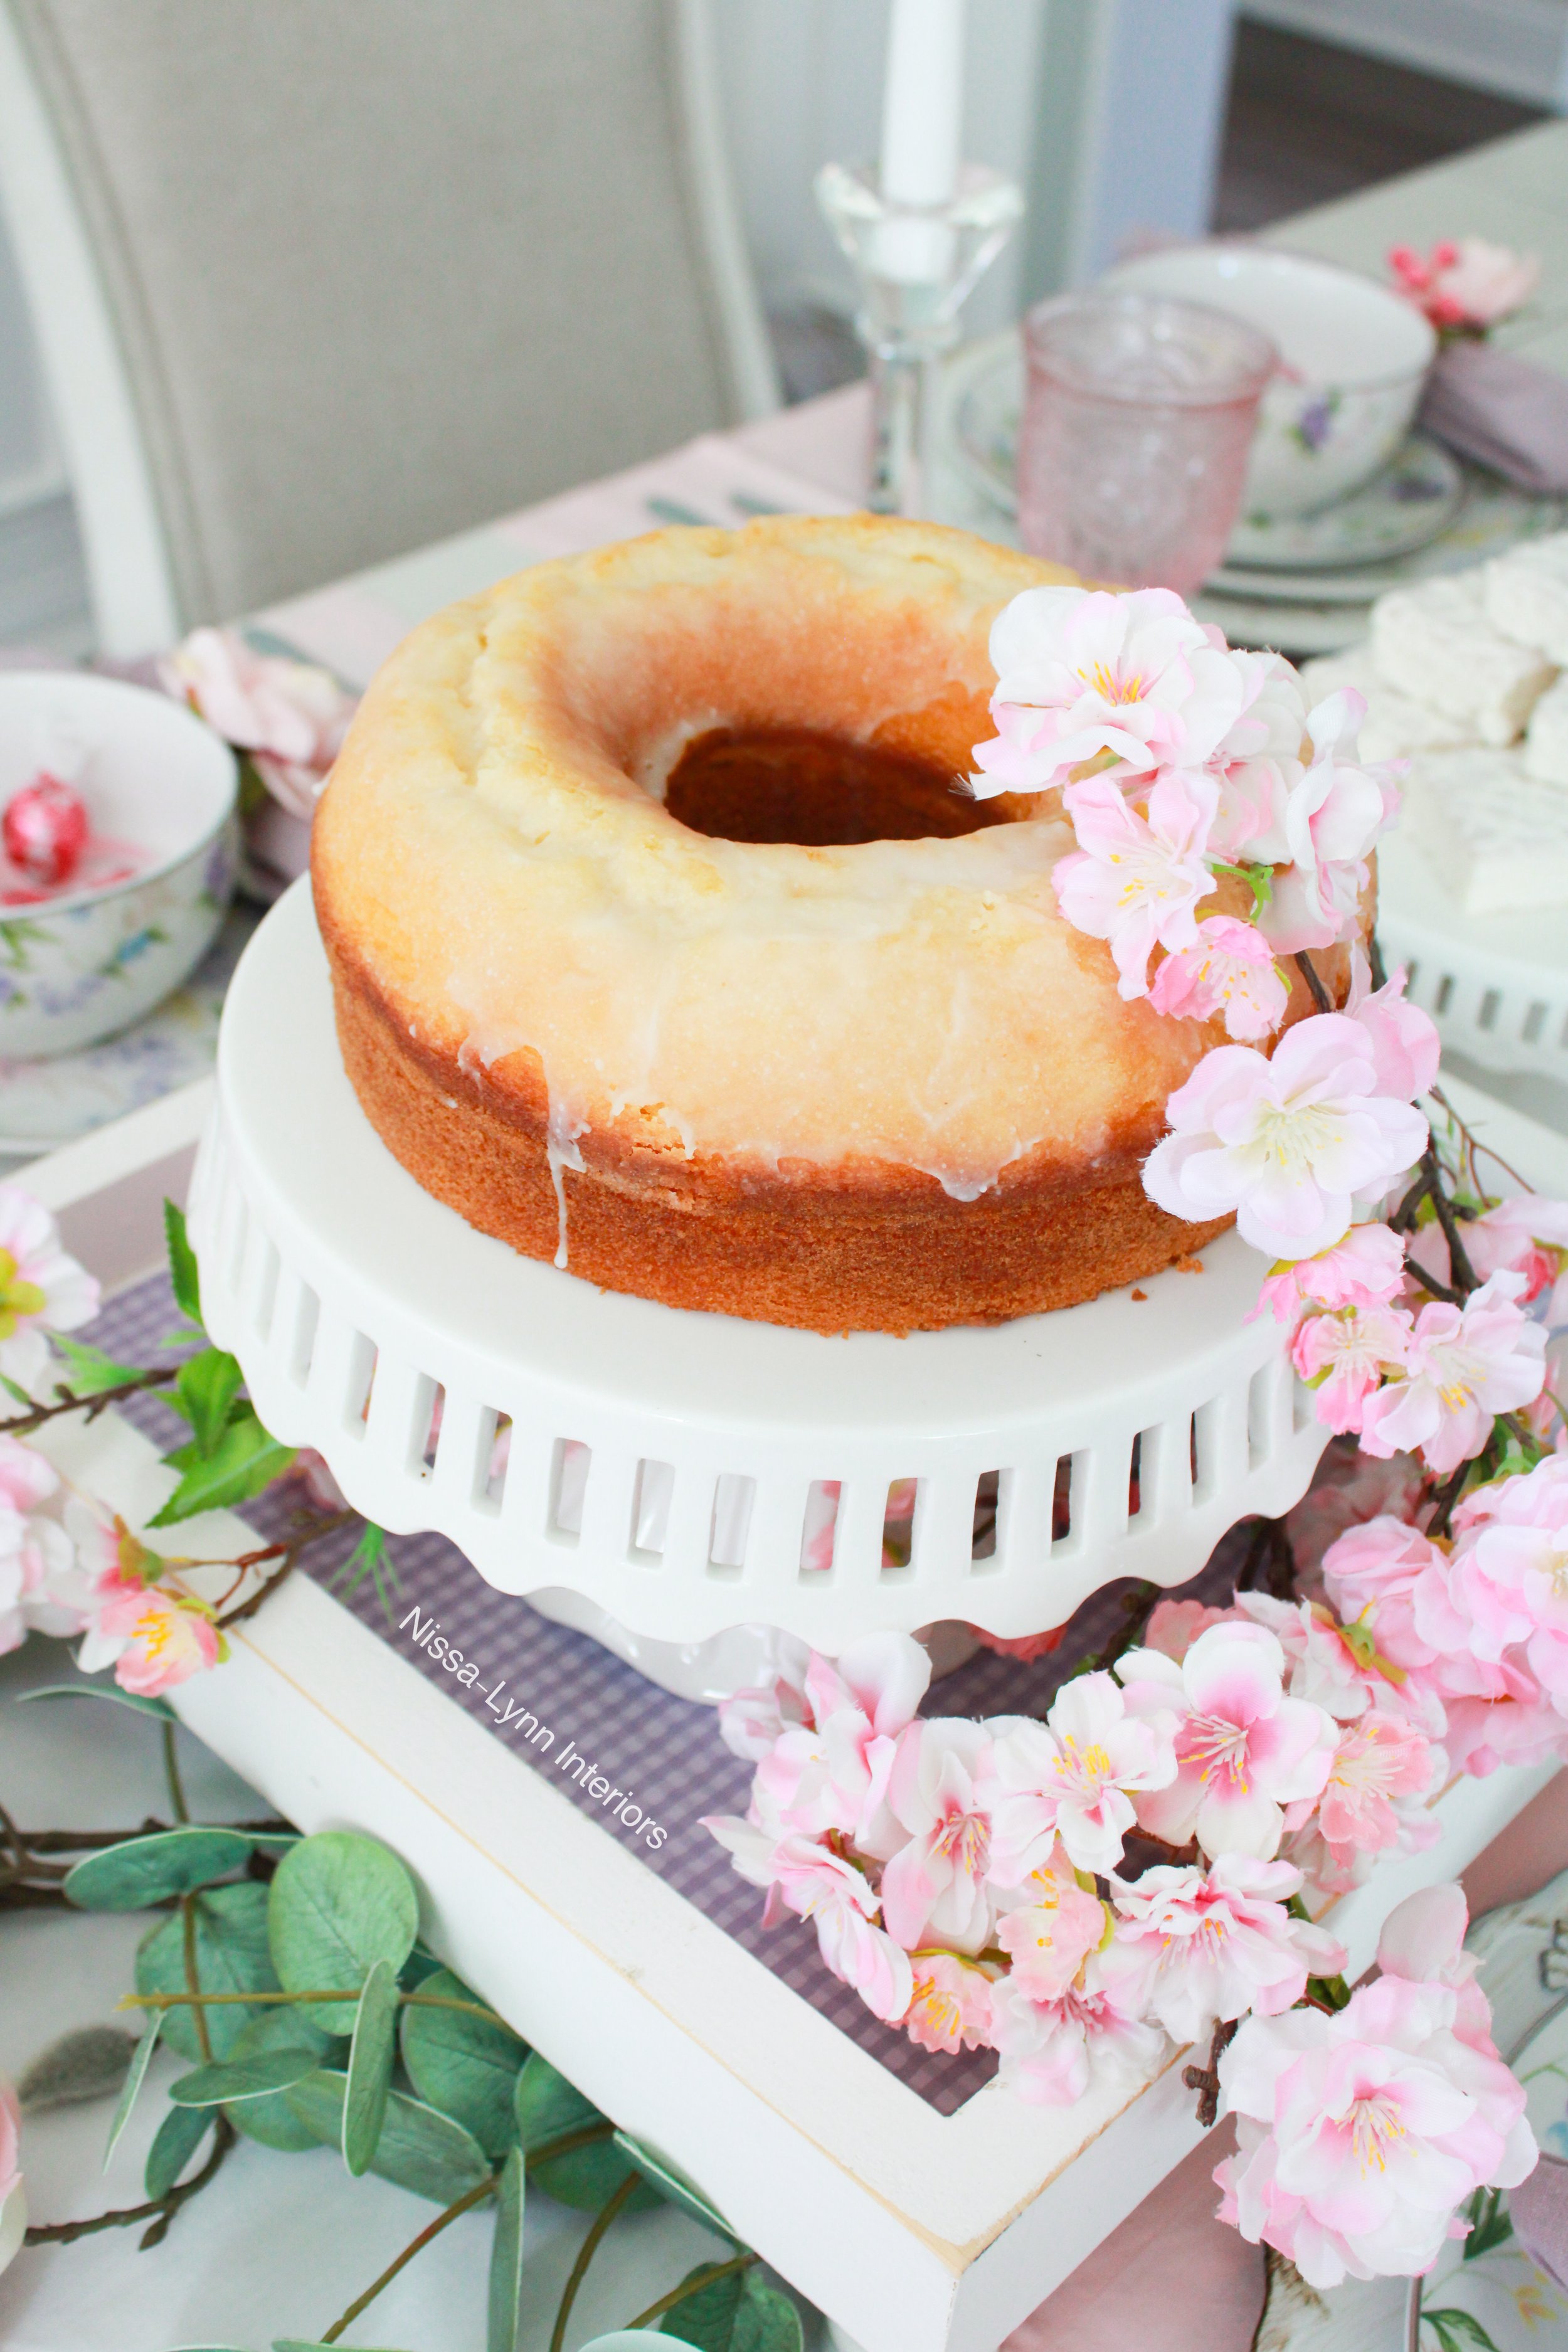
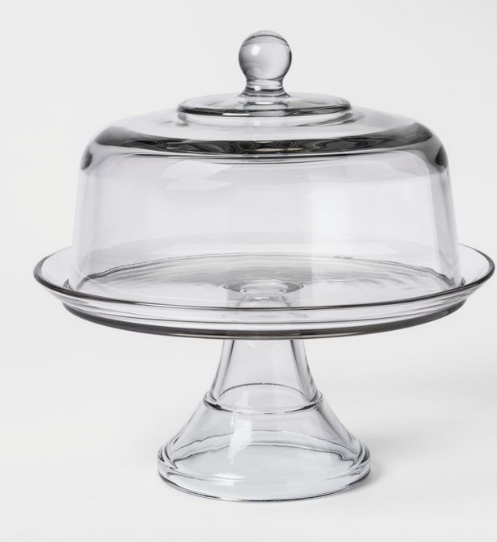
For my centerpiece I placed a sourdough glazed bunch cake on a tradition white ceramic cake stand, and placed that on top of a white wooden riser. Then I placed faux cherry blossoms on the side of the cake and had them run down one side of the riser. 

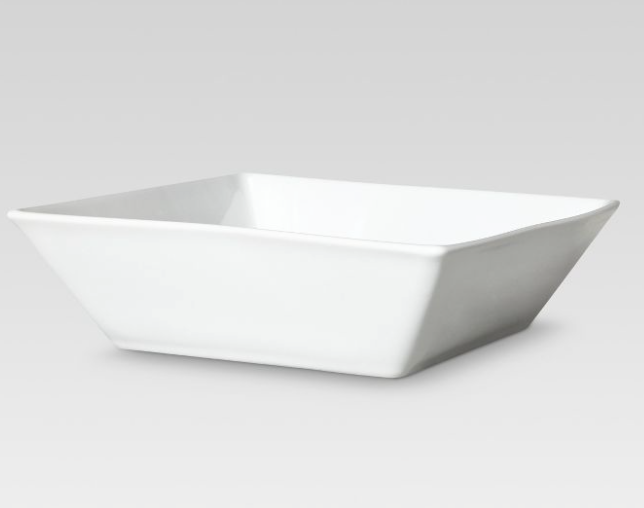
I put pink wrapped strawberry Lindt chocolates in each bowl to add some interest and a pop of color to the beaux inside of the bowl. I also added little white cakes and sugar cookies for additional treats to be enjoyed. I plan to serve finger sandwiches, cheese, crackers and traditional scones.

Happy Mother’s Day! I hope each of you have a beautiful, blessed day celebrating you!💕

For links to items in this post click here.

DIY Thanksgiving Tablescape with American Farmhouse Style Magazine (Copy)

After a nation wide search with thousands of entries, I am honored to selected one of the top four finalist for the American Farmhouse Style Magazine Ambassador contest. Below is the DIY elevated tablescape riser I built for the final project. You can view the magazine article here.

As the seasons change, fall ushers in cool crisp nights, falling leaves, pumpkin decor, cider, and cozy sweaters. 

A Time for Gratitude

Thanksgiving will soon be here and families will gather around a loved one’s kitchen or dining room table to celebrate the season of gratitude and renewed blessings. Creating a fun and festive thanksgiving tablescape is my way to welcome family and friends into my home and help make the holiday feel special.

DIY Centerpiece for the Thanksgiving Tablescape

I love to think of an empty table as a canvas, and the pieces as the paint. Creating a Thanksgiving tablescape can be a wonderful way to be creative and expressive. I always start with the centerpiece and make it the focal point of the table.

My table is just over eight feet long, so I wanted to use an extra long elevated centerpiece. But I couldn’t find one in the stores so I decided to make my own! I went to my local hardware store and bought a large board and some furniture feet.

Once home, I gathered the materials and planned out my next steps. To make this centerpiece a bit more interesting, I used a router to create a decorative edge. If you don’t have a router, or want a simpler technique, just use sandpaper to round off the corners for a smooth finished look.

Afterwards, I drilled holes in one side of the board and hammered in threaded plugs to attach the feet. With the feet attached, it was time to paint. I chose a satin white spray paint for a quick durable finish. After the paint dried I went back over it with sandpaper to create a rustic texture for my Thanksgiving tablescape.

 Creating Coziness with Decor

With the board complete, it was time to decorate the table. (My favorite part!) Going around the table I started layering the plates using a charger as a base, followed by the dinner and salad plates. By putting the largest plates down first, it gives me an idea on how much room I have to add the decorative pieces, uch as candles near the centerpiece. 

Next I place the glasses, silverware napkins with napkin holders. (There’s a wide assortment of napkin holders available.) I love to mix in florals, pumpkins, faux leaves, and sprinkle them around the Thanksgiving table to create ambiance. You could also incorporate a small charcuterie board mixed in with the decor. 

I hope these ideas spark your creativity and get you excited for the upcoming holiday season! 
It's a "Spooktackular" Halloween!

When I found out I was going to have family flying into town for Halloween, I was so excited to decorate for this holiday! Every year I’ve always just decorated my living room for Halloween, but this year I wanted to branch out and do a “spooktackular” Halloween tablescape! And I must say, I think it’s my most favorite tablescape ever!

FEEAE1CA-7F46-49D9-9BFA-50CE428298FD.jpeg

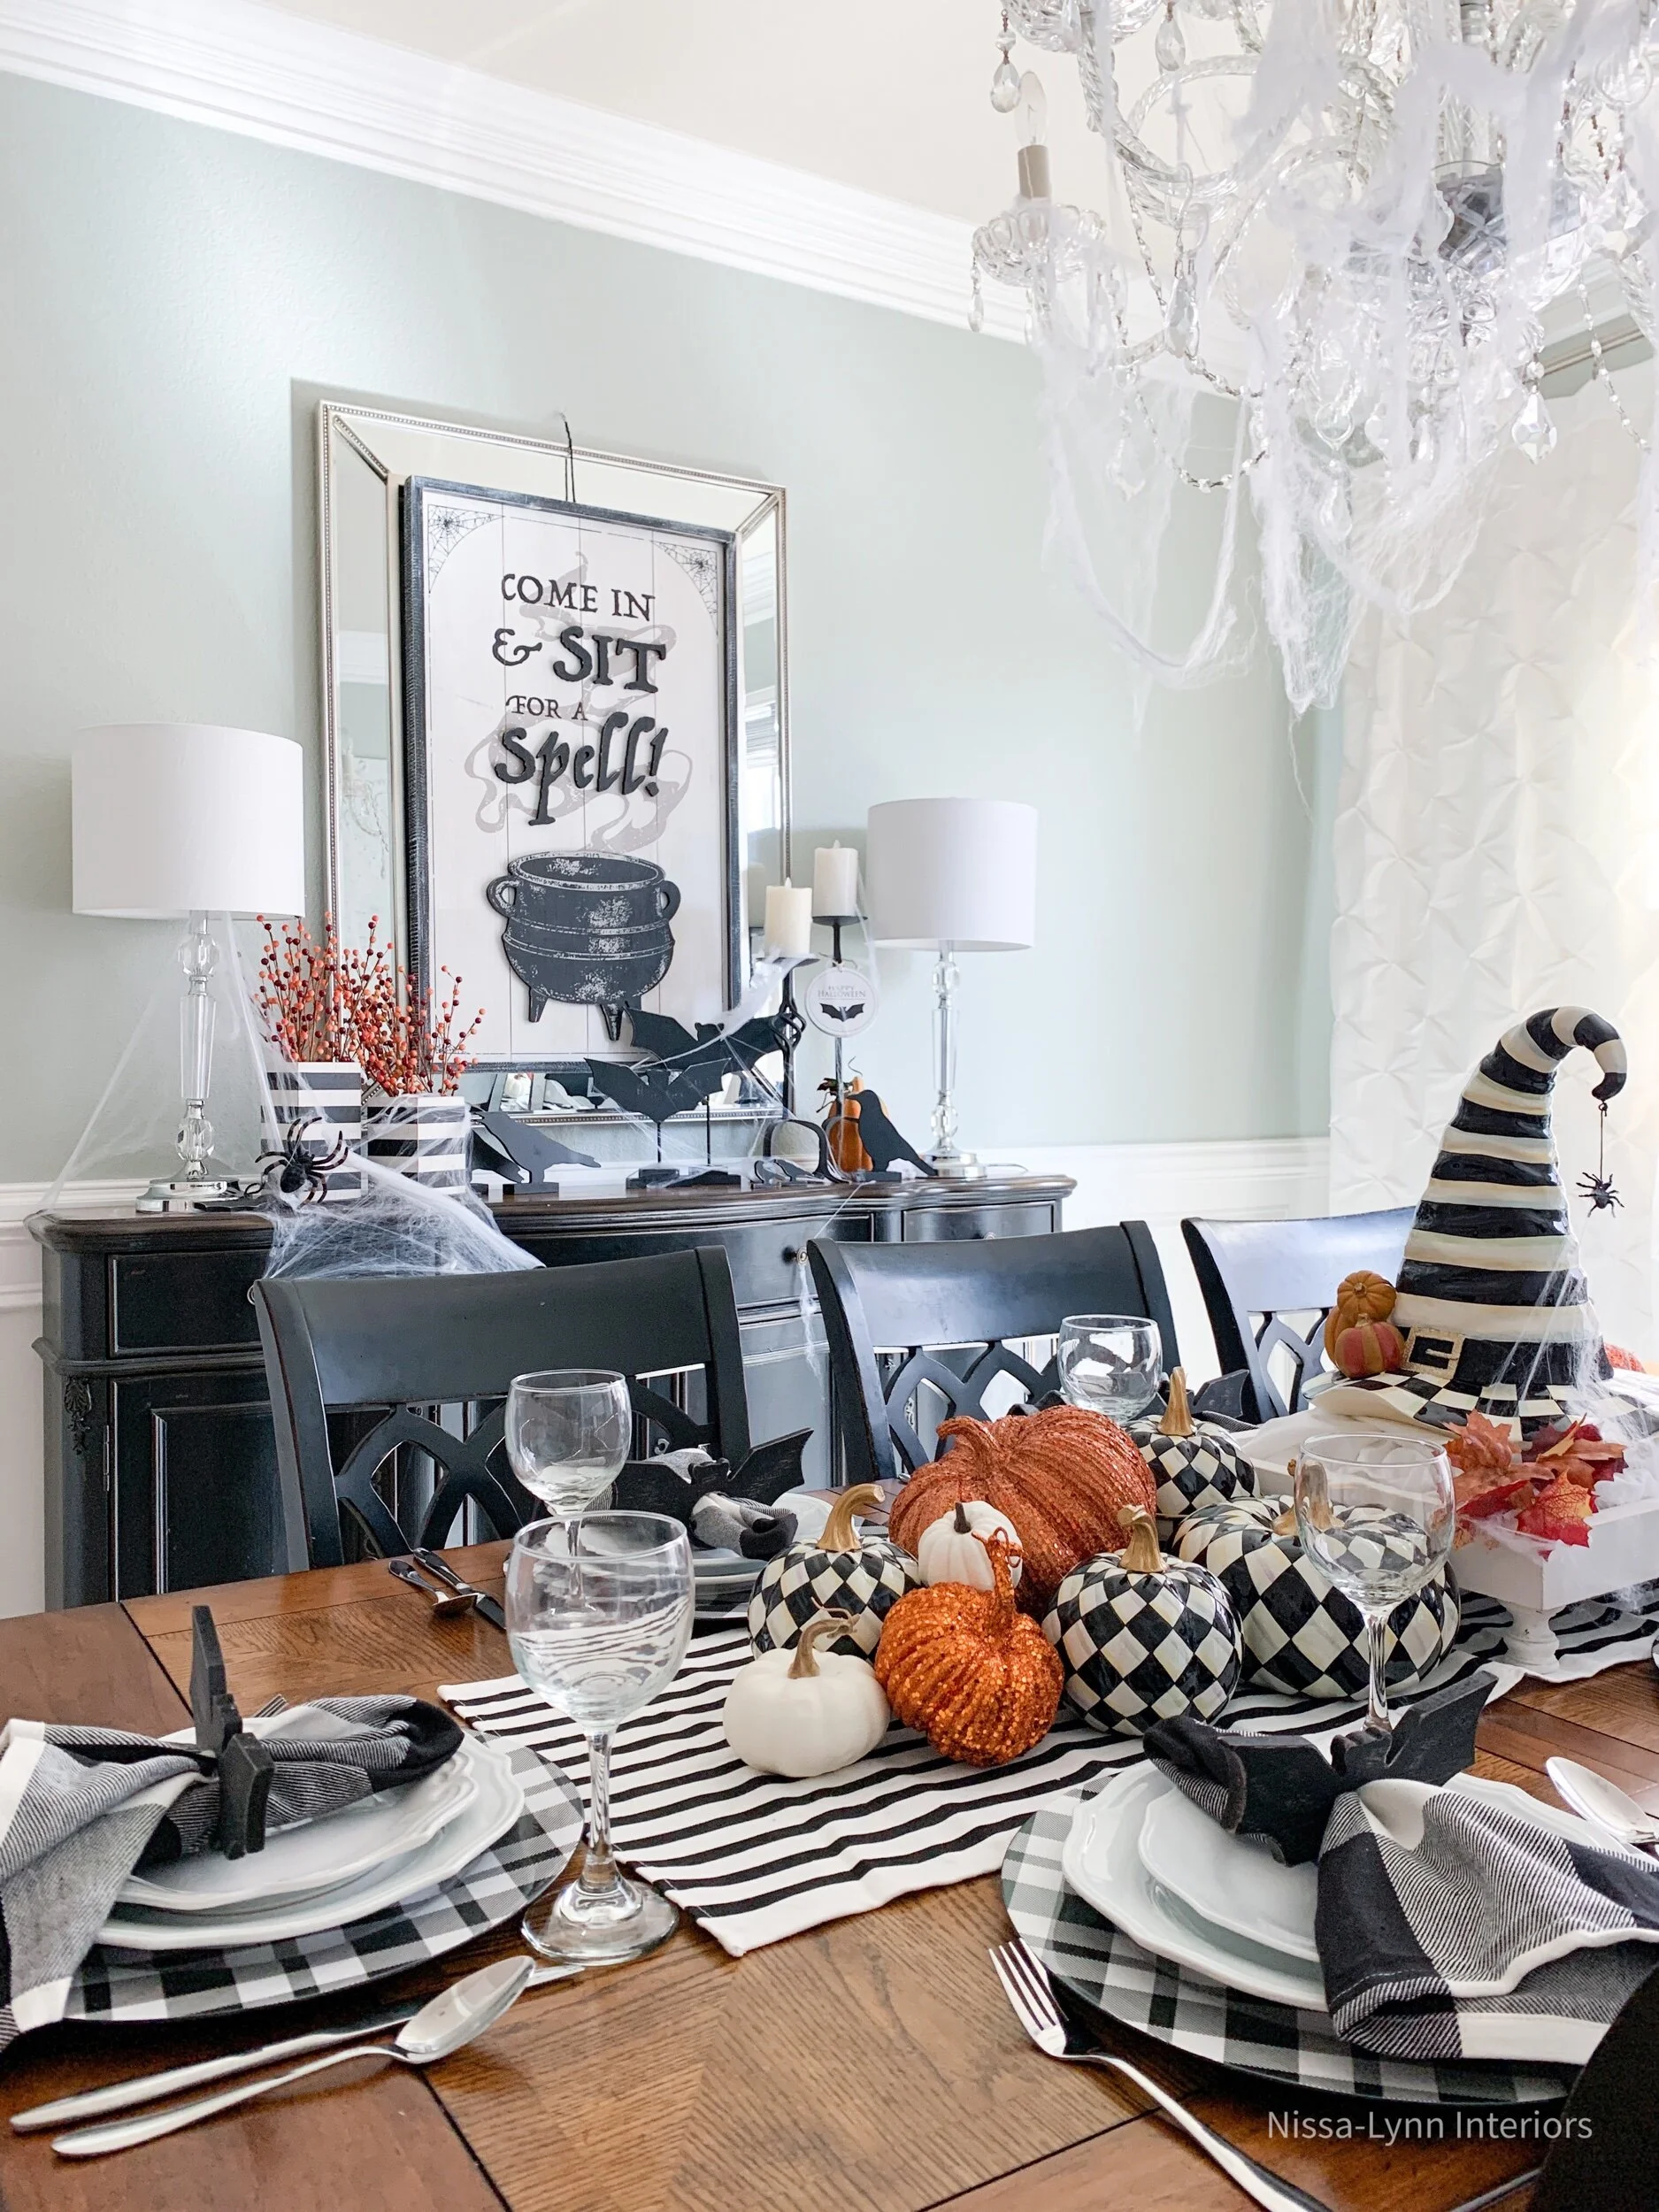
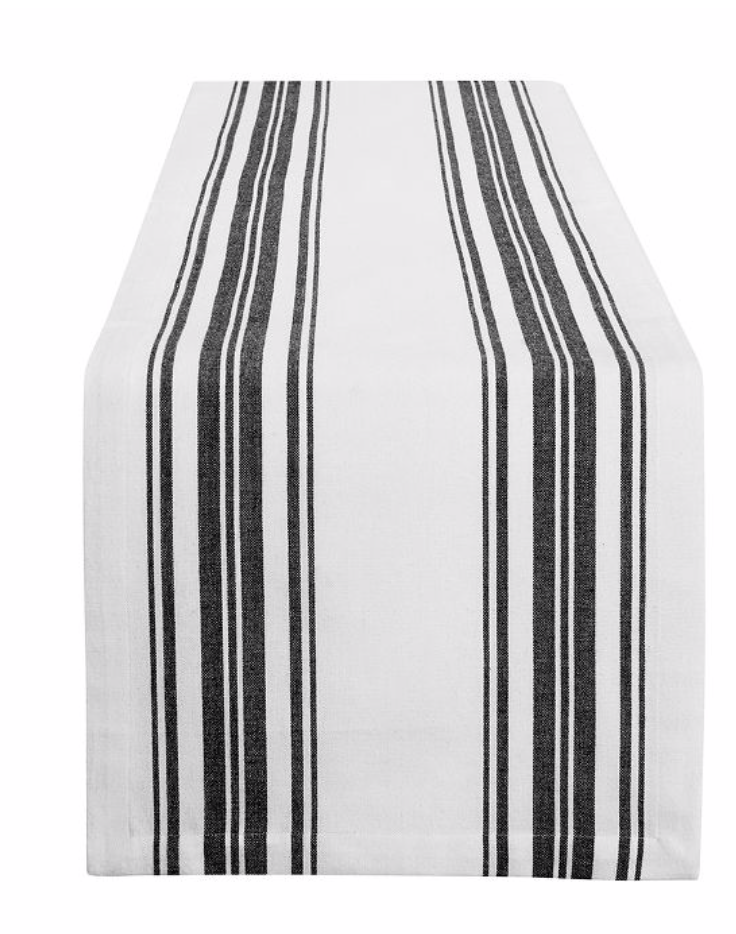
With it being halloween, I chose a black and white color scheme, and then added pops of orange. The first thing I did was pull out this black and white striped table runner from my decorating closet and put it on my table.

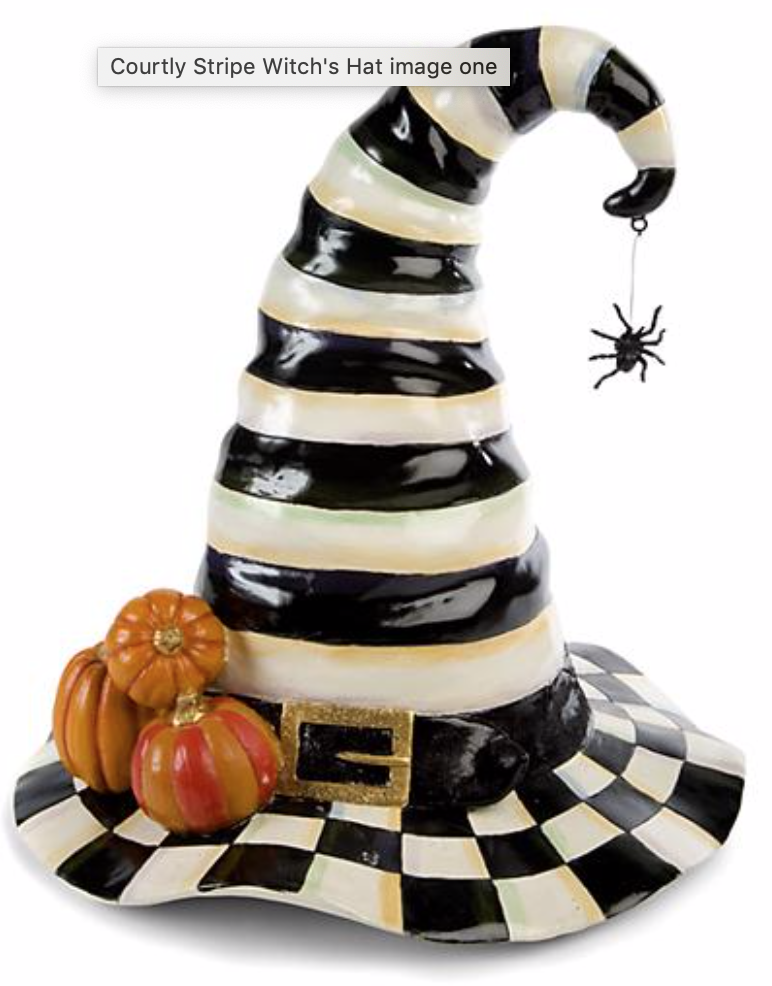
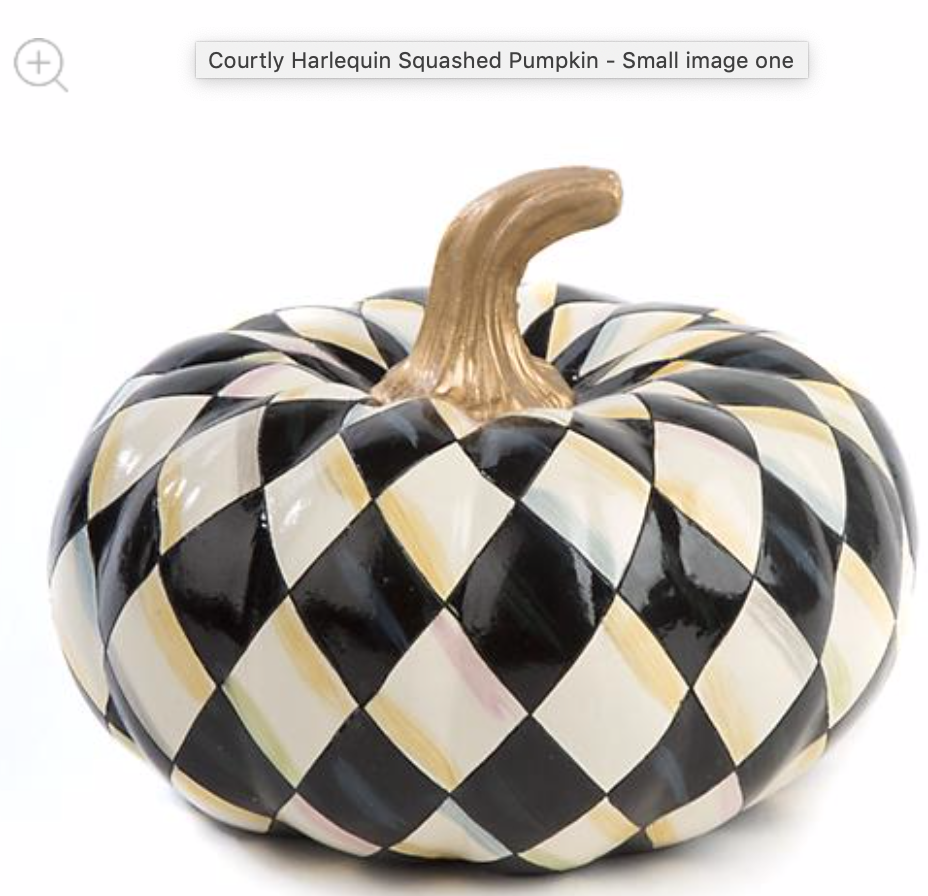
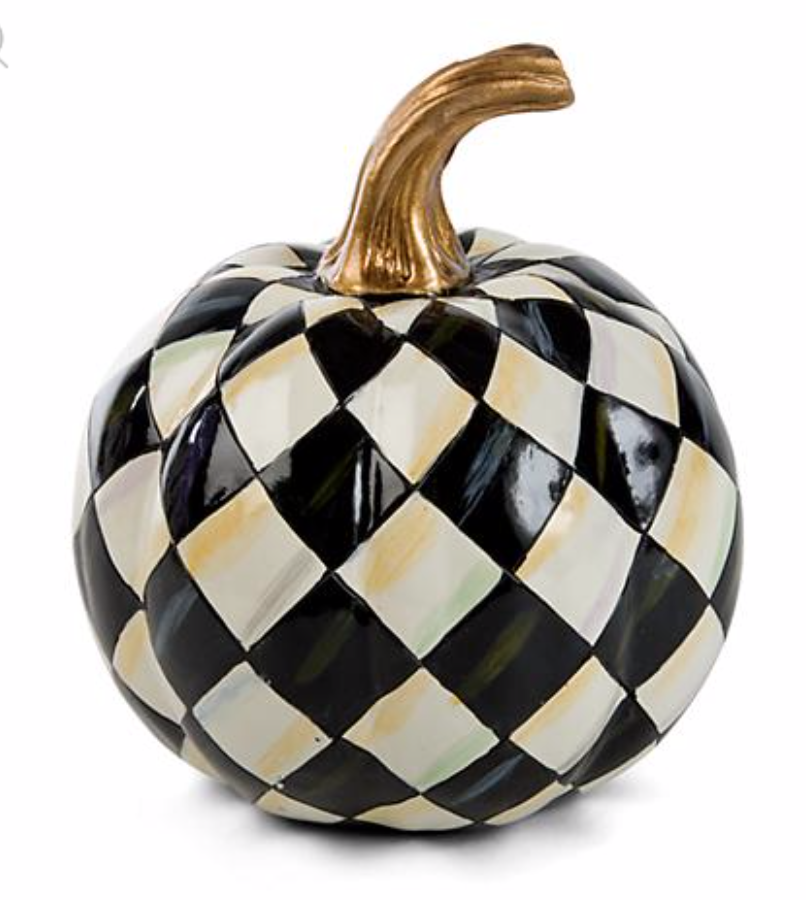
Then I was on the hunt to find some fun Halloween decor. When I saw this Mackenzie-Childs witch’s hat - I was obsessed! I knew that it had to be the center of the tablescape. After placing it on the table, I wanted the hat to stand up a little taller, so I put the hat on a white tray and then raised it a couple more inches by putting it on a couple wood boards. Then I covered the boards with fabric and fake leaves. Next I added patterned and solid colored pumpkins on either sides of the hat. (The Mackenzie-Childs Courtly Check gets me every time! I just love the black and white whimsical pattern.)

Adjustments.jpeg
89EEB7A1-FB18-4E5F-BB7E-7AF9D1B99FAD.jpeg
03C1F53E-07F4-4389-ADDD-645CC75836DB.jpeg

These glasses are from the Dollar store! Can you believe it? I only needed eight for this table setting, so I bought each glass at a dollar a piece. That was cheaper than buying 2- 6pk glasses at Walmart or Target - I checked!

Tip: When putting together a place setting, think of it as a pyramid. Start with the largest piece on bottom and layer until the smallest piece is on top. I usually start with a placemat, then a charger, dinner plate, salad plate and napkin and napkin holder to finish it off. 😊

F015D9EB-7E1A-447C-B1C8-AA6F64D1363A.jpeg
*These darling bat napkin rings and Sit for a Spell sign are from Krumpets Home Decor. Use code NISSALYNN at checkout for 10% off your entire purchase, plus free shipping on orders $25 or more.

*These darling bat napkin rings and Sit for a Spell sign are from Krumpets Home Decor. Use code NISSALYNN at checkout for 10% off your entire purchase, plus free shipping on orders $25 or more.

FC7DBFD1-FB37-47D9-88F8-41A4037C7160.jpeg
1B511797-FB43-4B02-9330-F5ACC9ECCB3D.jpeg
I wanted to throw this photo in for fun. This is my Halloween decorated living room.

I wanted to throw this photo in for fun. This is my Halloween decorated living room.

I hope you have an amazing Halloween! I hope it’s a day filled with fun and laughter.

You can easily shop my Halloween tablescape by clicking on the products photos below.

A Southern Graduation Celebration Part 2

Hello! If you saw my last post, you saw the fun tablescape I did for my daughter’s graduation party. Here’s all the info on the lunch buffet we held to honor our graduate!

upclose buffet pic copy.jpg

For starters, we carried on the same rustic and sunflower theme as we did with the graduation tablescape. (We used sunflowers because it’s her favorite flower.) Kay-Lynn’s school colors are red, navy and white, so I decided to incorporate touches of red throughout the decor by placing red ribbons around vases and making a red fabric garland banner. To make the garland, I took a piece of strong twine and tied it securley to each end of the front of the credenza. Then I cut up strips of the gingham fabric about 15 inches long. I also cut the white ribbon 15 inches long. (I used white ribbon because I couldn’t find a bright white fabric that I liked.) Then I just looped the ribbon over the twine and pulled it through - making sure the knot side was always showing towards me.

My little ones got to the candy before I took the photos! Hence, the half filled candy bowls.

My little ones got to the candy before I took the photos! Hence, the half filled candy bowls.

The graduation was in the afternoon so we had a late lunch. We had chicken salad sandwiches with croissants, fresh fruit, and chips. We also had dessert made of delicious custom made sugar cookies, cupcakes and a lemon Nothing Bundt Cake. (It’s Kay-Lynn’s favorite cake.) To save money, and instead of ordering the graduation topper through Nothing Bundt cakes, I decided to decorate the cake myself. I incorporated fresh sunflowers and baby’s breath, topped with a sparkly Class of 2020 cake topper. I also added in a few graduation cap and diploma cut outs that I bought from Hobby Lobby.

cake.jpg
graddinner15.jpg
We picked up the croissants from Costco. The deal around on lots of croissants.

We picked up the croissants from Costco. The deal around on lots of croissants.

gradpost6.jpg

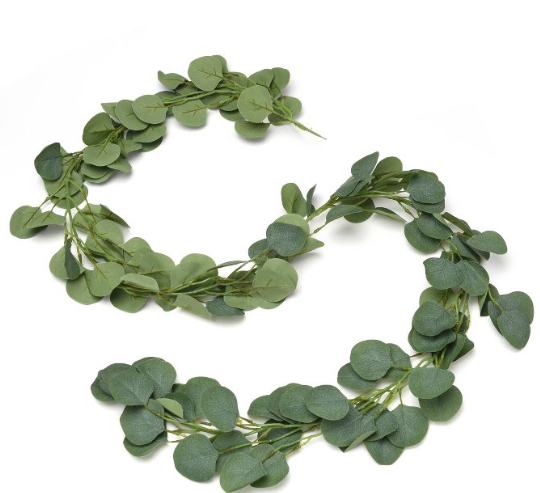
My husband and I designed the sign together. We made it with inspiration from a logo we made for a North Texas Church Prom we were in charge of a couple years back. We had the sign printed at Office Depot in a 24’x30’ size. We then used spay adhesive and attached it foam core to give it a sturdy backing. The backdrop my husband Justin made from a piece of bead board we had in the garage. We then added a shiplap peel and stick wall paper to give it the look of wood paneling. I added the eucalptus garland to the left side with faux sunflowers popping out. To be honest, I wish I had used more garland as to cover the entire left side of the board to give it a more dramatic look.

graddinner22.jpg
Would you believe it? I bought these yummy cupcakes at Walmart! You can find these 2020 toppers here.

Would you believe it? I bought these yummy cupcakes at Walmart! You can find these 2020 toppers here.

graddinner19.jpg
graddinner171.jpg

We definably had to have Coca-Cola, as it’s Kay-Lynn’s favorite drink! I wanted to use Coke in glass bottles, but everywhere I went they didn’t carry it or they were sold out. It was only after the party I found some vintage bottles of Coke in stock at Costco. They would have looked awesome!

Her’s a photo of my daughter graduation cap. It’s tradidion here in North Texas to decorate your cap. Her hat said:

God made, Jesus saved, Texas raised.

thumbnail.jpeg

Hail the conquering Graduate!

Thanks for stopping by and checking out my daughter’s graduation celebration! Check out the previous post for all the decorating details about the table decorations. Hope you enjoyed this that it will inspire you and give you ideas!
You can shop the products in this post by clicking on the images below.