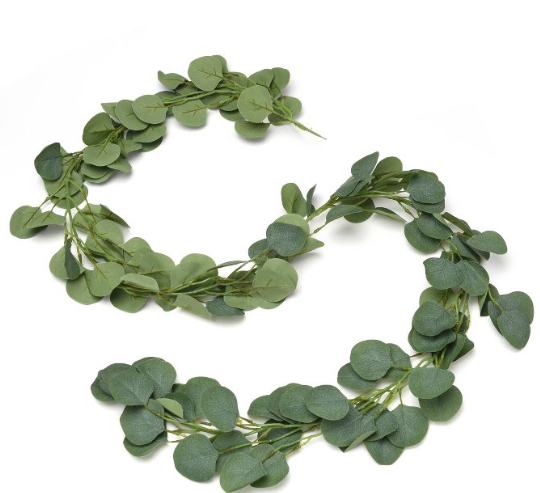
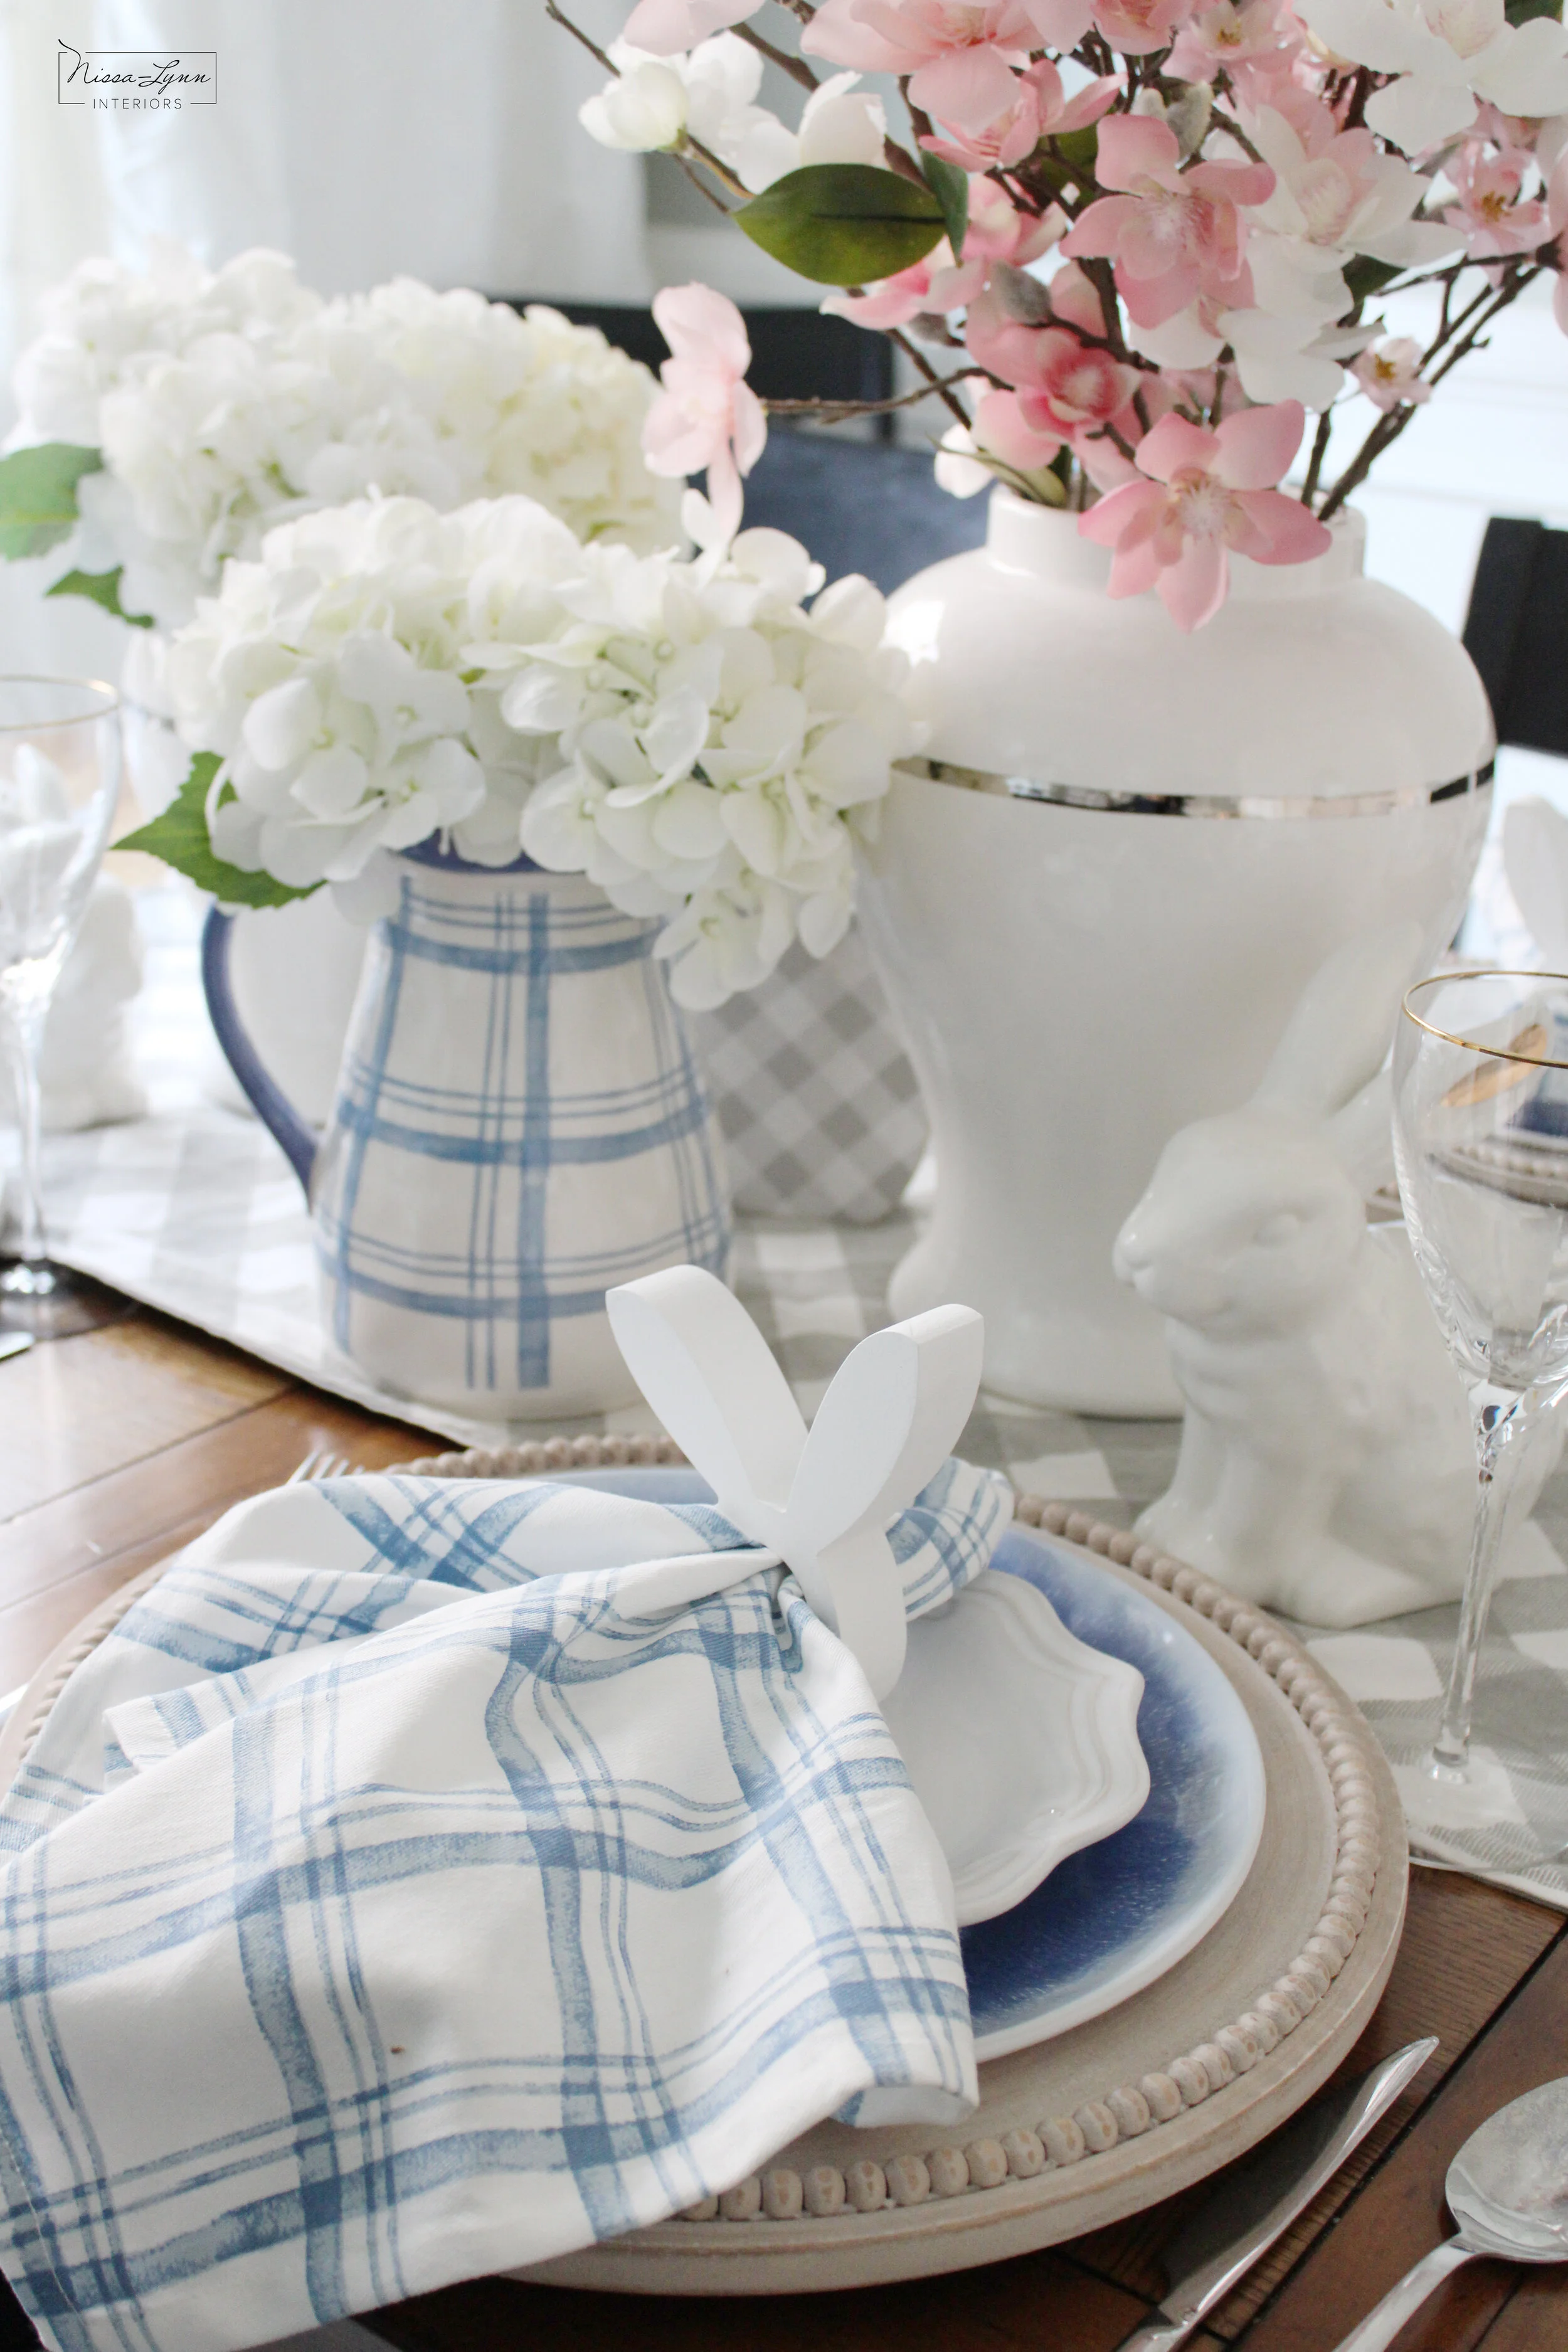
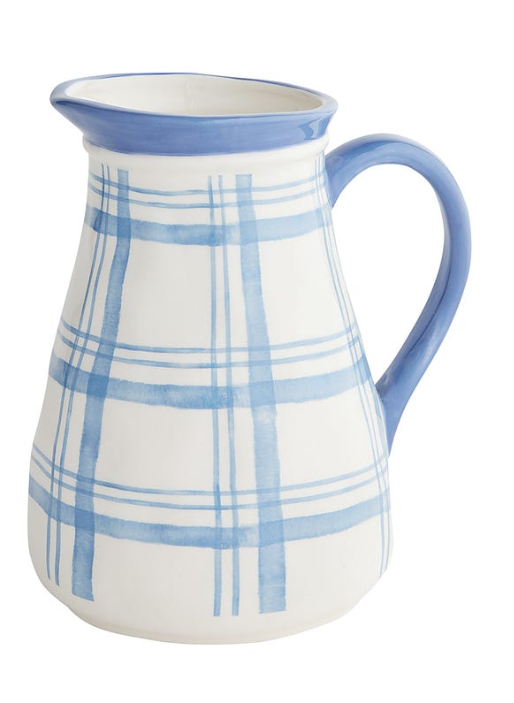
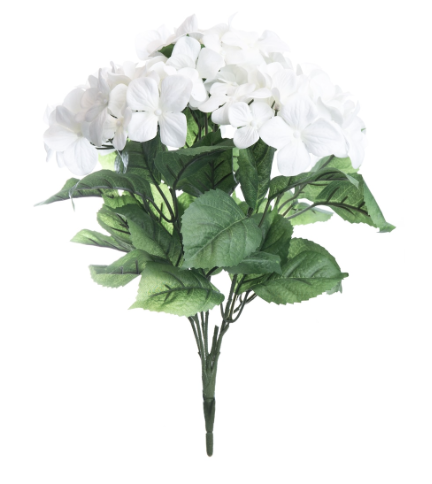
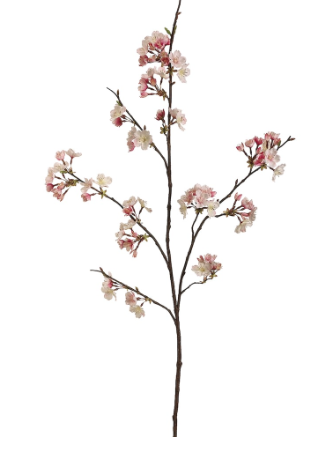
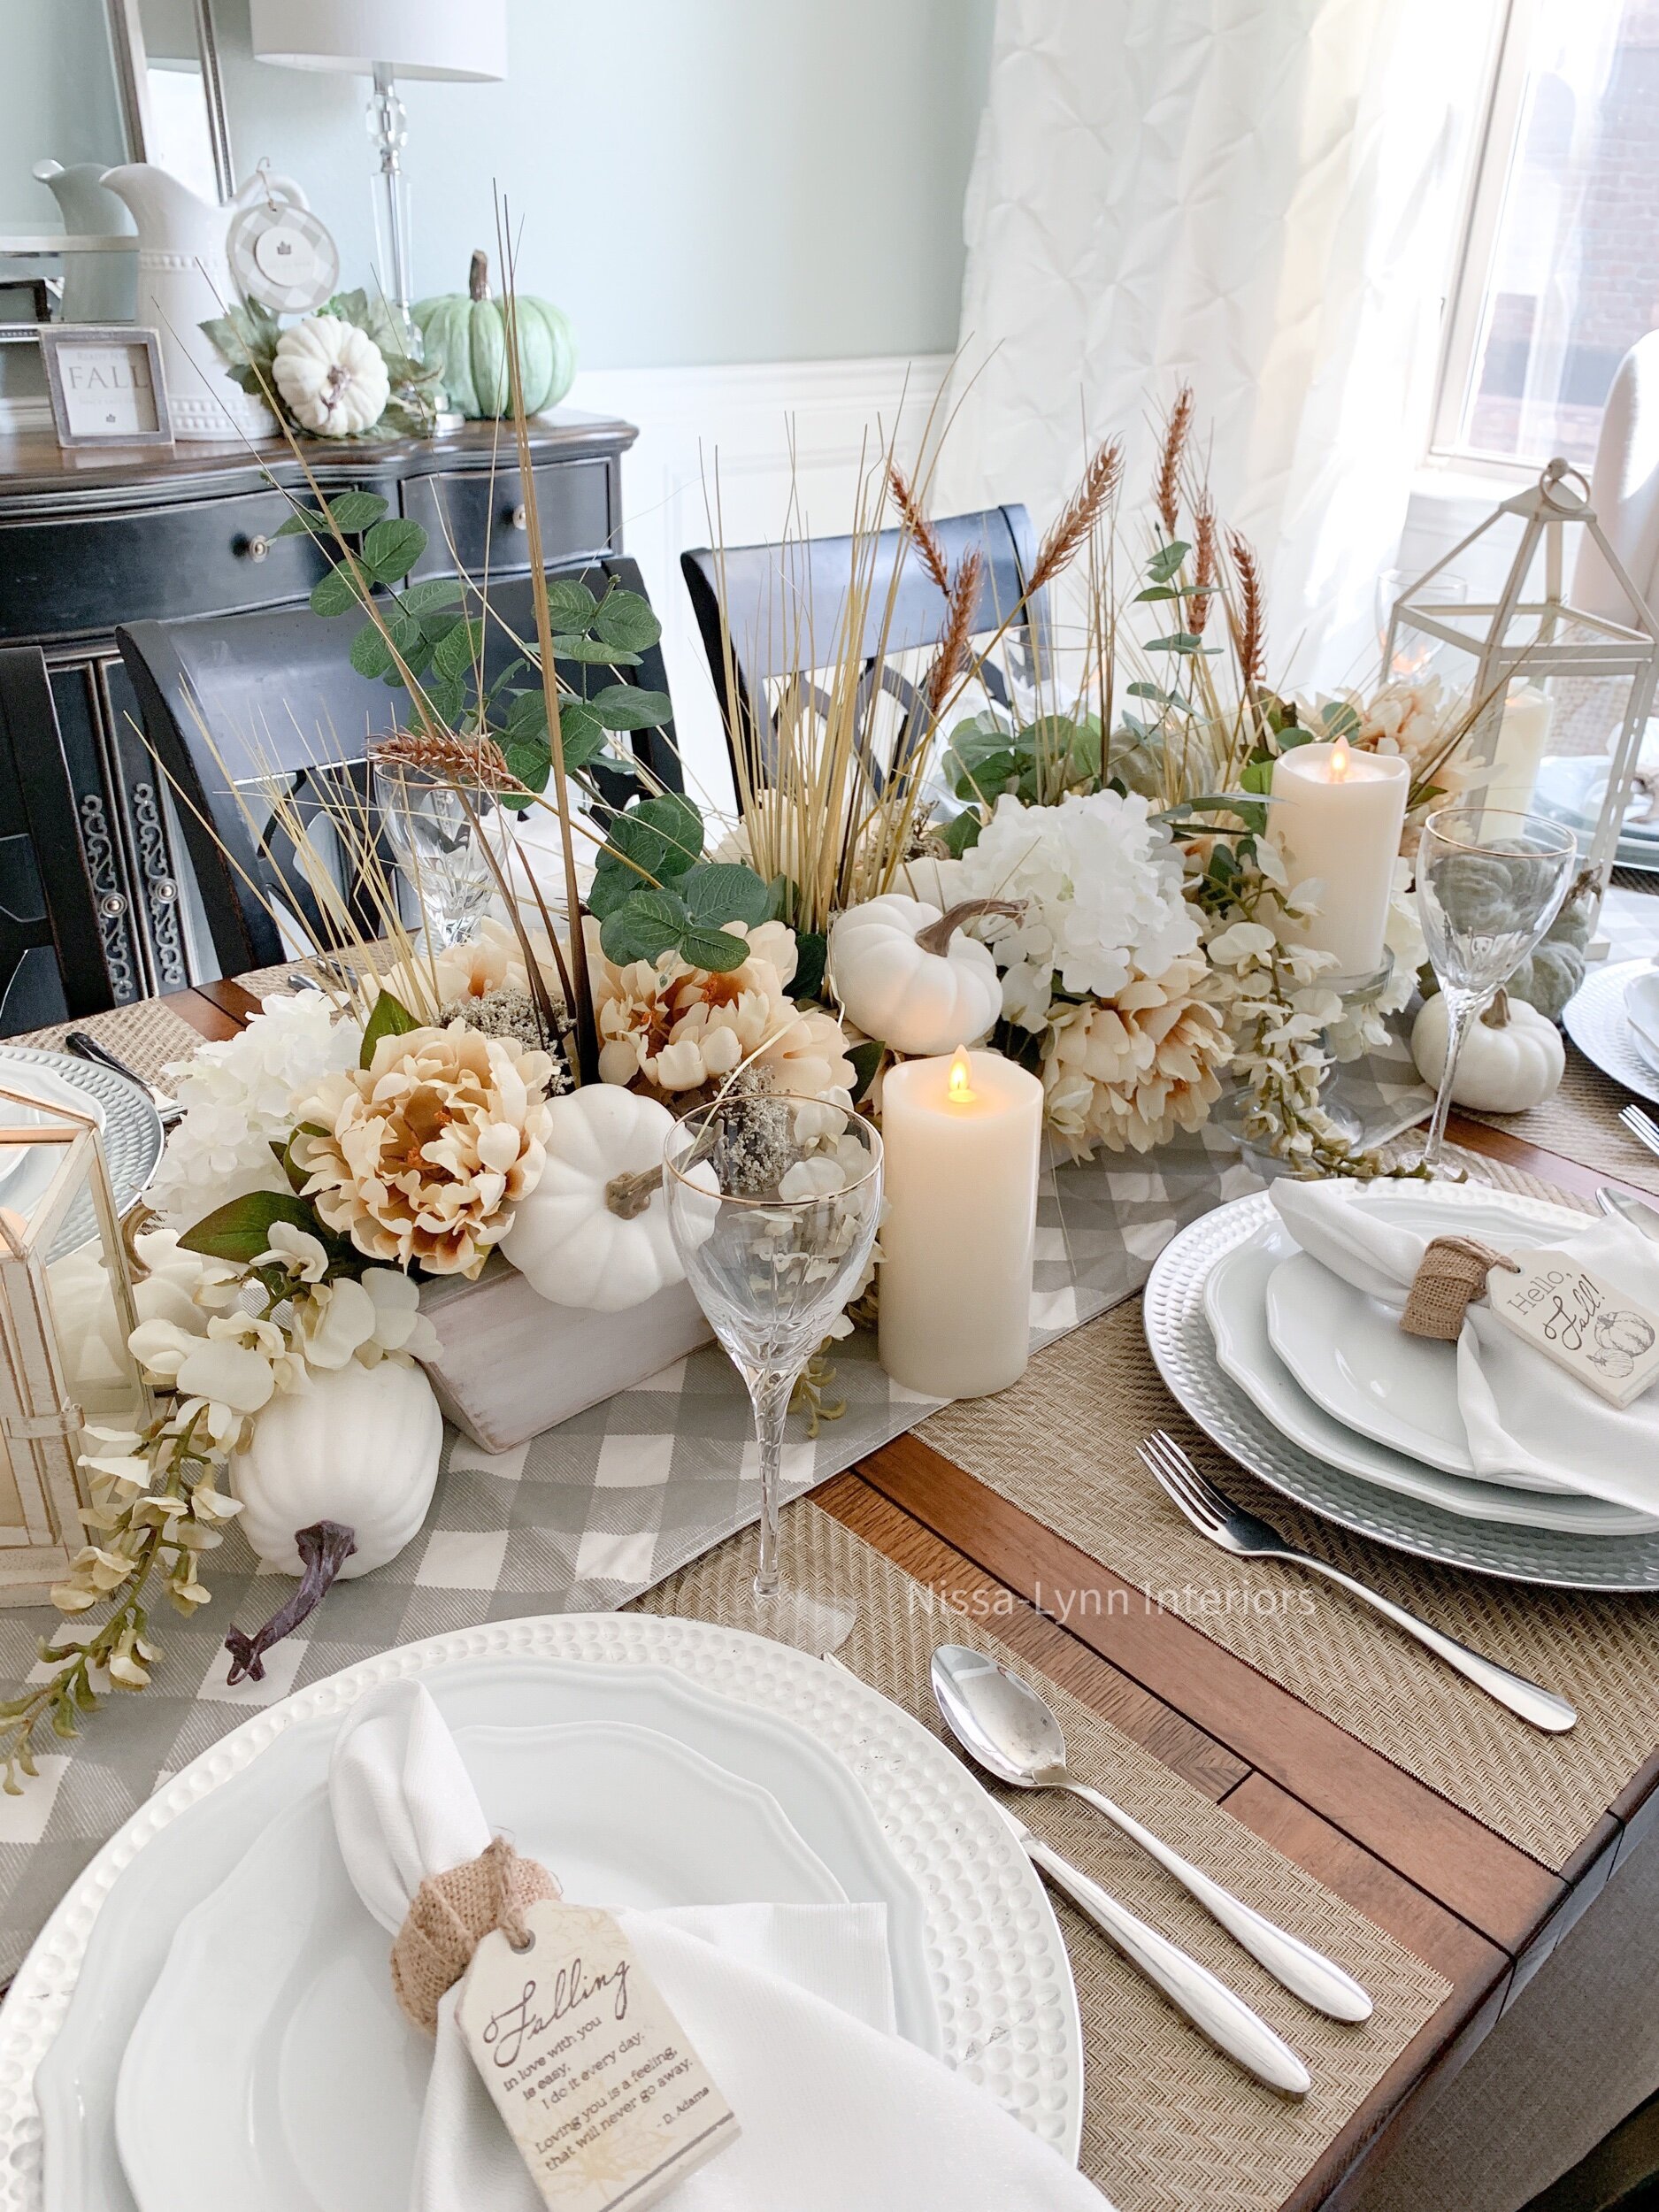
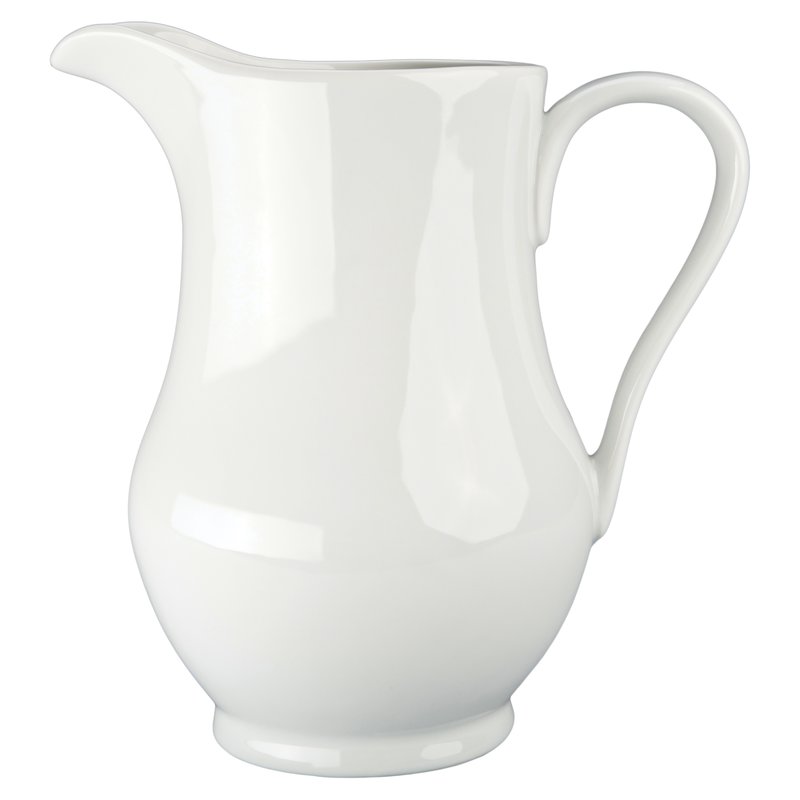
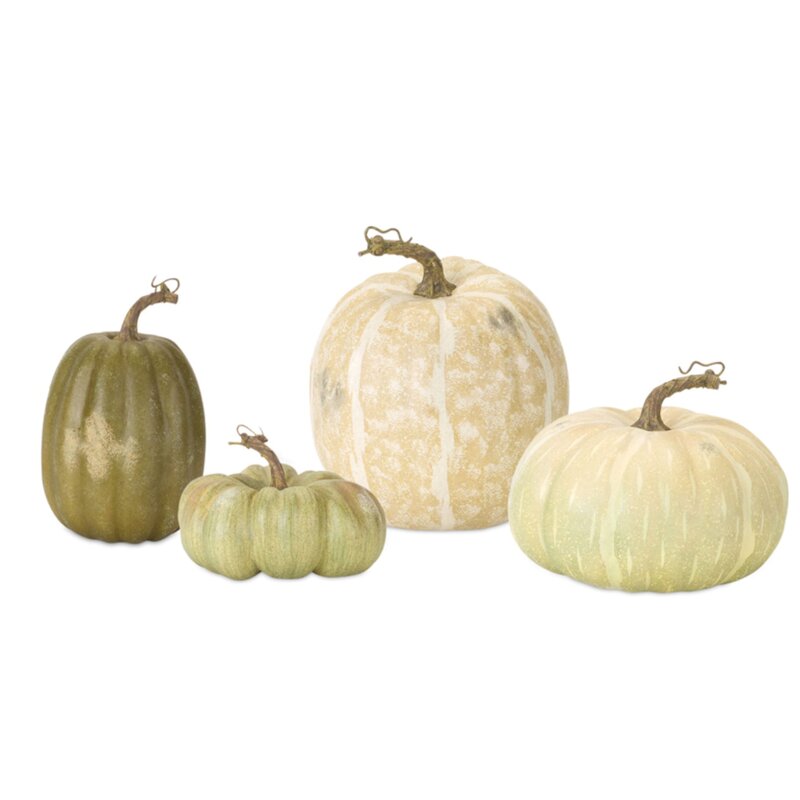
To me spring time is all about flowers! I love to be surrounded by the beauty of flowers, but would rather not spend money constantly buying real ones. So I turn to faux florals! They never wilt or die, and always look fresh! I always buy faux florals at Michael’s craft store because of the quality in the texture and colors. You can place them in a white ceramic pitcher, a galvanized pot, or traditional glass vase - the decorating possibles are endless! Definitely my go to for Spring Décor!
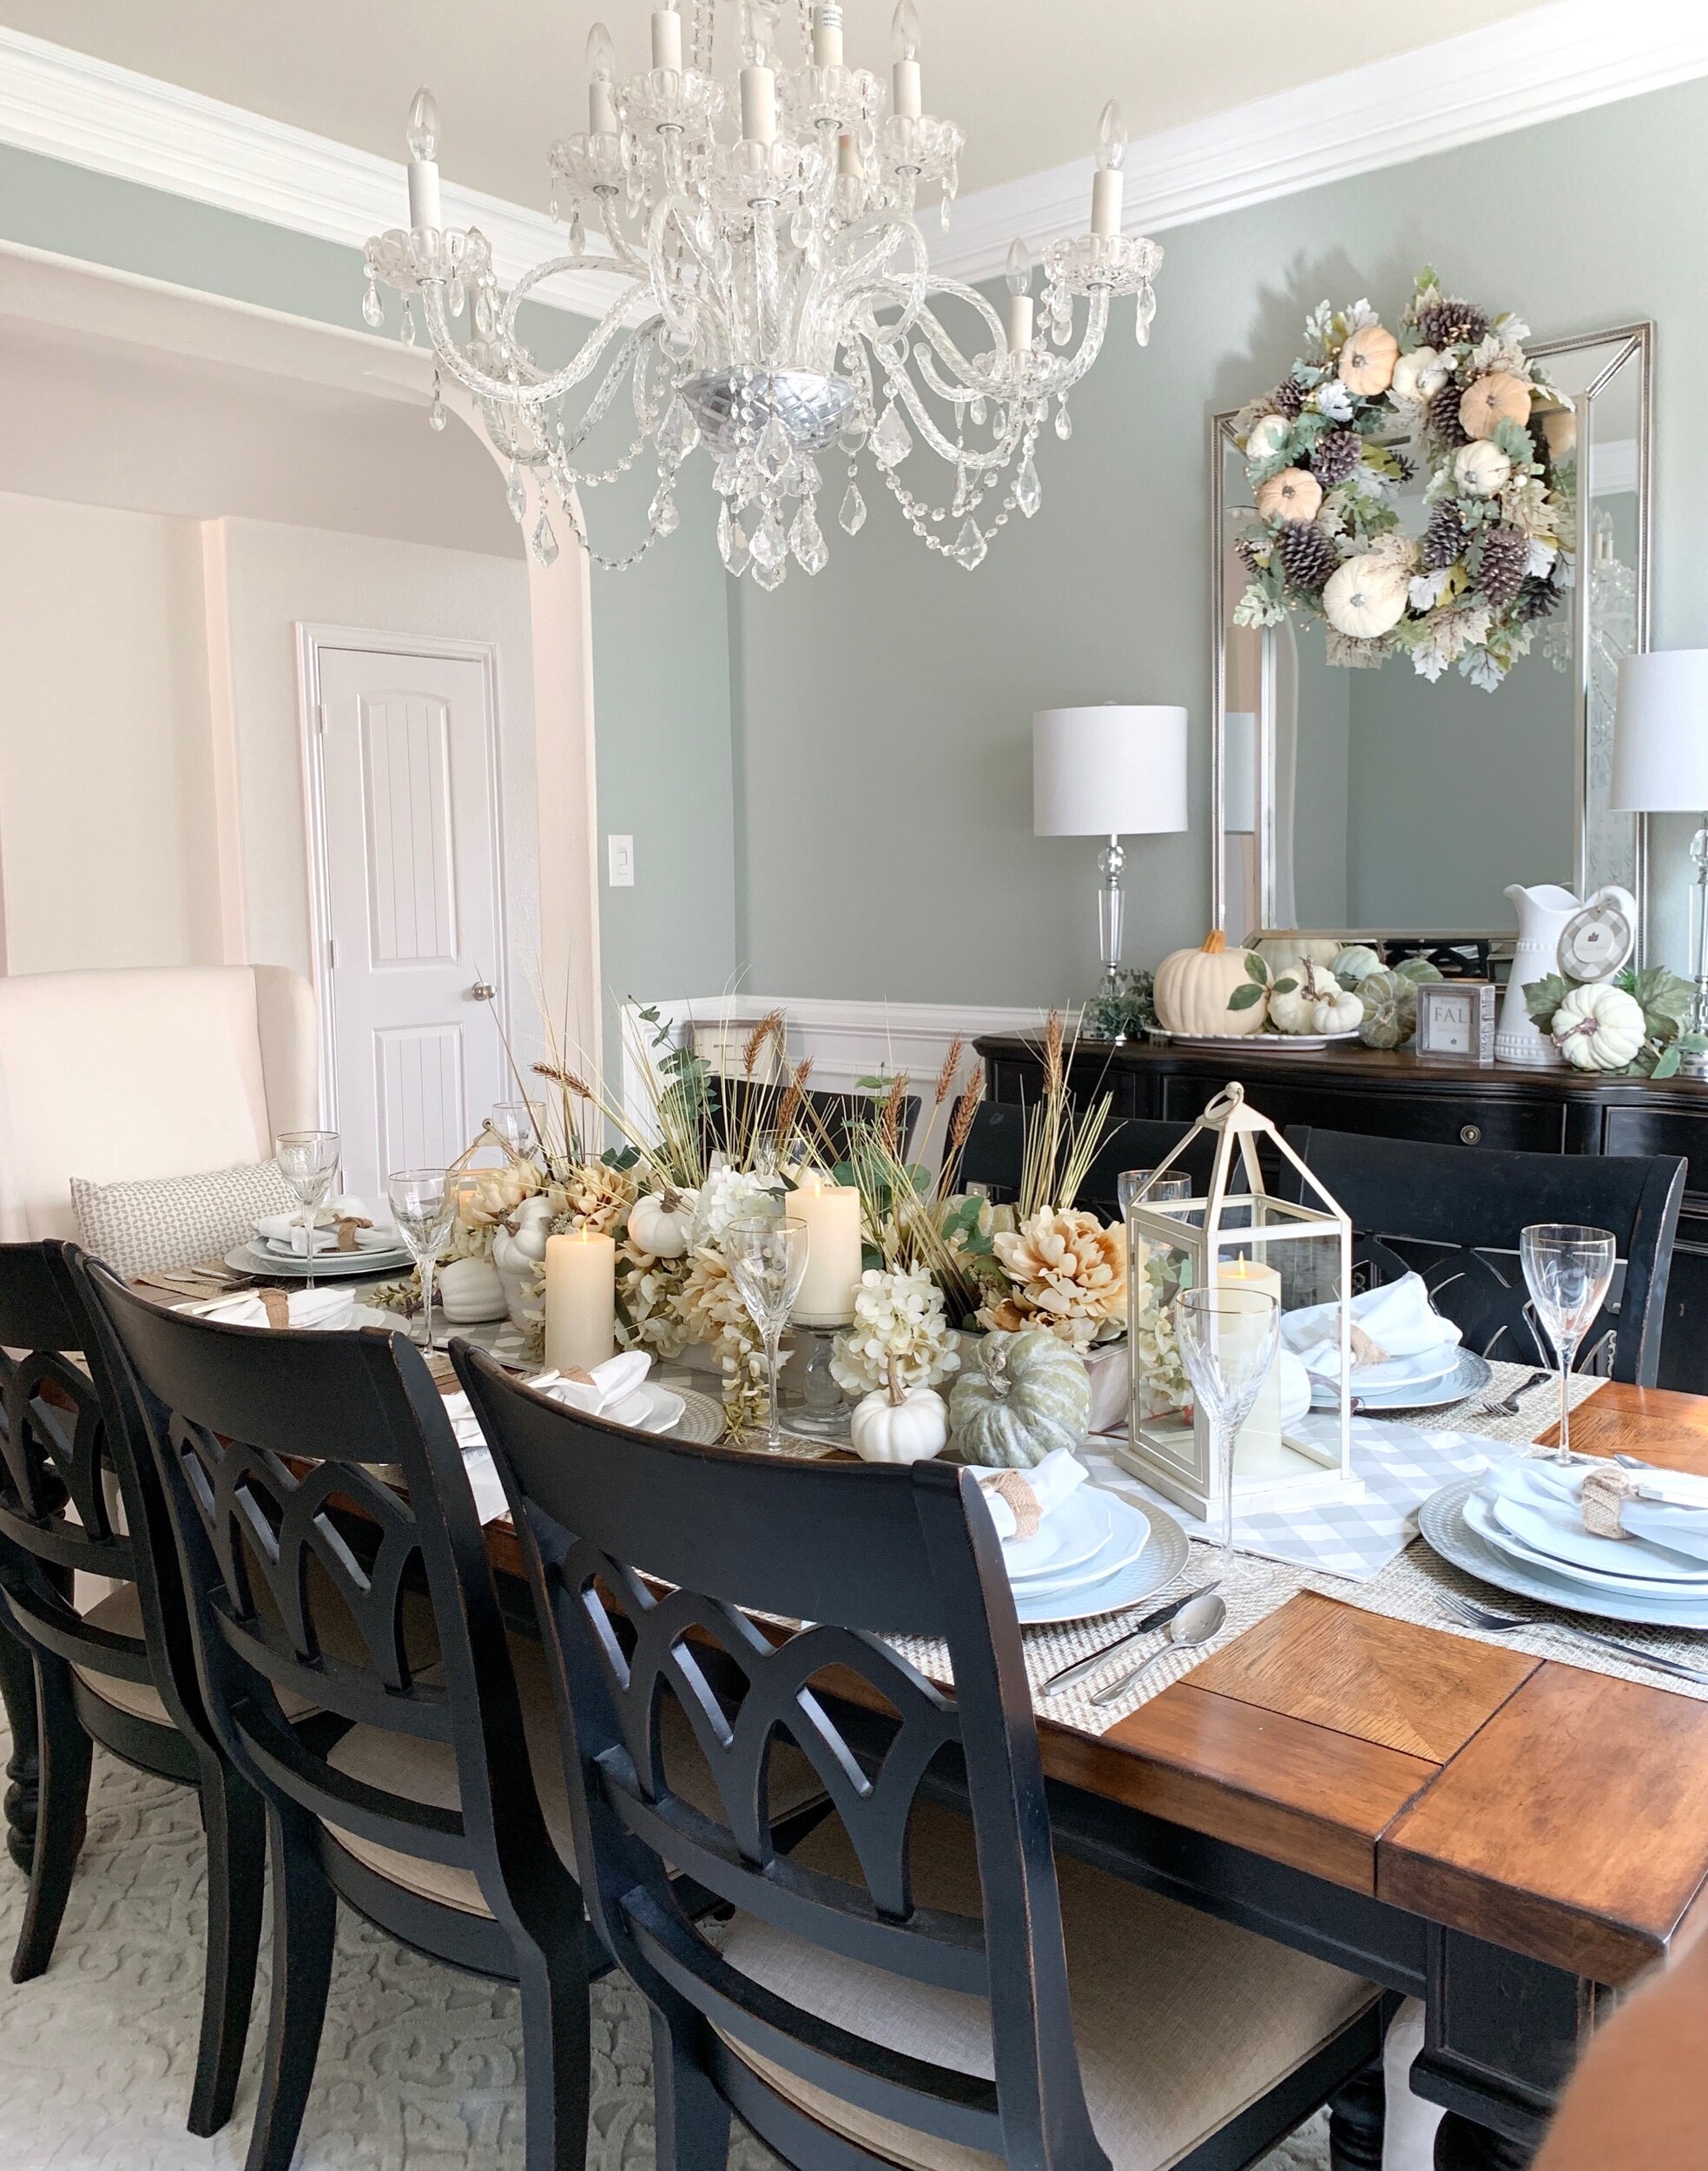
Every year I choose a color pallet for Easter table. Last year it was peach with touches of aquas. This year I wanted to devote the entire tablescape to pinks and whites.

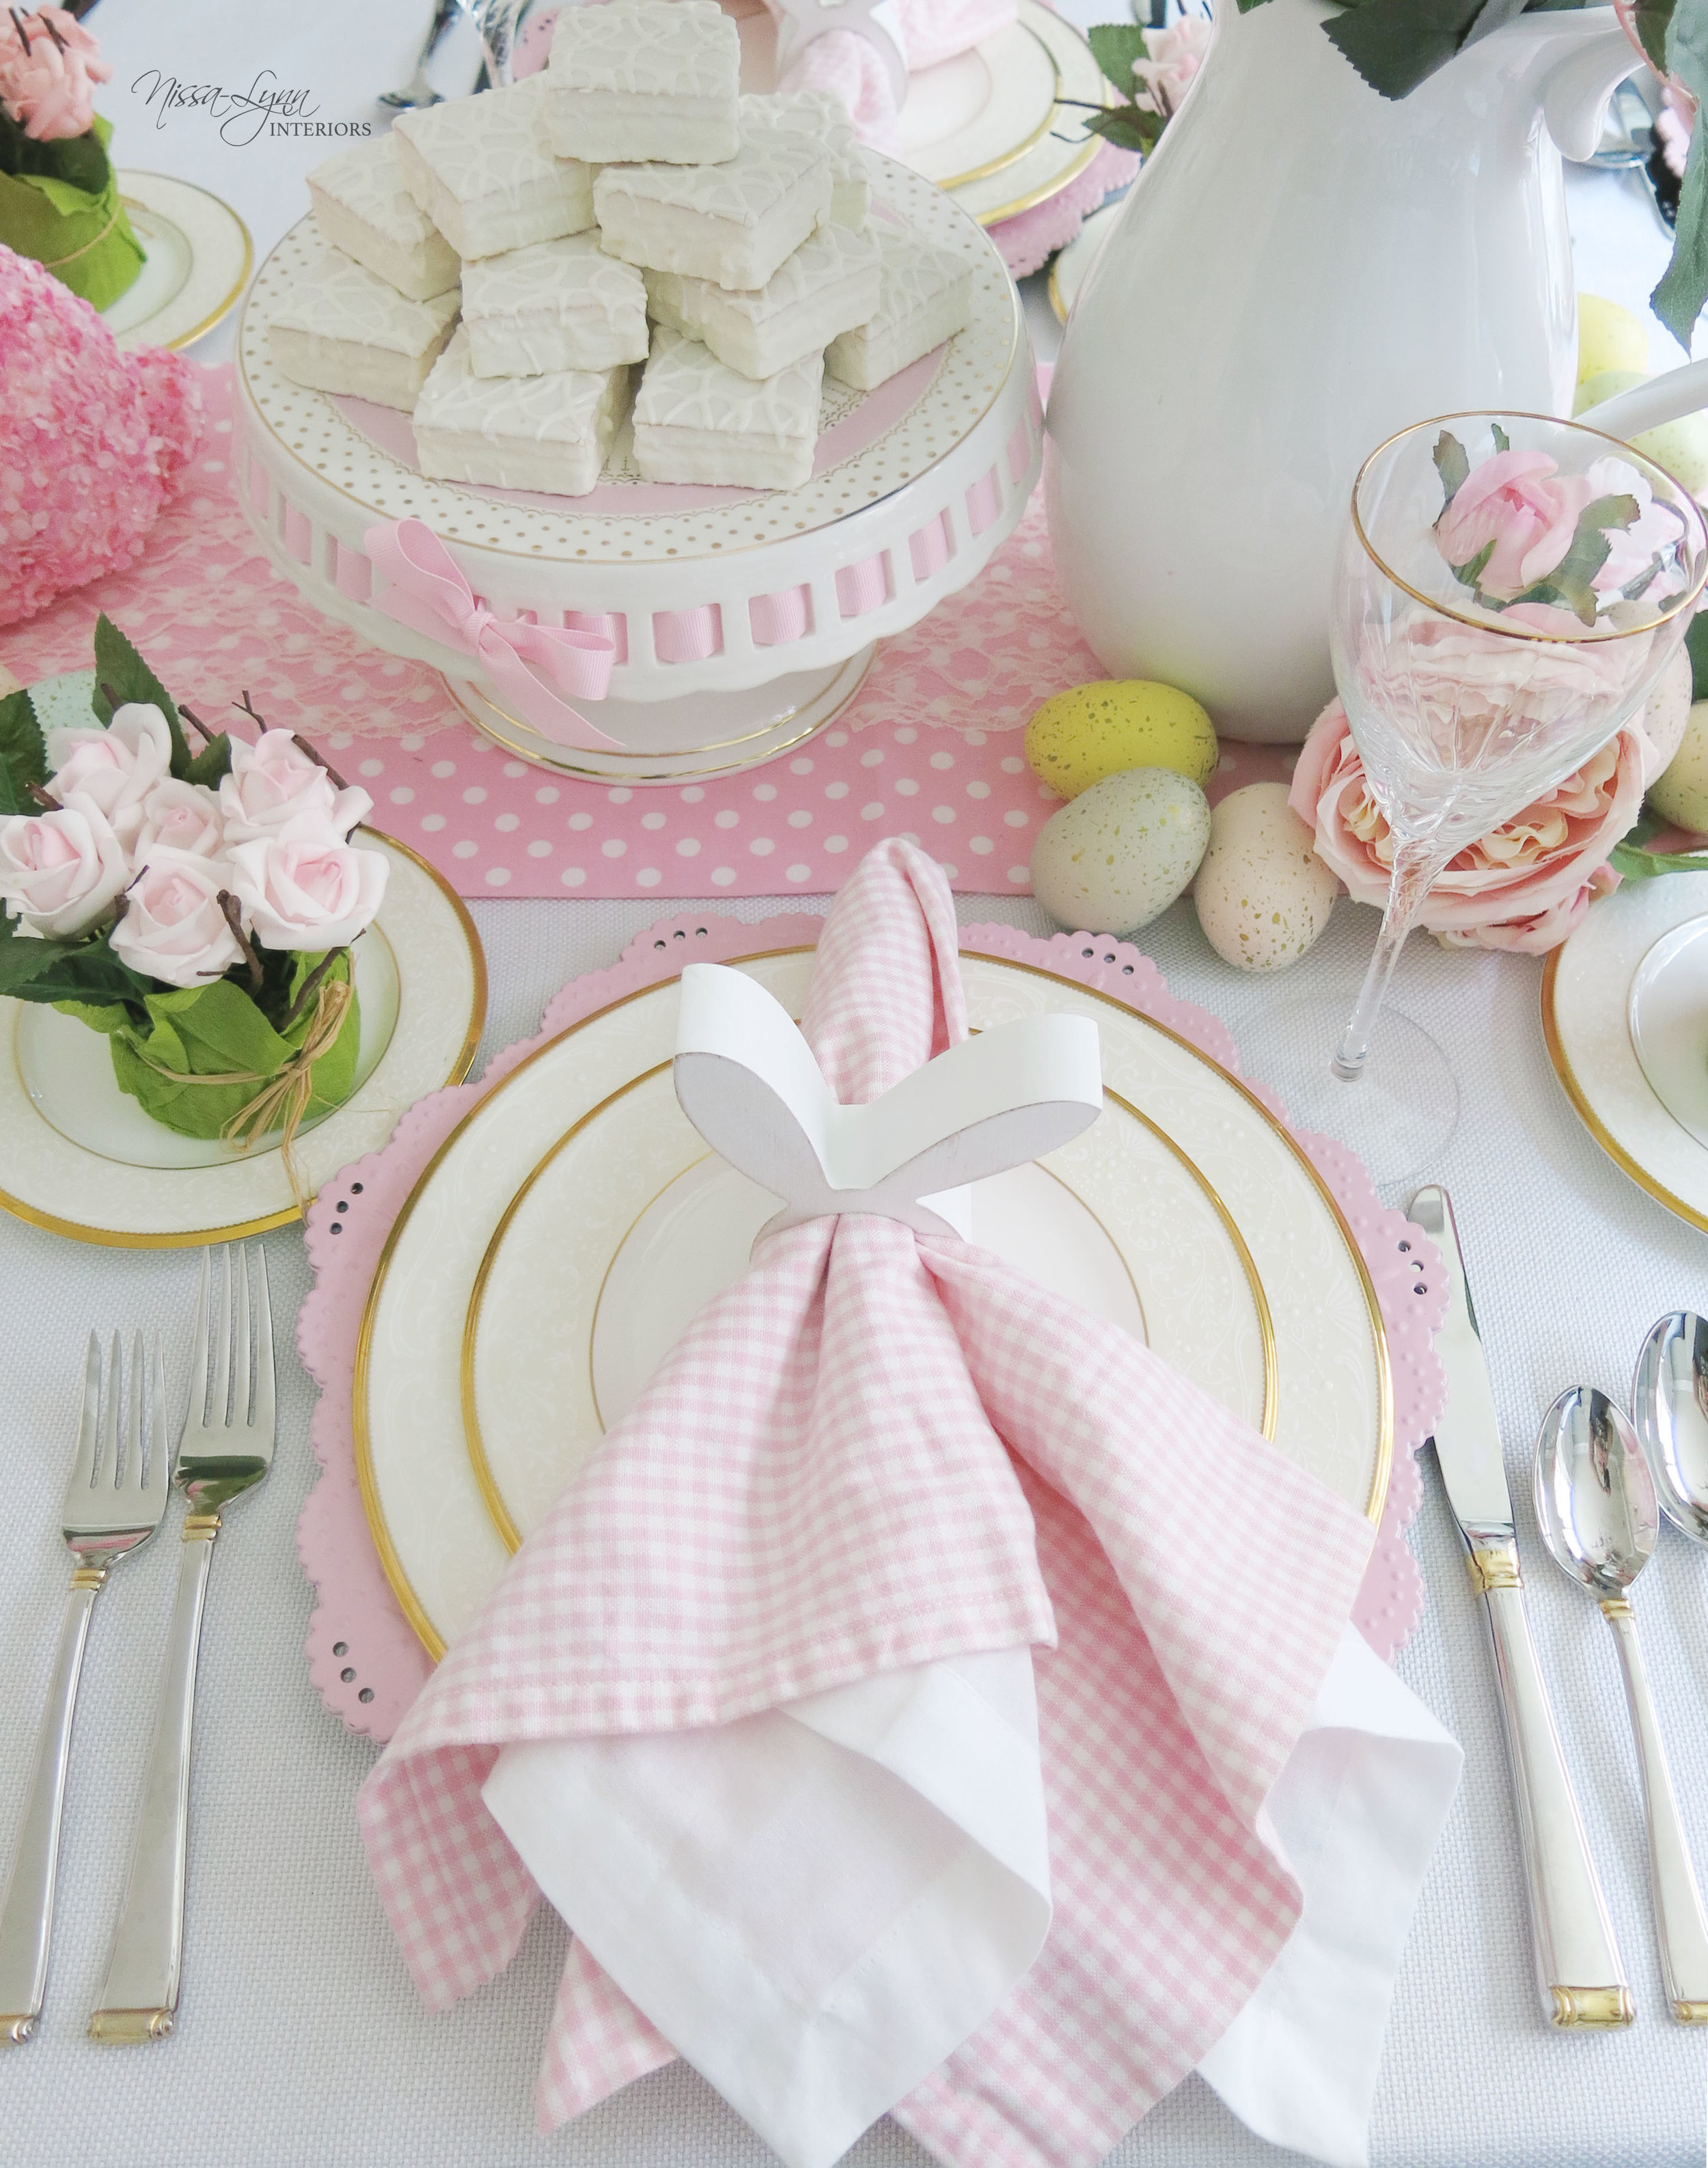
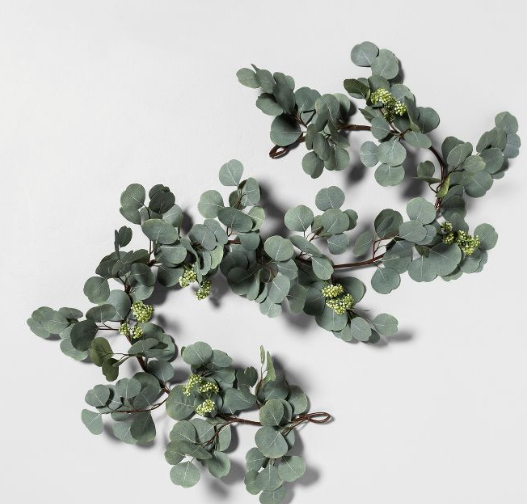
I’m blessed and have a closet off my powder bath totally dedicated to storing my home decor. I buy things I know so will be staple and I will use again. I also hold on to a lot of things, like fabric, vases, and greenery, that I know can be repurposed. Such is with this pink a polka fabric. I used it three years ago for my daughter birthday party. I held on to it, and brought it out to be my Easter table runner. I folded the edges over instead of sewing and it worked great! It saved money buying on one! To an add more texture I added lace on top, also something I also had in my closet.


Strawberry petite fors!

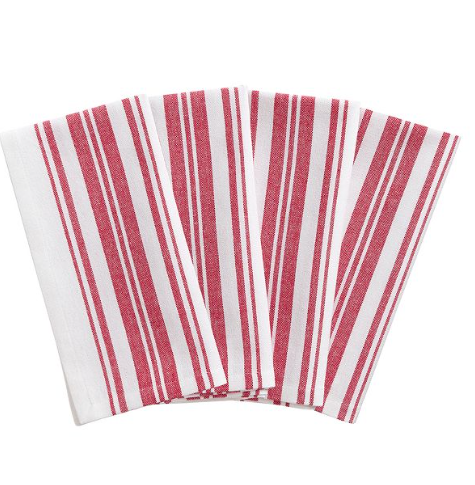
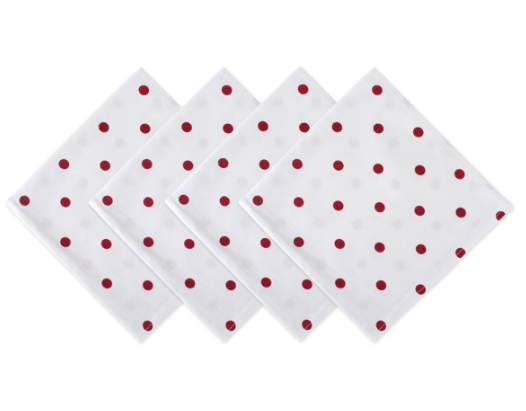
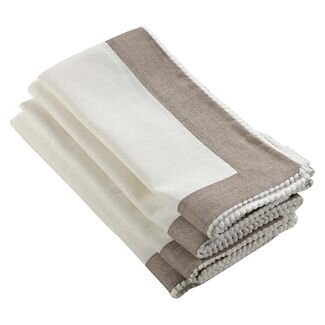
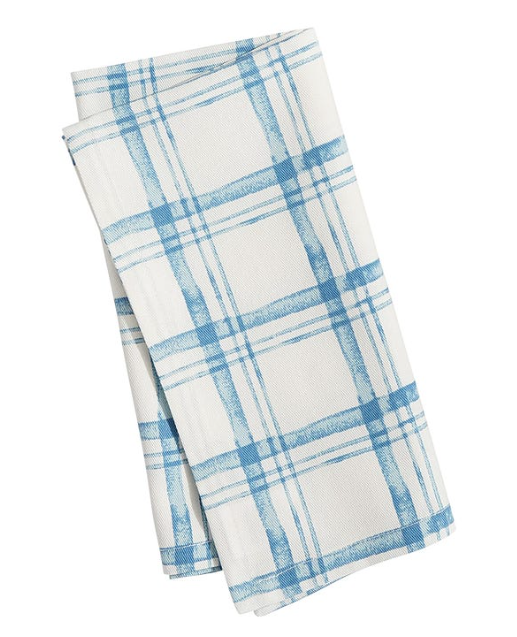
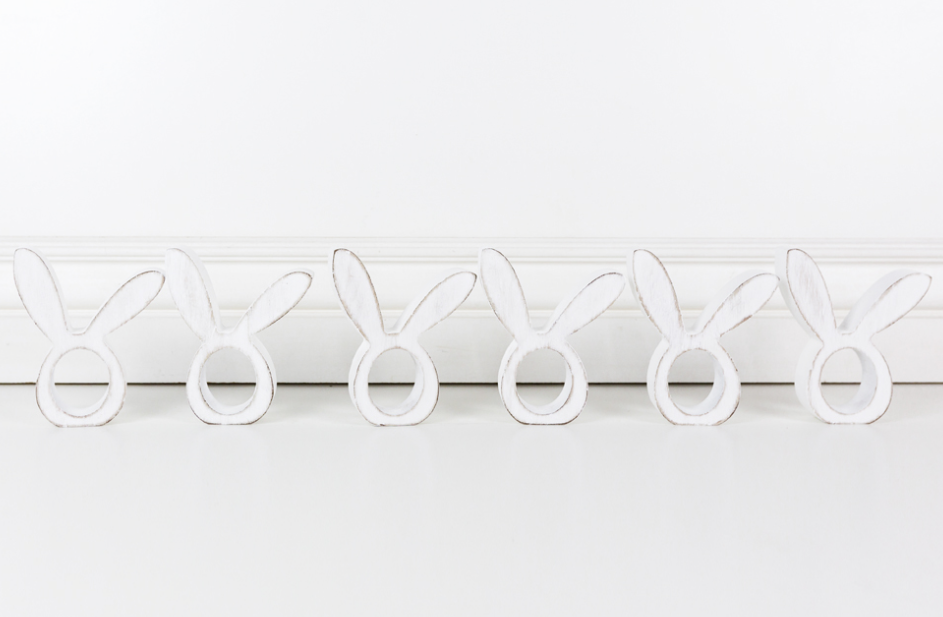
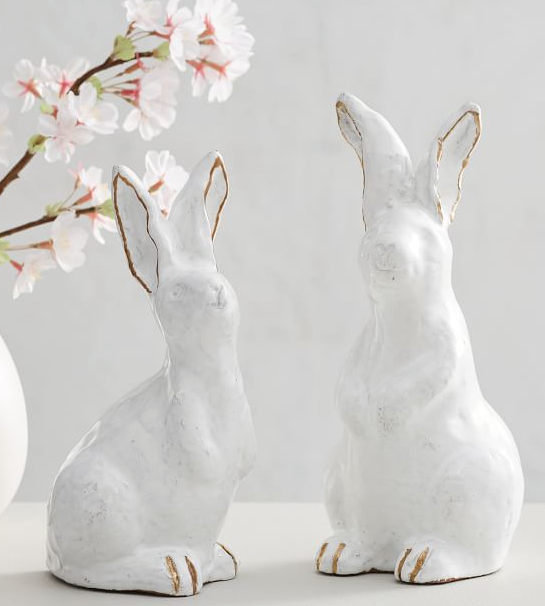
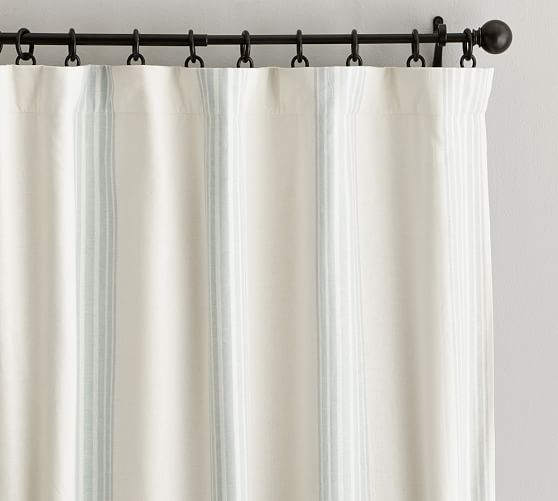
I couldn’t find pink napkins to match the decor, so I brought out some old Pottery Barn curtains that I used in my daughter’s room 15 years ago! They were faded but perfect for what I need them for. I used my pinking sheers to cut them in a 16 inch square. Them I placed them on top of white square cloth napkins I already had, and secured them with my darling bunny napkin rings. (Use code NISSALYNN for 10% off your order!)

Shop my daily looks by following me, nissalynninteriors, on the LIKEtoKNOW.it app http://liketk.it/2ACLa #LTKhome #liketkit@liketoknow.it @liketoknow.it.home @liketoknow.it.family