My youngest daughter is growing up so fast! I’ve been meaning to write this post for a long time but life happened and then I forgot about it - until now.
When our daughter Annalise turned three it was time to take down her crib and put up a twin bed. It was time to transition from nursery to a big girl’s room.
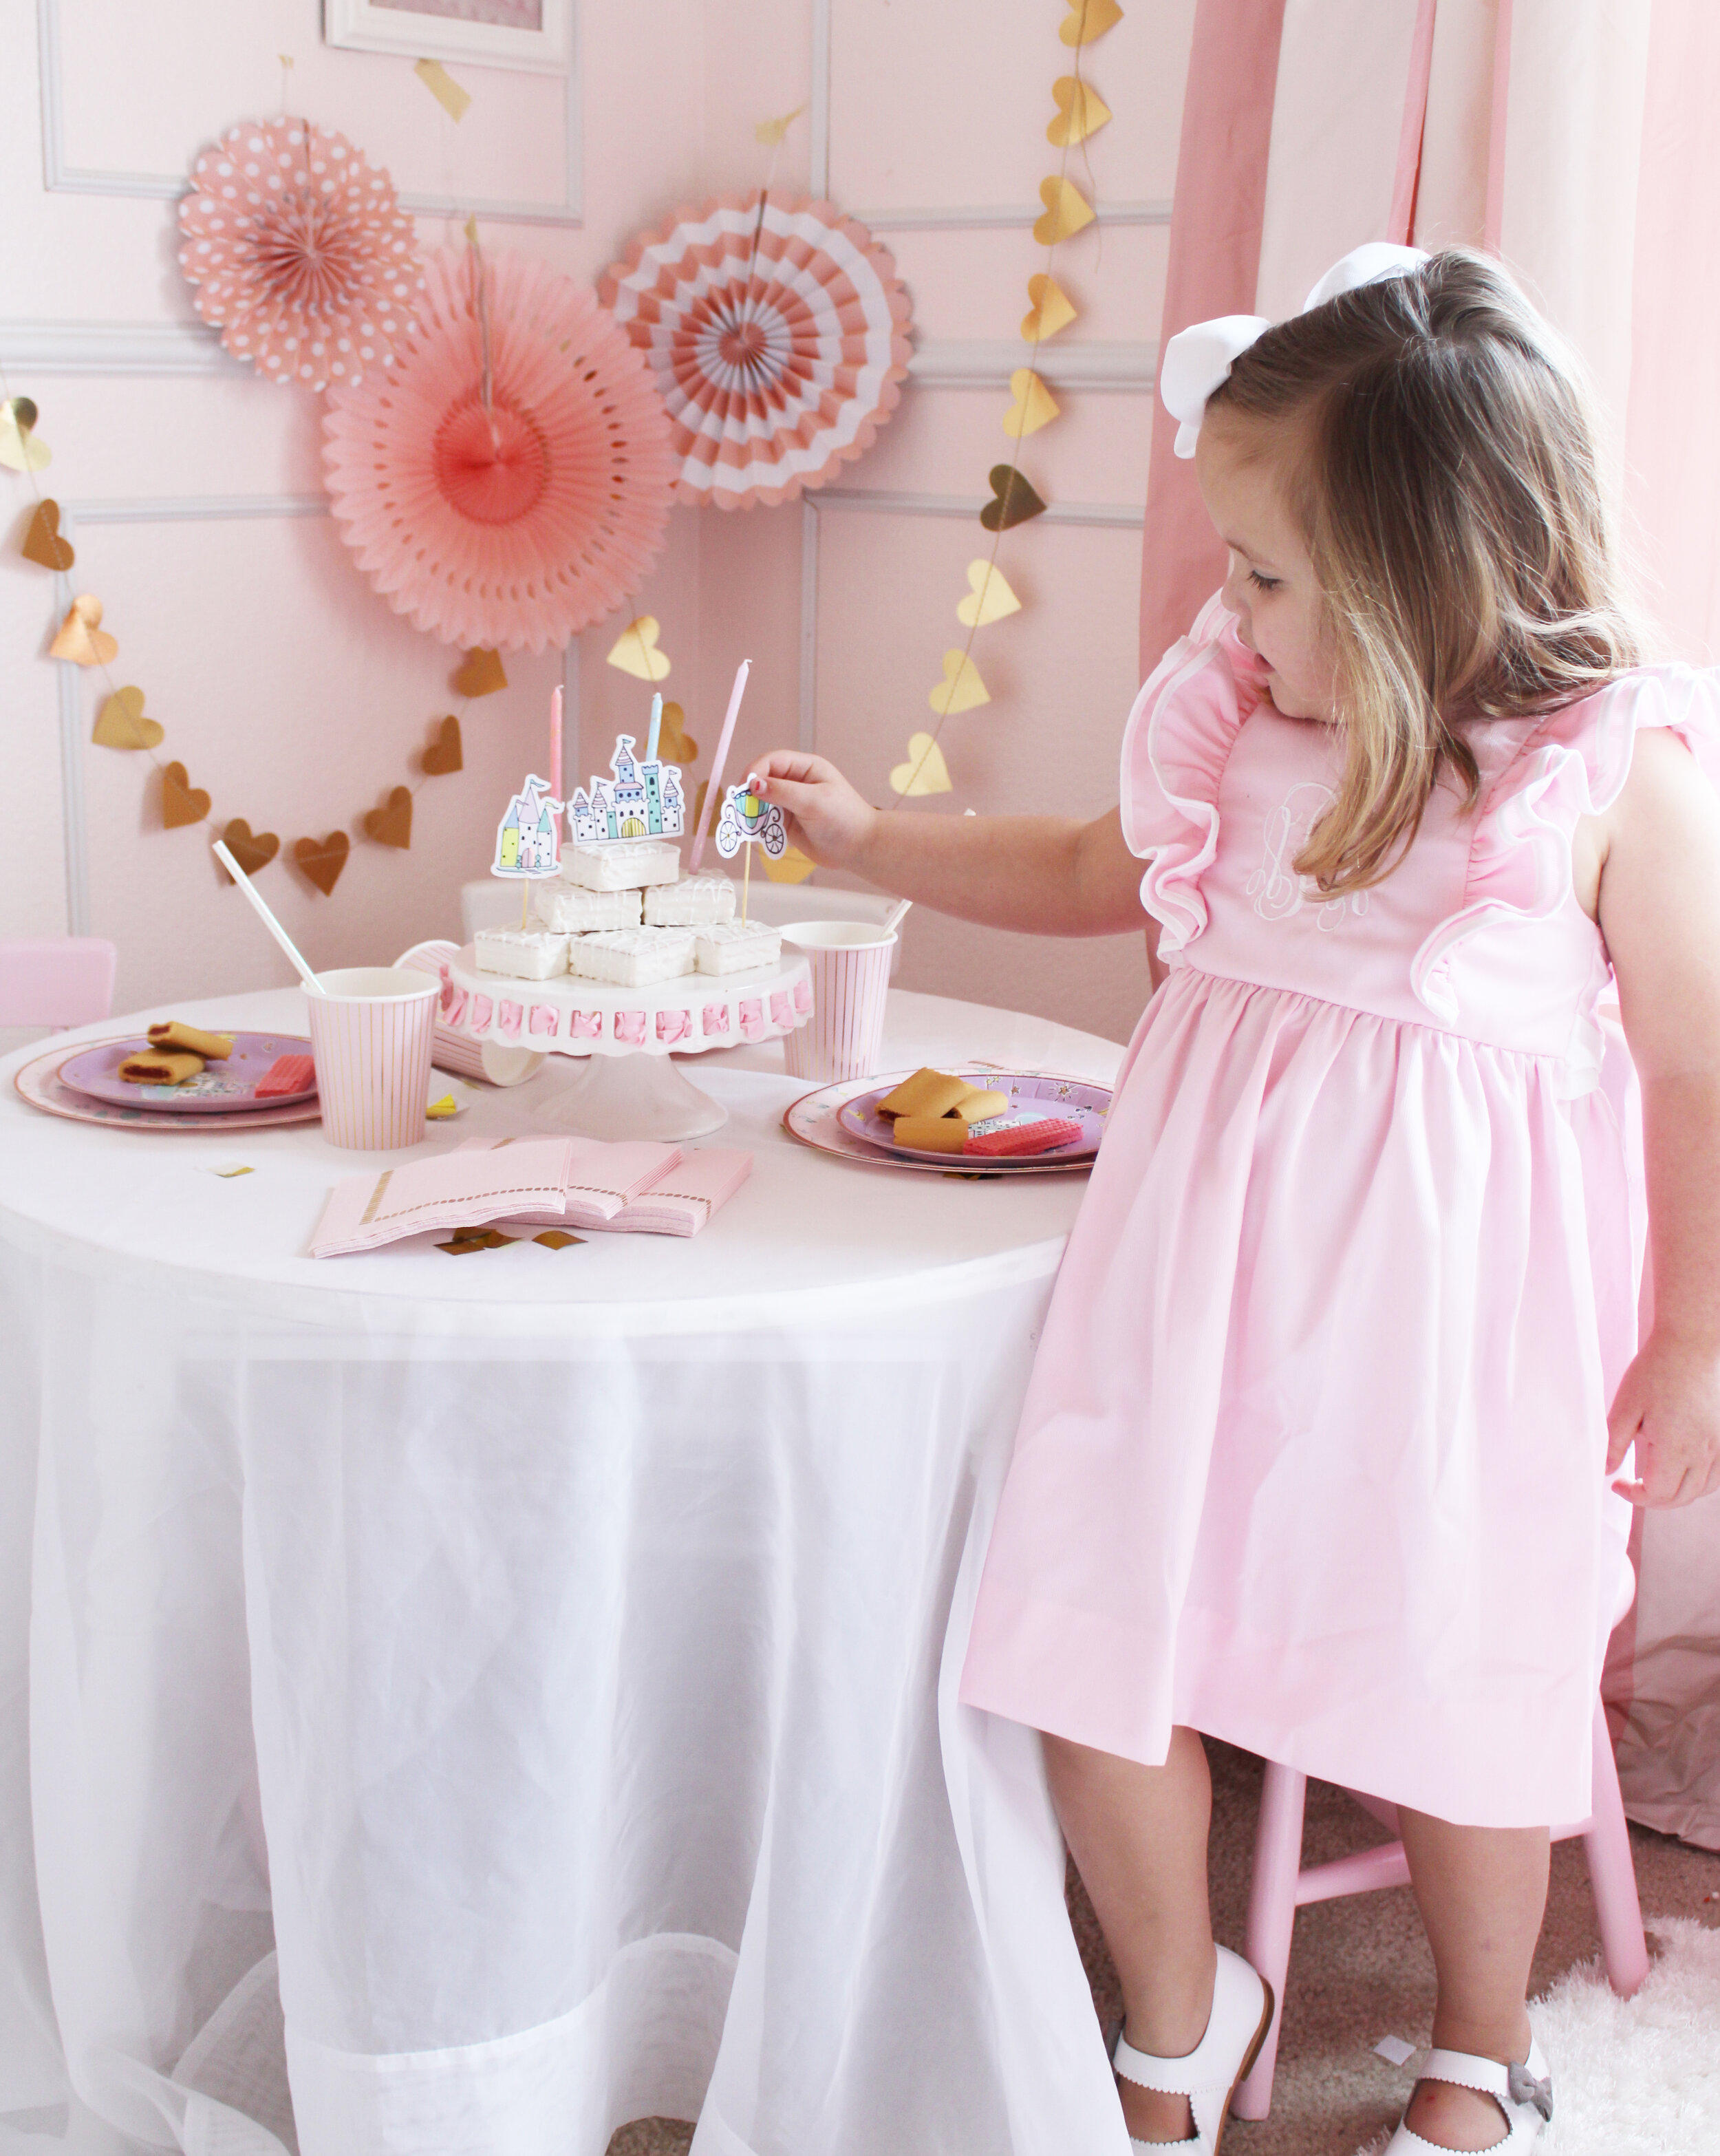
We fun have playing tea party in this cute corner of her room. The chair and tables were given to us 14 years ago with our older daughter’s Kay-Lynn. The table and chairs were originally white, but I spray painted two of the chairs pink for a pop of color.
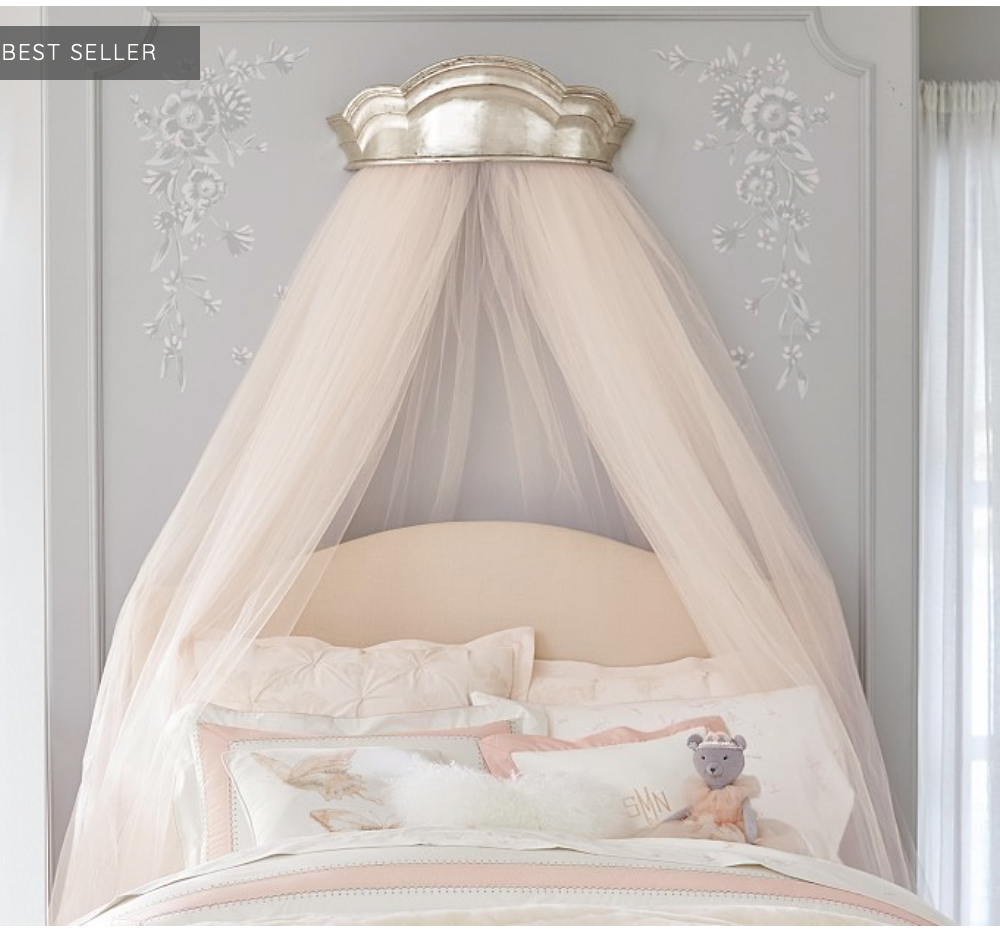
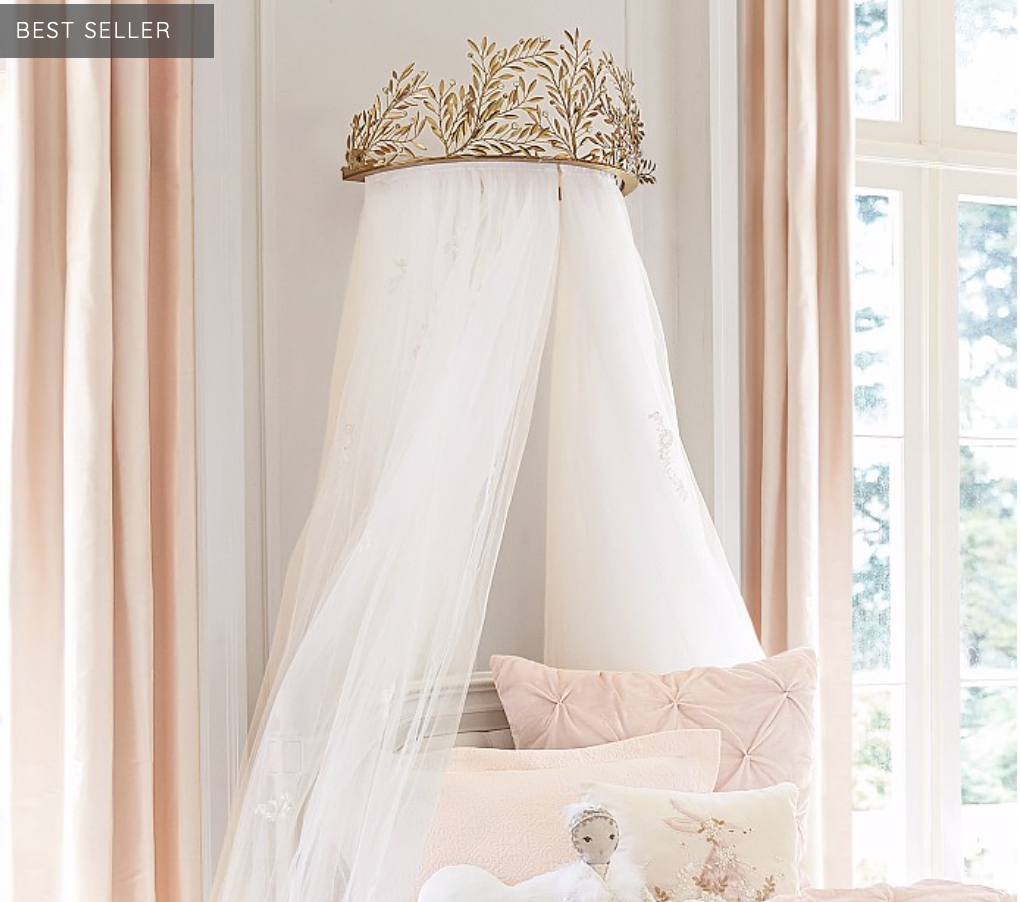
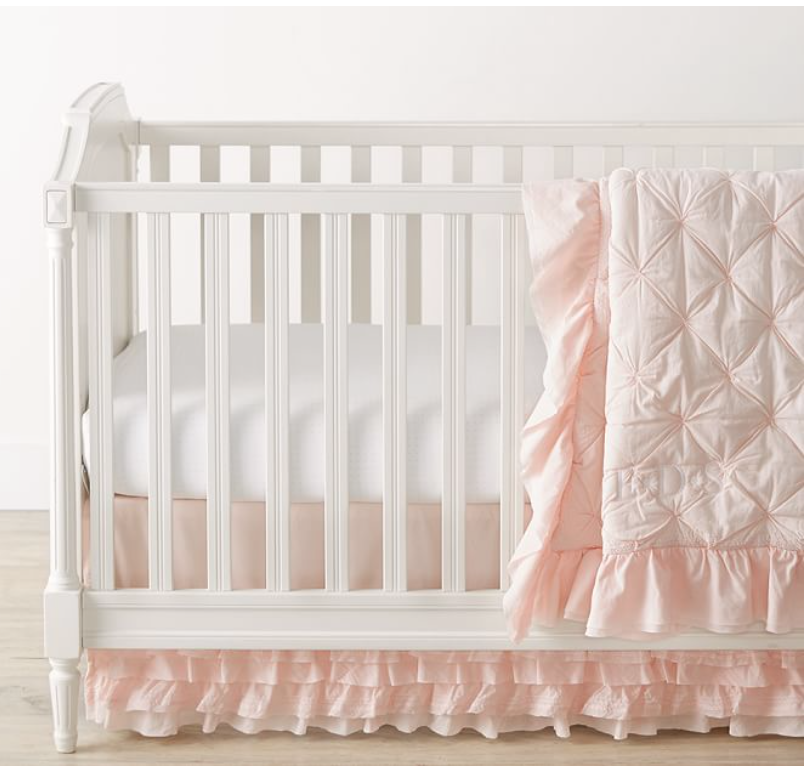
I knew I wanted a princess themed room and with a canopy to hang from a crown. I found several beautiful ones at Pottery Barn Kids - but they were way over my budget. So I decided to create my own - with my husband’s help. I found this resin crown at Hobby Lobby. It was originally hot pink so I spray painted it gold to match the blush and gold princess theme. We then screwed the crown into the custom made wood box. My husband built the wooden box from scrap wood in our garage. Then we attached it to the wall. I then added the white chiffon fabric that I bought from my local Joanne’s fabric store and fastened it to the back of the wooden box with rope. I also sewed the bows and made the crib skirt. For the pink edge on the chiffon canopy, I used bias tape The crib bumper and quilt are from Pottery Barn Kids.

My husband and I dressed up this @ikeausa dresser by adding new feet, moldings on the top and bottom, and new mirrored knobs. I also added a glass top for elegance. And do you see that pretty pink dress hanging on the hanger? That was mine from when I was a little girl! I love sentimental pieces - do you?


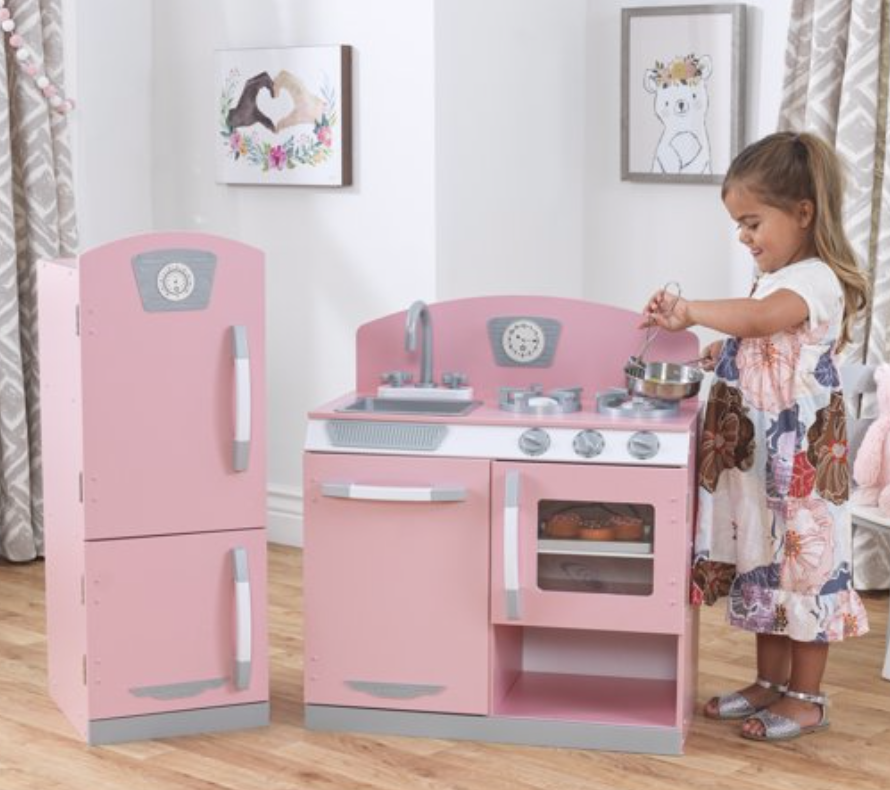
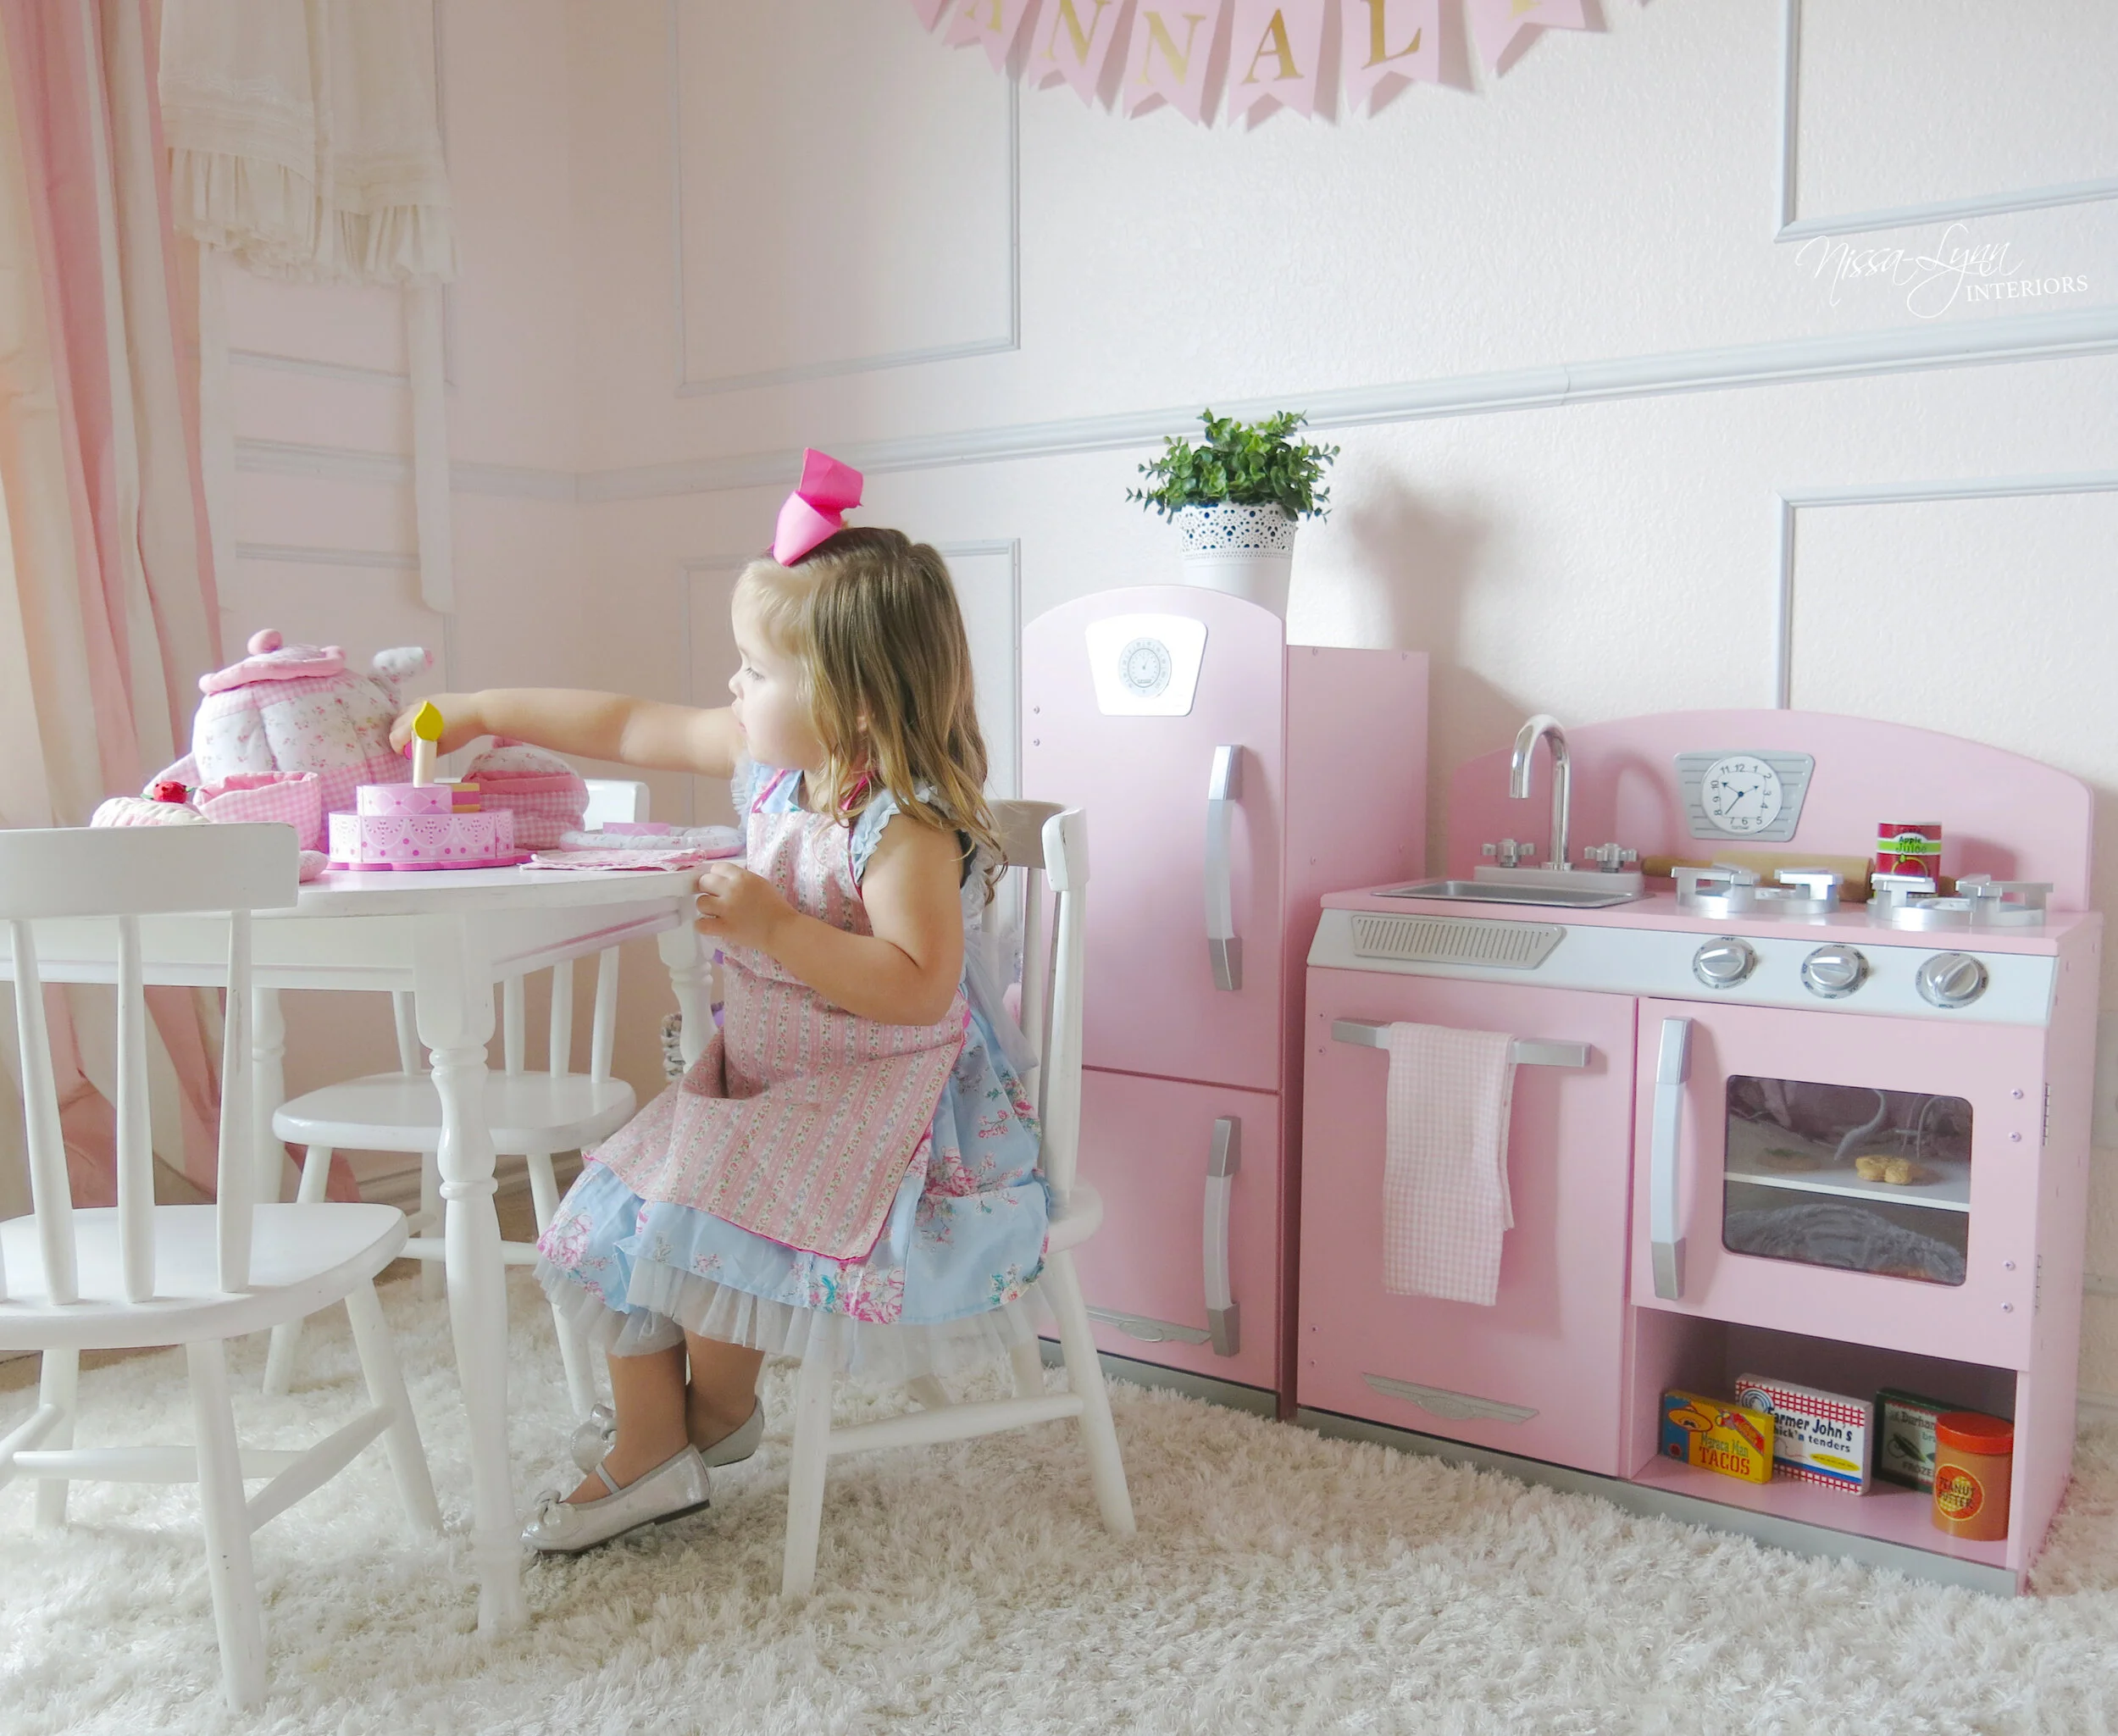
As much I loved this cozy corner where I would cuddle up my baby girl, I knew the tufted arm chair had to be removed to make room for a table and chairs that would inspire childhood play.

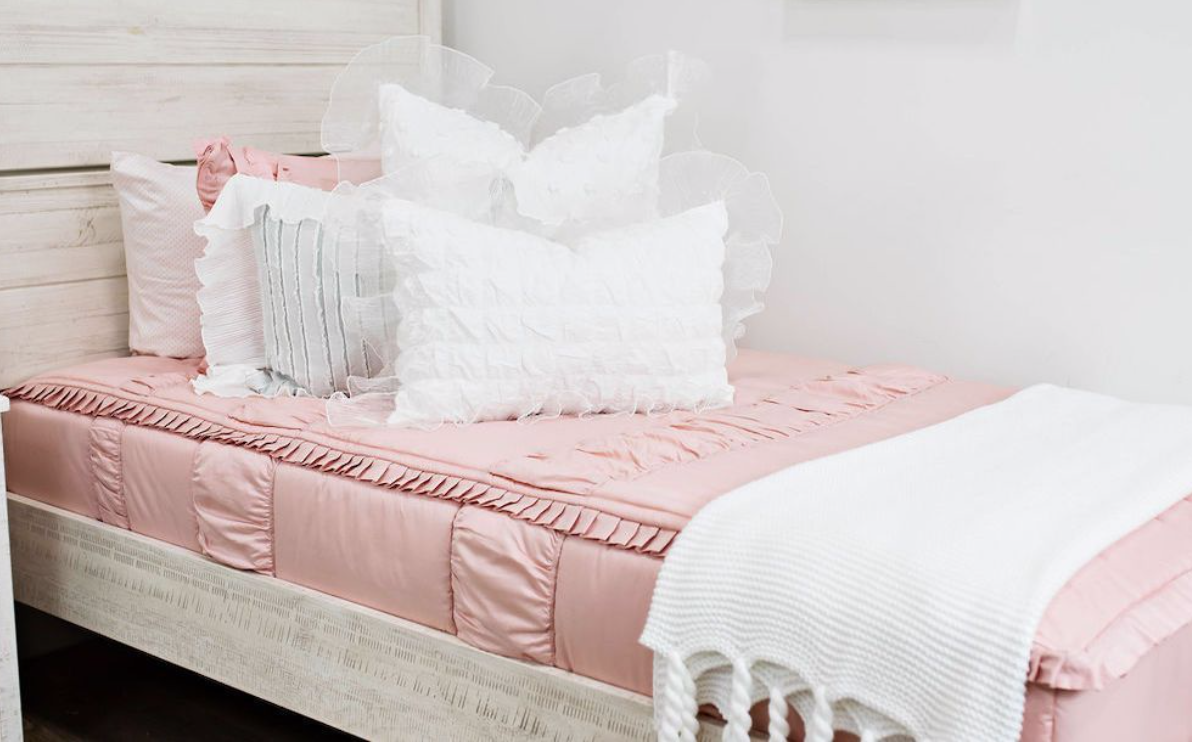
Here is is! Her beautiful grown up princess bed! I knew the exact bedding I wanted and needed for her. I chose Beddy’s in Vintage Blush because it works wonderfully with the existing room decor, paint and throw pillows. (Use can use code NISSALYNN for 15% off your entire purchase at Beddy’s.) I also ordered the gray poka dot minkey blanket from Beddy’s.. I picked up the gold dot and blush throw pillows from Hobby Lobby. The small white monogramed ruffle pillow sham is from Pottery Barn Kids.
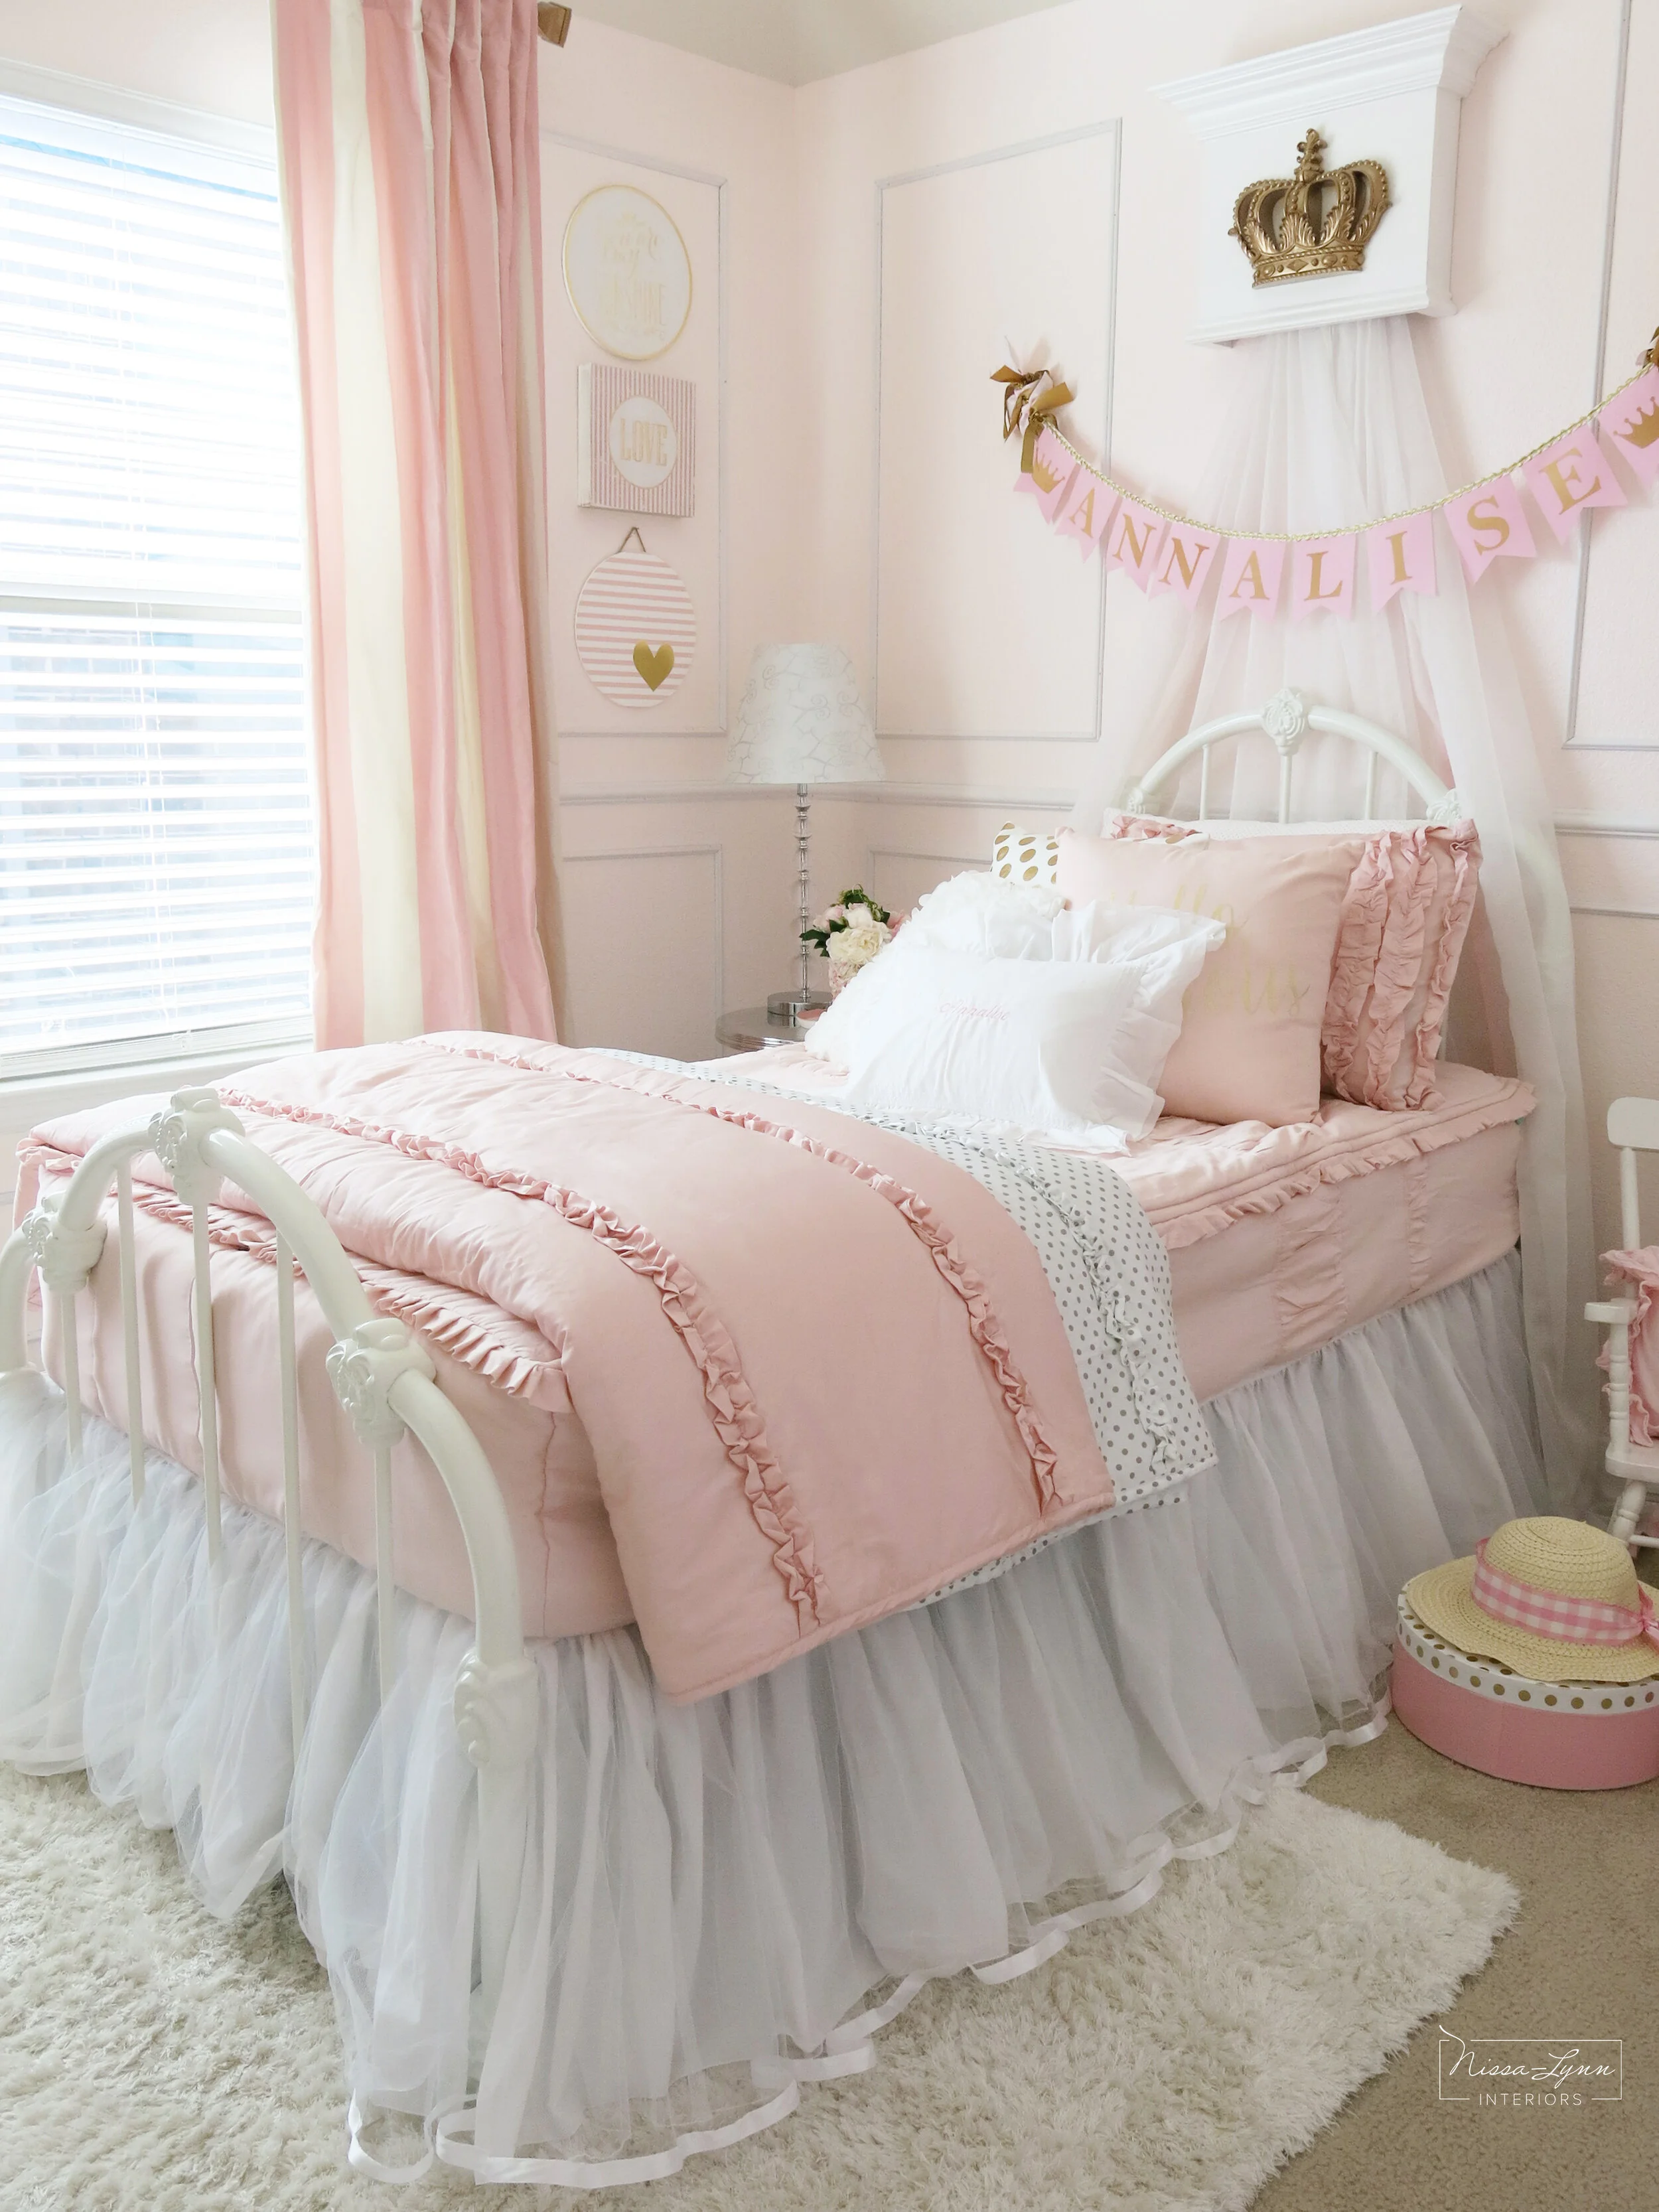
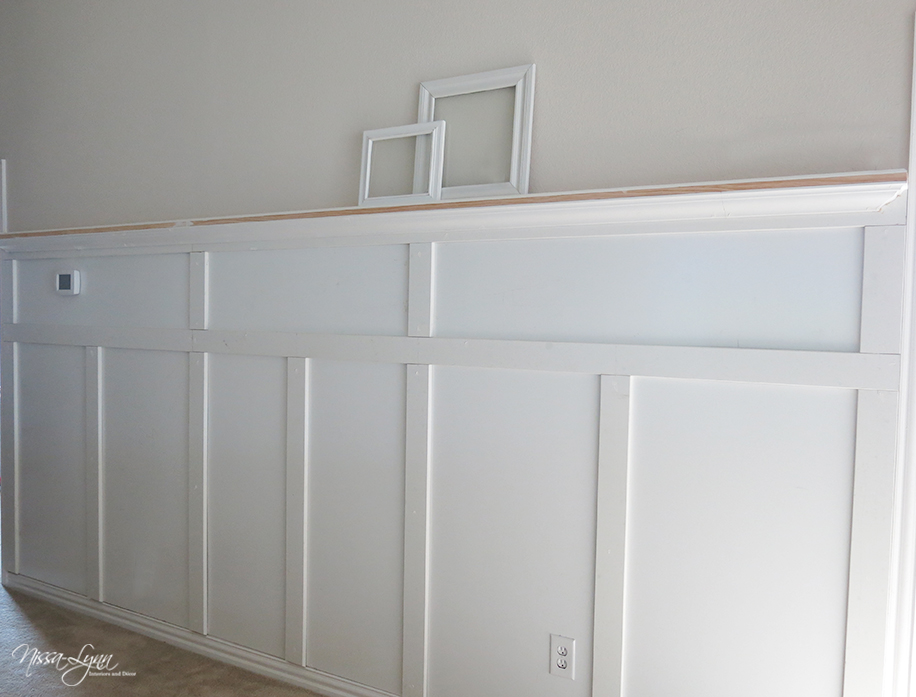
My husband added the white trim work on the walls.

Even though Annalise has a big girl room, I still kept these new born photos of her on her dresser.
Annalise is loving her new room! She spends hours playing in her new space!

You can shop similar items below, or you can click here to shop more decor from this post.