Last year after a nation wide search with thousands of entries, I was honored to selected one of the top four finalists for the 2022 American Farmhouse Style Magazine Ambassador contest. Below is the DIY table riser I built for the final project. You can view the magazine article here.
As the seasons change, fall ushers in cool crisp nights, falling leaves, pumpkin decor, cider, and cozy sweaters.
A Time for Gratitude
Thanksgiving will soon be here and families will gather around a loved one’s kitchen or dining room table to celebrate the season of gratitude and renewed blessings. Creating a fun and festive thanksgiving tablescape is my way to welcome family and friends into my home and help make the holiday feel special.
DIY Centerpiece for the Thanksgiving Tablescape
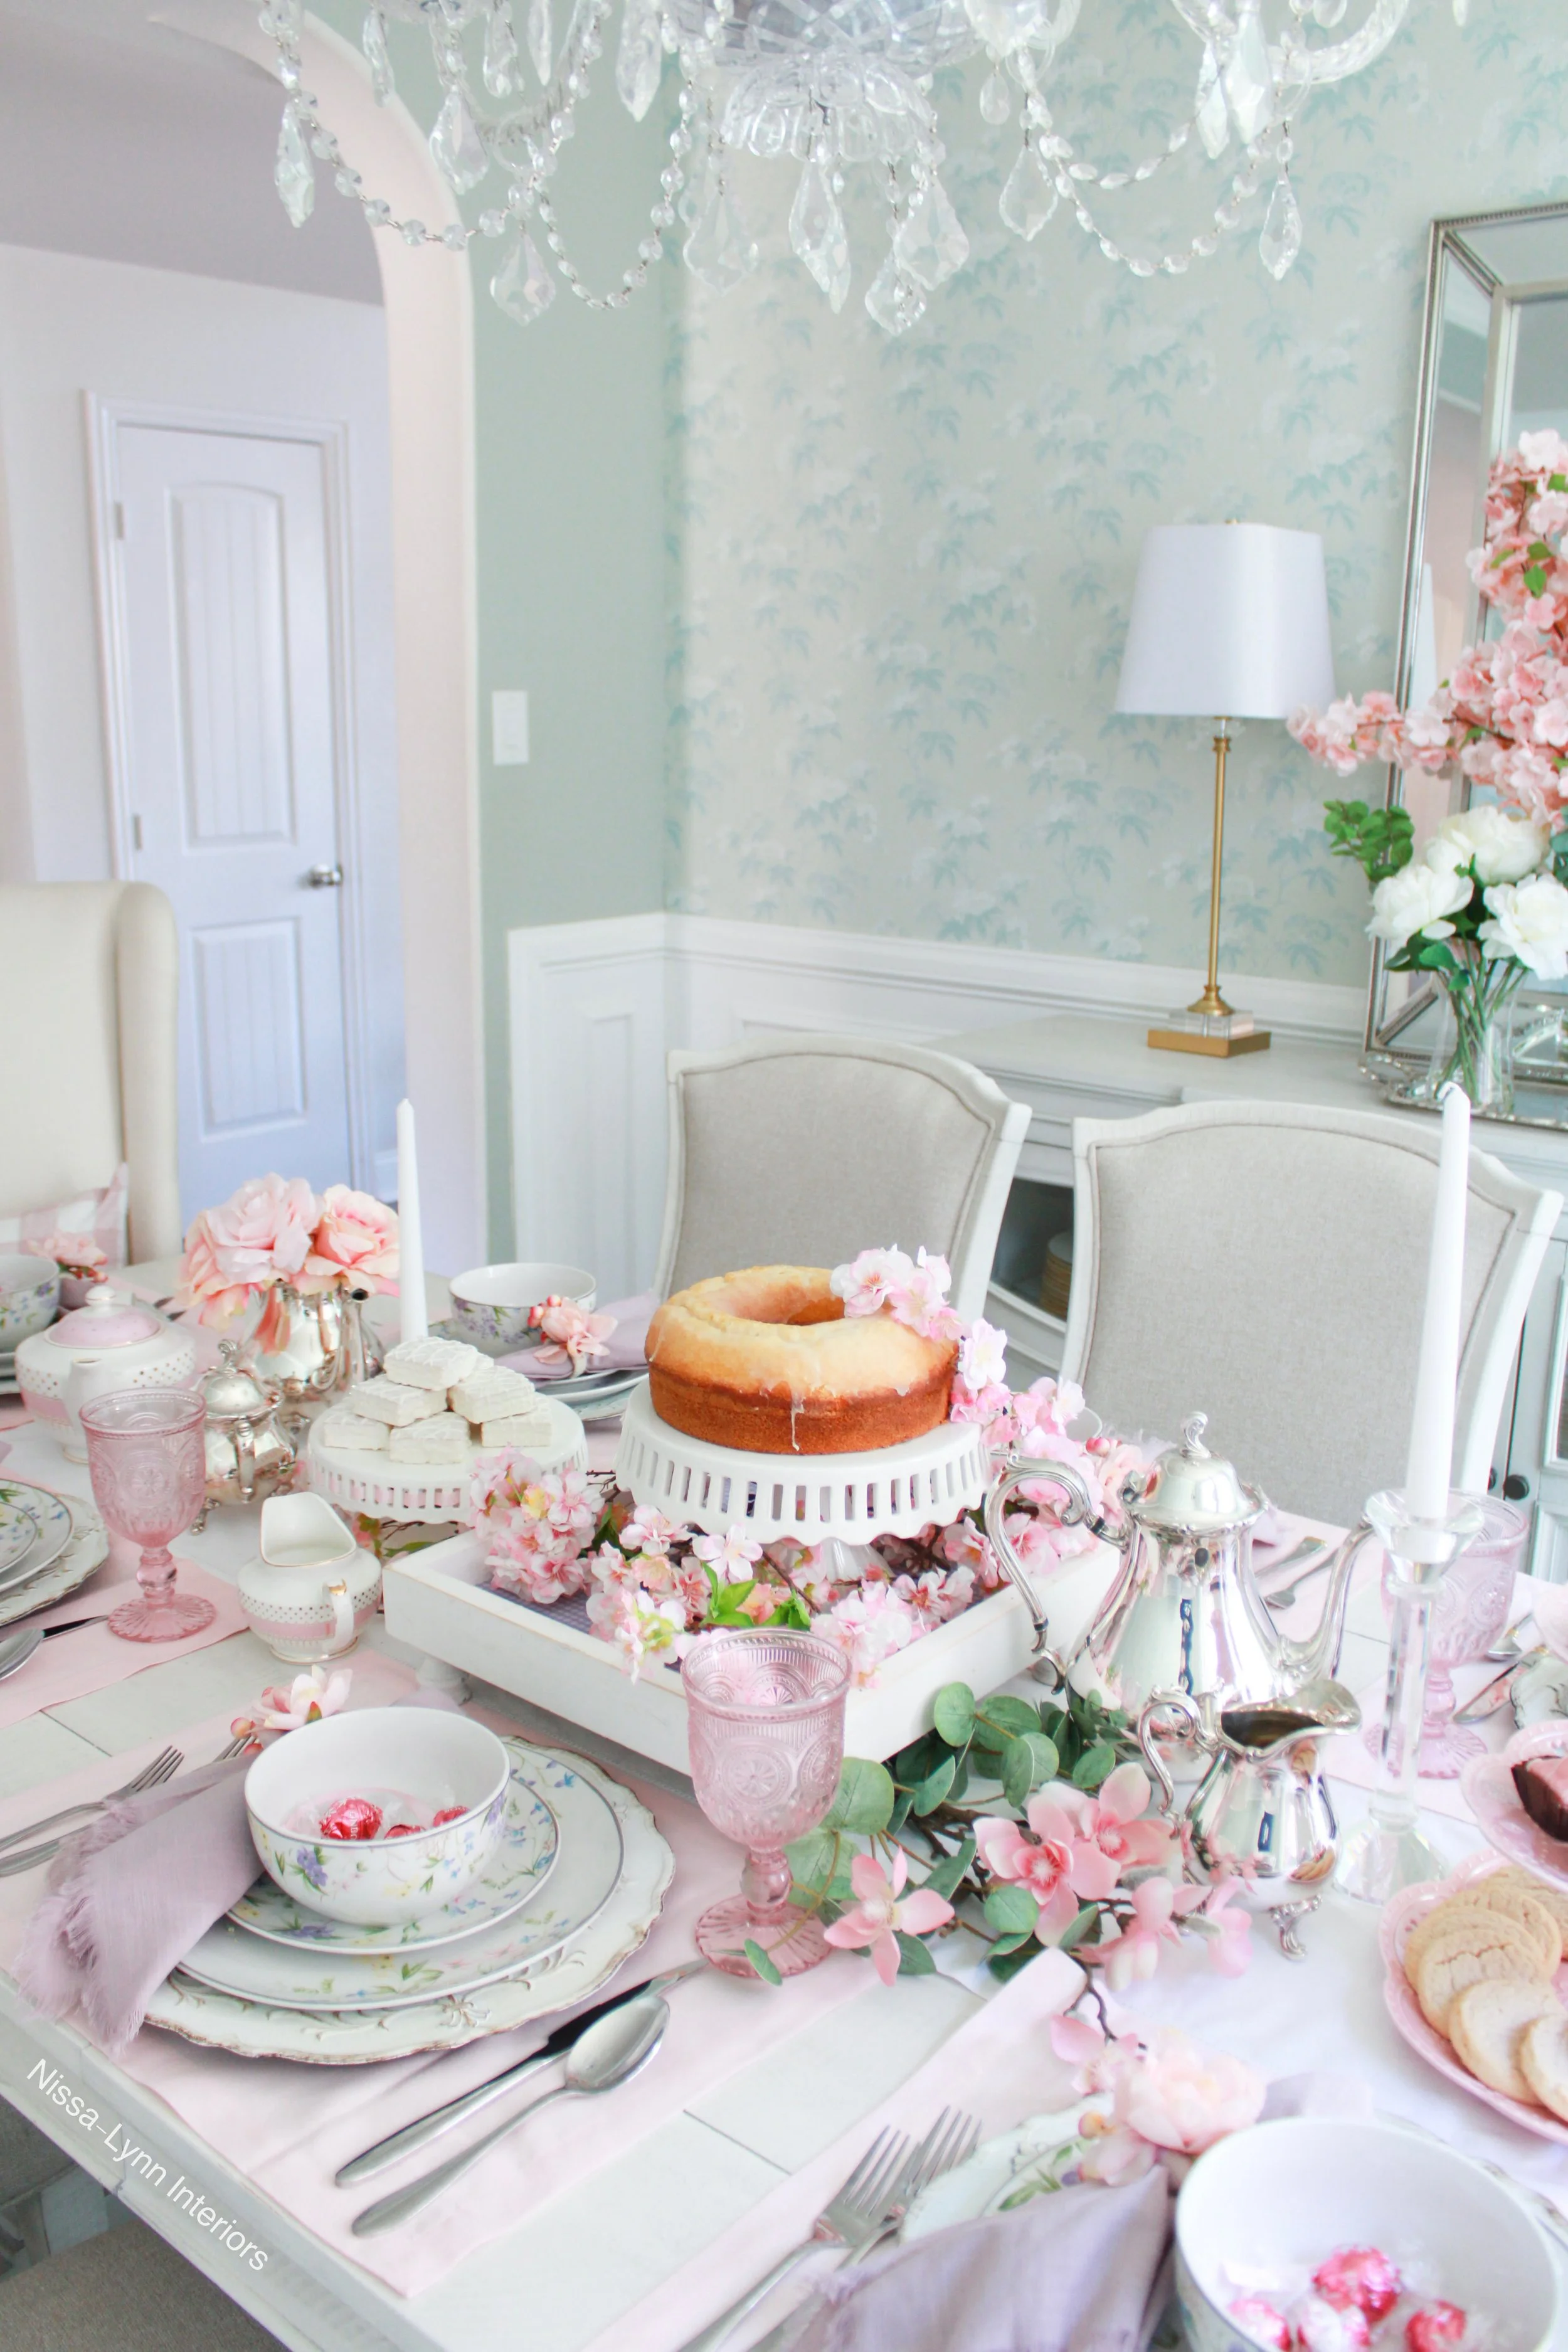
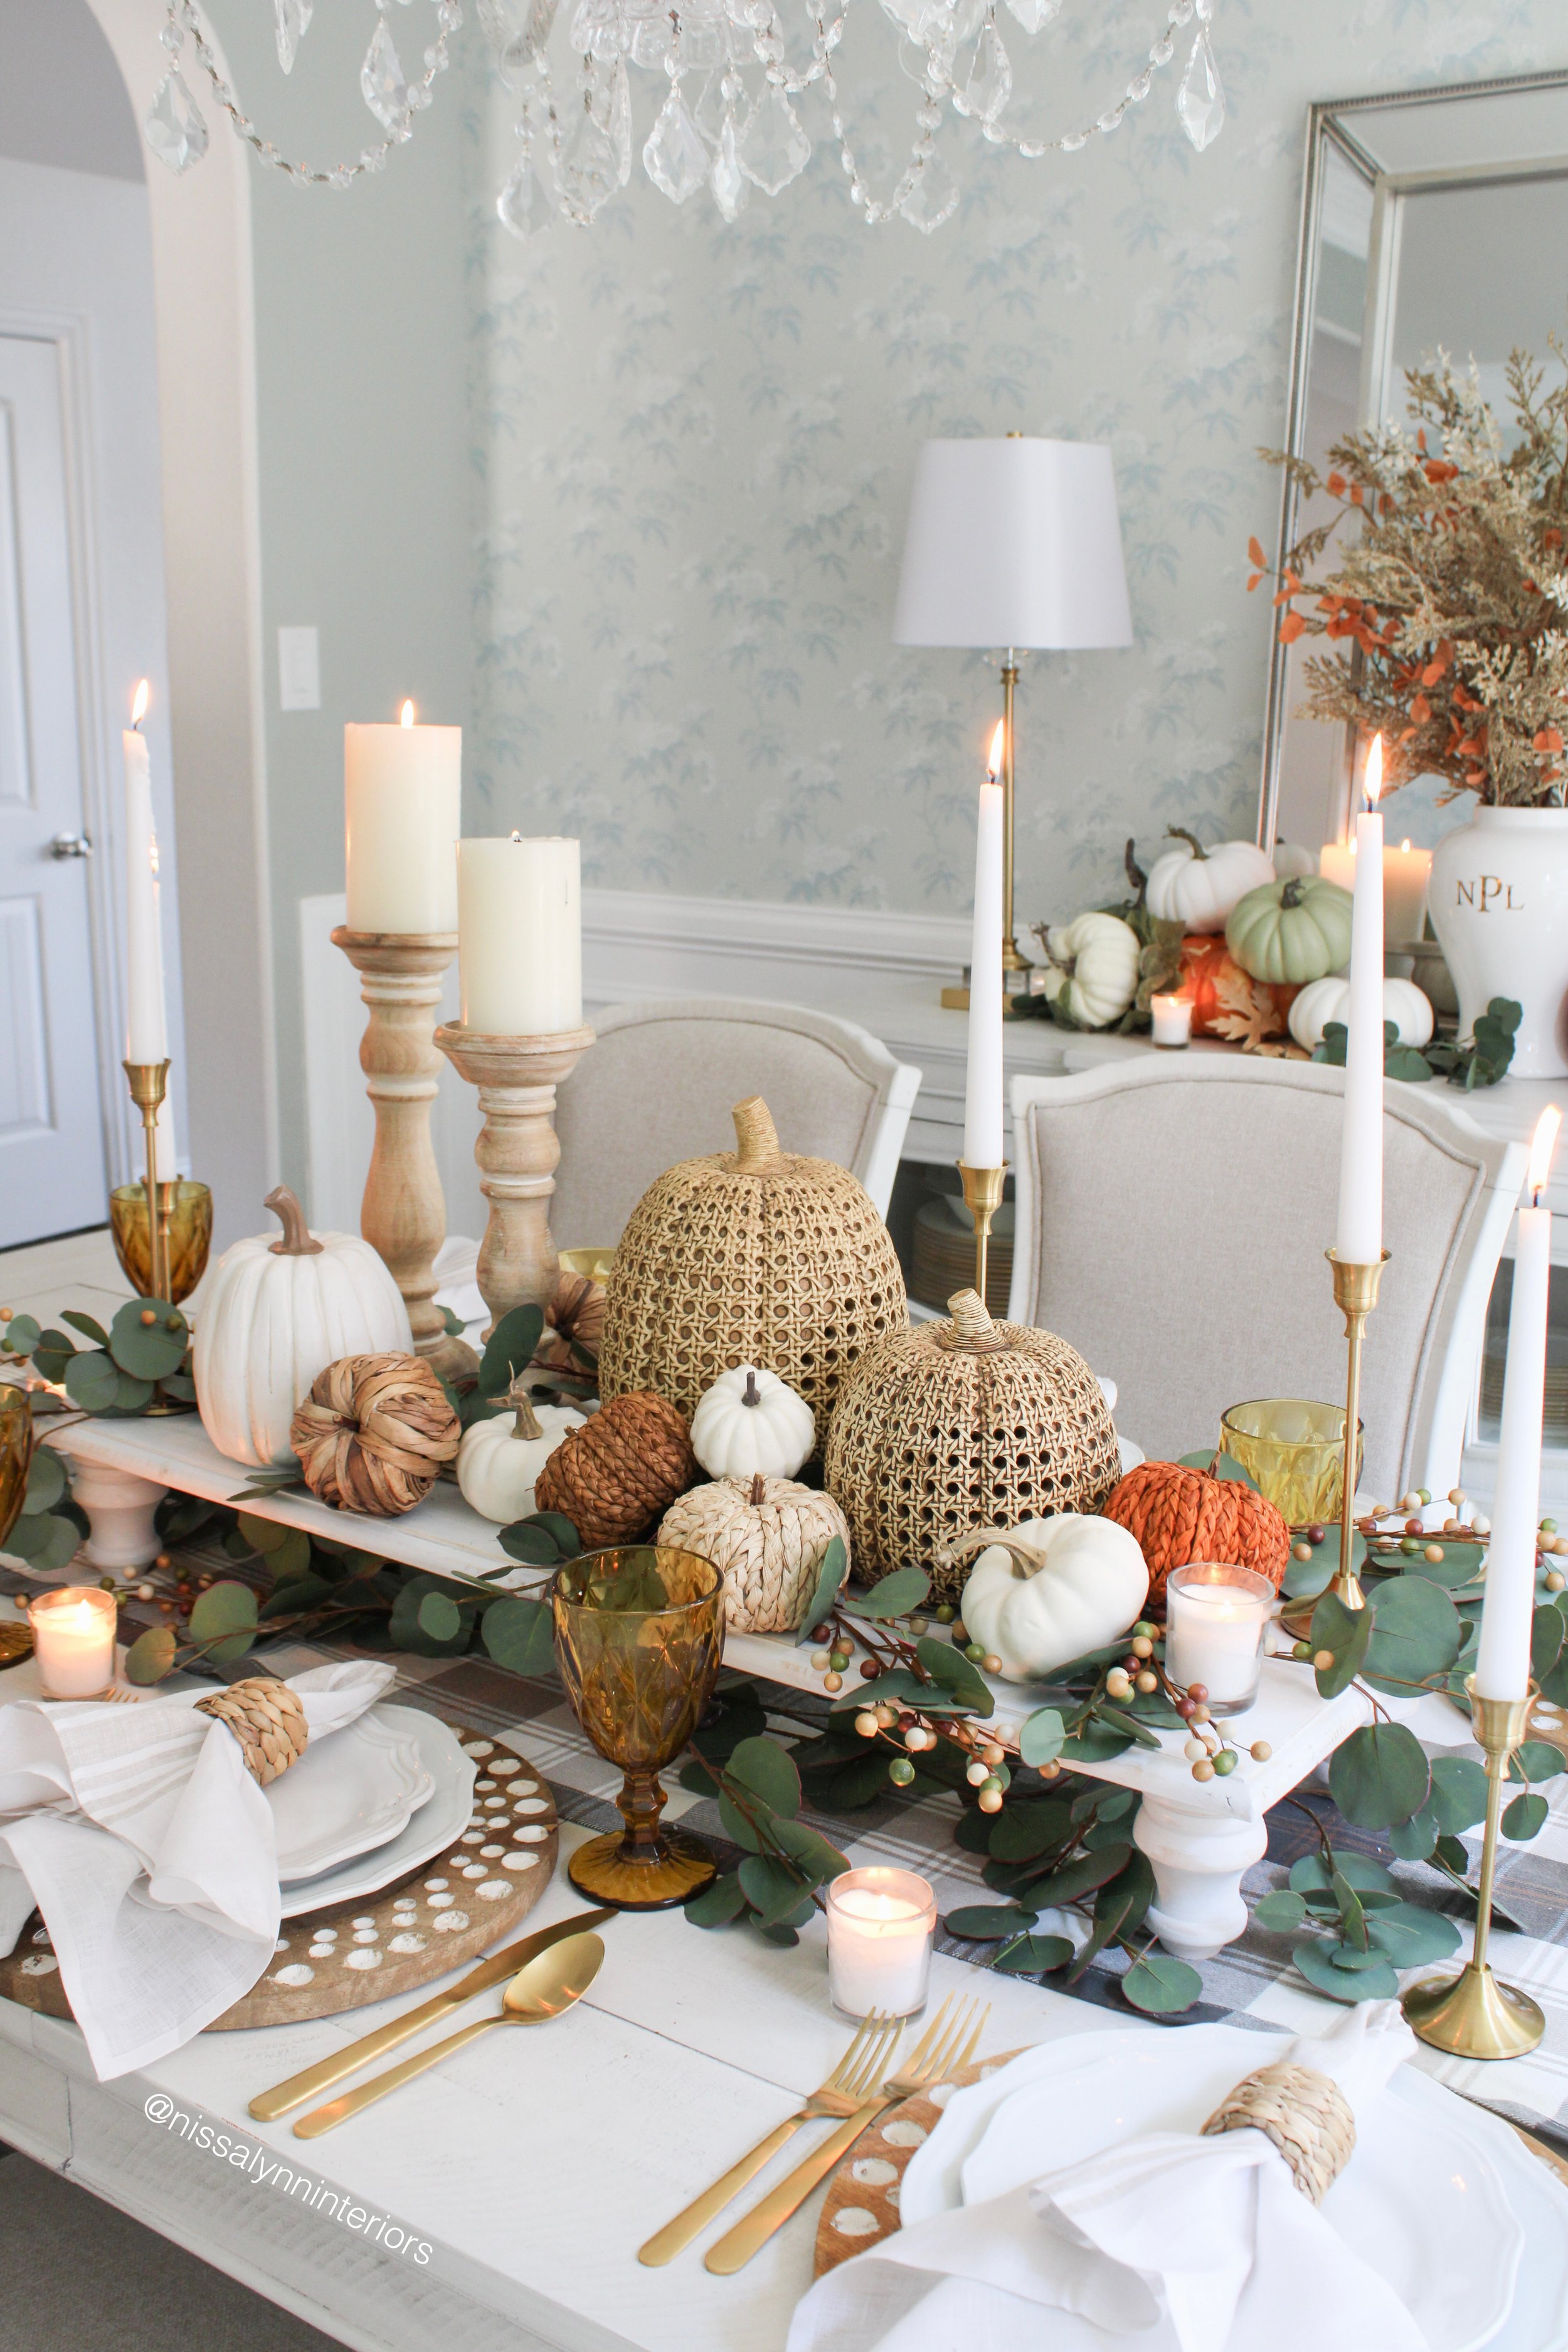
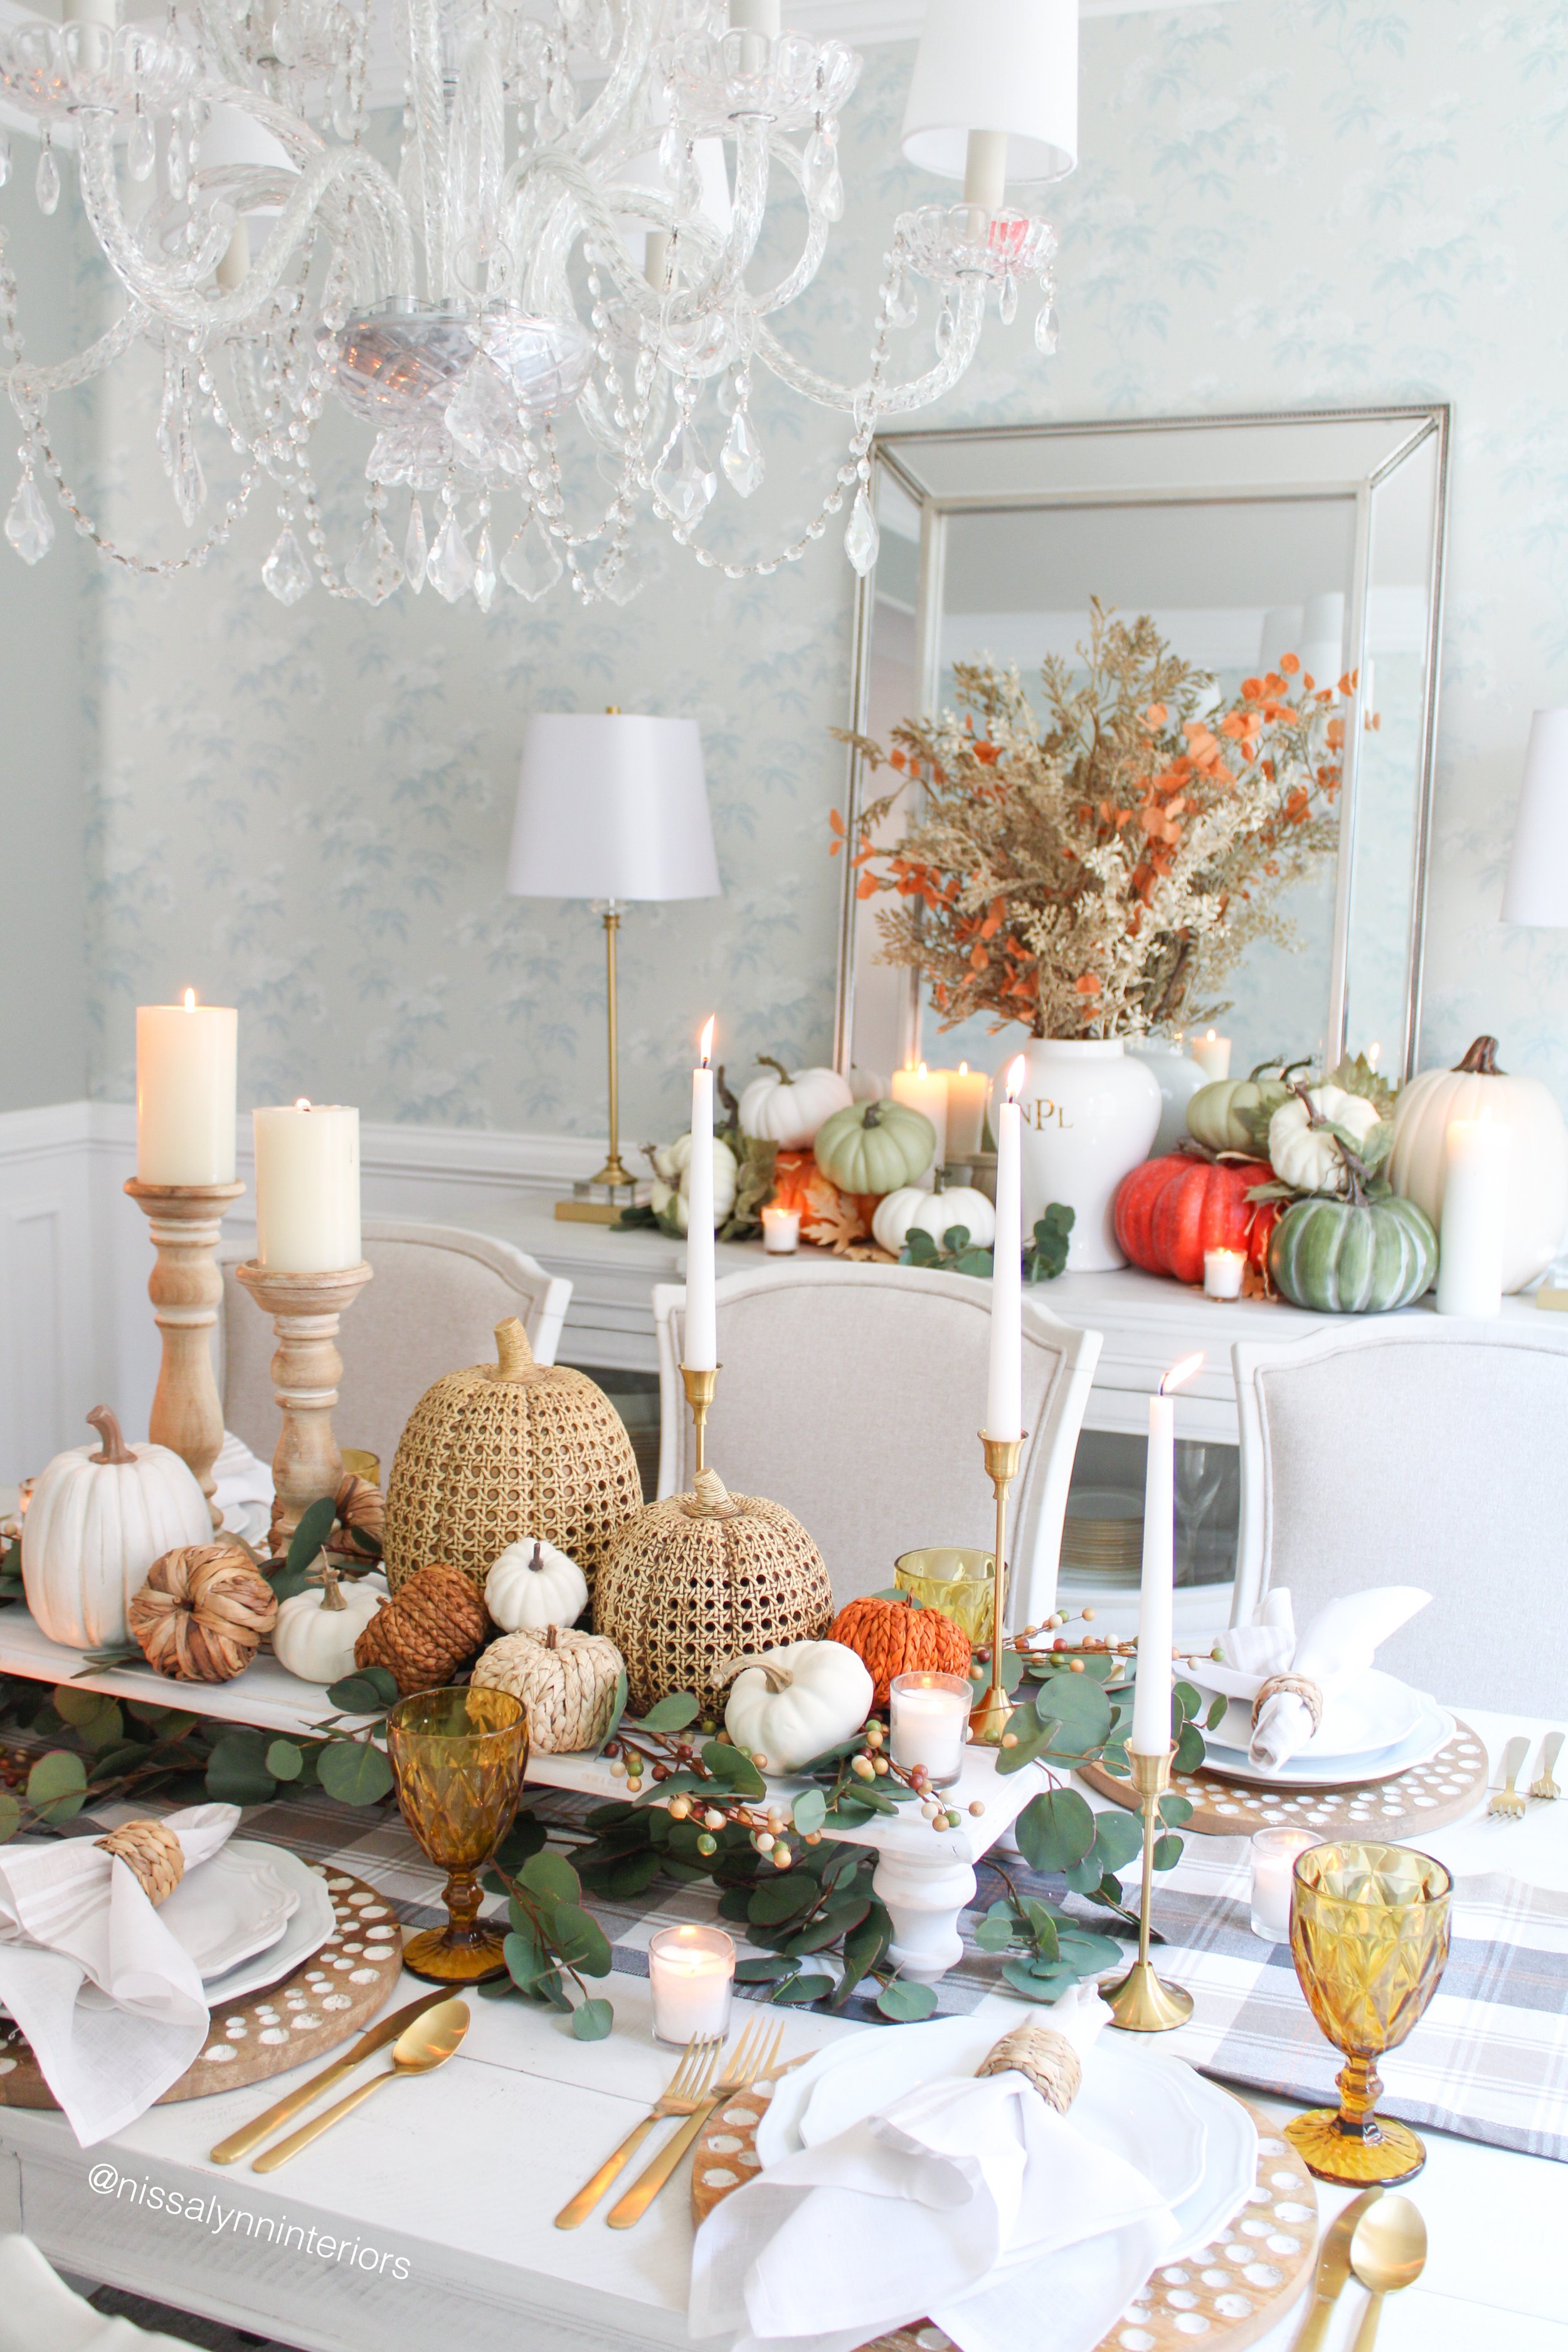
I love to think of an empty table as a canvas, and the pieces as the paint. Creating a Thanksgiving tablescape can be a wonderful way to be creative and expressive. I always start with the centerpiece and make it the focal point of the table.
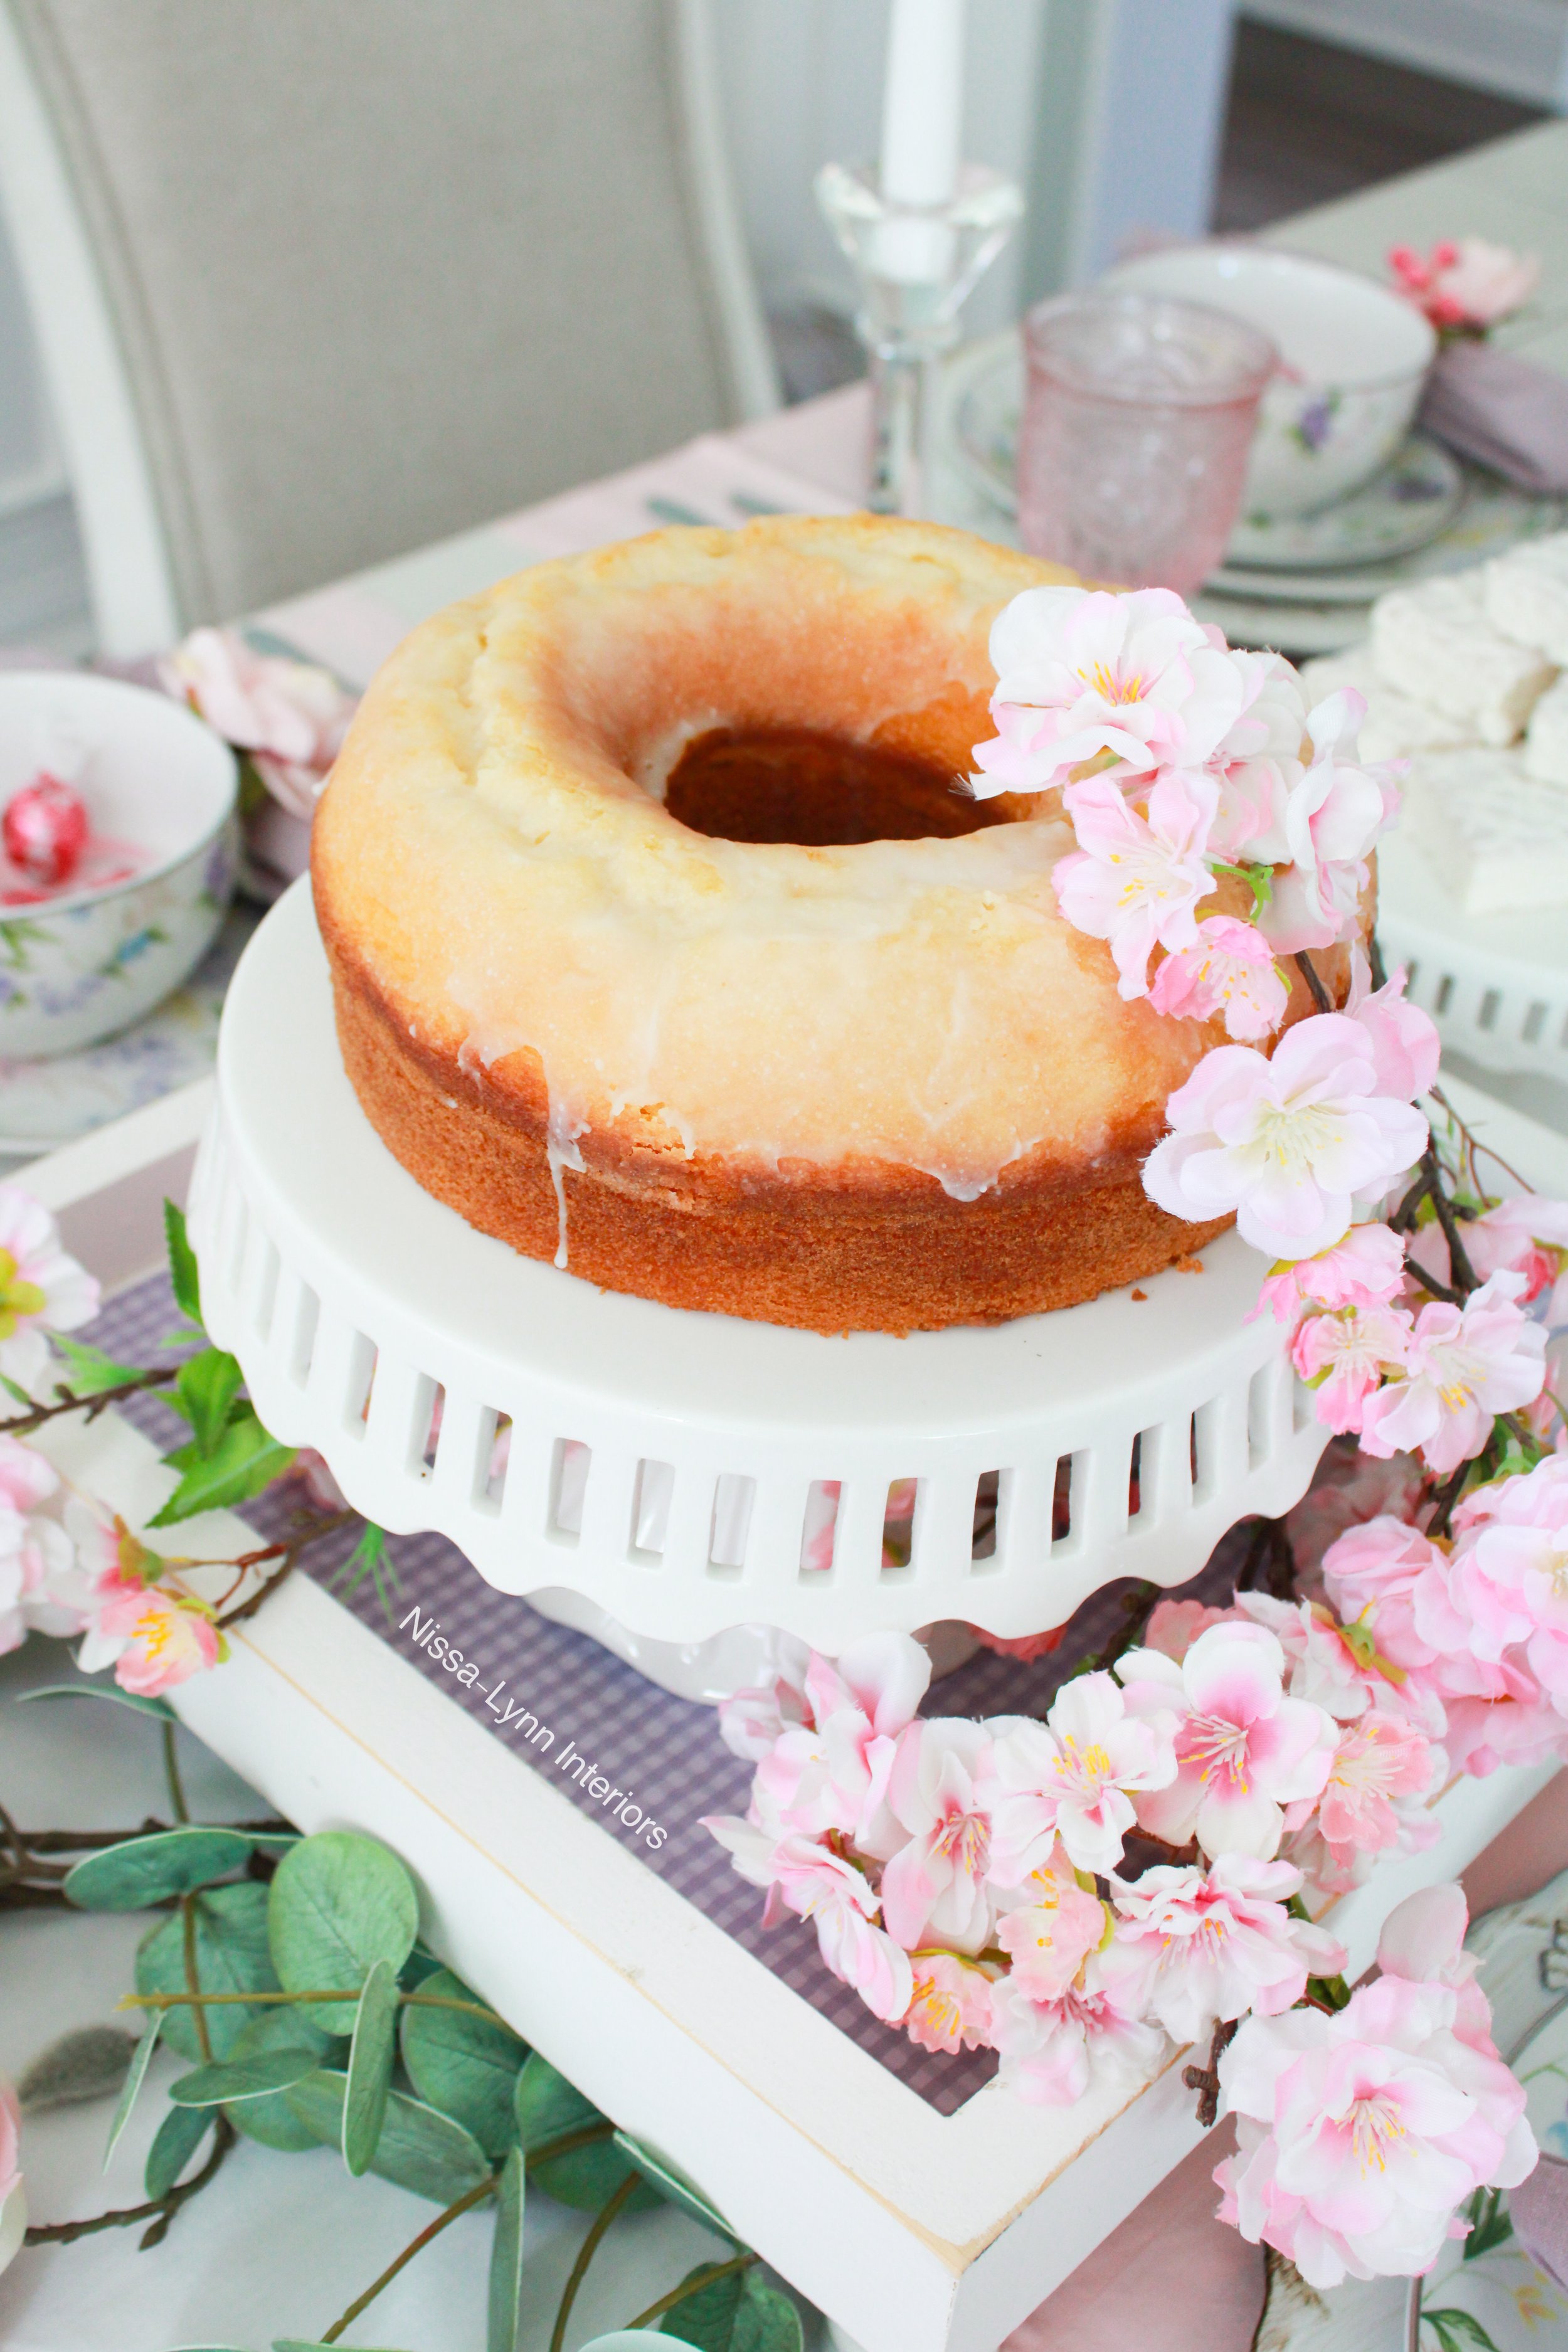
My table is just over eight feet long, so I wanted to use an extra long elevated centerpiece. But I couldn’t find one in the stores so I decided to make my own! I went to my local hardware store and bought a large board and some furniture feet.

Once home, I gathered the materials and planned out my next steps. To make this centerpiece a bit more interesting, I used a router to create a decorative edge. If you don’t have a router, or want a simpler technique, just use sandpaper to round off the corners for a smooth finished look.

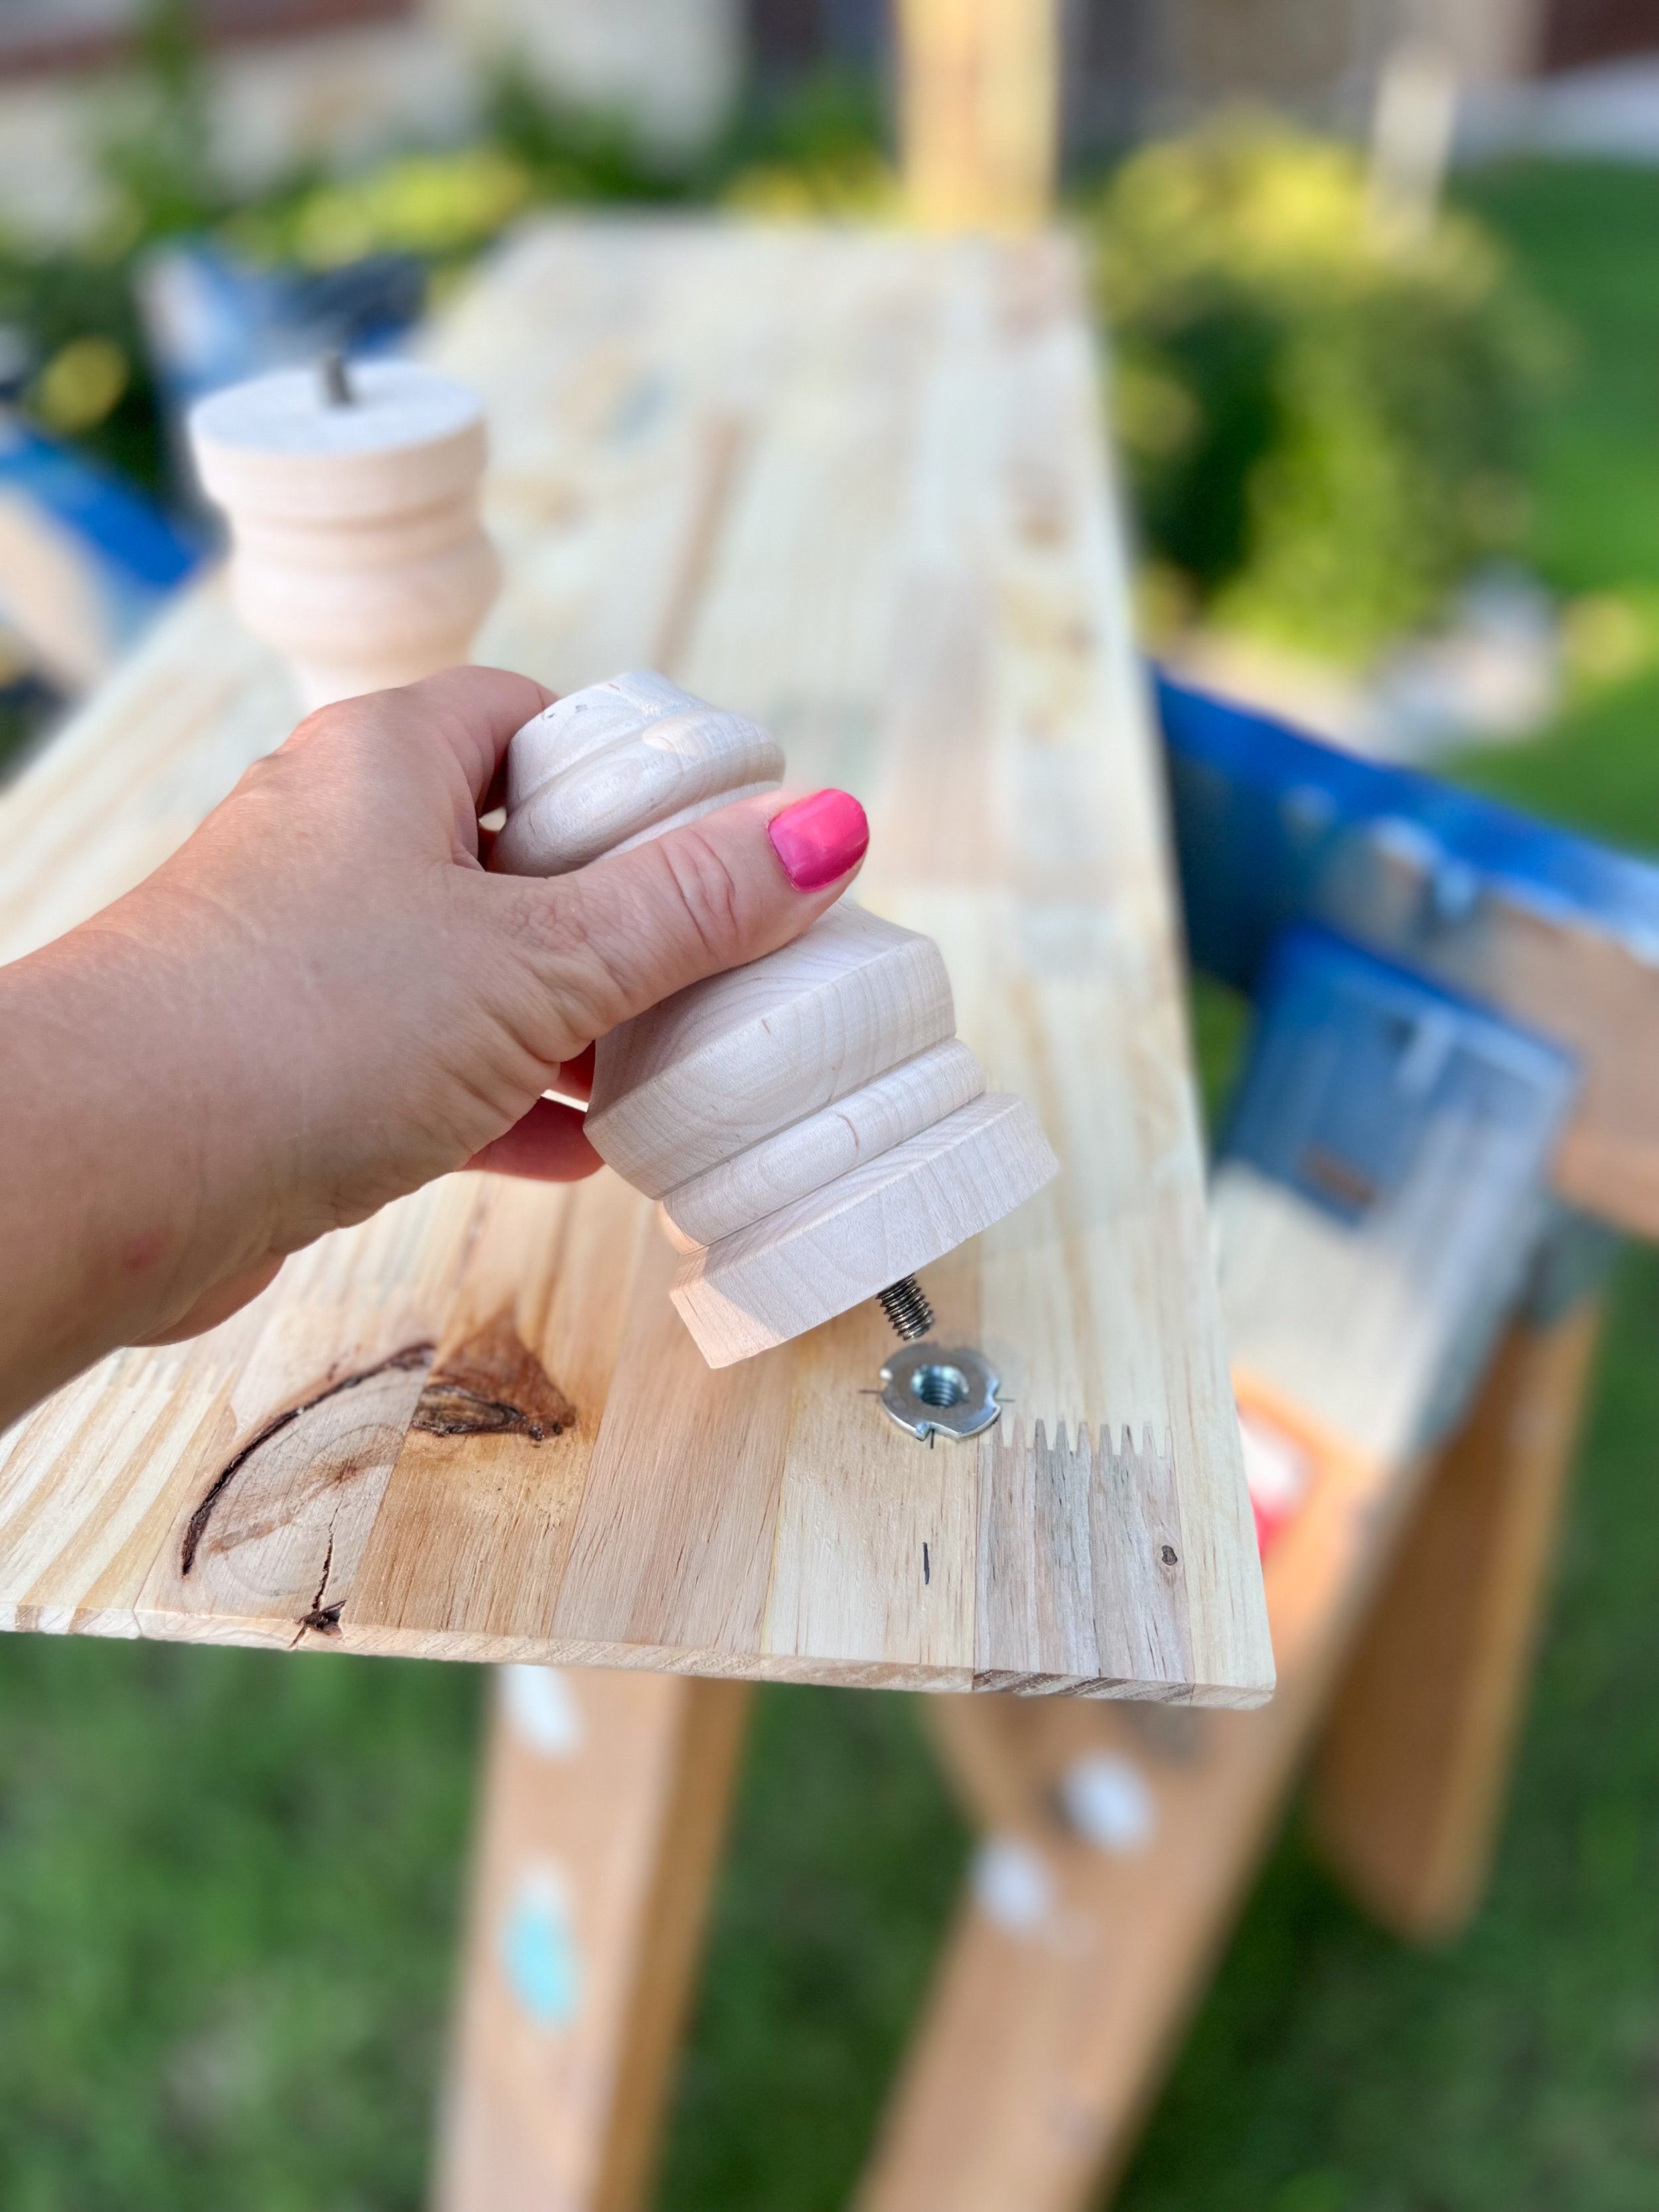
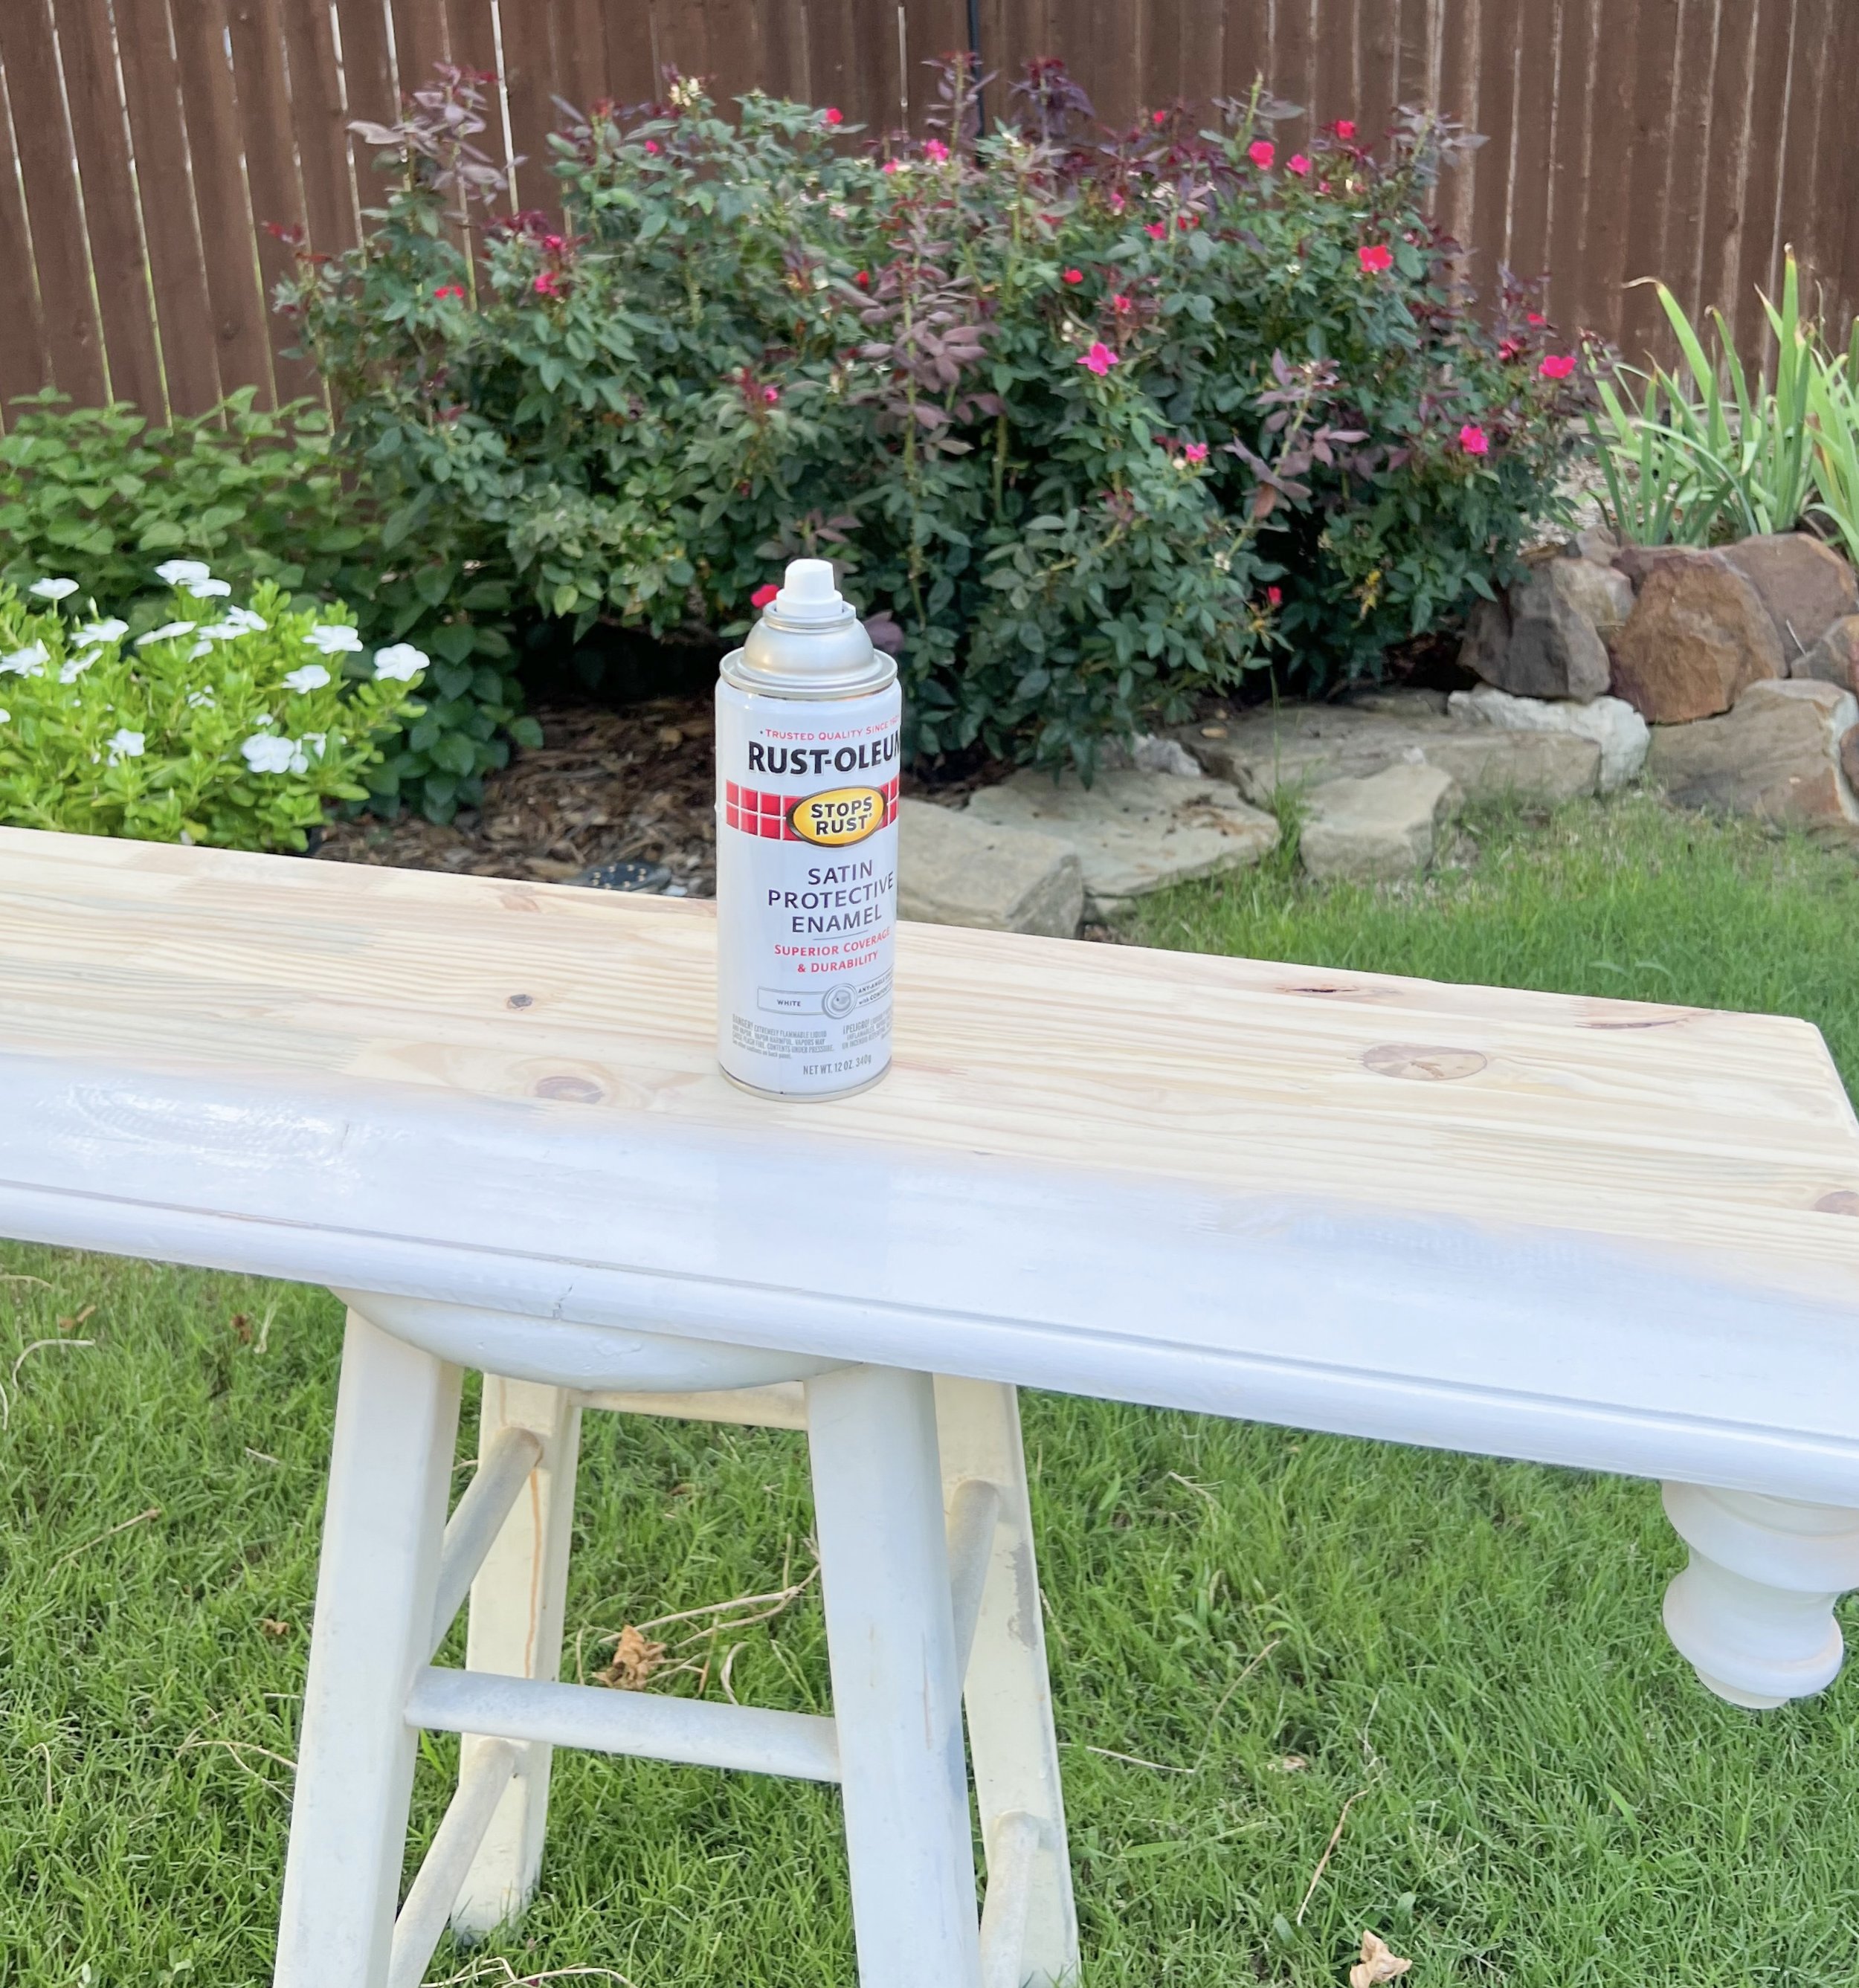
Afterwards, I drilled holes in one side of the board and hammered in threaded plugs to attach the feet. With the feet attached, it was time to paint. I chose a satin white spray paint for a quick durable finish. After the paint dried I went back over it with sandpaper to create a rustic texture for my Thanksgiving tablescape.

Creating Coziness with Decor
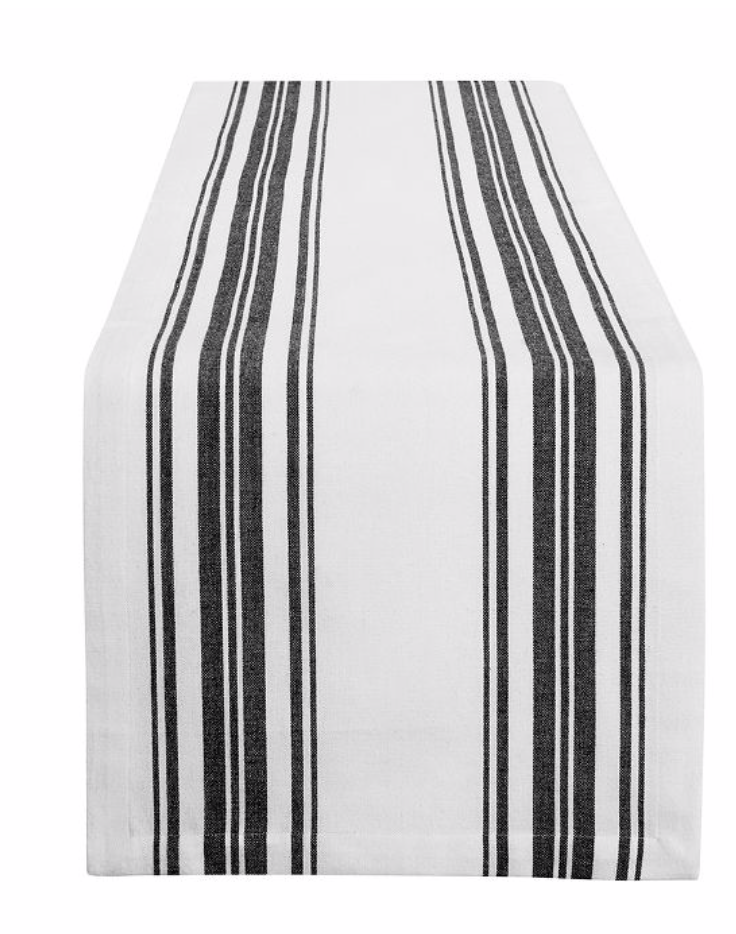
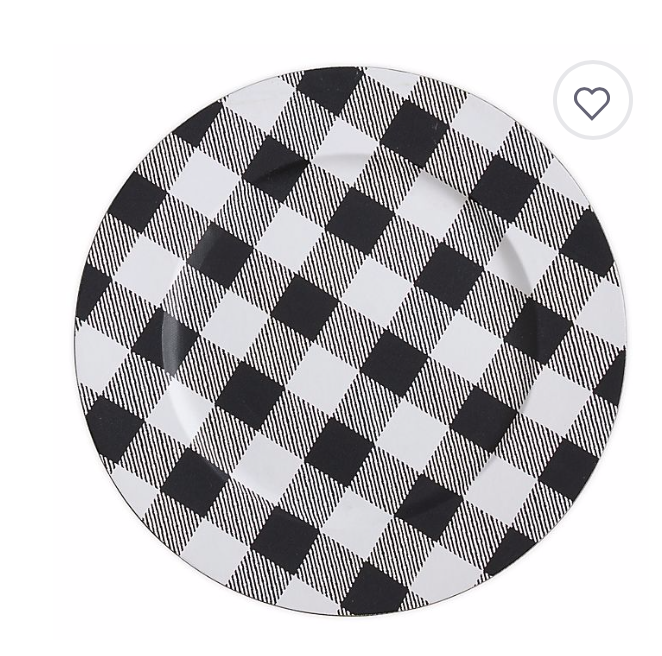
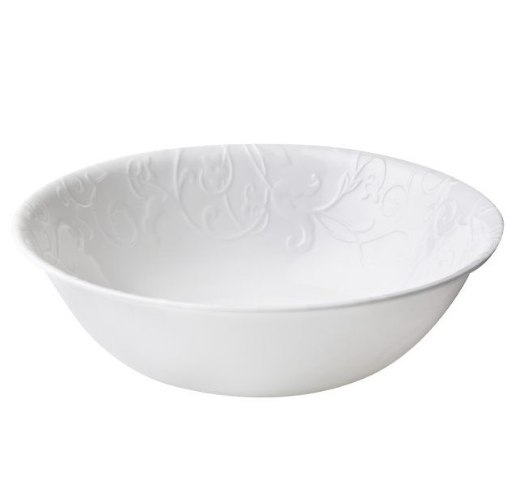
With the board complete, it was time to decorate the table. (My favorite part!) Going around the table I started layering the plates using a charger as a base, followed by the dinner and salad plates. By putting the largest plates down first, it gives me an idea on how much room I have to add the decorative pieces, uch as candles near the centerpiece.
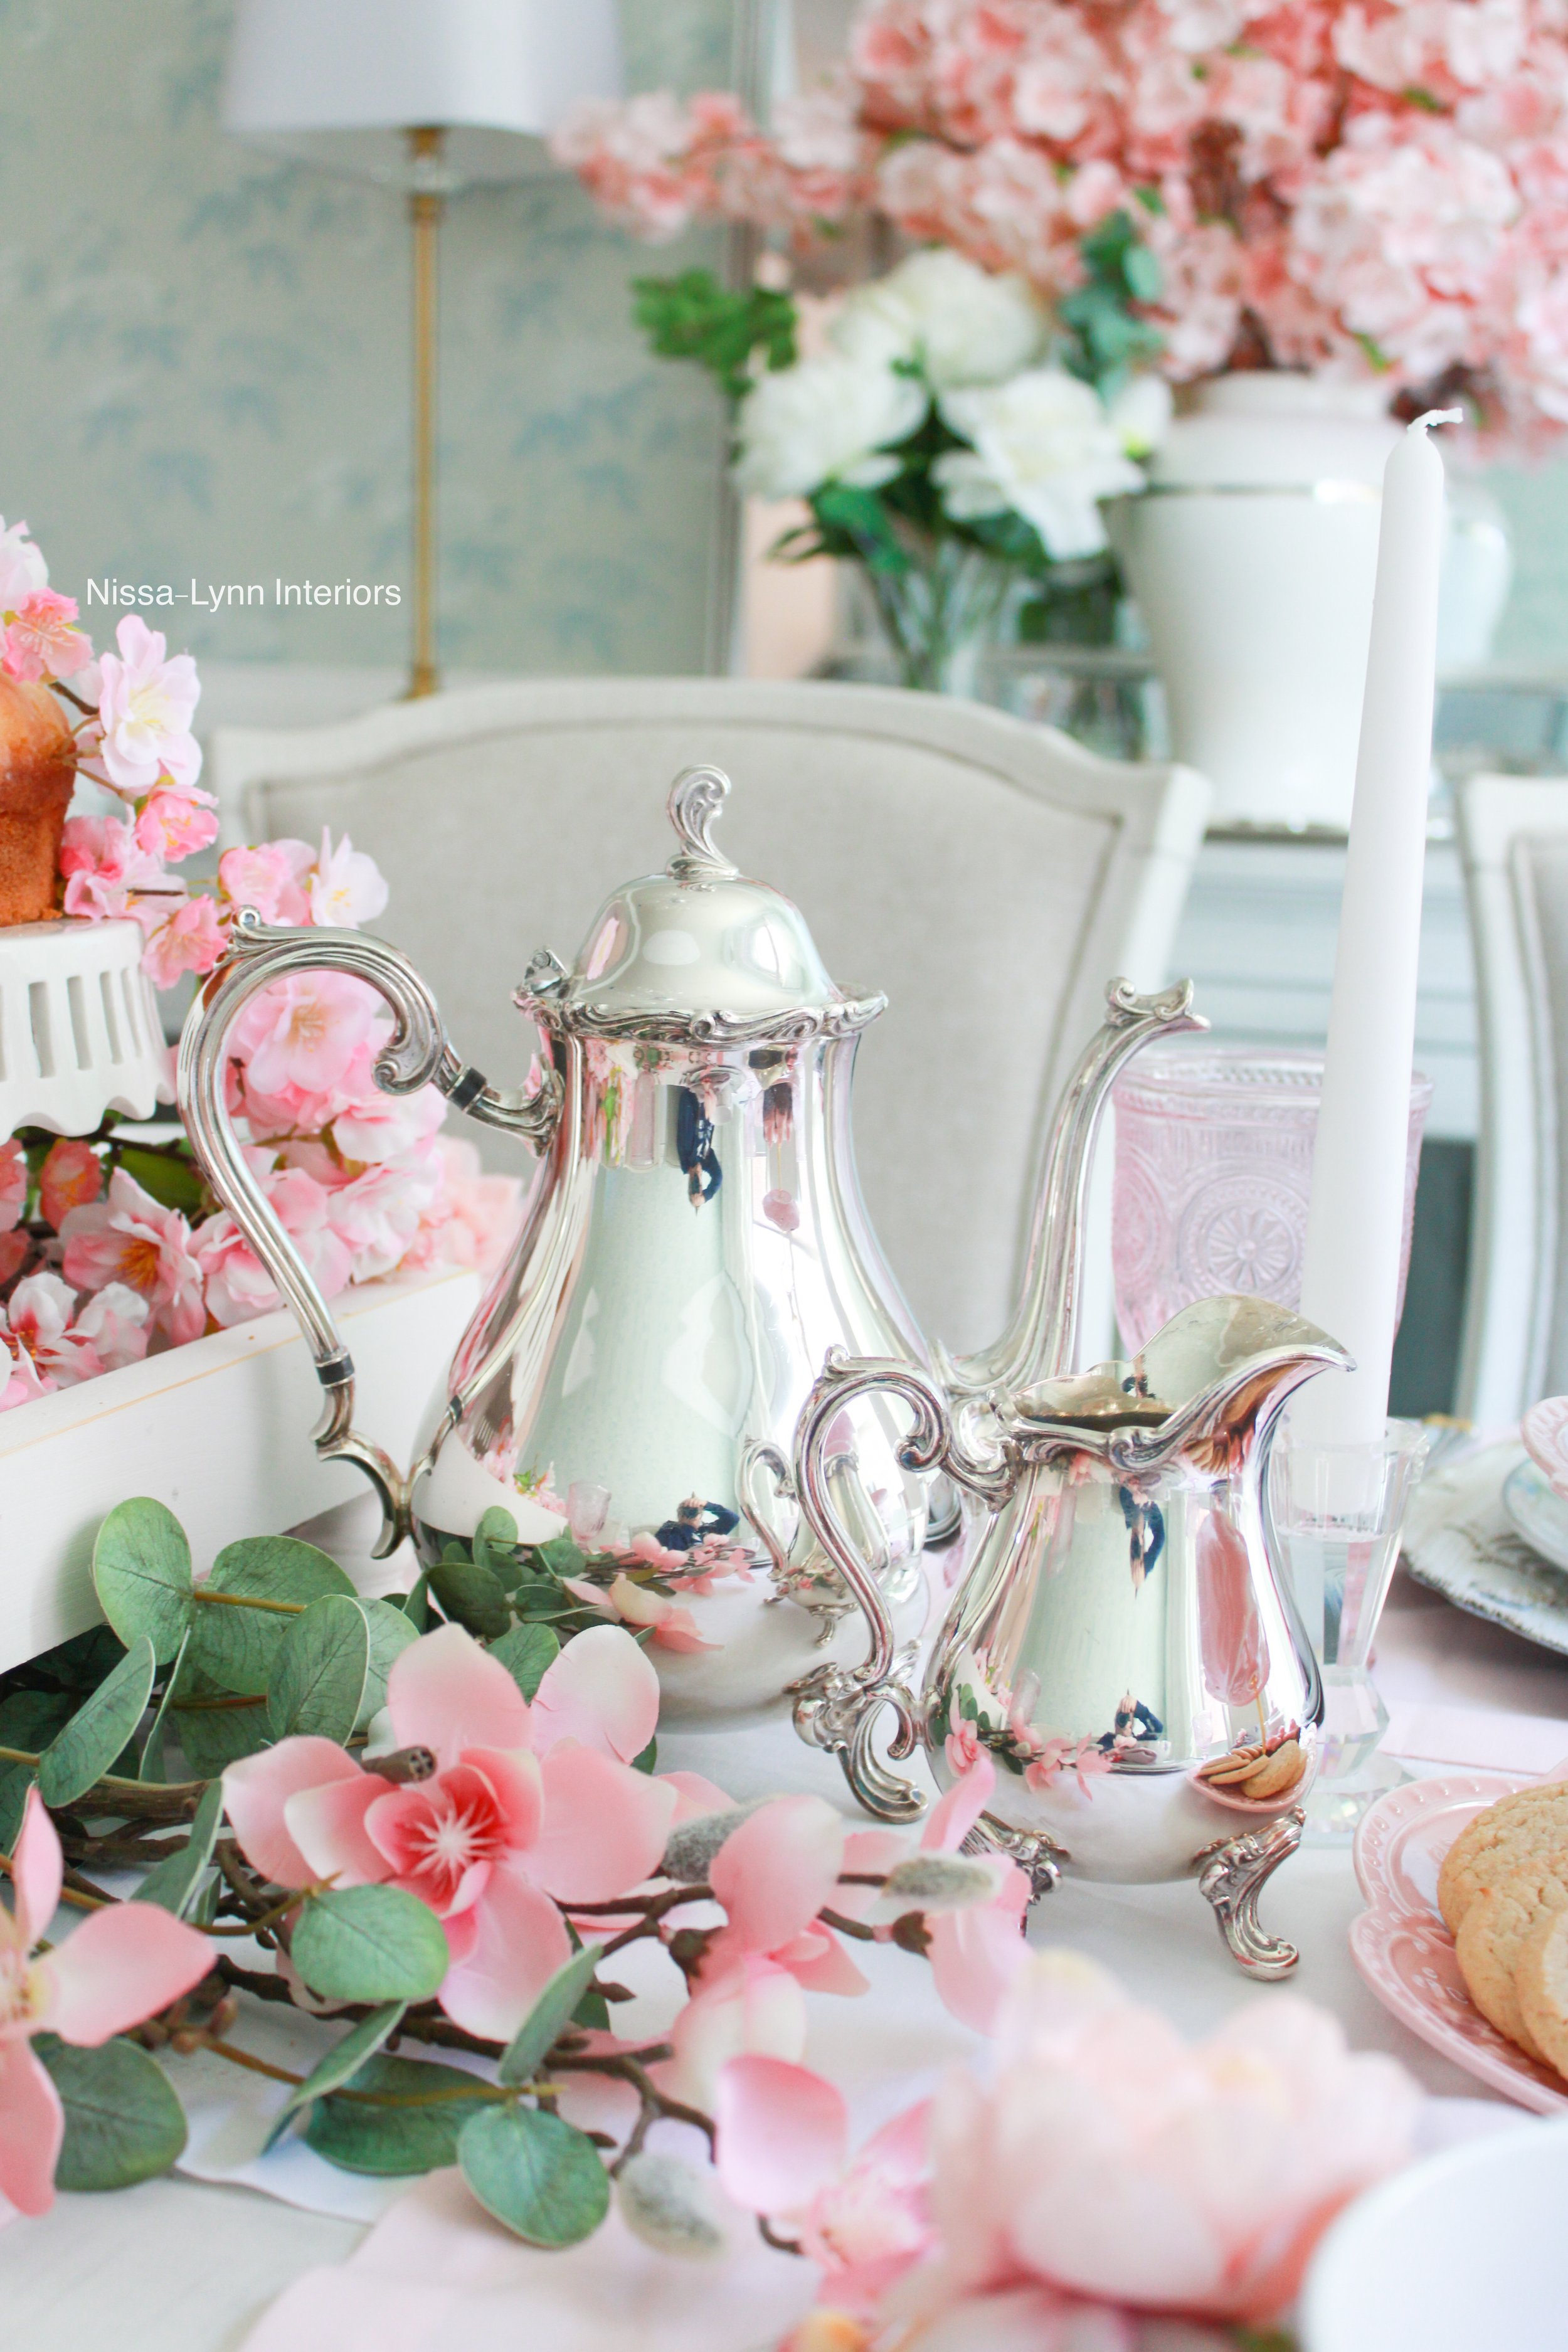
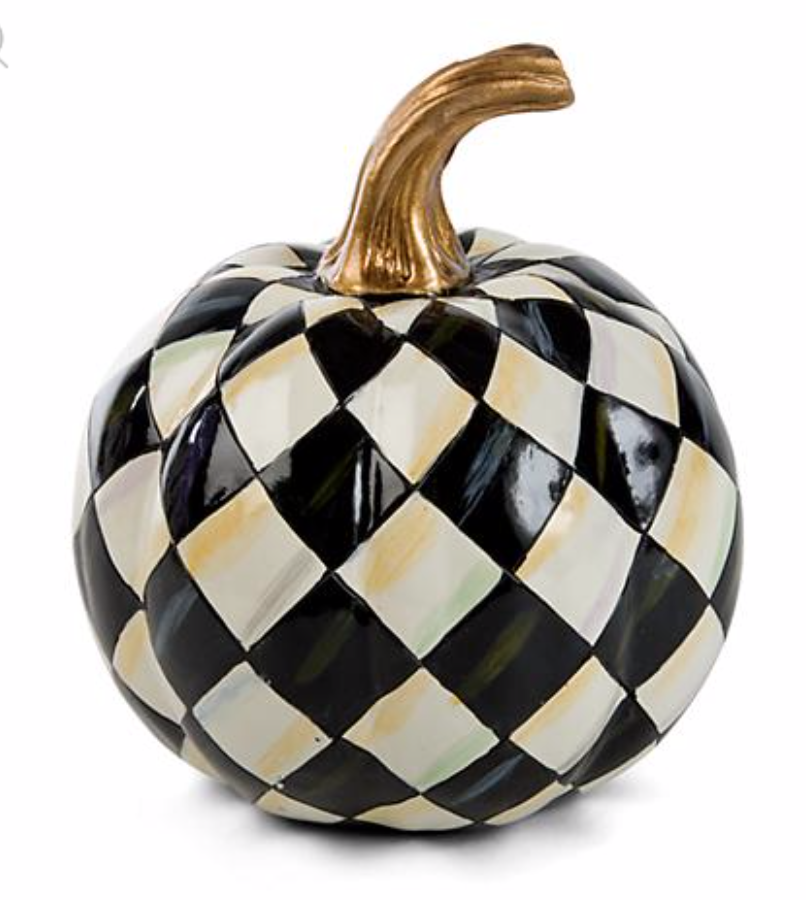
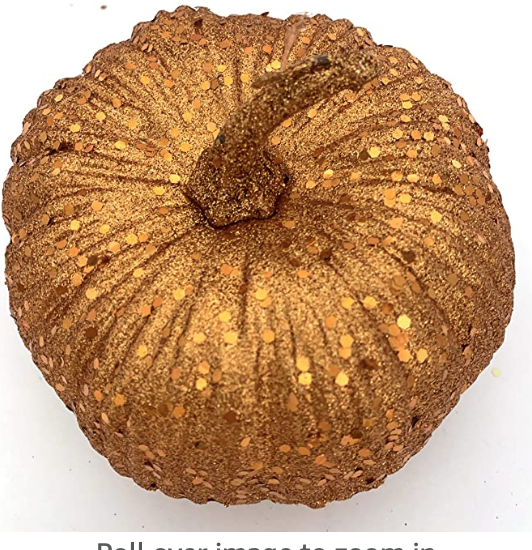
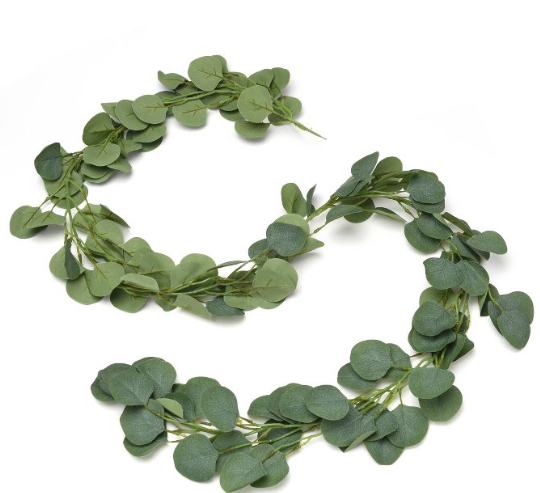
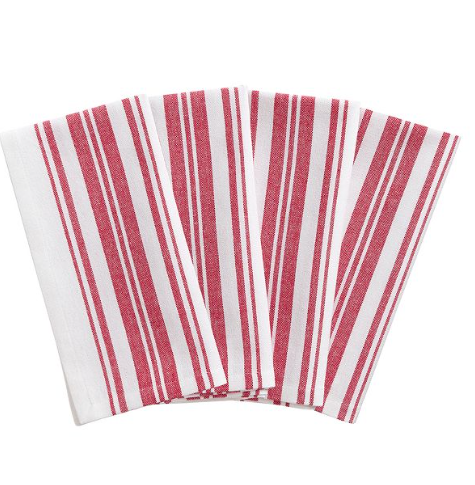
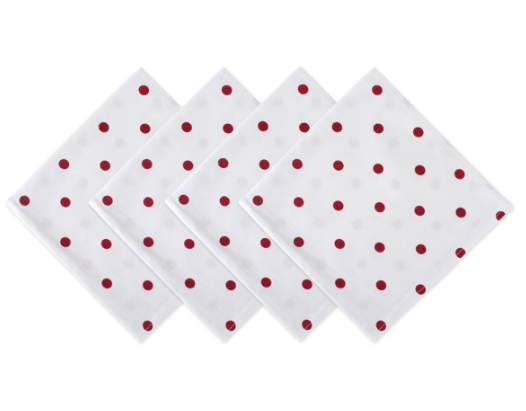
Next I place the glasses, silverware napkins with napkin holders. (There’s a wide assortment of napkin holders available.) I love to mix in florals, pumpkins, faux leaves, and sprinkle them around the Thanksgiving table to create ambiance. You could also incorporate a small charcuterie board mixed in with the decor.


I hope these ideas spark your creativity and get you excited for the upcoming holiday season!