Join me for a Mother’s Day Tea Party!

Mother’s Day is right around the corner and what a more wonderful way to celebrate Moms than with a Mother’s Day Tea Party! 

But you don’t need to wait for Mother’s Day to have a celebration like this - you could host a similar lovely event for occasions like bridal or baby showers. (Click on highlighted words for links.)

When planning this elegant tablescape I knew it had to have a soft romantic color palette made up of pastel pinks and sweet lavenders. Once I decided on the color scheme, I went searching for the perfect pieces. I found these perfect linen placemats, cloth napkins, floral napkin rings, spring patterned floral dish ware, and complimentary light pink water goblets - that all paired perfectly!

But my favorite thing on the table is the vintage silver tea set. It was my late grandmother’s and dates back to the 1940’s. She gave it to me when I got married about twenty-four years ago, and it has been a treasure to me ever since. This tea set is a family heirloom that I cherish wholeheartedly.💕 

Tablescape Tip: Always start with the centerpiece so you know how much room you have for decorative pieces on the sides and space for the dishes. Then if you need more room for glasses, dishes etc, you can easily adjust items instead of having to move everything.

I wanted to display the desserts on the table and use them also as decorative pieces.

And of course no tea party is complete without petit fours and chocolates. Petit fours have been a favorite of mine since I was young and saw the 1995 movie Little Women. I displayed the pink petit fours on a vintage looking dessert stand for that classic, English tea luncheon feel.

For my centerpiece I placed a sourdough glazed bunch cake on a tradition white ceramic cake stand, and placed that on top of a white wooden riser. Then I placed faux cherry blossoms on the side of the cake and had them run down one side of the riser. 

I put pink wrapped strawberry Lindt chocolates in each bowl to add some interest and a pop of color to the beaux inside of the bowl. I also added little white cakes and sugar cookies for additional treats to be enjoyed. I plan to serve finger sandwiches, cheese, crackers and traditional scones.

Happy Mother’s Day! I hope each of you have a beautiful, blessed day celebrating you!💕

For links to items in this post click here.

Warmer Weather Finds

The warmer months are here and I’m all about refreshing rooms and brightening up spaces in my home! The greatest update I did this season was changing out my traditional taupe living room sofas for a brighter, more contemporary look with a sofa and love seat from Jonathan Louis Furniture. I also updated some living room accessories. (For links to items in this post go here.)

I added this large contemporary white bowl to my coffeee talbe and filled it with vibrant green moss balls. This really brought in a pop of color againz the cosateal, nuetral furniture and pillows.

My new Jonanthan Louis customized furniture is part of the chic, tailored Pia Collection - and I absolutely love it! There were so many fabrics options to choose from, and after narrowing it down to three fabric swatches, I chose a beautiful, elegant fabric called Dover Ivory. This is a just live™ performance fabric. That means this fabric is durable, STAIN RESISTANT, soap cleanable and moisture repellant. Definitely check out Jonathan Louis and all their amazing furniture options for your home! #ad

Even though sofas, chairs and loveseats come with coordinating pillows, you don’t have to be stucke using them if they don’t strike your fancy. I always bring in my own pillows with different colorors, patterns and fabrics to create a more interesting look.

I also update my fireplace mantle decor. Again, like the coffee table, I kept the look pretty light and airy with a pop of green from some faux eucalyptus stems. I also added two more white clay vases that act as book end for the linen decorative books.

Click here to get links to all items shown in post.

New Floors Make the Best Christmas Gift!

Christmas came early with this new flooring from Select Surfaces! I keep looking around and can’t believe this is my home! ❤️ This new laminate flooring is a game changer! Everything went so smoothly from receiving the planks, to the removal of the carpet and final installation. (Sponsored)

F80626B3-4867-4DBB-8C77-4BA66F70D53C.jpeg

After living in our home for nine years, the builder grade carpet had definitely lived its life and needed to go! We planned on replacing the carpet in the dining room, living room, and master bedroom with wood flooring. But first I needed to explore options. I did a lot of research on different flooring types and materials.

We had some specific things we were looking for in new floors: 

-It had to be durable - because we have five children and lots of traffic. 

-It also needed be be waterproof/water resistant to protect against spills.

-We needed to be able to install it ourselves. 

-And I wanted a beautiful, timeless shade of laminate wood color. 


Select Surfaces met all of these requirements hands down, plus they offer a limited lifetime residential warranty!

7449C5DA-15C3-4263-AB16-931B481A9972.jpeg

You can purchase the flooring from your local Sam’s Club or order it online, and then pick it up at Sam’s Club.

We installed this over a concrete subfloor so after we removed the old carpet and pad, we put down a plastic moisture barrier to protect the laminate from any moisture that may transfer from the concrete. You can learn more about prepping your subfloor at here.

DE7311A7-56EF-4BB6-9706-6AEFF4136DA5.jpeg

Once we started installing we were amazed at how great it was. Select Surfaces flooring uses their Speedloc™ installation system which makes this laminate flooring extremely easy to install. The Speedloc™ system uses a tongue and groove joint that fits right together. Sometimes you need to wiggle the planks a bit to get them seated, but after they click together they hold very well.

0F76F269-E095-4BA0-BE8C-74CAE261CA26.jpeg

Here are some things I will recommend. First, get a saw blade specifically for cutting laminate. We couldn’t find the right size blade locally so we used a new fine tooth finish blade. It worked great for most of the project, but by the end it was cutting very slow and we replaced it before doing the transition moldings.

Second, a battery powered hand-held jig saw is very helpful for notching out the laminate to go around corners or any other molding or trim you may have in your room.

3FE980E6-024D-4E0D-A1E6-0FFDB445C7CD.jpeg

Third, do your research! There is a lot of good info here and more is available all over the internet. Especially if you will be going through any doorways, as the undercutting of the door frames is a different process.

1914B1F5-2BAC-4089-9152-FA338E8DBFAD.jpeg
2E92592F-1F7E-46AD-9314-B164FA48FAC0.jpeg

I had friends of ours that saw my Instagram stories of us installing the floors and they had to come over to check them out. They were in awe and couldn’t believe how amazing these laminate planks looked! They’re ordering their flooring samples from Select Surfaces next week!! 

I can’t even begin to tell you how impressed I am with the flooring from Select Surfaces! Definitely check them out for your flooring needs!

15FD07BE-6308-4E95-8698-A588CE14FF5B.jpeg

Fall is in the Air!

My living room is all decorated for fall! I had fun using lots of different textures in my coffee table decor, while bringing in pops of traditional fall colors. Do you enjoy decorating for fall?🍁🍂🍁

1E96E6EF-80E5-444C-9A99-980E33ABFF17.jpeg

Can you tell that this fireplace garland is actually three different garlands put together? 🍁 I couldn’t find a large garland anywhere so I used two garlands of one kind and a different one for the center, then put them all together. I nailed in two tiny white nails in the front of the mantle to keep the garlands from falling forward. Then I also added faux leaves, flowers and beaded stems to fill in empty spaces and to make the three garlands look like one.

garland.jpg

This photo below might be one of my favorite photos I’ve ever taken. To me this photo represents fall, with all its’ wide range of colors and natural elements. For the center police I used a lot of wood texture. I paired the mango wood candlesticks with the painted white word pumpkins, then added fall stems to fill in the empty areas on the tray. (The taupe and orange pumpkins are from Hobby Lobby.)

This white tray is a home decor staple in my home. I use it for almost every season because the white goes with everything, plus it’s the perfect size for most coffee tables. You can find it here.

This white tray is a home decor staple in my home. I use it for almost every season because the white goes with everything, plus it’s the perfect size for most coffee tables. You can find it here.

I love what this tag says. “Grateful.” To me this tag says one of the most important virtues in life. To me, being truly grateful for blessings in one’s life will only bring true happiness. When I saw this pumpkin at the store, I knew I had to get it and take an uncles photo of it. I also love the pumpkin because it’s so interesting with the carved indents on it. It make it so interesting, and interesting pieces are great in decorating.

greatful.jpg

I love the look of candlesticks, but I don’t lichee mess of real candles! Flawless candles were one of the best inventions ever! I always purchase mine here.

Notice the white leaf stamp on the orange pumpkin? I like the muted orange next to the contrasting deep red beads.

Notice the white leaf stamp on the orange pumpkin? I found it fun to mic the muted orange next to the contrasting deep red beads.

fall frech chair.jpg
The cute orange pillow, white wood pumpkins and Harvest sign are from Krumpet’s Home Decor 🍁 Use code NISSALYNN for 10% off your order plus free shipping on orders over $25

The cute orange pillow, white wood pumpkins and Harvest sign are from Krumpet’s Home Decor 🍁 Use code NISSALYNN for 10% off your order plus free shipping on orders over $25

You don’t have to buy new seasonal decor every year. I always use decor from previous years, and then buy a couple new pieces each year. In fact,this autumn sign I’ve had for over thirteen years. I bought it from one of my friend’s boutique, and it’s 100% hand made.

autmn sign.jpg
krumpets credenza.jpg
fall sign.jpg
fall different angle.jpg

Hope you enjoyed a little tour of my fall living room! If you have any questions feel free to email me!

Click on the links below to shop my home. And remember, you can always shop my posts by following me, @nissalynninteriors, on the LIKEtoKNOW.it shopping app @liketoknow.it #liketkit http://liketk.it/2XcfP #LTKhome @liketoknow.it.home

Three Key Pieces for a Simple Bedroom Refresh!

I decided my bedroom needed a small refresh, and my goal was to do it with only a couple of new pieces! I needed a new mattress, bed and nightstands. I knew with those three items alone, they could make a huge change to my master bedroom

BD763EEA-CD61-4075-A1C8-12106B0D6853.jpeg

To start this refresh, I began with the essential part of any bedroom - the bed and mattress! I’ve have the same bed and mattress for almost nine years. My old mattress was causing my back to ache, so I knew I wanted a firmer mattress. BedInABox was the answer! I’ve been sleeping on my new BedInABox mattress for about a month now, and I can honestly say that my body feels more rested!

We have the Tranquillium in king size, and I love the 12", multilayer firm, foam construction. It makes such a difference in my sleep! And to save money - use code NISSALYNN20 for an additional $20 off! #ad

We have the Tranquillium in king size, and I love the 12", multilayer firm, foam construction. It makes such a difference in my sleep! And to save money - use code NISSALYNN20 for an additional $20 off! #ad

My prior bed was a well loved four poster bed that I bought at Goodwill. We brought it home and my husband replaced a couple of the slats and spray painted it in satin white. Then I distressed it with sand paper to make it look shabby chic. I loved it! (It’s so amazing what you can do with spray paint!) But over the last year, the bed has shown significant wear and tear, and the wood frame started to break - so it was time for a new one. 

IMG_6958.jpeg

The traditional four poster bed was so large, that it seemed take over our entire bedroom, plus the poles were the first thing you noticed when you walked into the room. I decided I wanted a French country bed with a large tufted headboard. The Realyn King Panel bed from Living Spaces was the answer! 

625CEF22-DD30-4C09-980B-AB34B4E0E723.jpeg

I need to tell you about Living Spaces, because it is a furniture store unlike any other! In my local Living Spaces store, in Frisco, Texas, they have four, 2000 sq ft homes built inside the store to showcase their beautiful furniture. This also helps give you decorating and furniture placement ideas. Such a great concept!

FCA511DC-7173-4A75-A3B8-B17A846B81AC.jpeg

After changing up the bed and mattress, new nightstands were next. I wanted to mix styles and add more of a modern looking nightstand to go along with the French bed, so I ordered two night stands from the Presby collection at Living Spaces. The Presby nightstands are great because they have lots of storage and an USB outlet. Plus, I love the pull out piece to hold my lap top. I highly recommend them!

C1748CC6-2B2E-4827-8DAE-5E1631C50FC2.jpeg
1547C087-7978-4DB9-8900-29980E56E0CB.jpeg

I kept the same bedding and accessories but moved the decorative bench from my office and placed it at the foot of my bed. I also moved my ginger jars from living room to the nightstands. 

301D544C-ECB4-4C1E-8780-C2E0B0E00981.jpeg

Don’t be afraid to move accessories or accent furniture in your home. It can give a space new life and save you money! 

So remember, next time you want to redo a room, you don’t have to change everything, just change a couple pieces and then that room will take on a completely new look!

Featured in Voyage Dallas Magazine!

So excited to have been featured in Voyage Dallas Magazine as a Trailblazer!

You see the complete live article here:

http://voyagedallas.com/…/meet-trailblazer-nissa-lynn-pars…/

Below is text copy of the article.

Nissa+Kitchen.jpg

Today we’d like to introduce you to Nissa-Lynn Parson.

Nissa-Lynn, can you briefly walk us through your story – how you started and how you got to where you are today.
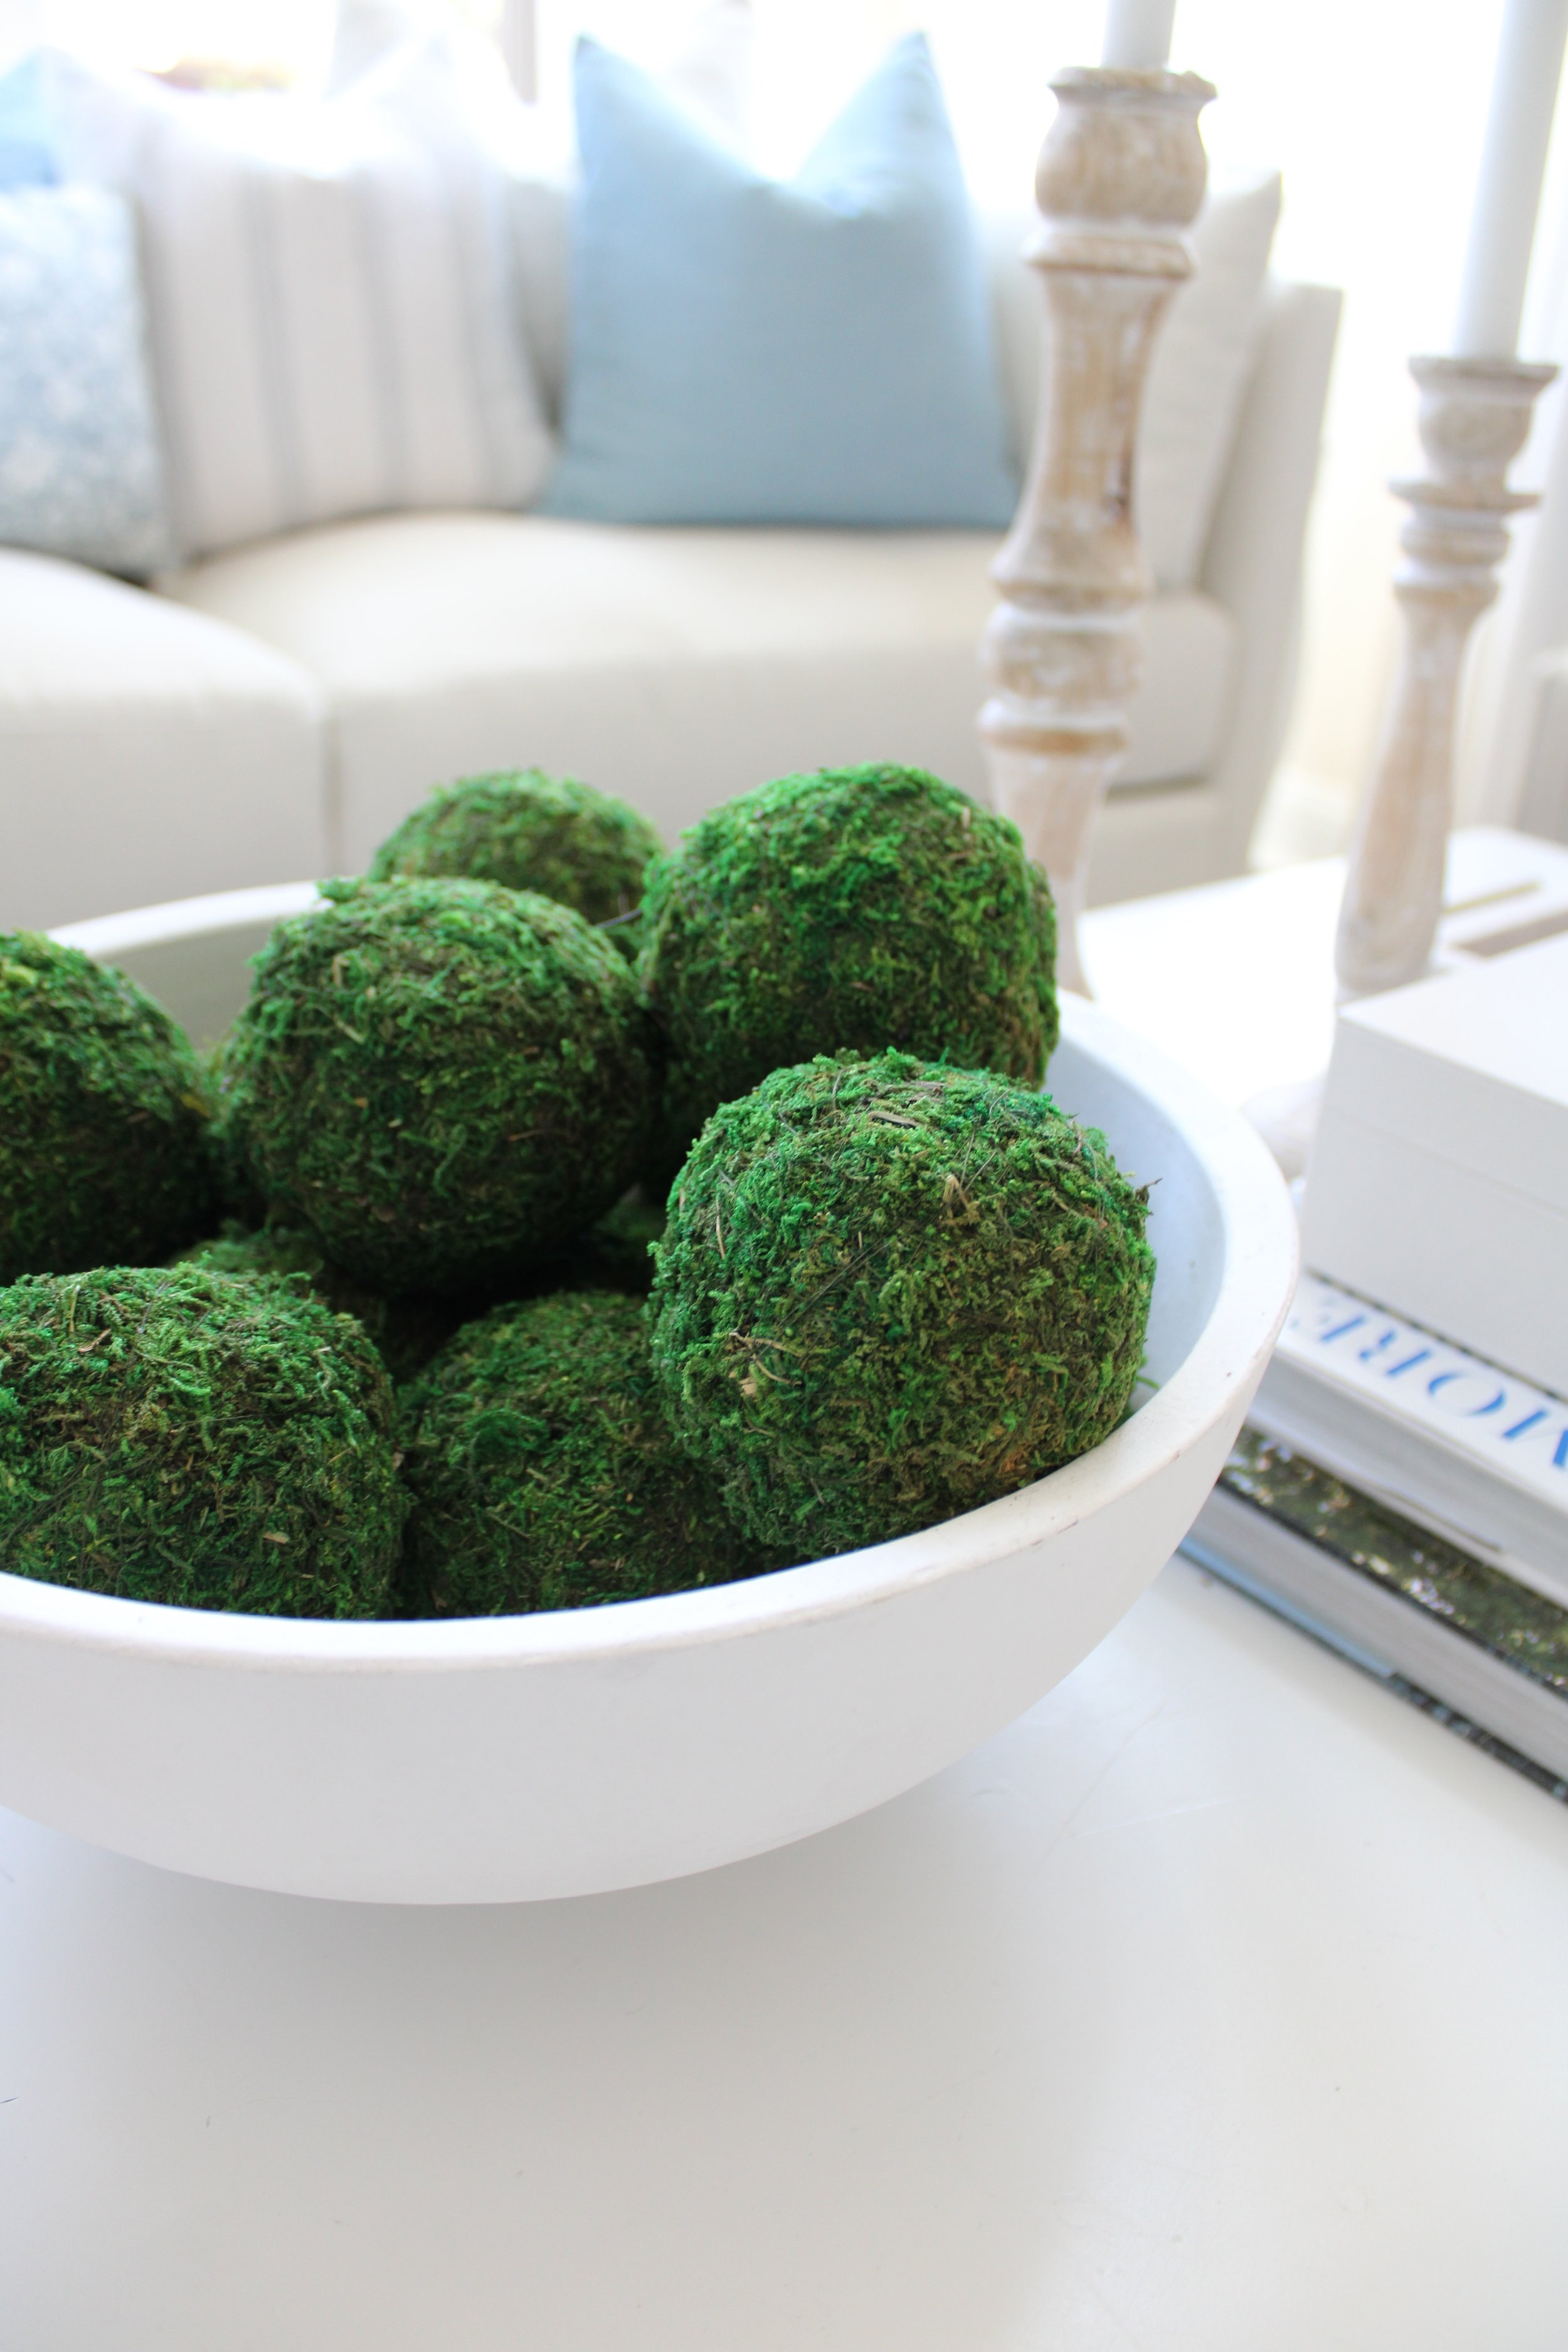
I’ve had a passion for interior decorating since I was a little girl. I discovered at an early age that your surroundings really affect your life in areas of productivity, disposition, and your confidence. I also knew from early on that I loved helping people create beautiful spaces. My Mother always had our home decorated so well – even on a tight budget. She taught me no matter what you can make any space look beautiful!

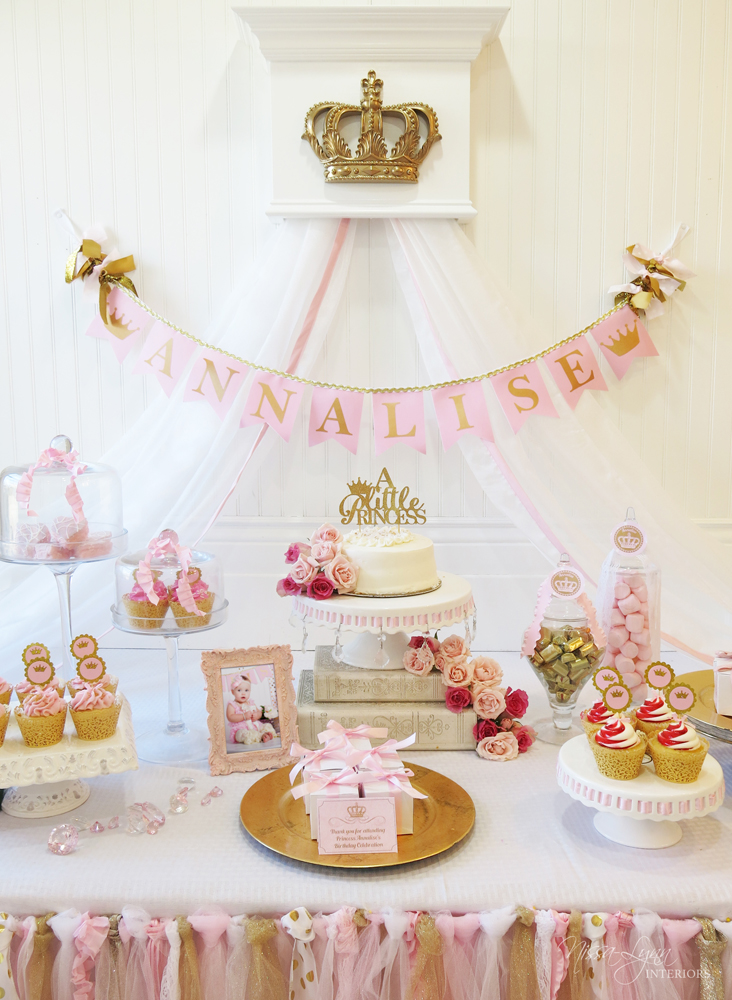
I have always been a super creative person. When I was four years old I would spend hours in the middle of the night drawing at my drawing table. When I was around seven, I would spend hours playing Barbie dolls. But it wasn’t the dolls that enthralled me, it was the furniture and tiny home accessories. I loved arranging all the furniture in my doll house and would set up little vignettes. I would then take my pink 35mm film camera and take photos of the scenes I had created. I loved creating visual displays!

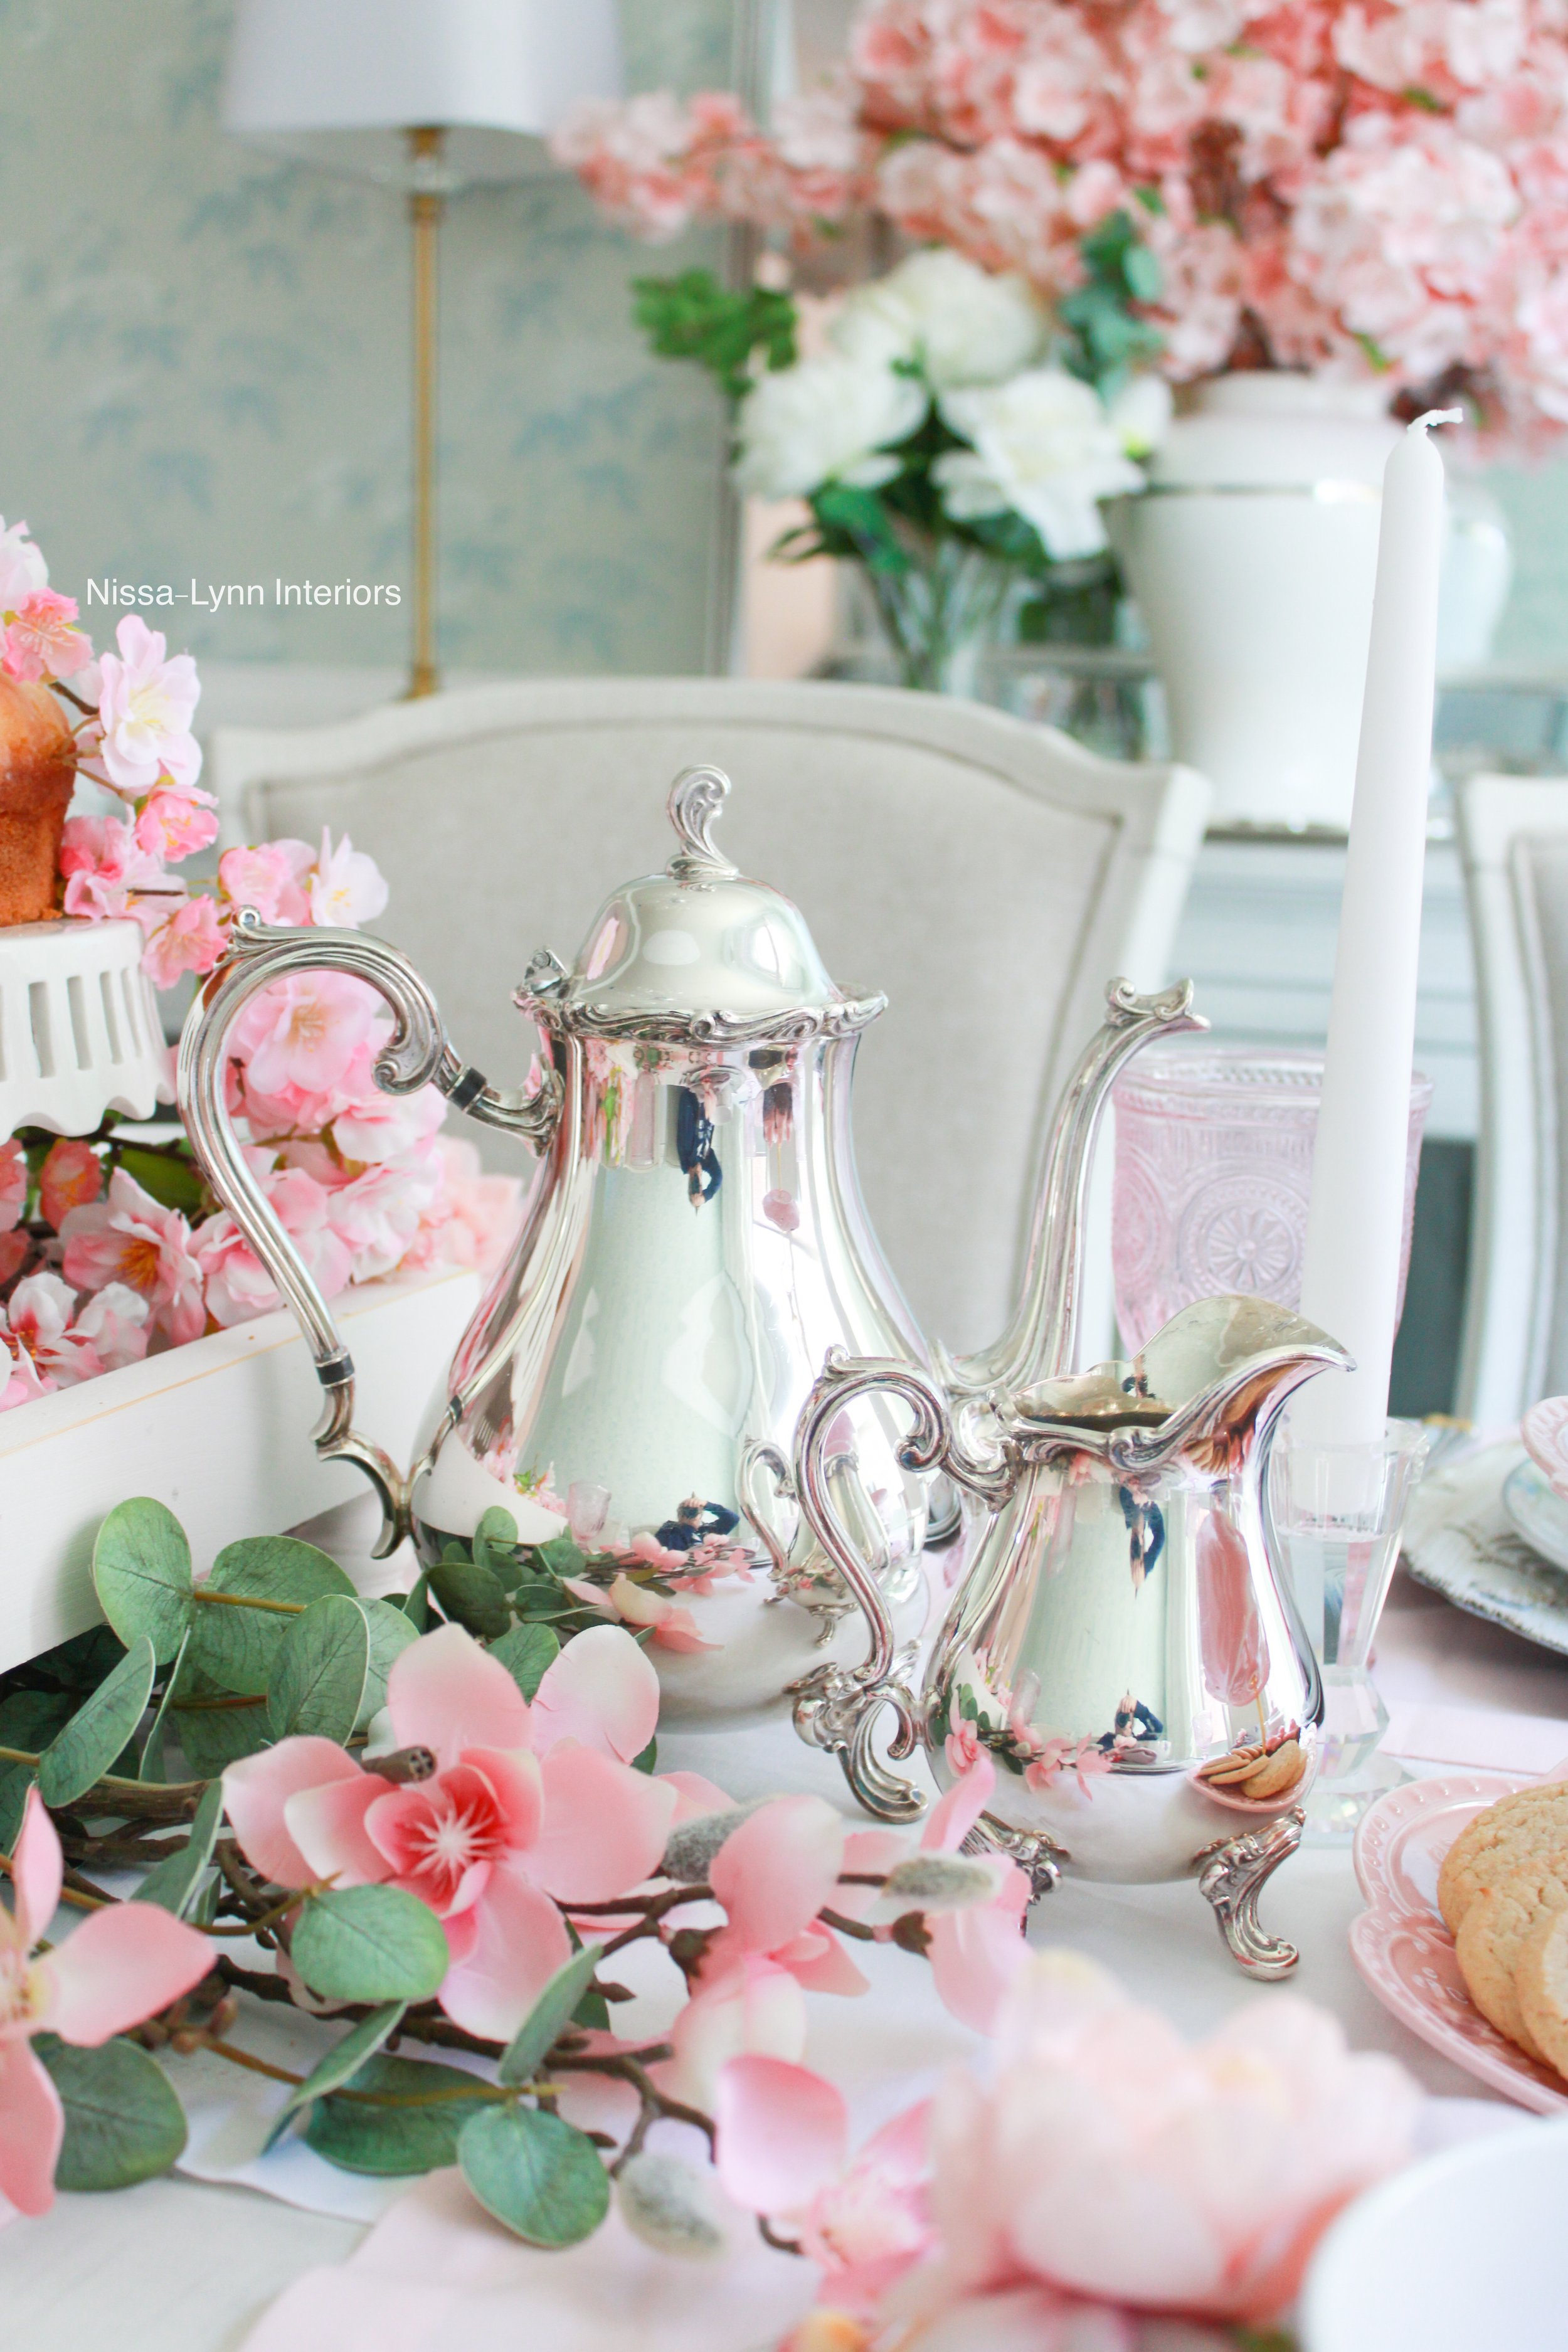
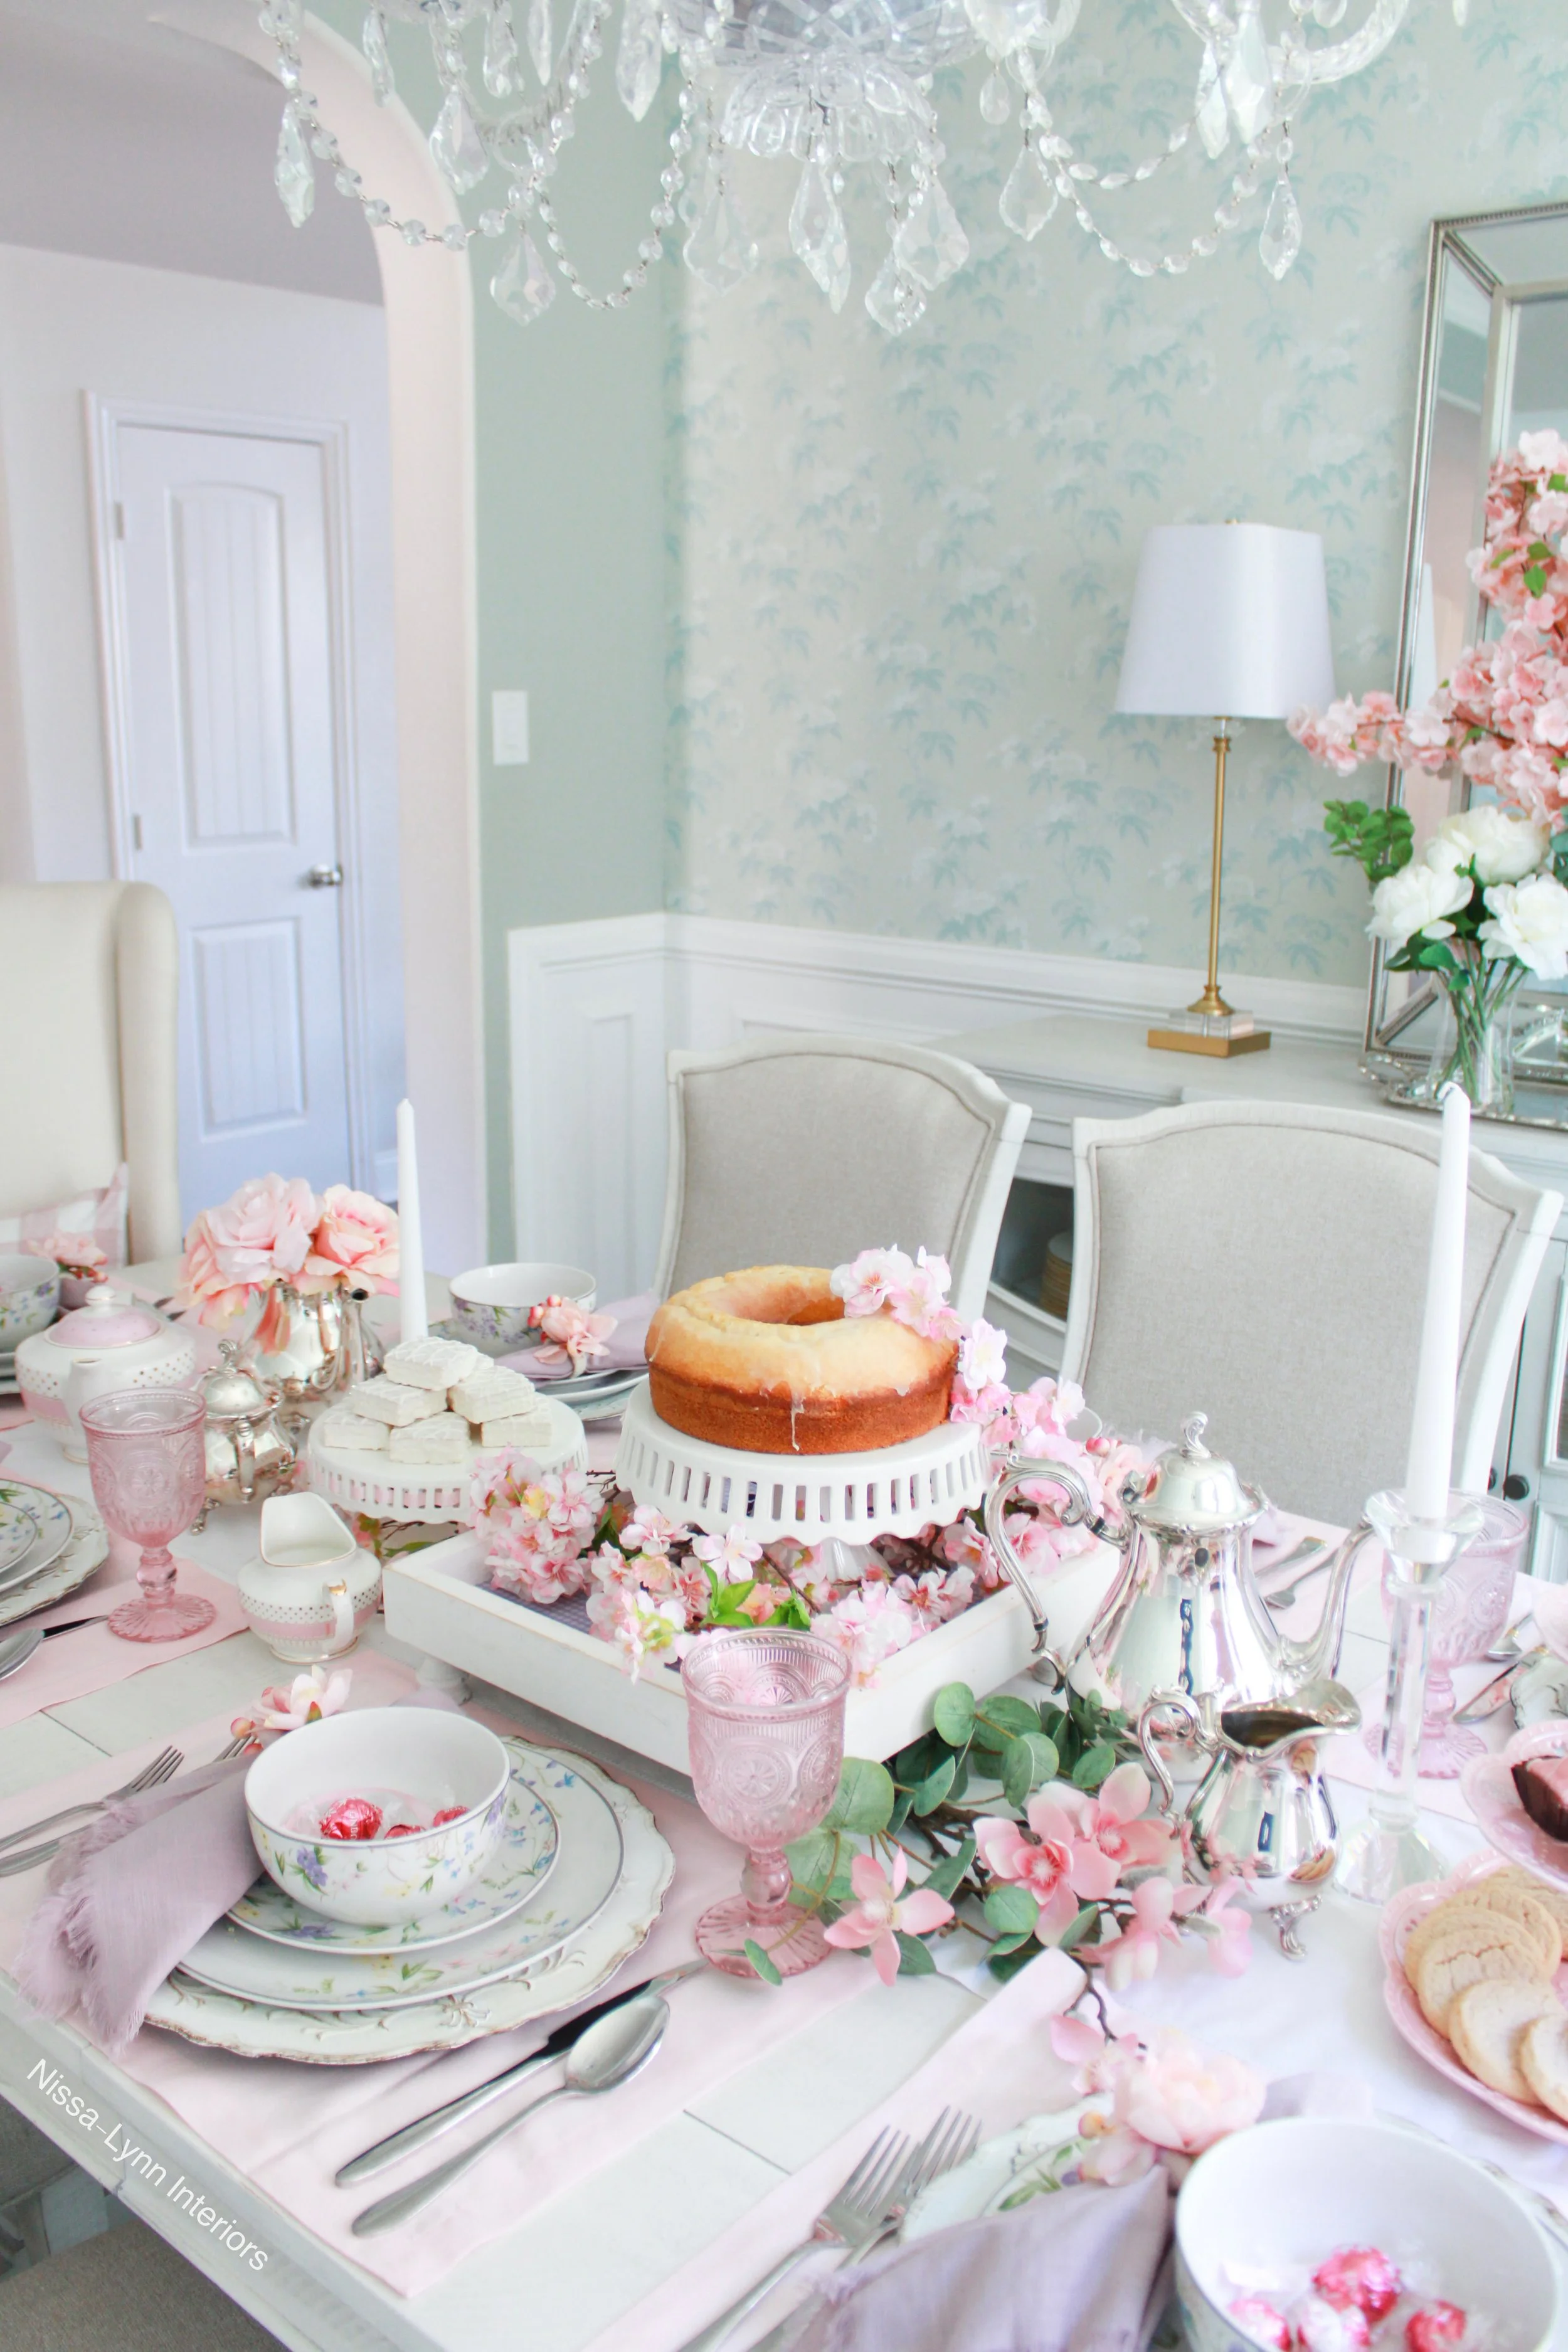
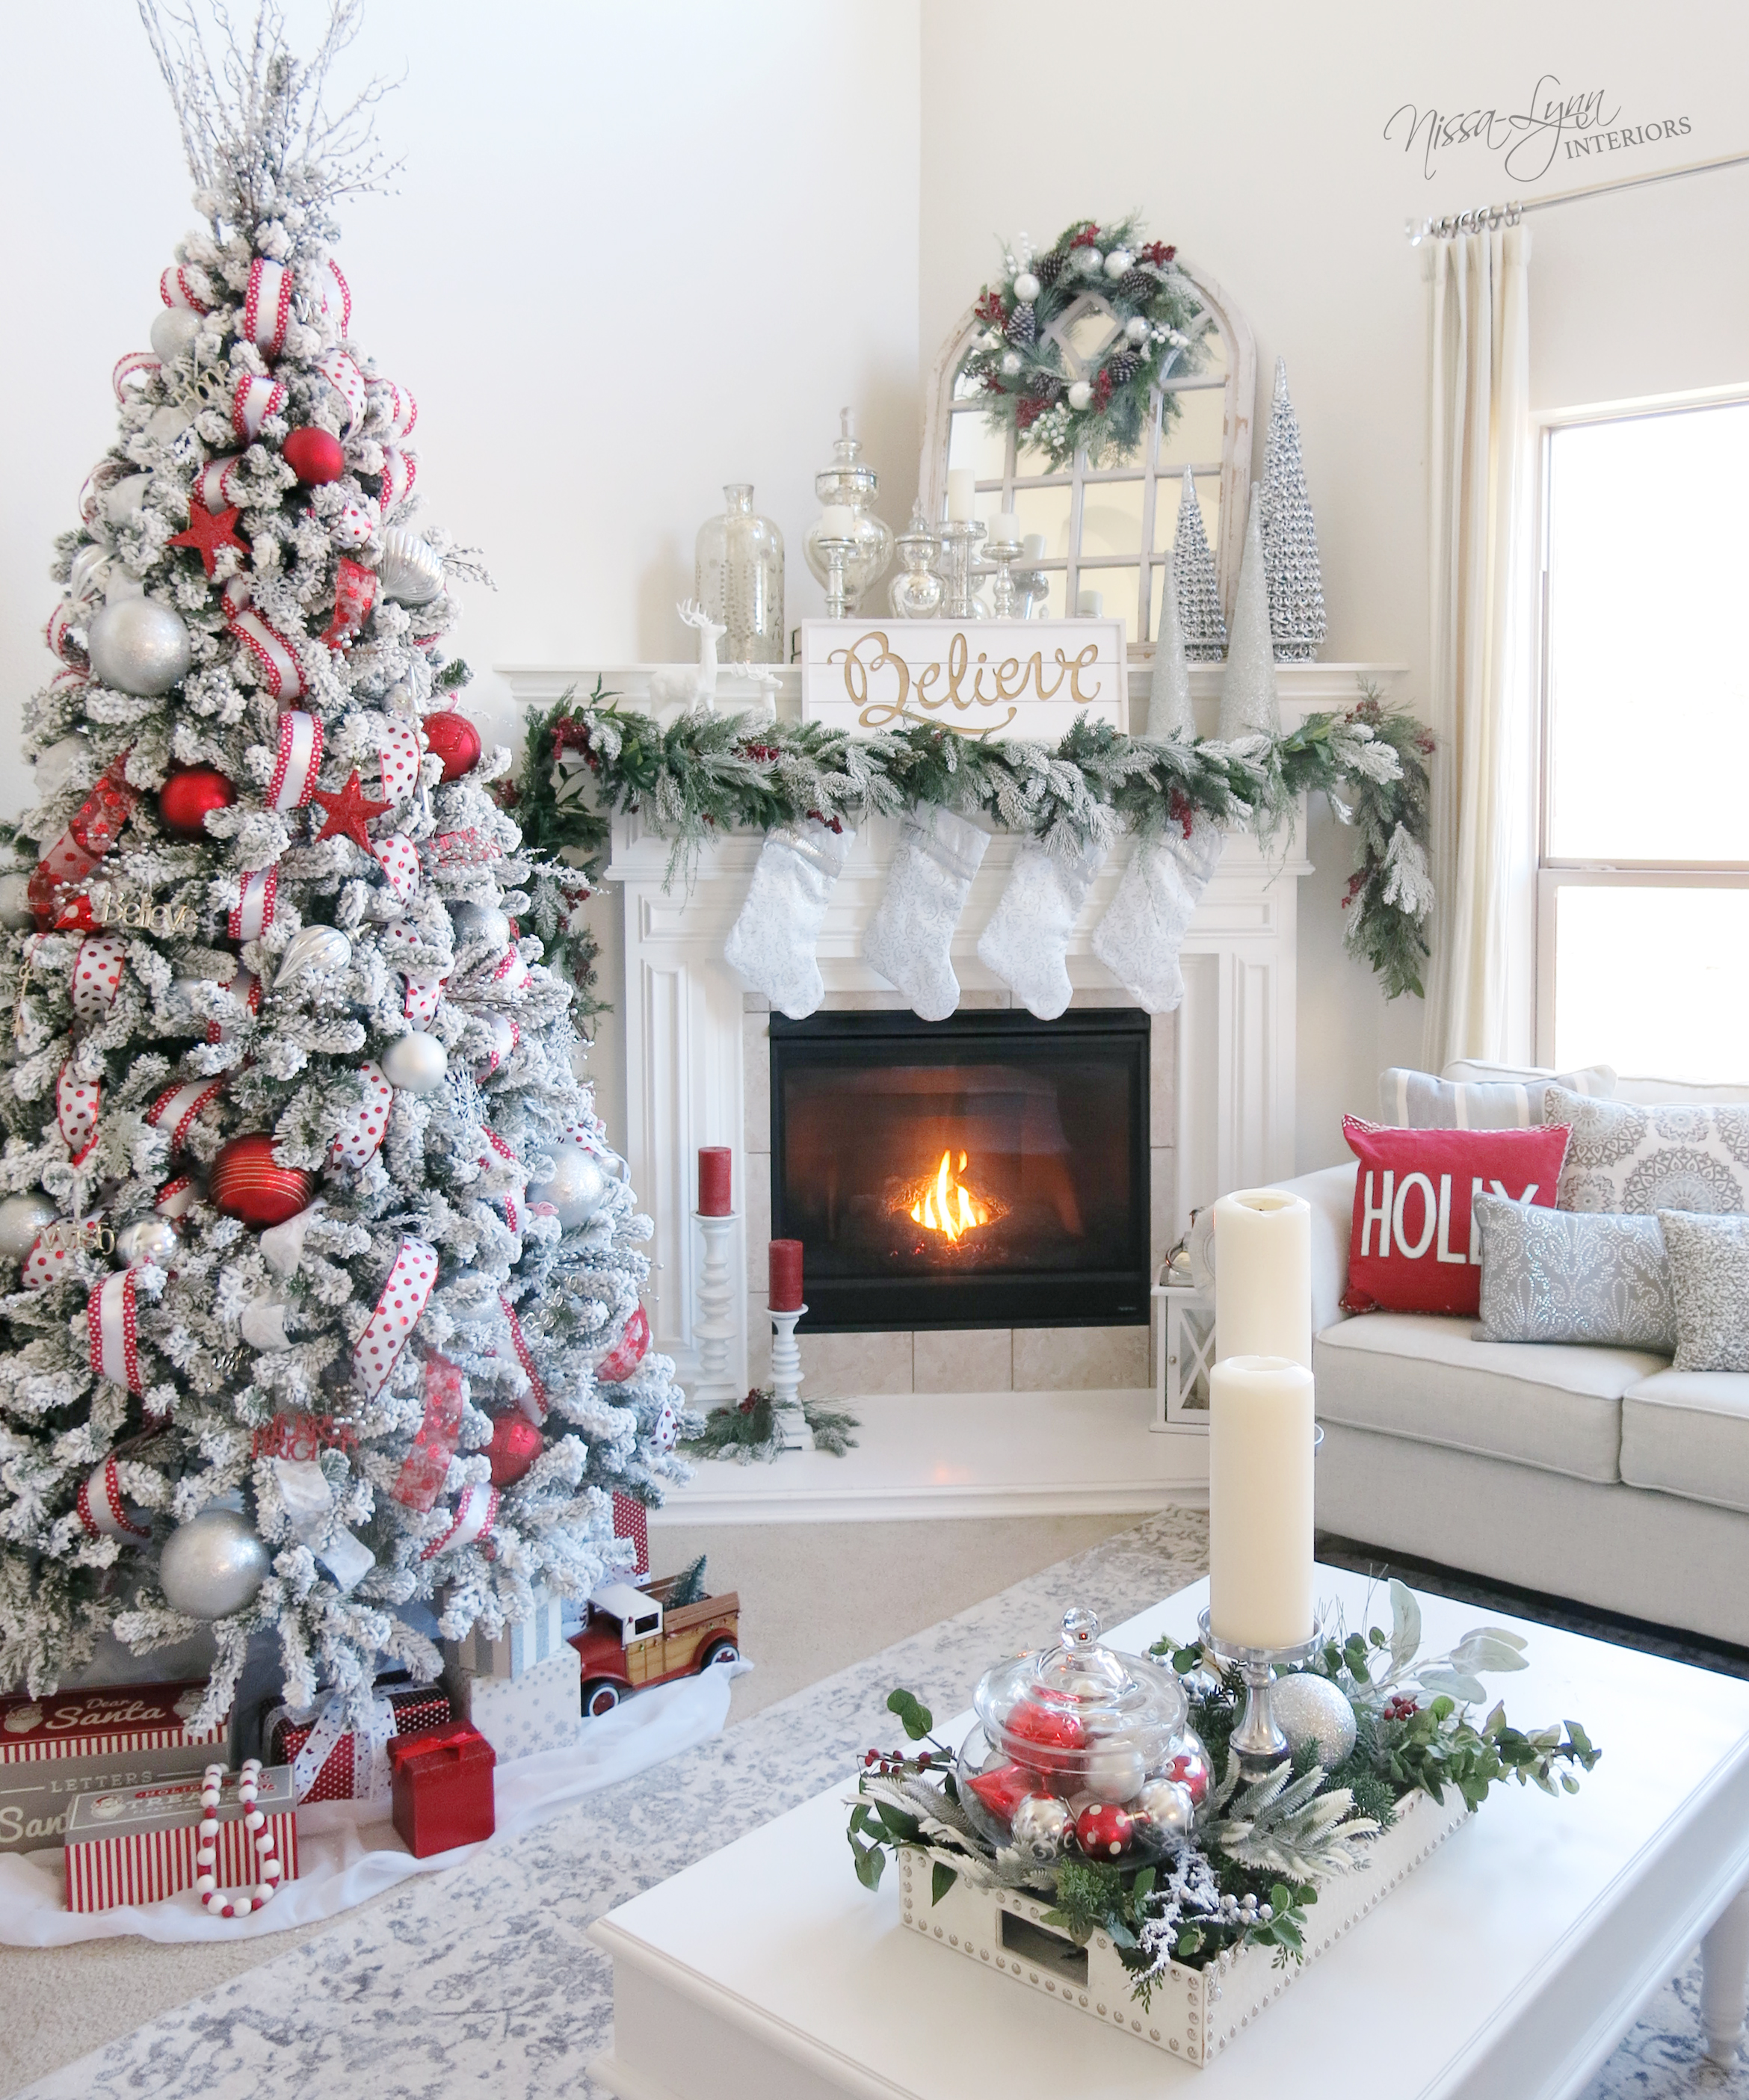
In college, I majored in Marketing Communications and minored in Visual and Fine Art at Brigham Young University. I did my senior internship with the JCPenney merchandising and visual display department and really enjoyed it! When my husband and I moved to Dallas, I used my painting skills and started freelancing painting murals for homes and local businesses. I also started doing interior decorating as well. Painting murals takes long hours, and while I enjoyed it, it took away too much time from being with my children. So, I packed up my paint brushes to just focus on home decor. I started my own business, and with my name being different, I wanted to incorporate it. Thus, Nissa-Lynn Interiors was born! I worked hard to promote my business through social media, referrals, and local advertising. Little by little my business grew and I was blessed with more clients and opportunities! My Instagram account also took off and companies started reaching out to me to do sponsored collaborations – so now, I do brand influencing as well and I love it! I style, showcase and photograph products and feature them on my social media platforms. My photos have been featured on social media sites and websites such as Better Homes and Gardens and ZGallerie, just to name a few.

The best part about interior decorating is seeing the client’s happiness over the changes made to their space – because you need to love the space you’re in!

Great, so let’s dig a little deeper into the story – has it been an easy path overall and if not, what were the challenges you’ve had to overcome?
I believe anytime you’re trying something new, there are going to be bumps in the road. Starting my business from the ground up has not been a smooth journey, but definitely a wonderful learning experience. I am grateful for all the amazing growth and knowledge I’ve experienced along this journey. There have been times when I questioned “Why am I doing this?”, “Is it worth all the time it’s taking?” or “Will this work out in the end? The main advice I would offer others is to always keep going. Sure there will be days where you want to stop, but if you’re passionate about something, keep going! You can do it! Our family motto is, “You can do hard things!” I believe those words with my all of heart. If you need to scale back a bit, do it, but never quit entirely if you truly love what you are doing. For younger women, I say; be patient with yourselves, realize it takes baby steps and time to reach your goals. As you go along your personal journey, periodically look back on what you’ve accomplished and be proud of yourself. When you’re struggling, draw strength from acknowledging your past accomplishments. Dream big! Believe in yourself and your talent! Remember, YOU can do hard things!

Alright – so let’s talk business. Tell us about Nissa-Lynn Interiors – what should we know?
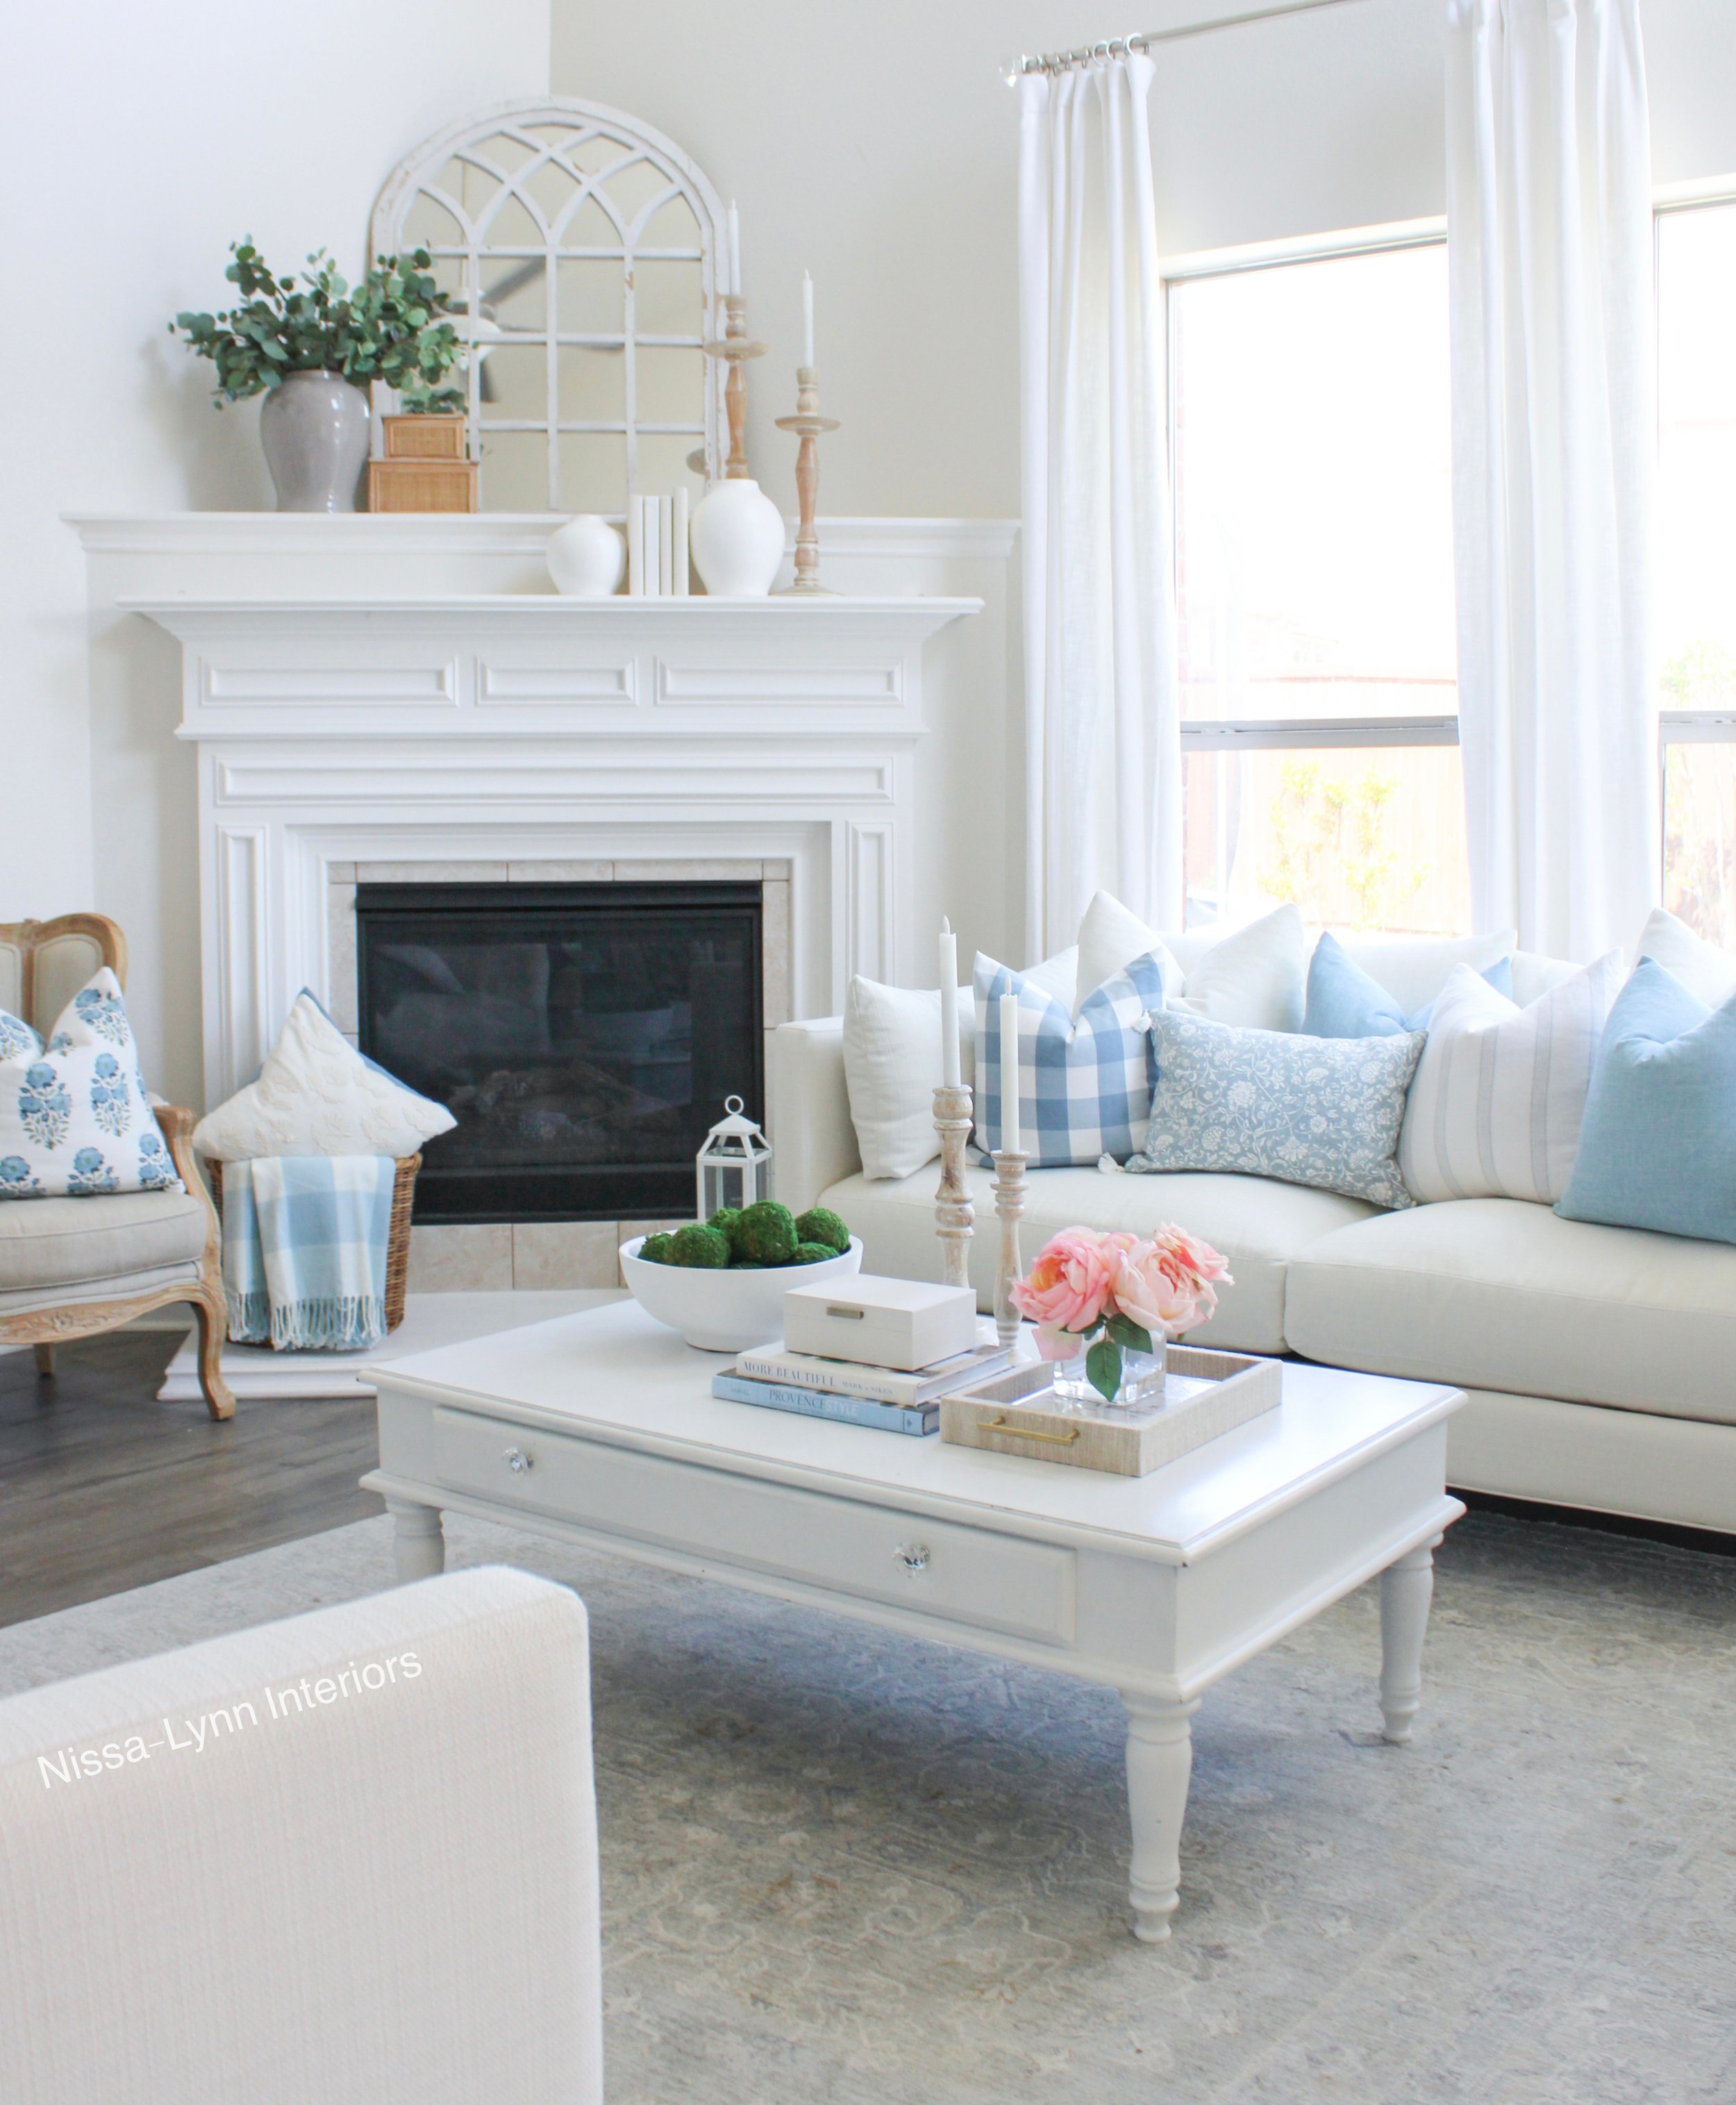
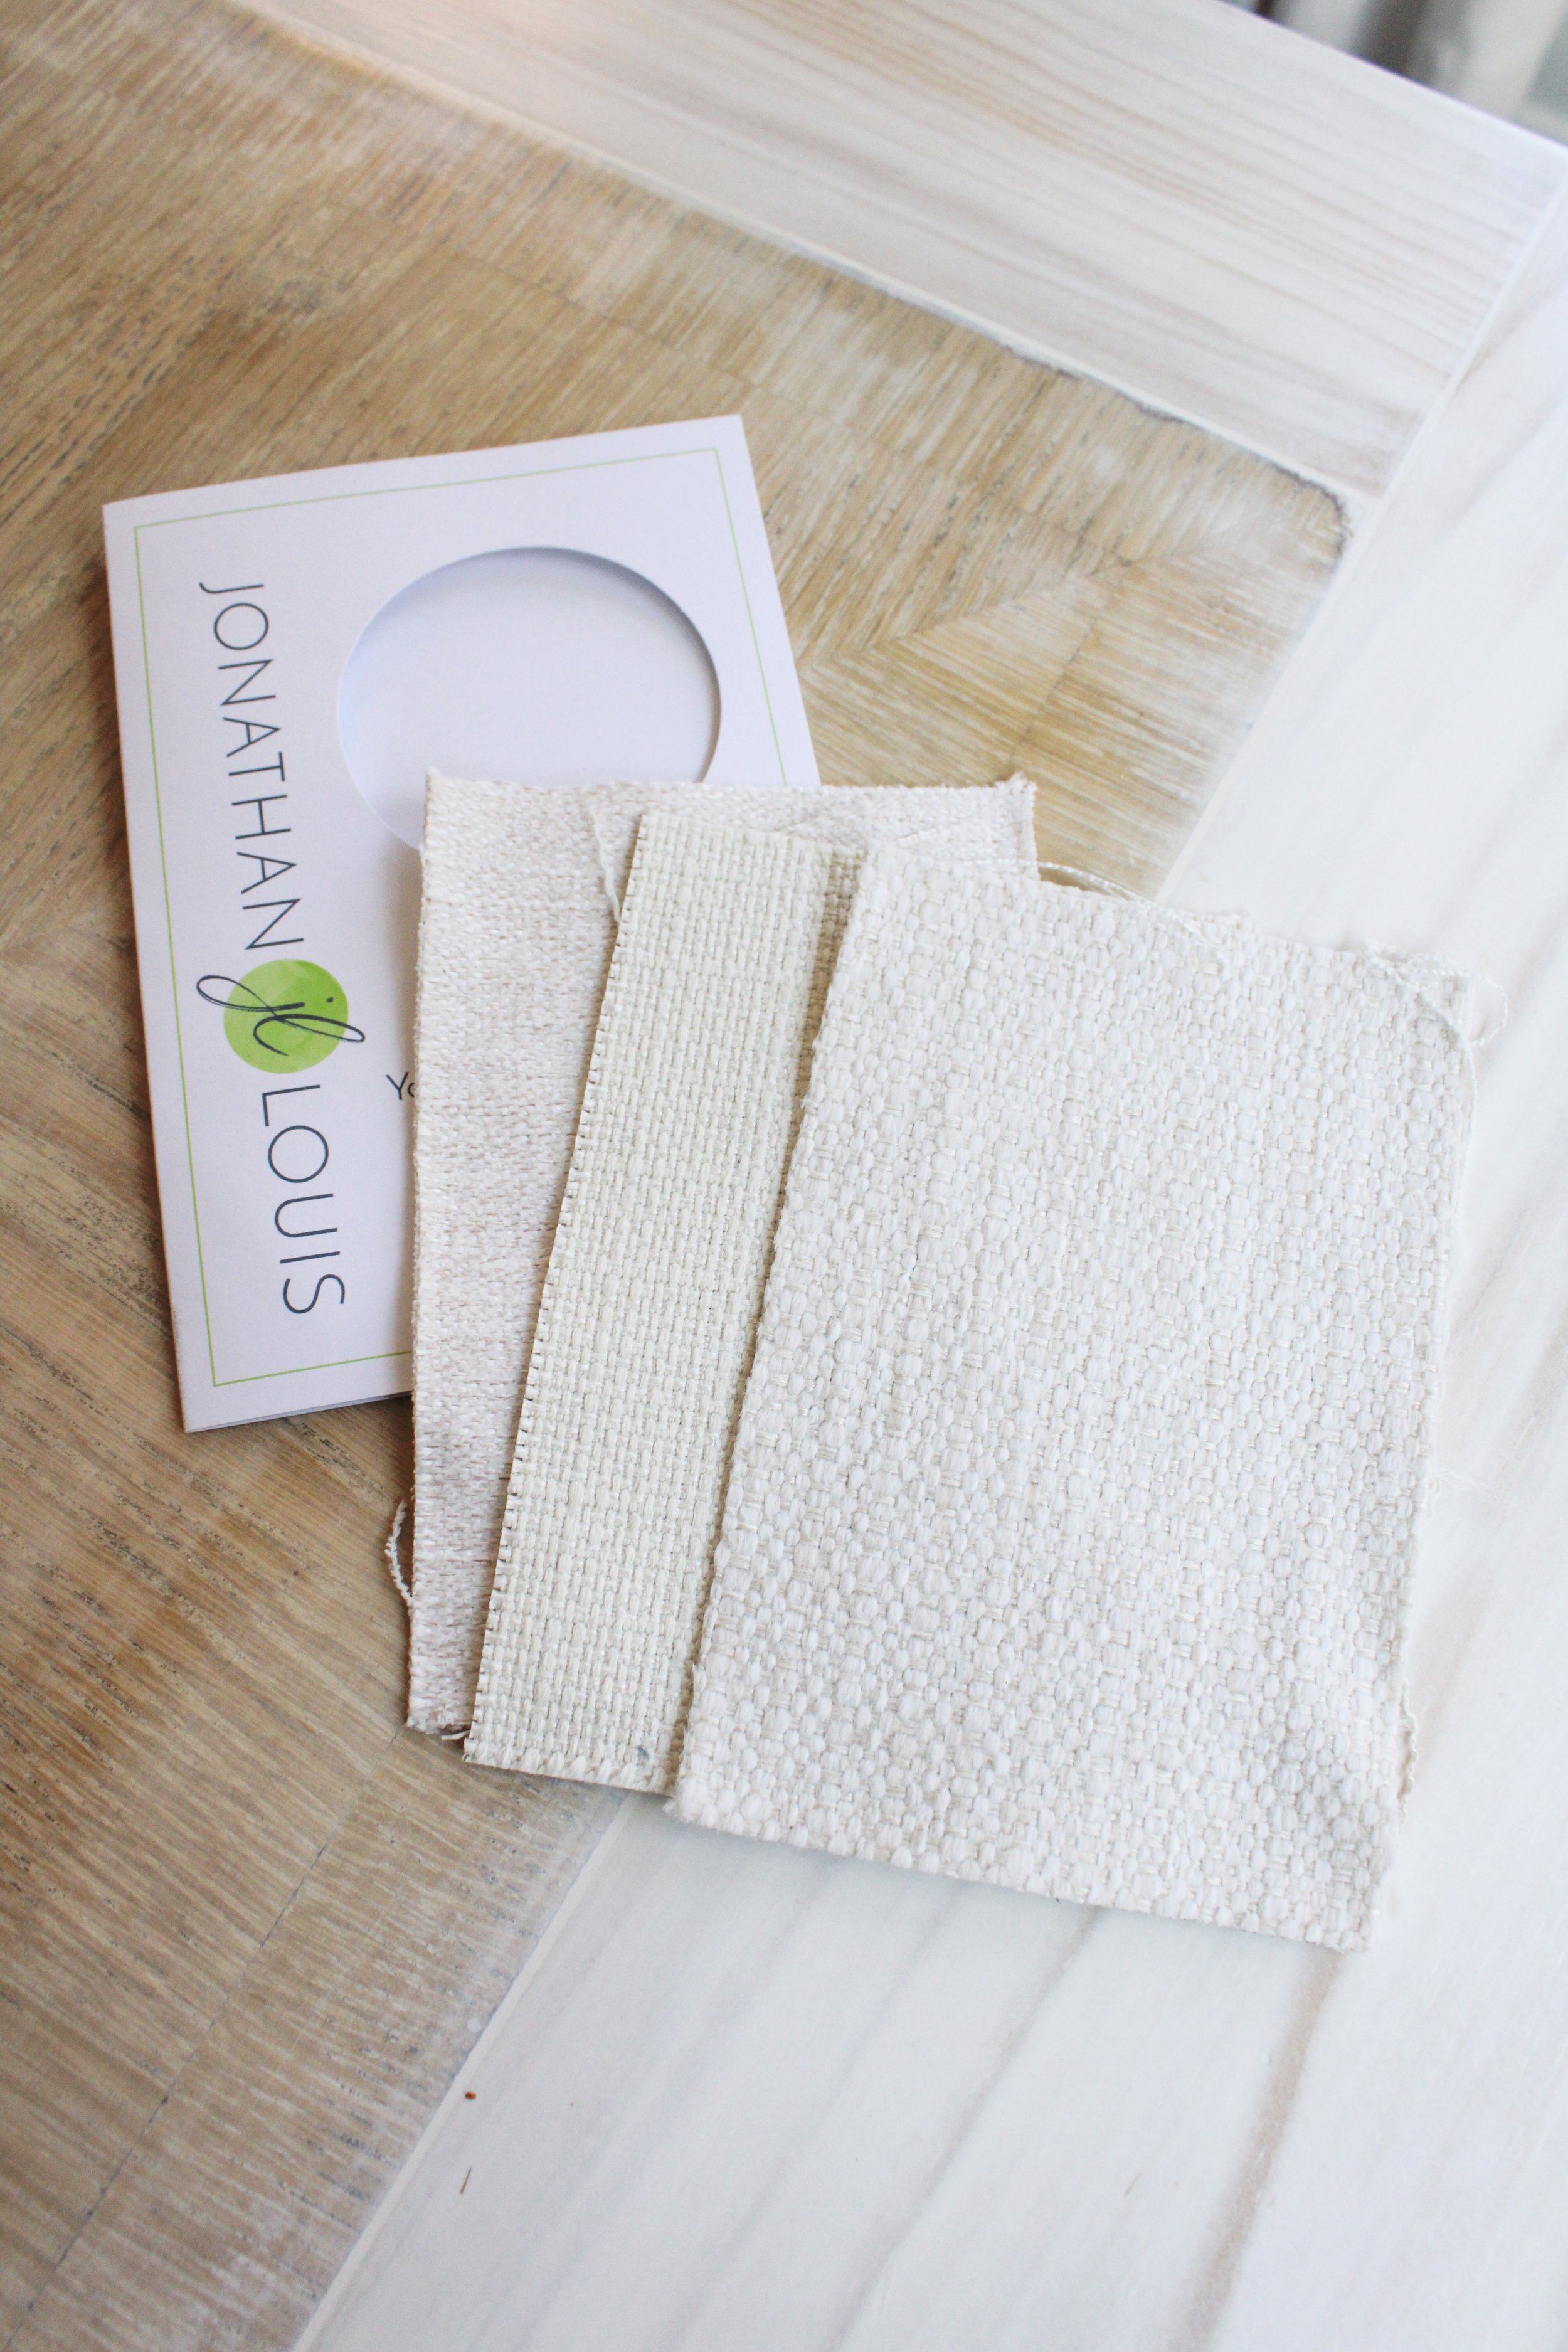
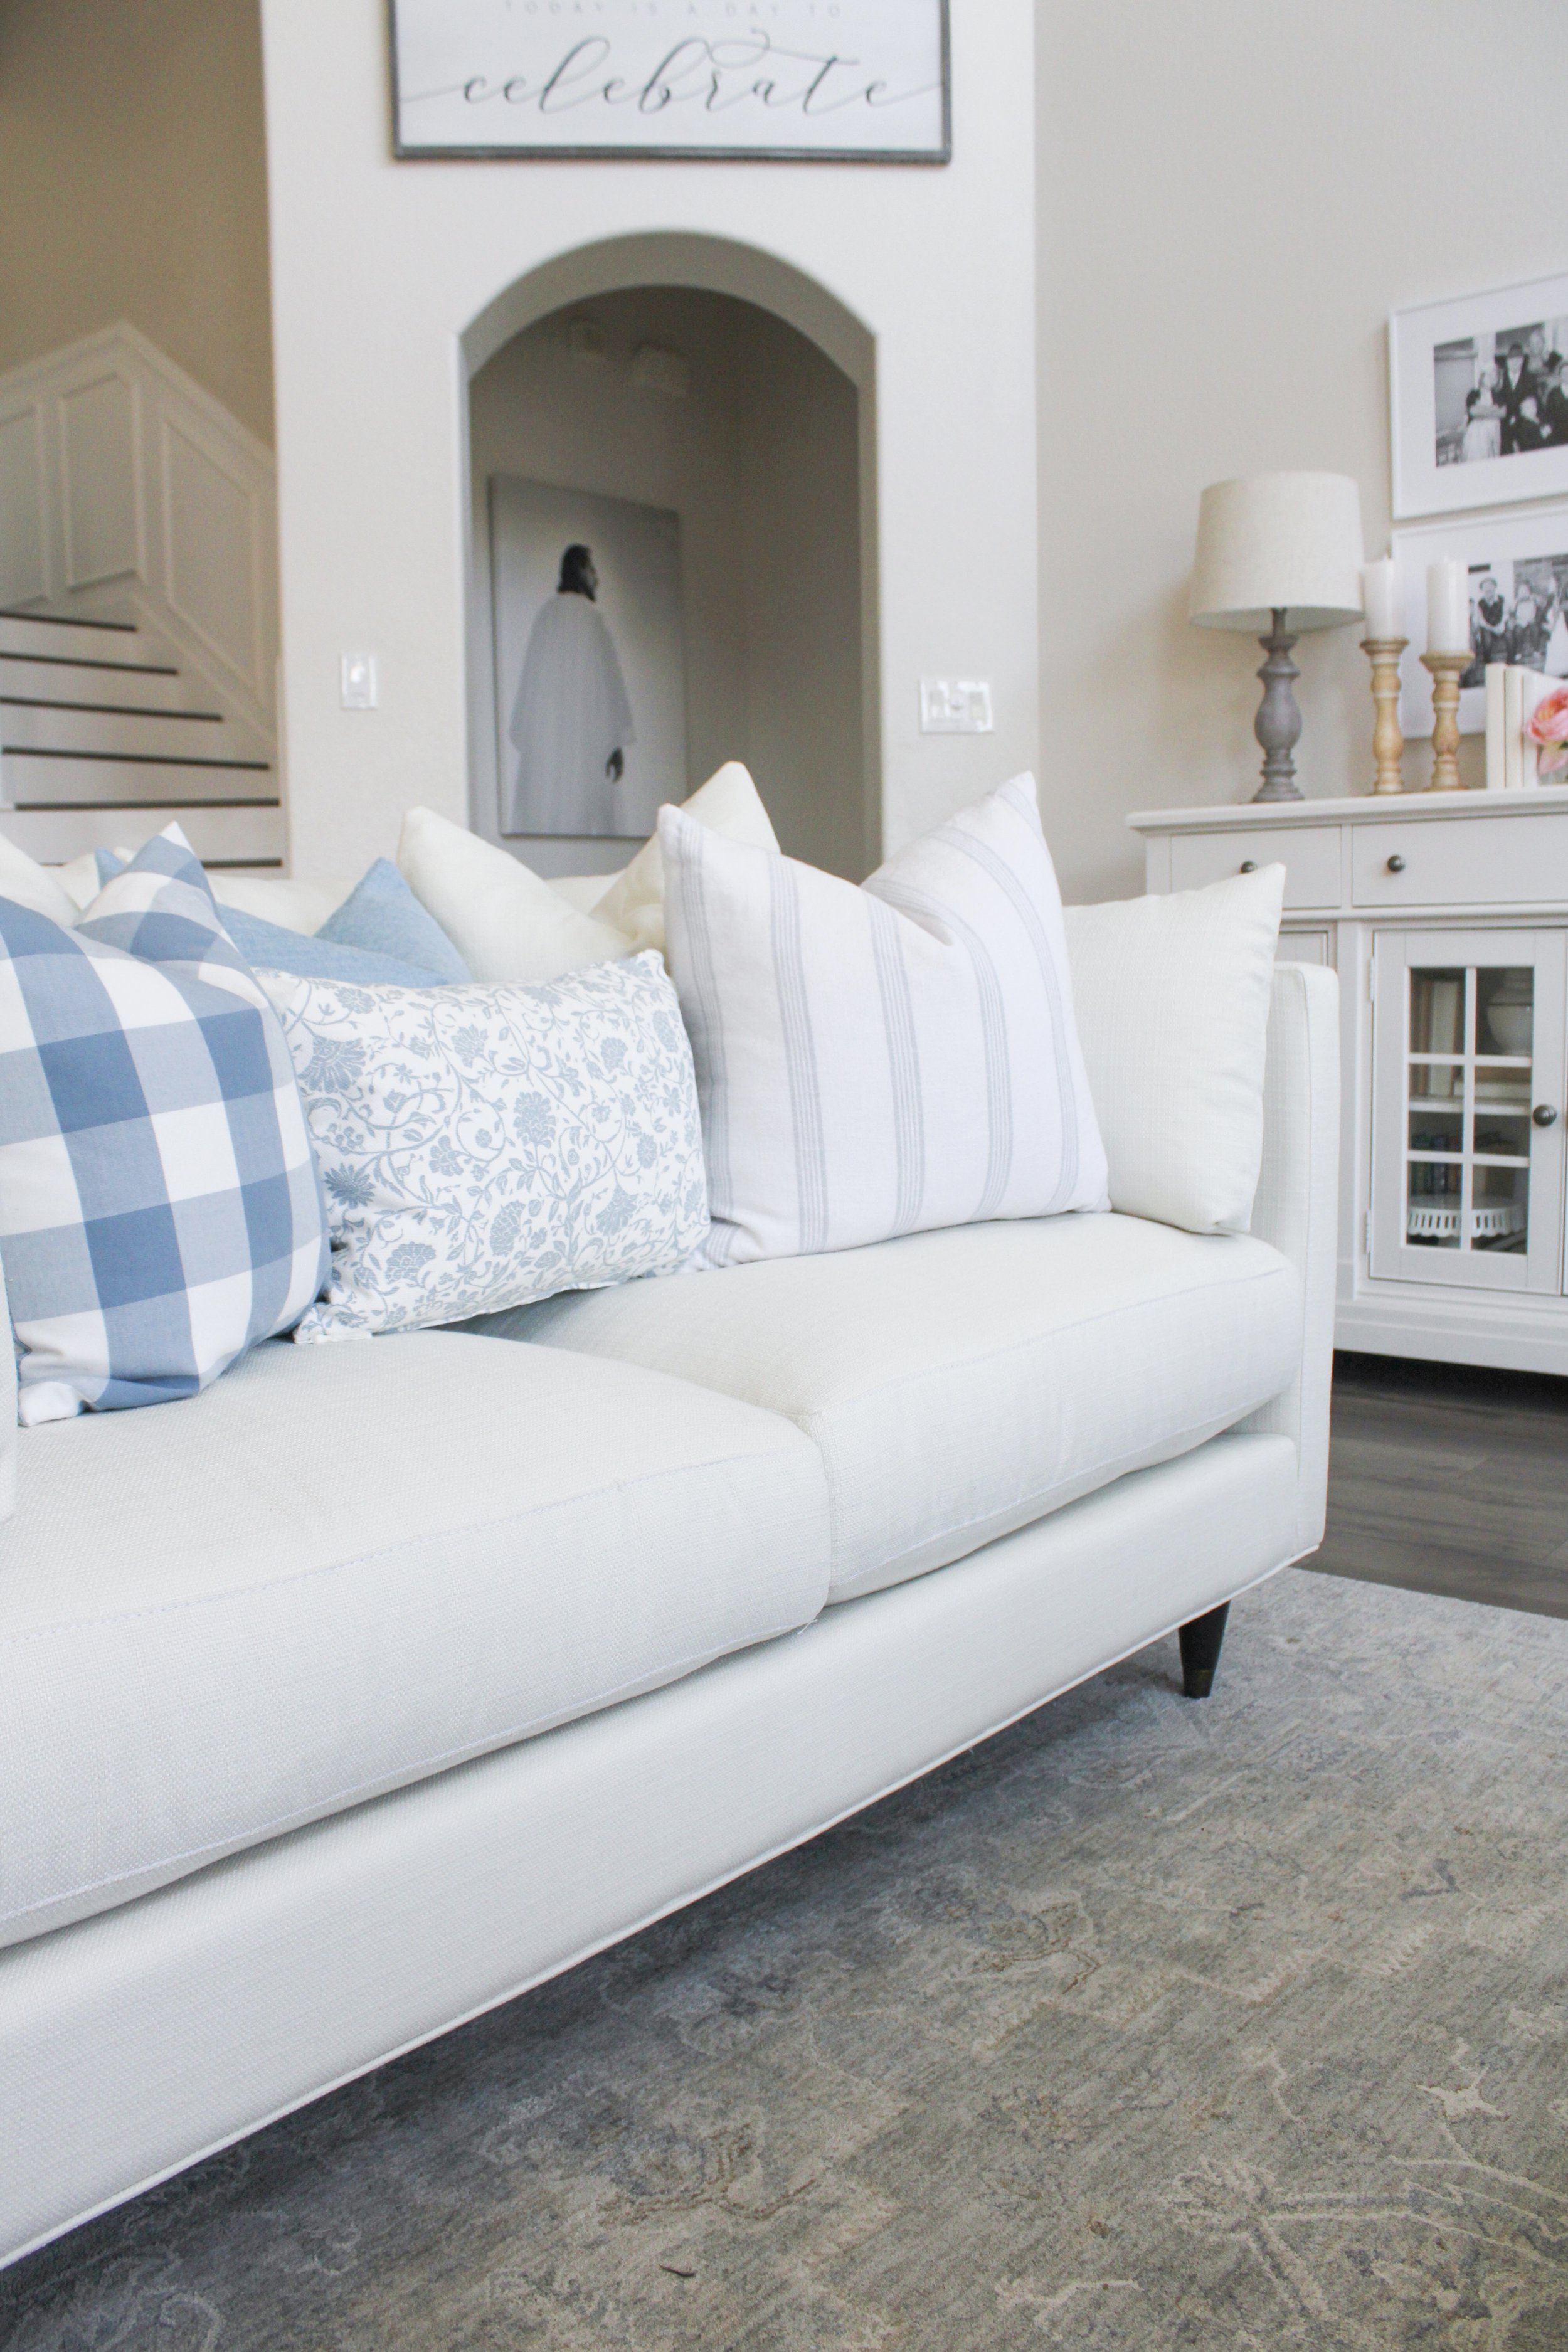
I started my company based on the idea that everyone can have a beautiful home or business on any budget. Whether it’s a one-time consultation or an entire room makeover, my expertise lies in creating a new environment with the client’s tastes in mind and sticking to a budget. I have the knowledge of working with different decorating styles to customize each project by incorporating the colors and styles that the client is drawn to. I help people make changes they’ll be proud of.

I offer consultations for everything from choosing paint colors, to picking out furniture, placement of kitchen cabinets or selecting flooring. During the consultation, I direct clients where to shop for beautiful, original decor finds to get the best prices at discount stores. By having the client go out and purchase the products, it saves money by not having to pay more for my time and for product markup.

I have also expanded into doing E-Design. This is a great way for interior decorating advice for people who want to do update their surroundings without a face to face consultation. This makes it great for clients across the country. The client sends me photos of their home or business and I send them back a style board with images of the items and changes I am suggesting. I also send them a detailed write up with all the links to products I suggest purchasing, and how to arrange them in their home or office. My clients have been in some of the largest cities in the country. Including: Los Angeles, Houston, Dallas, Salt Lake City, San Antonio, and St. Louis.

Besides Interior Decorating, Brand Influencing and E-design, I also do home staging for realtors and people preparing to get their homes’ market ready. As a mother of five children, owning my own business has been a blessing because it allows me to work around my children’s schedules and do most of my work at home. I absolutely love what I do!

Which women have inspired you in your life?
There have been different women that have been a mentor or support to me in different seasons of my life. In fact, I have been blessed to know so many amazing women I wouldn’t be able to list them all! With that said, two stand out vividly in my mind. My mother and late maternal grandmother have been my greatest cheerleaders to pursuing my life’s goals. I especially admire my late grandma, how she raised four children, excelled in her career as an opera singer, and took a genuine interest in others and made them feel special. I hope I can emulate her example and make her proud!

Contact Info:

  • Website: nissalynninteriors.com

  • Email: hello@nissalynninteriors.com

  • Instagram: nissalynninteriors

  • Facebook: Nissa-Lynn Interiors

  • Twitter: nissalynnparson

Nissa_Fireplace.jpg

Let's Talk About Pillows!

Tired of the current color scheme in you home?  

Pillows are one of the easiest and least expensive ways to change the feel of 
an entire room!

IMG_9036lighter copy.jpg

Here we have two shots of the same living room. They both have the same
furniture, rug and window treatments, same white tray and white candle sticks. I just changed out the pillows and the florals! Now the room has an entirely different feel!

rugsusapost.jpg

Mix and Match

Mix and matching fabrics and different textures is a fantastic way to create an interesting look. It also looks more professional and custom - like you had direction from a decorator or designer. Here I have a navy block design pillow from Chloe and Olive a linen fabric paired with pillow from Home Goods in a polyester fabric.


Remember pillows don’t always have to match perfectly. Below is a fuzzy leopard print from Home Goods paired with a chiffon rose patterned pillow from H&M. Totally different styles and fabrics (one heavy, the other light), and yet, they compliment each other perfectly!

IMG_9128.jpg

Inserts

Most pillows are sold just as pillow covers. So you will need to purchase the inserts for the covers. I have found that inserts at Pottery Barn are a little more expensive then other places, but they do last much longer! You are paying for quality! I've also used cheaper inserts from Ikea. They're great on the budget at around $7.00 an insert. Below are some Ikea pillows and inserts. Pillows from discount stores, such as Home Goods, Ross, Walmart, and Target normally
come with the inserts included.


IMG_9148.jpg

3-D Elements

Another fun to dress up your pillows is with 3-D elements. Beads, tassels, buttons, rhinestones, and sequence all add texture and visual interest to the pillow - and to the piece of furniture it's being displayed on. See how the broach in the photo below, adds elegance to the gray ribbon. Without it, the the pillow wouldn't look half as fancy!

You can add elements yourself to any existing pillow with by hand sewing the item on. or using a glue gun.

IMG_9135.jpg

Zippers

When choosing a pillow color, you might want to take into consideration the zipper. Most pillows have a dress zipper (right photo below). It does the trick, but if you're constantly switching out pillow covers, or if the pillow is being laid on a lot, the zipper can fall apart pretty easy. However, pillows with a YKK zipper (right photo below,) such as these from 
Chloe and Olive, are much more durable! Some pillows don’t have a zipper at all but an “envelope” closure instead. Where the fabric folds over top of teach other.

IMG_9117.jpg
IMG_9116.jpg
IMG_9031story22.jpg

Holiday Pillows

Pillows are the especially perfect for decorating for the holidays! In fact, it seems almost every home decor retailer has a line of holiday pillows now! Pier 1, Target, Pottery Barn, and Home Goods, are just a few of my favorite places to buy holiday pillow goodness! Boutiques and specialty home decor stores are other places to get one of a kind pillows that the masses don't have. Krumpet's Home Decor is one of my favorite online home decor stores for holiday goodies.

It's been fun sharing my thoughts and experience on pillows with you, now go out and have some fun some shopping!

A Party Fit for a Princess

Happy first Birthday to our little Miss Annalise! Since my oldest daughter is now fifteen, I hadn't thrown a little girl themed party in years! So I knew when Annalise turned one, I wanted to have a super elegant, storybook, dream birthday party fit for a princess!  

I started planning weeks in advance. I loved how everything turned out! It was just what I dreamed! The gorgeous custom made banner was the key to the whole table setting! It's from SweetGeorgiaSweet, and it was the perfect focal point! I love it so much!

Read more below.

Annalise Party_Table3.jpg
Annalise Party_Table4.jpg
Annalise Party_Table.jpg
Annalise Party_Cupcake3.jpg
Annalise Party_cake1.jpg
Annalise Party_giftboxes.jpg
Annalise Party_Table2.jpg
Annalise Party_Thankyou card.jpg
Annalise Party_Cupcake1.jpg
Annalise Party_cake2.jpg
Annalise Party_Cupcake2.jpg

I started planning for the tables cape by searching for ideas. I knew I defiantly wanted whimsical princes tulle skirt! So that was the first thing I started working on. The first thing I started making was the ribbon and tulle table skirt. I was lucky to go to Hobby Lobby on a day when all their ribbon and tulle was half off! 

What would I do without my handy, talented husband Justin? He photographed some of these photos and edited them all for me. He's an Art Director/Graphic Designer by trade - therefore I am one lucky girl! He also built the decorative box with the gold crown on it. In fact, the crown was originally hot pink from my oldest daughter's room - so we spray painted it gold. We used the pink trimmed sheer fabric to drape the table to create a "storybook" look. (I sewed on the pink trim) The box with the crown, and fabric drape are actually from above Annalise's crib in her nursery. We just took it off the wall and nailed it to the bead board backdrop (which Justin also built). Justin and I also designed the thank you tags and personalized circle crown printables that went on the glass apothecary jars.

I ordered the cake and cupcake toppers and wrappers from Amazon. I just picked up the cake and  cupcakes from a local grocery store bakery - and added added the gold pearls and sprinkles. 

(It's much cheaper then going to a specialized bakery.) 

My favorite part of the table display was the roses cascading down the cake. There's something about fresh flowers that makes everything so beautiful! 

Santa Clause is Coming to Town!

I'm super excited to share with you what I call my winter white living room! I received so many wonderful compliments about my living room, as well as lots of positive questions about how I decorated this space. But the best compliment of all was having this photo featured on several of Better Homes and Gardens social media sites! Thank you for the love!

I'm to happy to share all the details with y'all!

The darling Santa Clause Decor came from http://www.krumpetshome.com Their Santa Clause collection is so magical!

The darling Santa Clause Decor came from http://www.krumpetshome.com Their Santa Clause collection is so magical!

Design Tip:  It's important to get some classic decor pieces that you love and fit your personal style.  This will save you money because you could refinish or repurpose those pieces in the future for an  to updated look - instead of buying new. My coffee table of 12 years is a great example. It's solid wood with a classic design. I've painted it several times to update it - instead of buying new!

Christmas Tree Detail
This year I had the privilege of receiving a 9 foot Flocked Christmas tree from King of Christmas. It gave me a whole new direction for decorating my living room! Since my flocked tree is such a natural beauty I chose to keep the decor simple and stately. I opted for larger round ornaments rather than many small ones. 

When decorating my tree the first thing I do is put on the ribbon. I cut about 5-6 foot strips, a little longer than the length of the tree. Then I start from the top and tuck about ever 3-6 inches it into the center of the tree - making it "bubble out." I repeat these streps until I reach the bottom of the tree. Then I cut 12 inch strips of another patterned ribbons and place those around the tree to fill in empty spaces.  I add sprigs of frosted sticks and silver was stems throughout. For a tree skirt I just added white fabric and an old white curtain I had in my decorator closet! Crazy huh? 

post58.jpg
blog66.jpg
IMG_7935 copy.jpg
IMG_7952 copy.jpg
The Santa Claus boxes under the tree were a new addition this year! They were sent to me by a darling home decor shop called Krumpets Home Decor. The white candle sticks on the hearth I've had forever! I bought them from Hobby Lobby 8 years ago when…

The Santa Claus boxes under the tree were a new addition this year! They were sent to me by a darling home decor shop called Krumpets Home Decor. The white candle sticks on the hearth I've had forever! I bought them from Hobby Lobby 8 years ago when they were black. I painted them white to give them a fresh new look.

Garland and Wreath

I purchased the garland on my fireplace about five years ago from Hobby Lobby. (I also have the same garland on my stairs.) The garland was originally just green. I added flocked pieces or stems, to brighten it up and give it an updated snowy look. 

blo5.jpg
blog77.jpg

Mantle Decor


The mecury glass vases and candles sticks, and cathedral mirror, are part of my everyday decor and are up on my mantle year round. Most times I like to mix holiday decor with my everyday decor. I also change out my Christmas signs as find new ones.

IMG_8342.jpg
blog2.jpg

Here are the references to where my decor is from:

Silver trees - Home Goods.

Large Decorative Truck Figurine came from Target.   

Decorative white deer - ZGallerie. 

Believe Sign- Kirklands

Mercury Glass- At Home

Hosting a Christmas Dinner Party

Tonight was a special night! I had the wonderful opportunity to speak and host dinner at my home for forty women from my church. It made me so happy to see so many beautiful faces. Our theme for the night was "We are like Snowflakes, Different in our own Beautiful Way." It's good to remind ourselves how beautiful, special and unique we each are

rsdinner12.jpg
rsdinner3.jpg