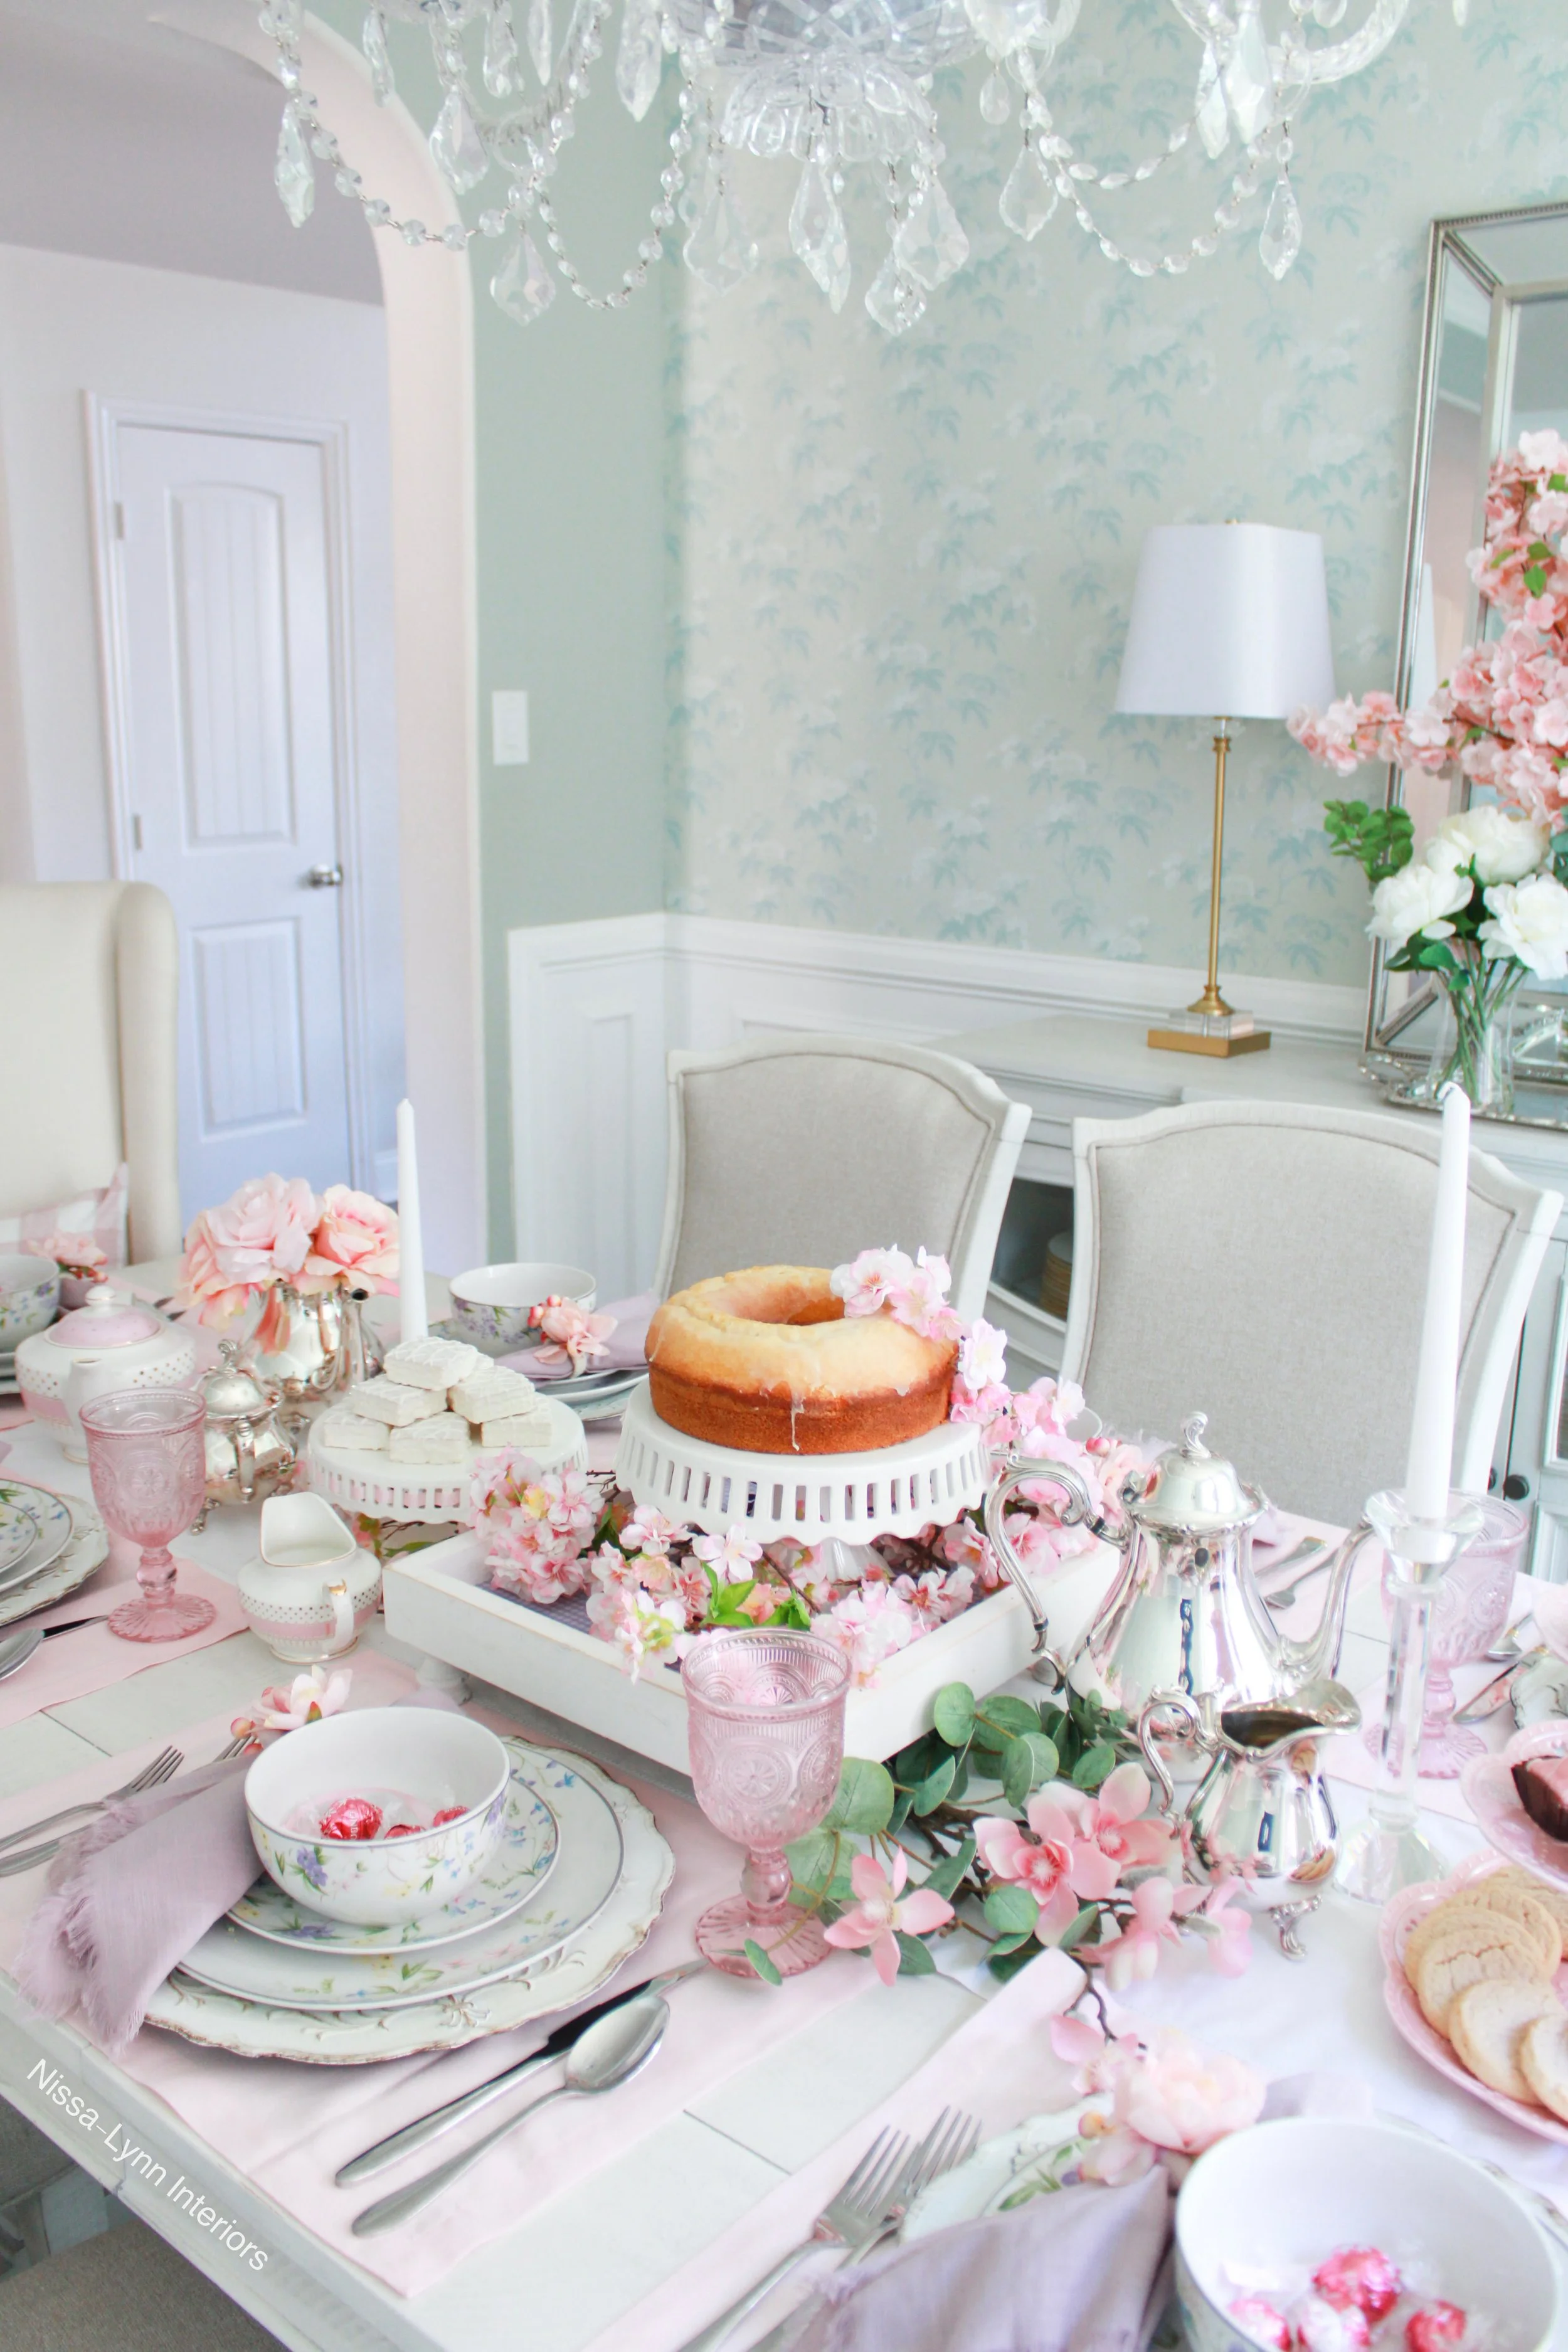
Welcome to my Sweetheart Valentine’s Day tablescape! I love anything pink! So when Valentine’s Day comes around I tend to decorate more on the pink side, than the red. (For all item sources click here. You can also shop the words in italics.)
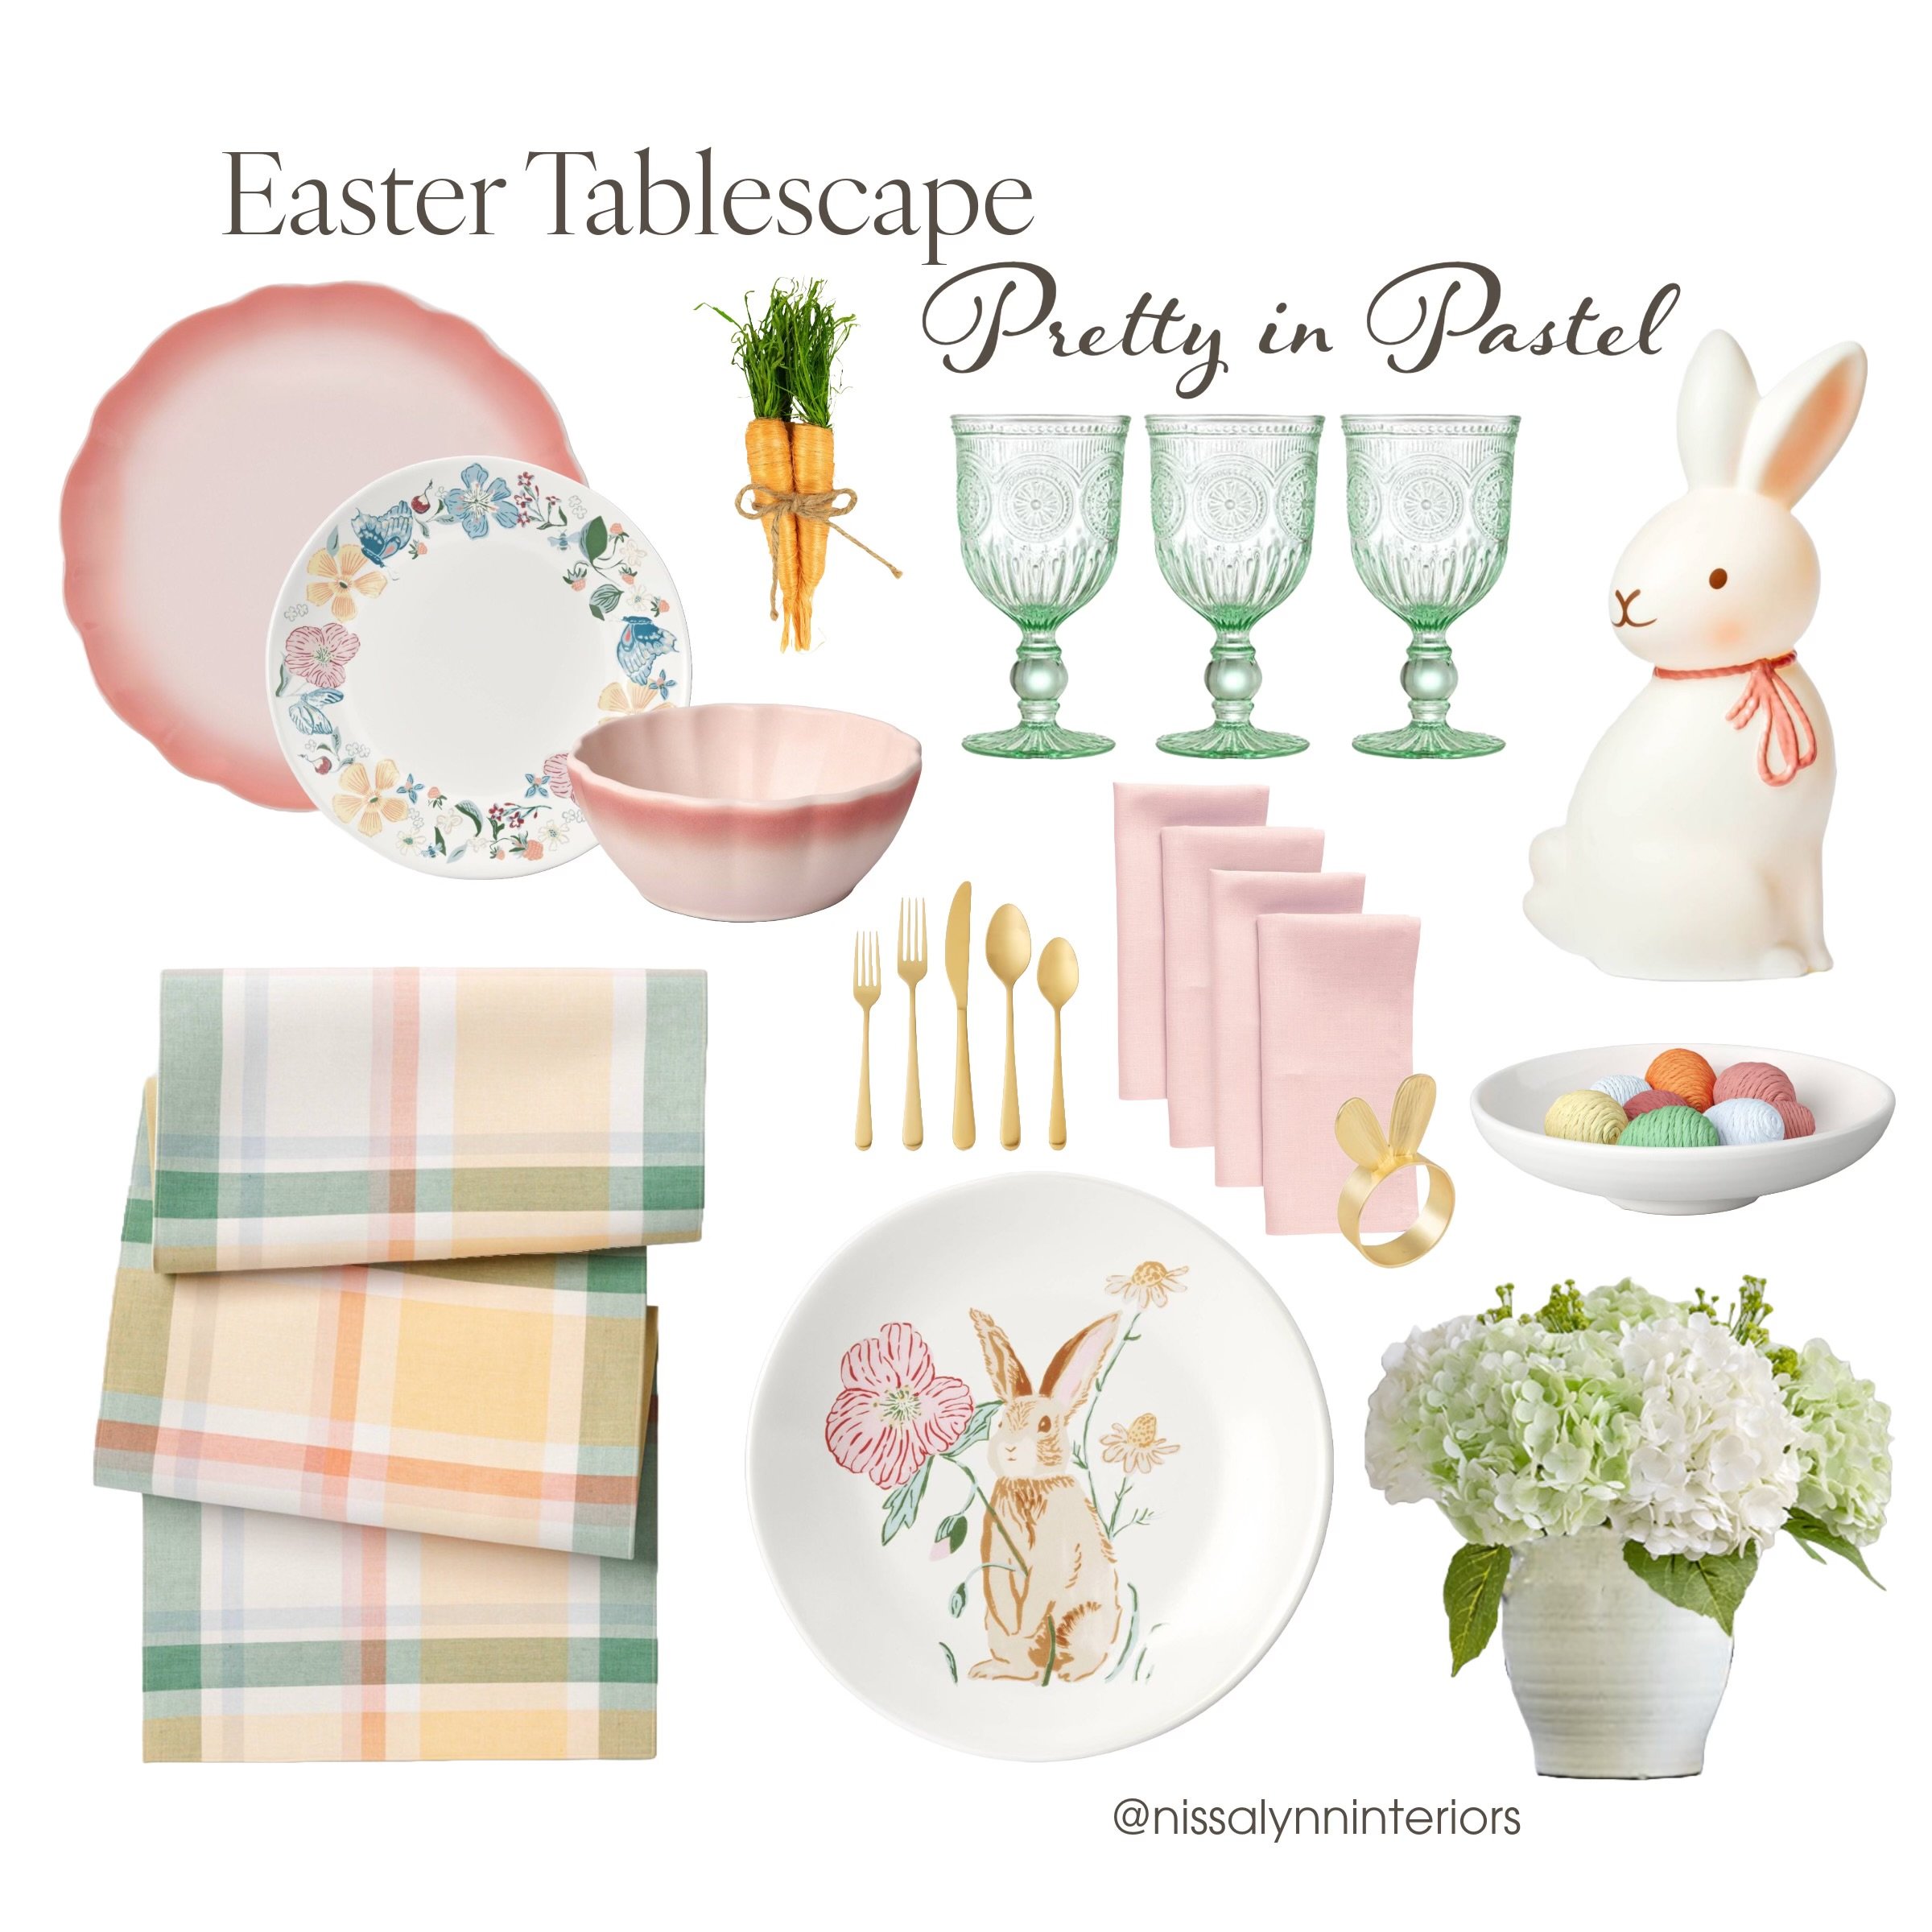
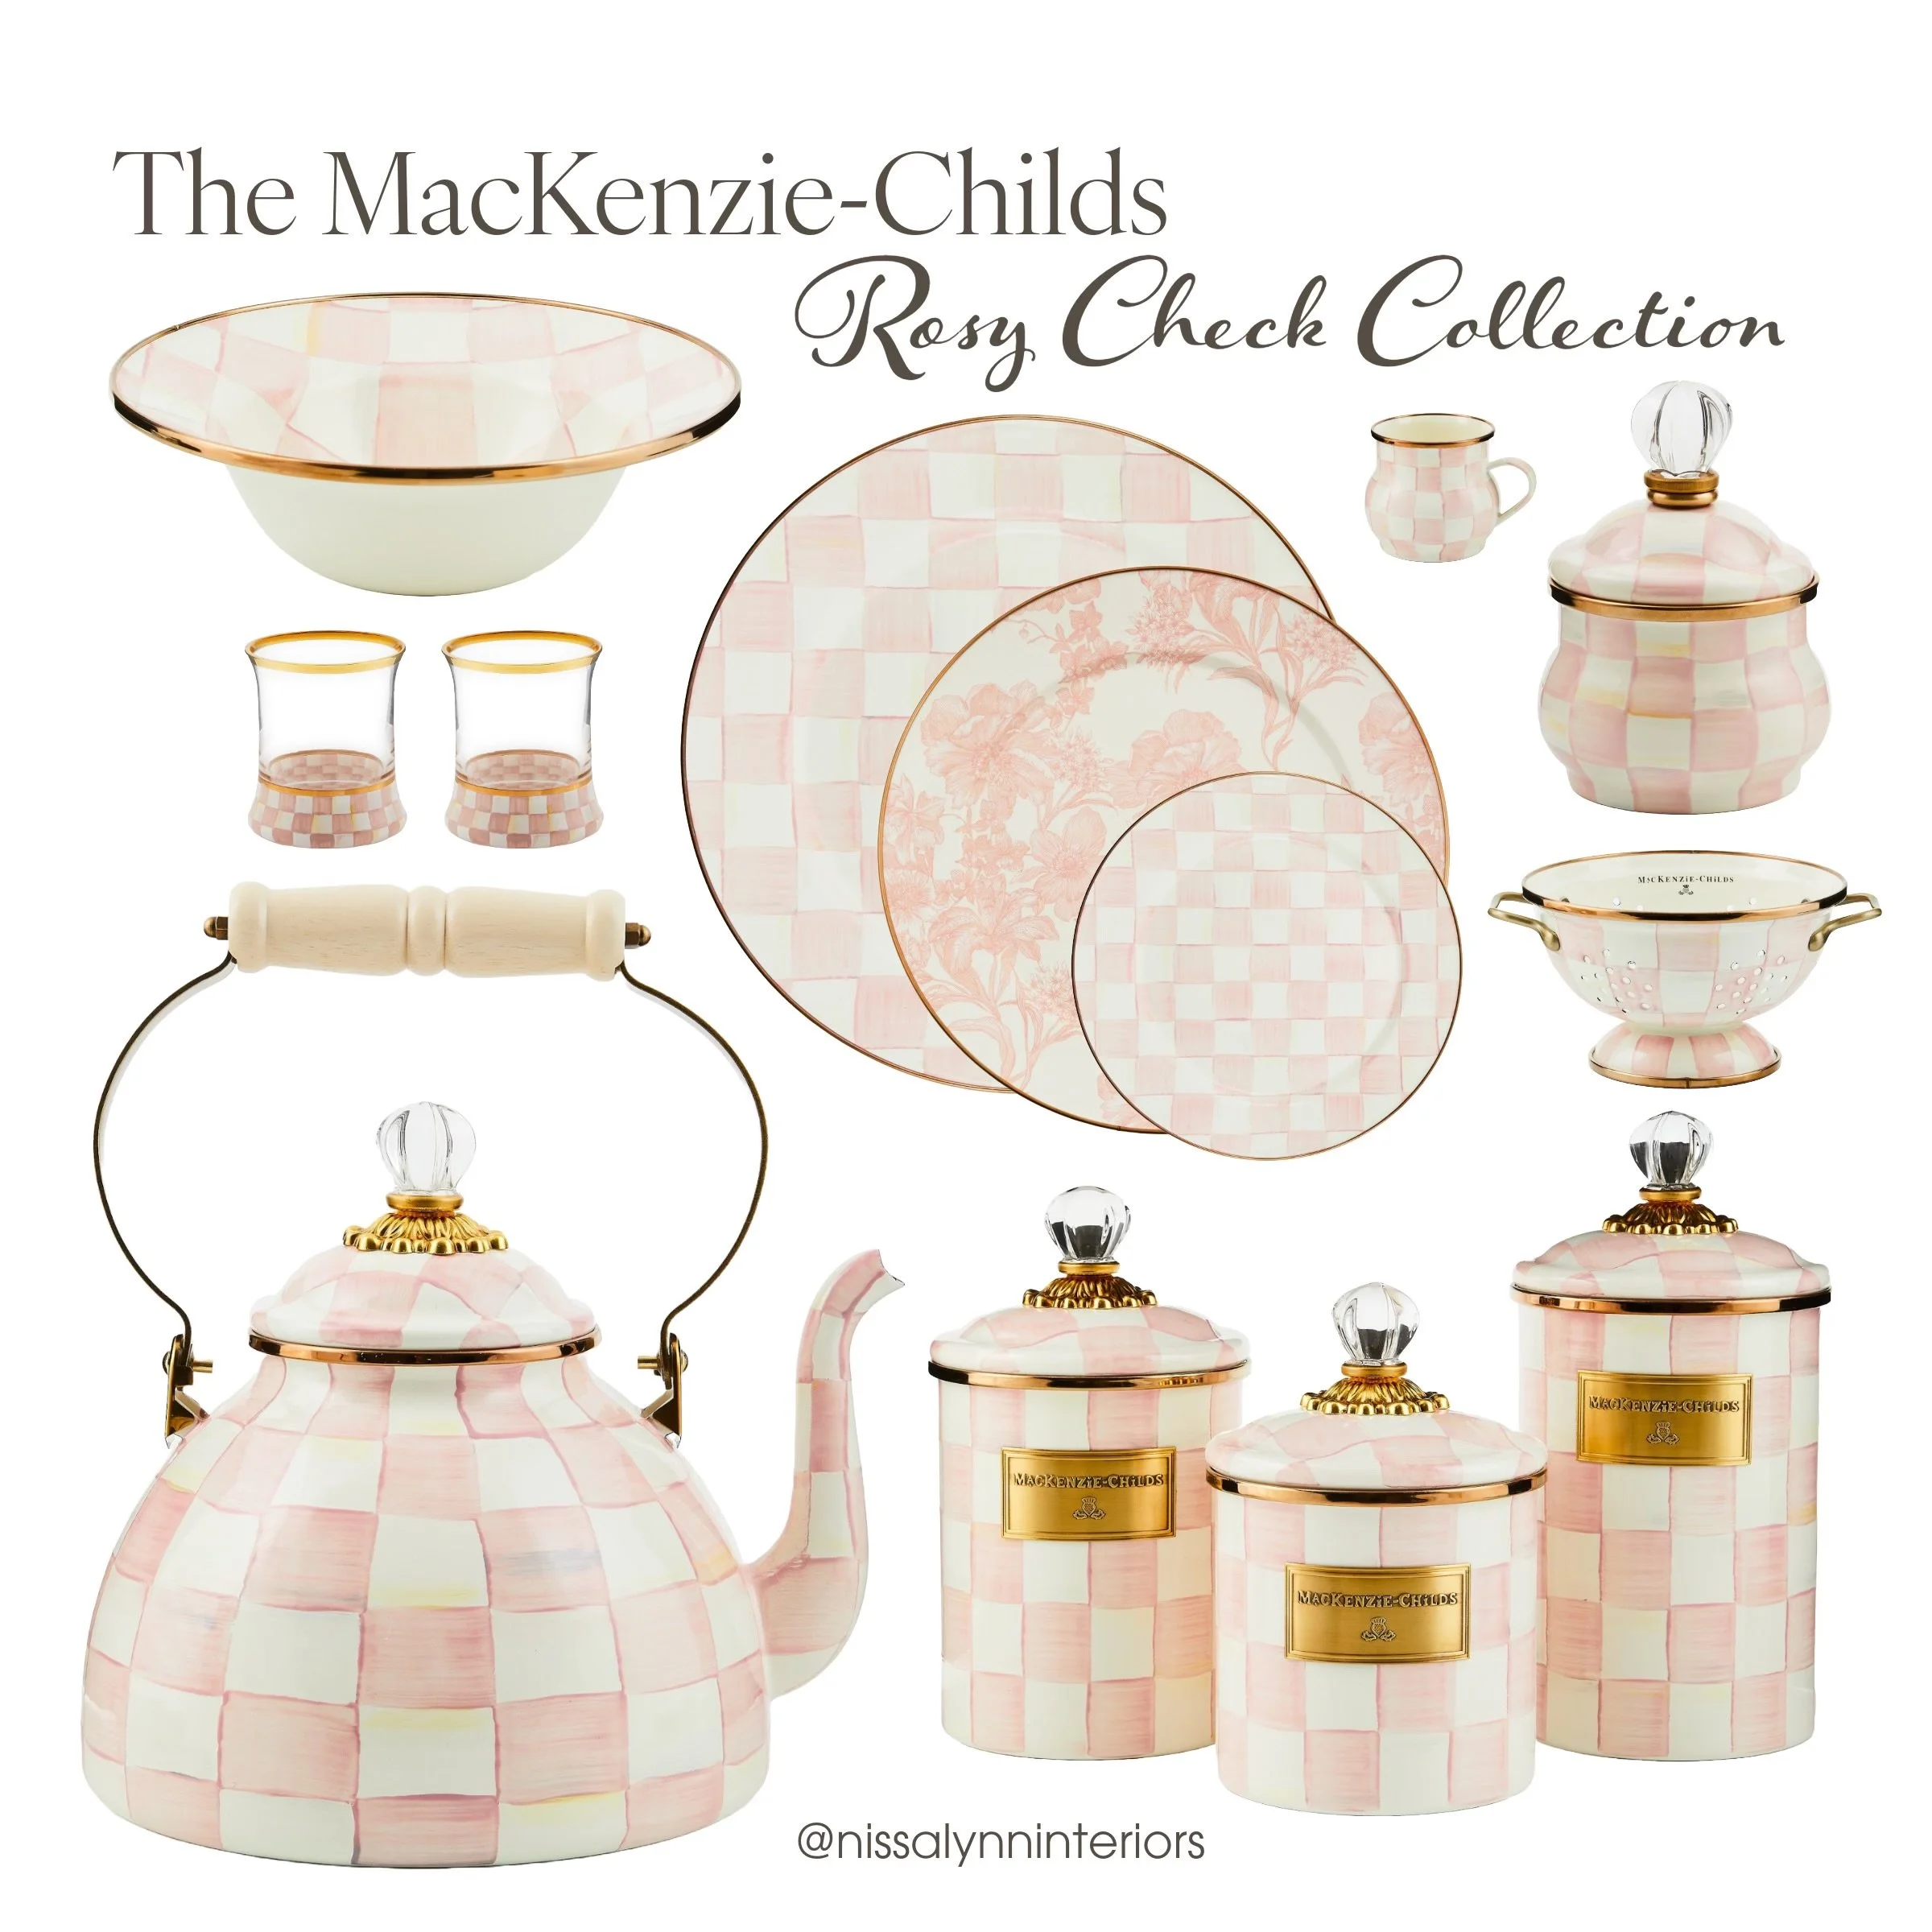
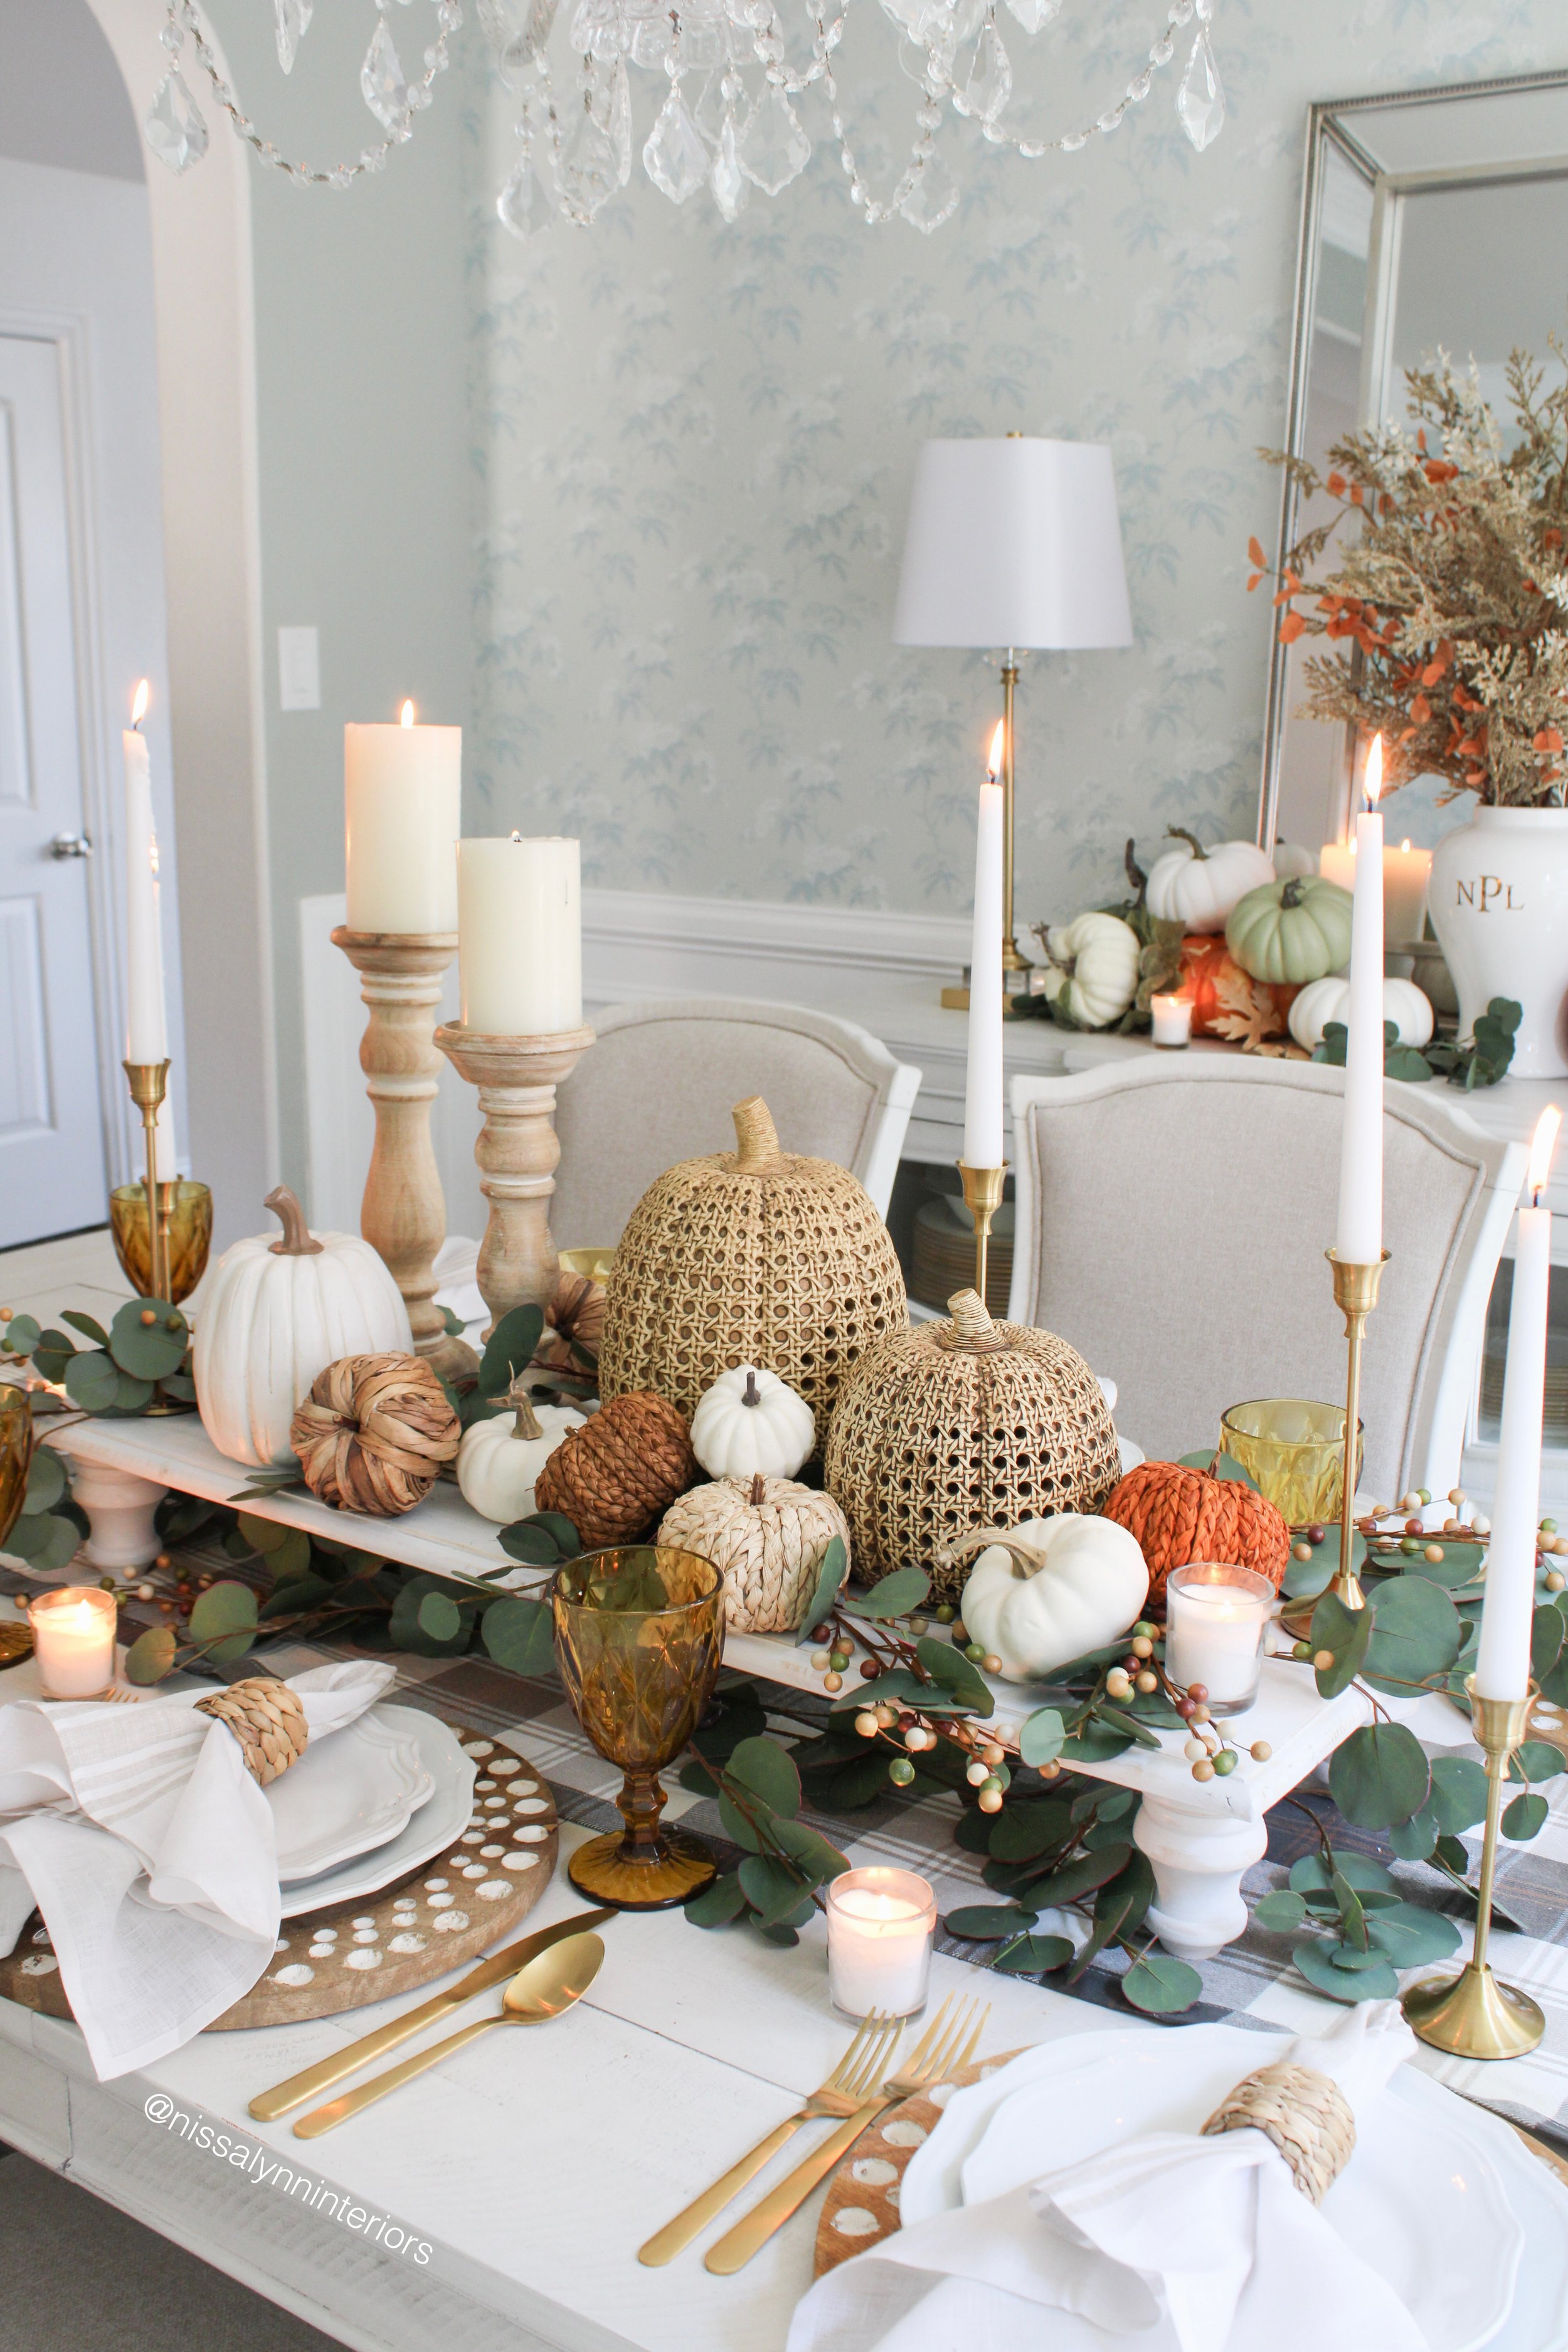
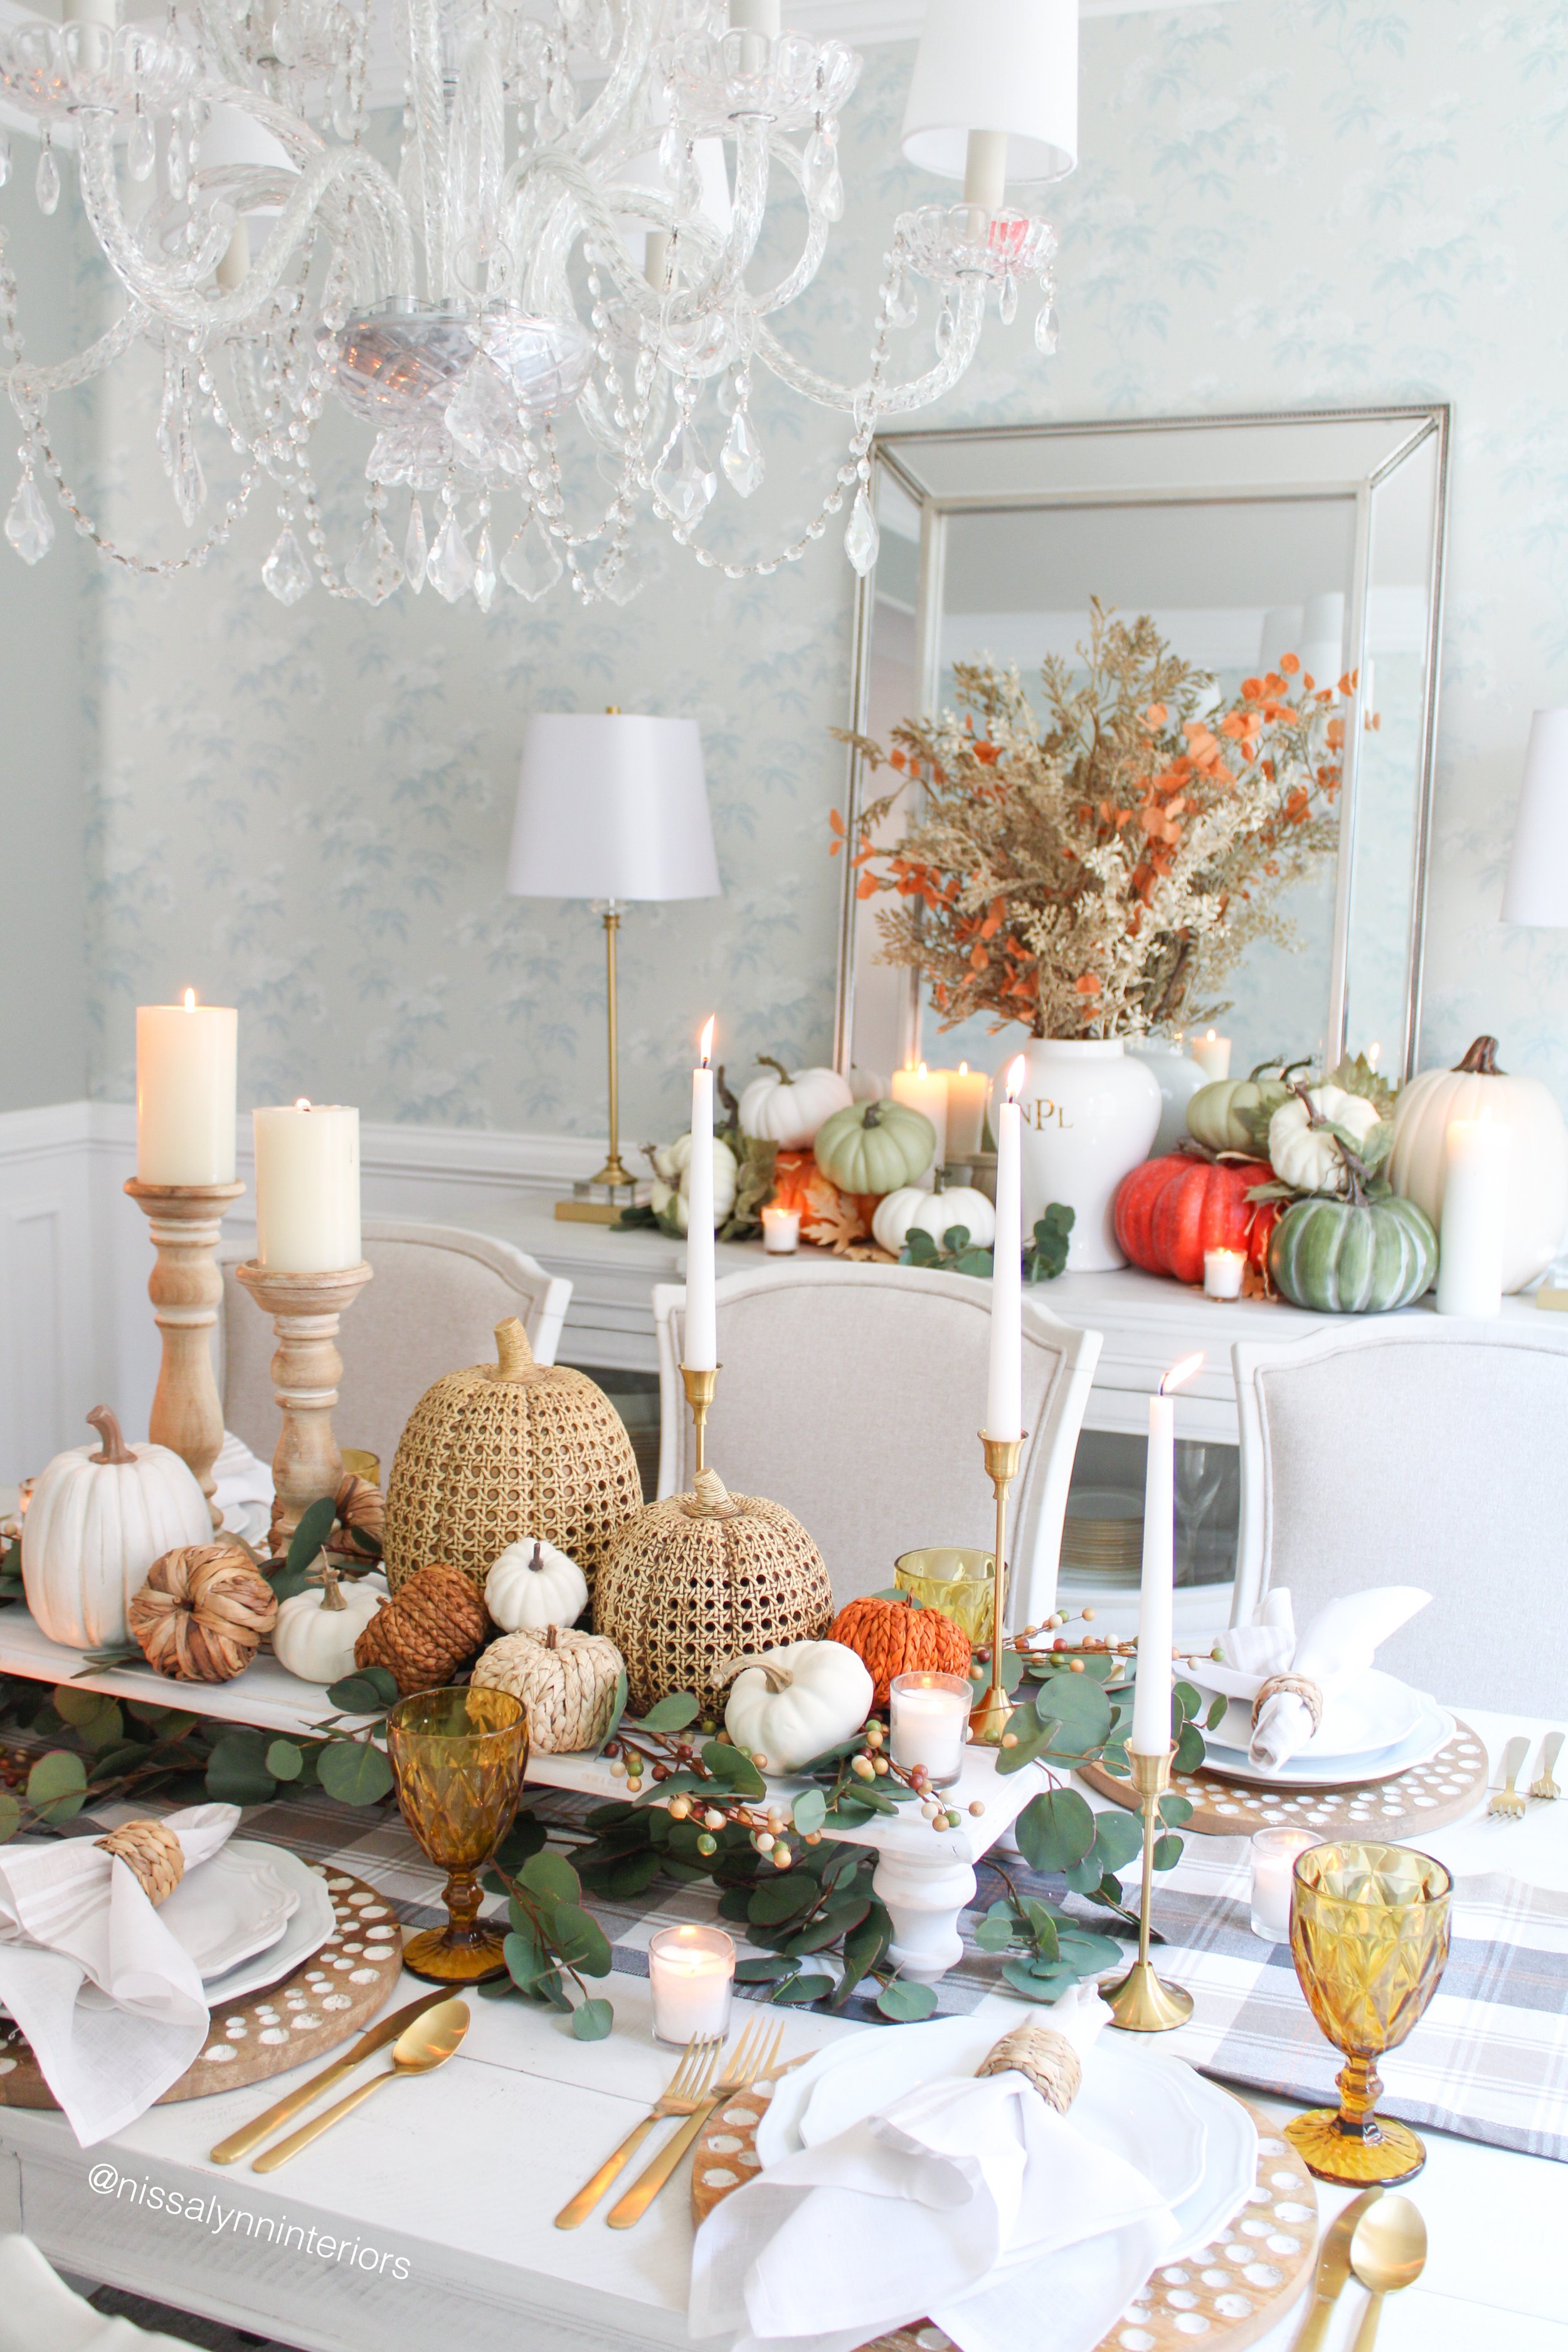
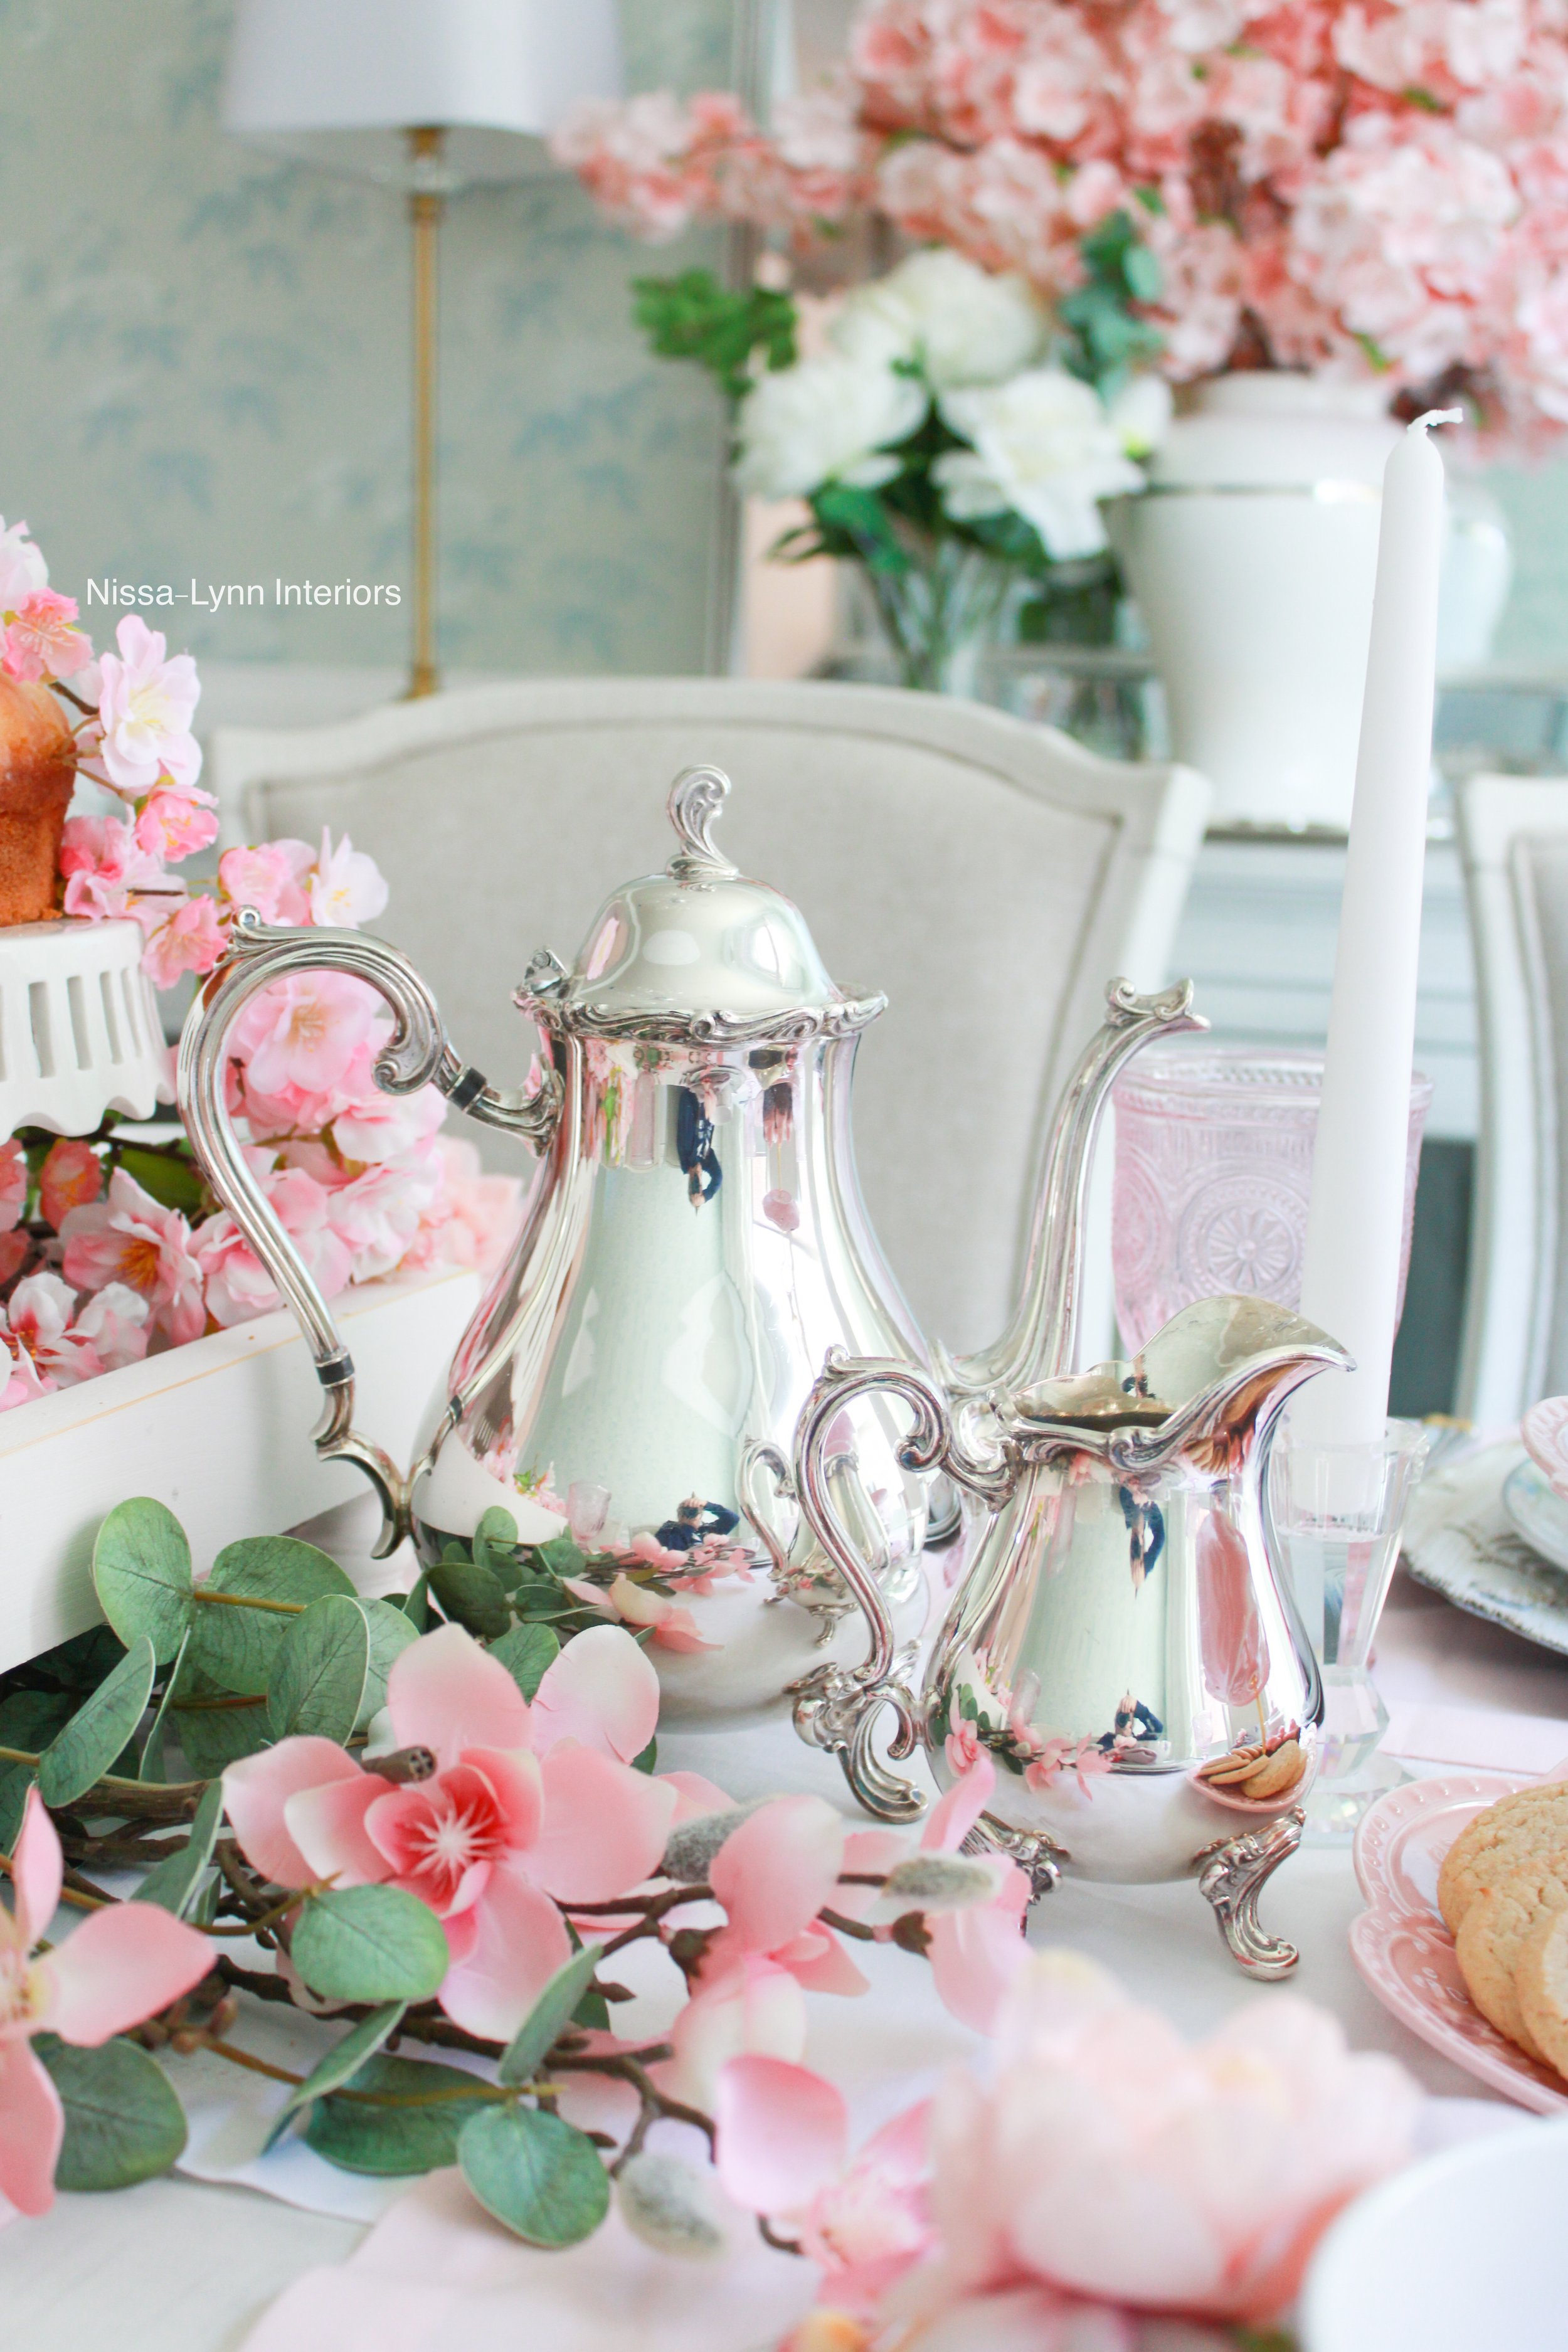
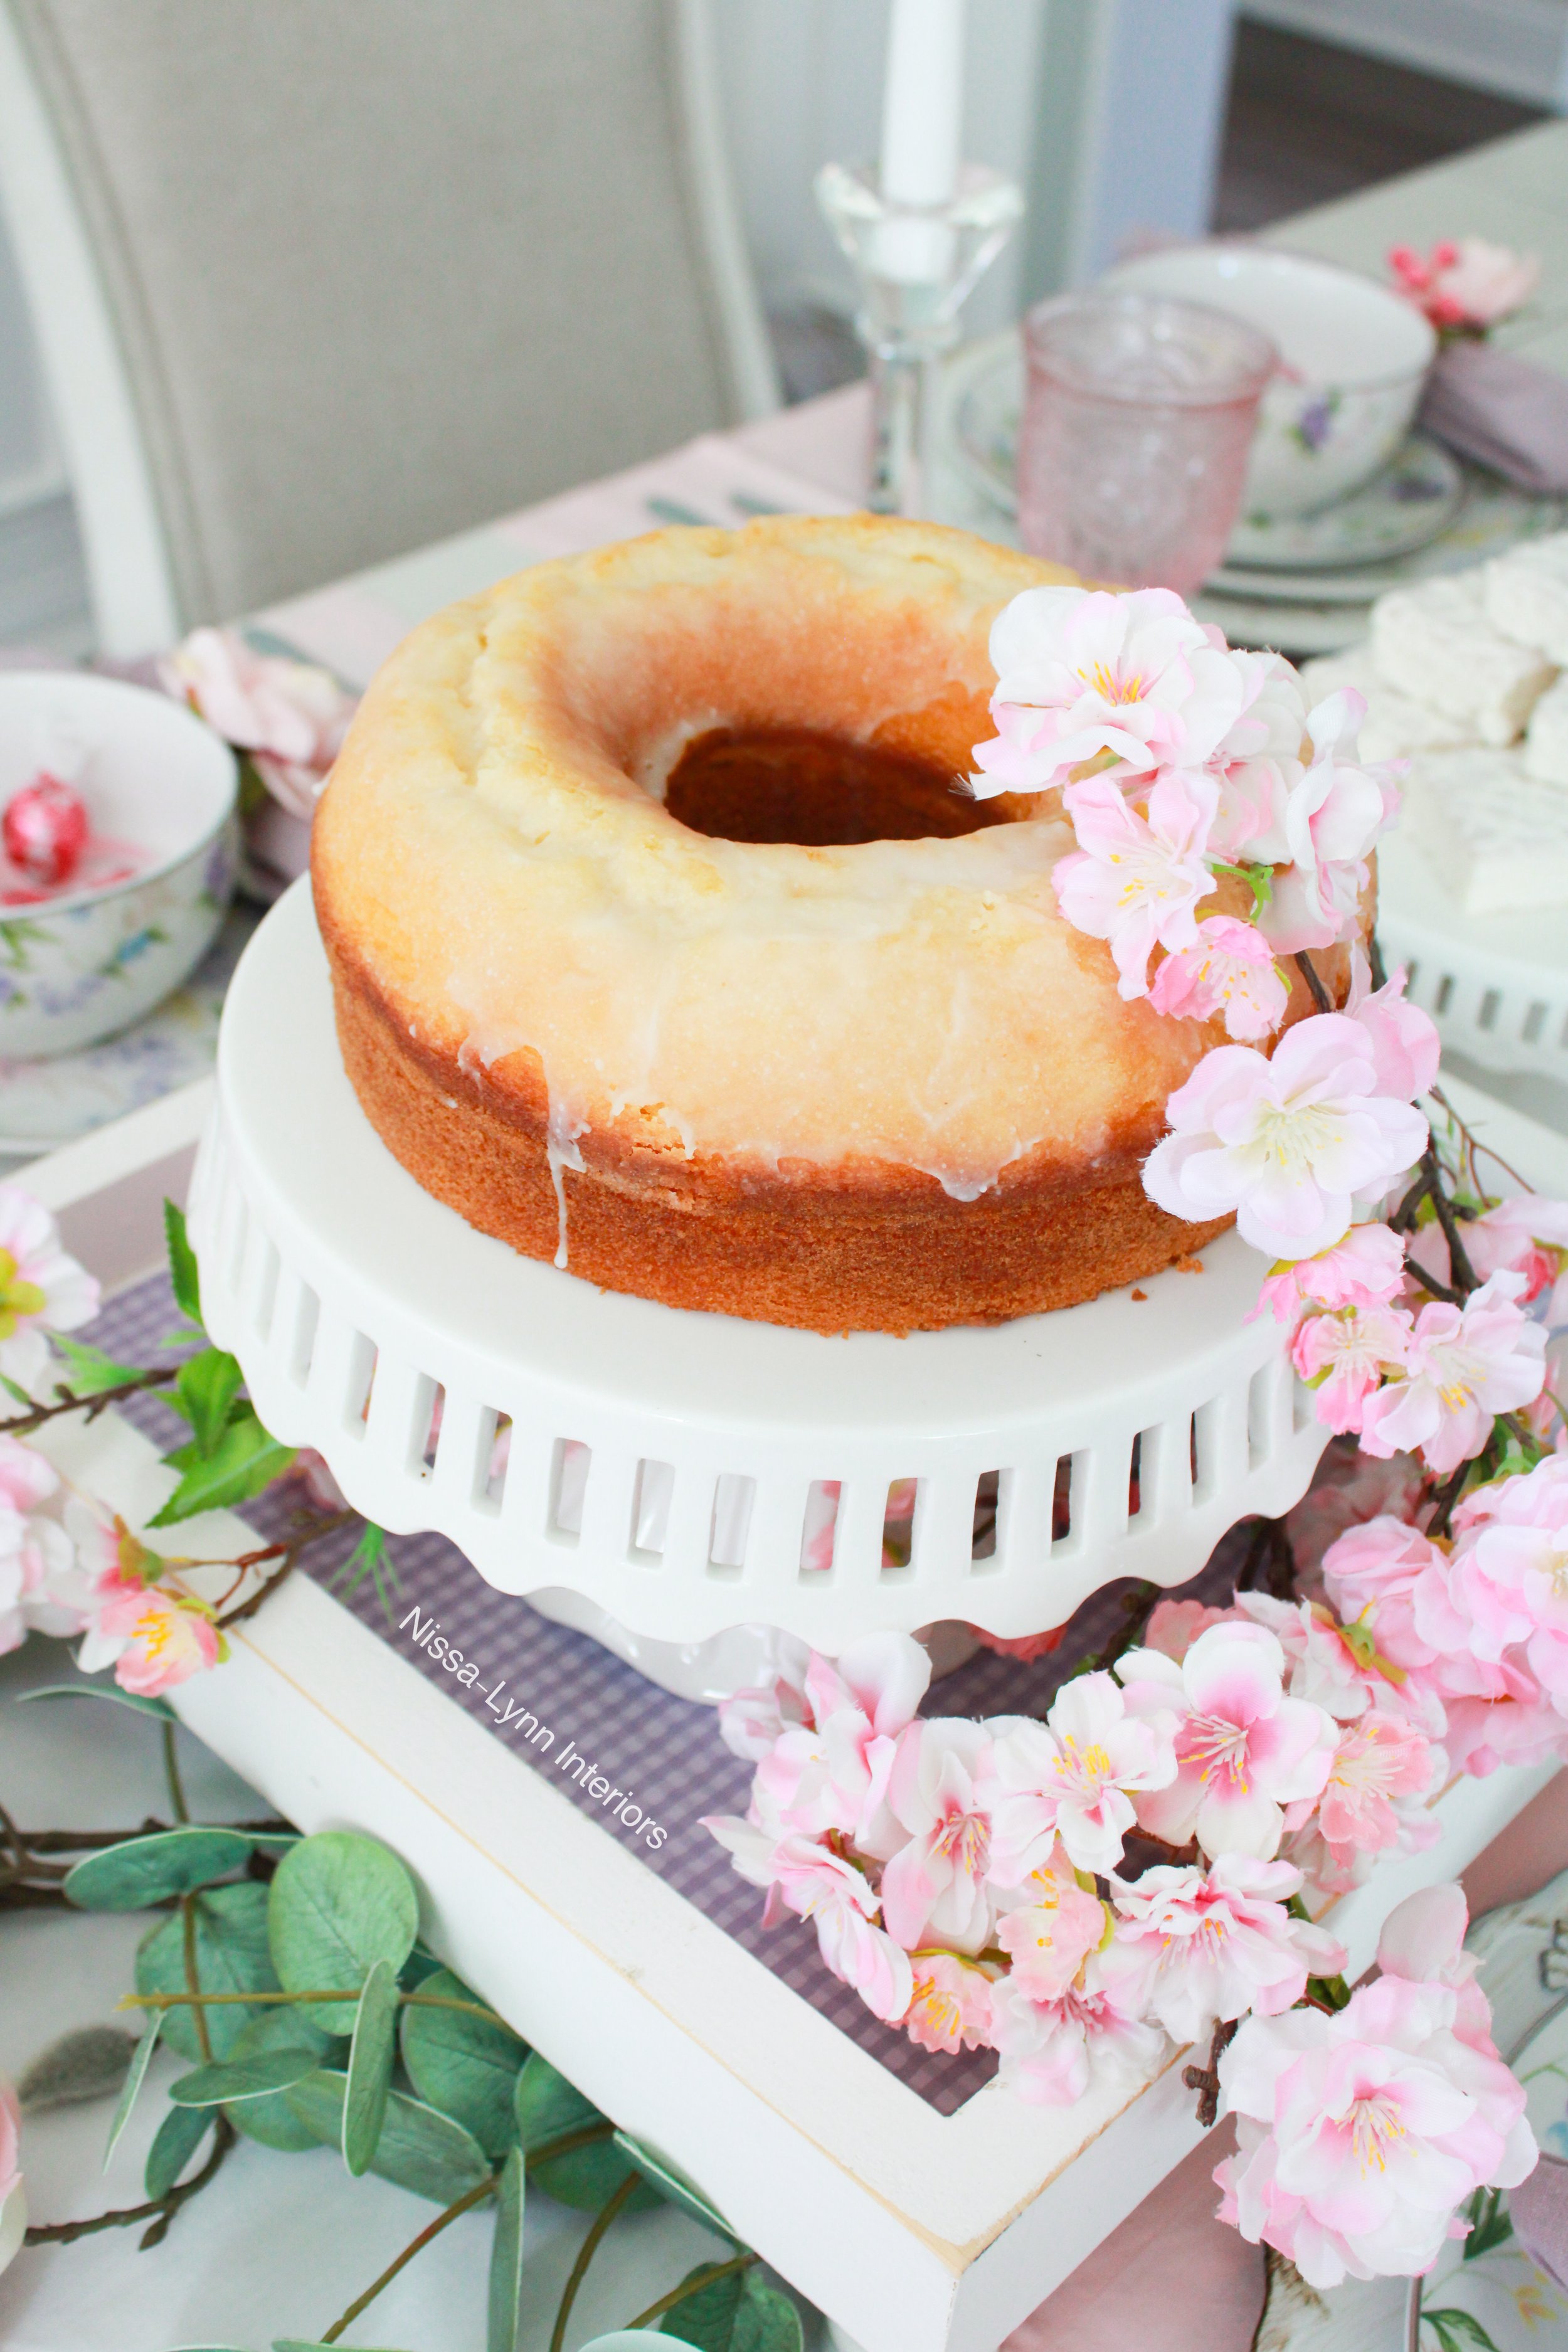
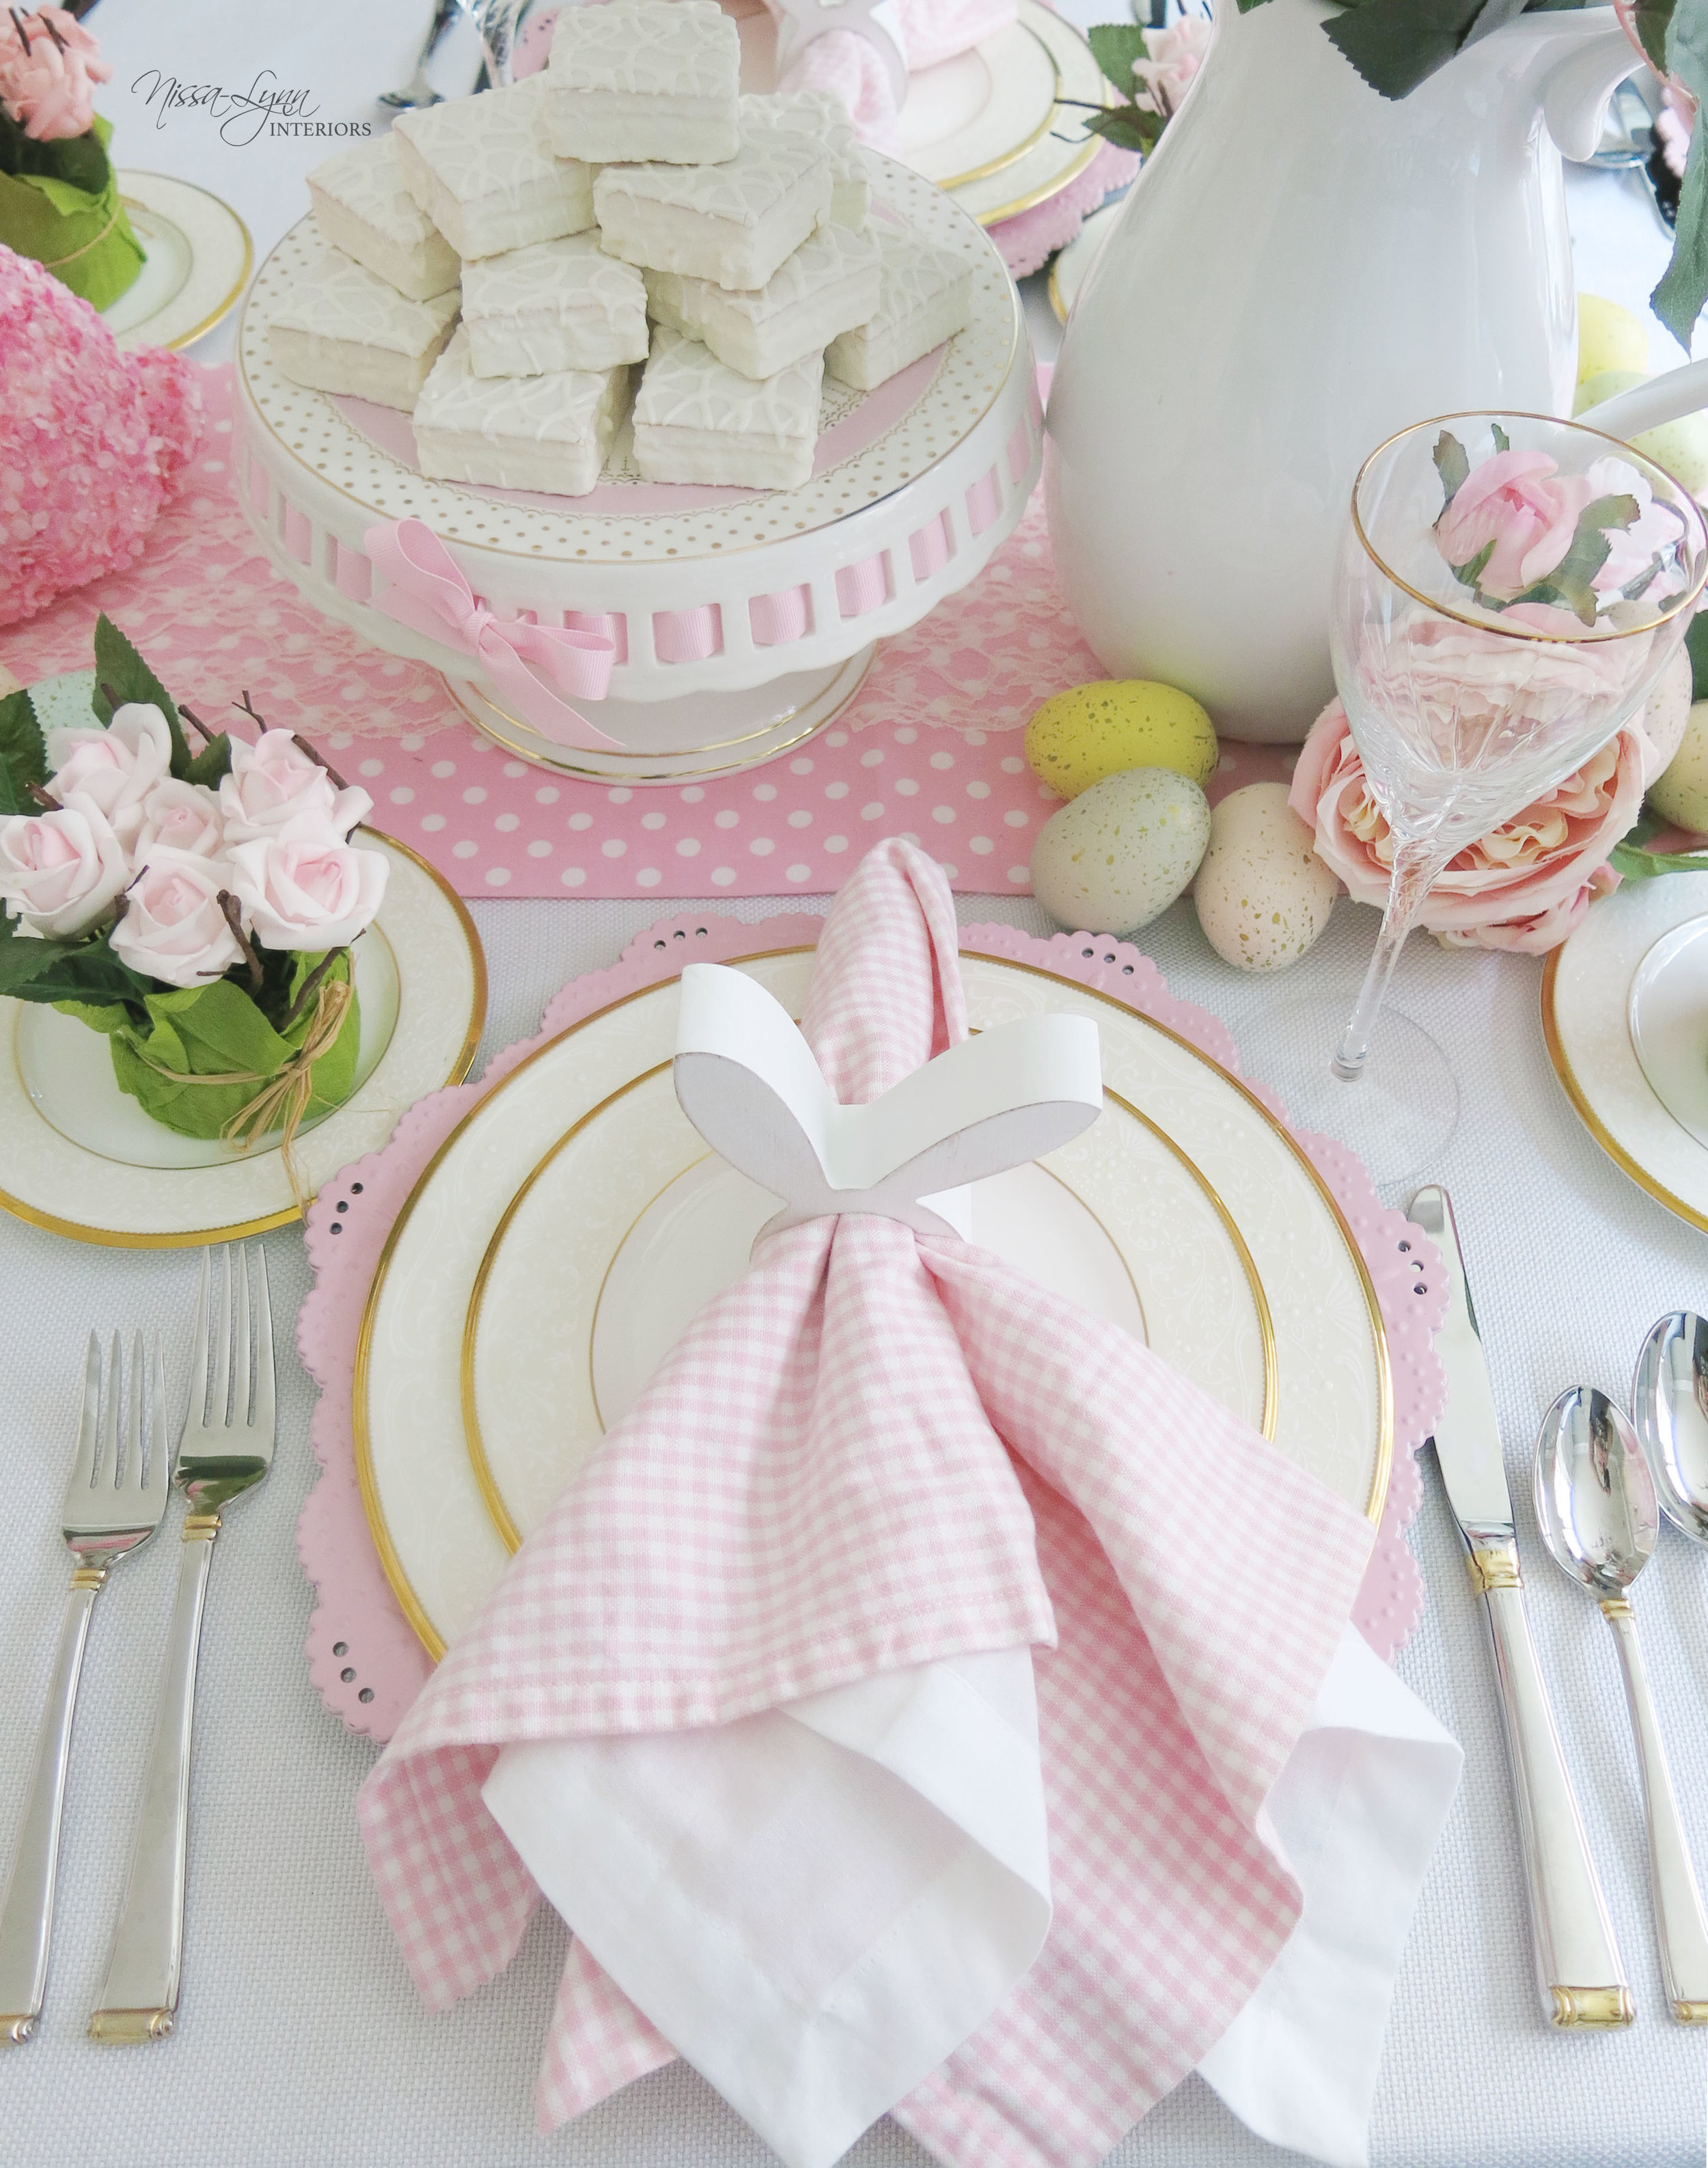
Creating a Valentine's tablescape offers a delightful opportunity to blend romance and elegance. For this look I began by choosing a soft, neutral tablecloth to set a calm backdrop. I layered it with delicate tableware in muted tones of blush and soft white using my Mackenzie-Child’s English Garden salad plates, Paltzgraff Chateau dinner plates, and white distressed chargers. I incorporated faux hydrangeas and peonies for the centerpiece, (these are best faux florals around), and placed them in Rosy Check canisters. I also added festive taper candles to add warmth and coziness.

💗 These darling Love Cookie Hearts are from The Round Top Collection. They are absolutely perfect for my tablescape centerpieces bringing a pop of pink and red!💕 (Use code NISSALYNN25 for 25% off your order on their website:The Round Top Collection.) These metal hearts attach with a metal stick, making them great for adding holiday flair to any flower arrangement or planter.

You can also add personalized touches, such as handwritten place cards, or small gift boxes at each placesetting to make the evening feel special. My goal for this look was to craft an inviting space that celebrated love while maintaining a refined aesthetic.

To dress up the candle holders, I tied different shades of pink ribbons around the base of candles.

The little red heart table runner adds charm to the table and brings in some red.

These darling metal Love Cookie Hearts are absolutely perfect for my tablescape centerpieces! They give a vintage, classic feel.

I accentuated the light pink pieces with gold flatware. It also correlates well with the gold accents on the canisters.

Adding delicious desserts always makes Valentines’s Day extra special! These treats are from Paris Baguette.


Need and easy, festive dessert? These strawberry swirl cupcakes were from my local Neighborhood Walmart.
Hope you have a wonderful Valentine’s Day!