DIY Thanksgiving Tablescape with American Farmhouse Style Magazine (Copy)

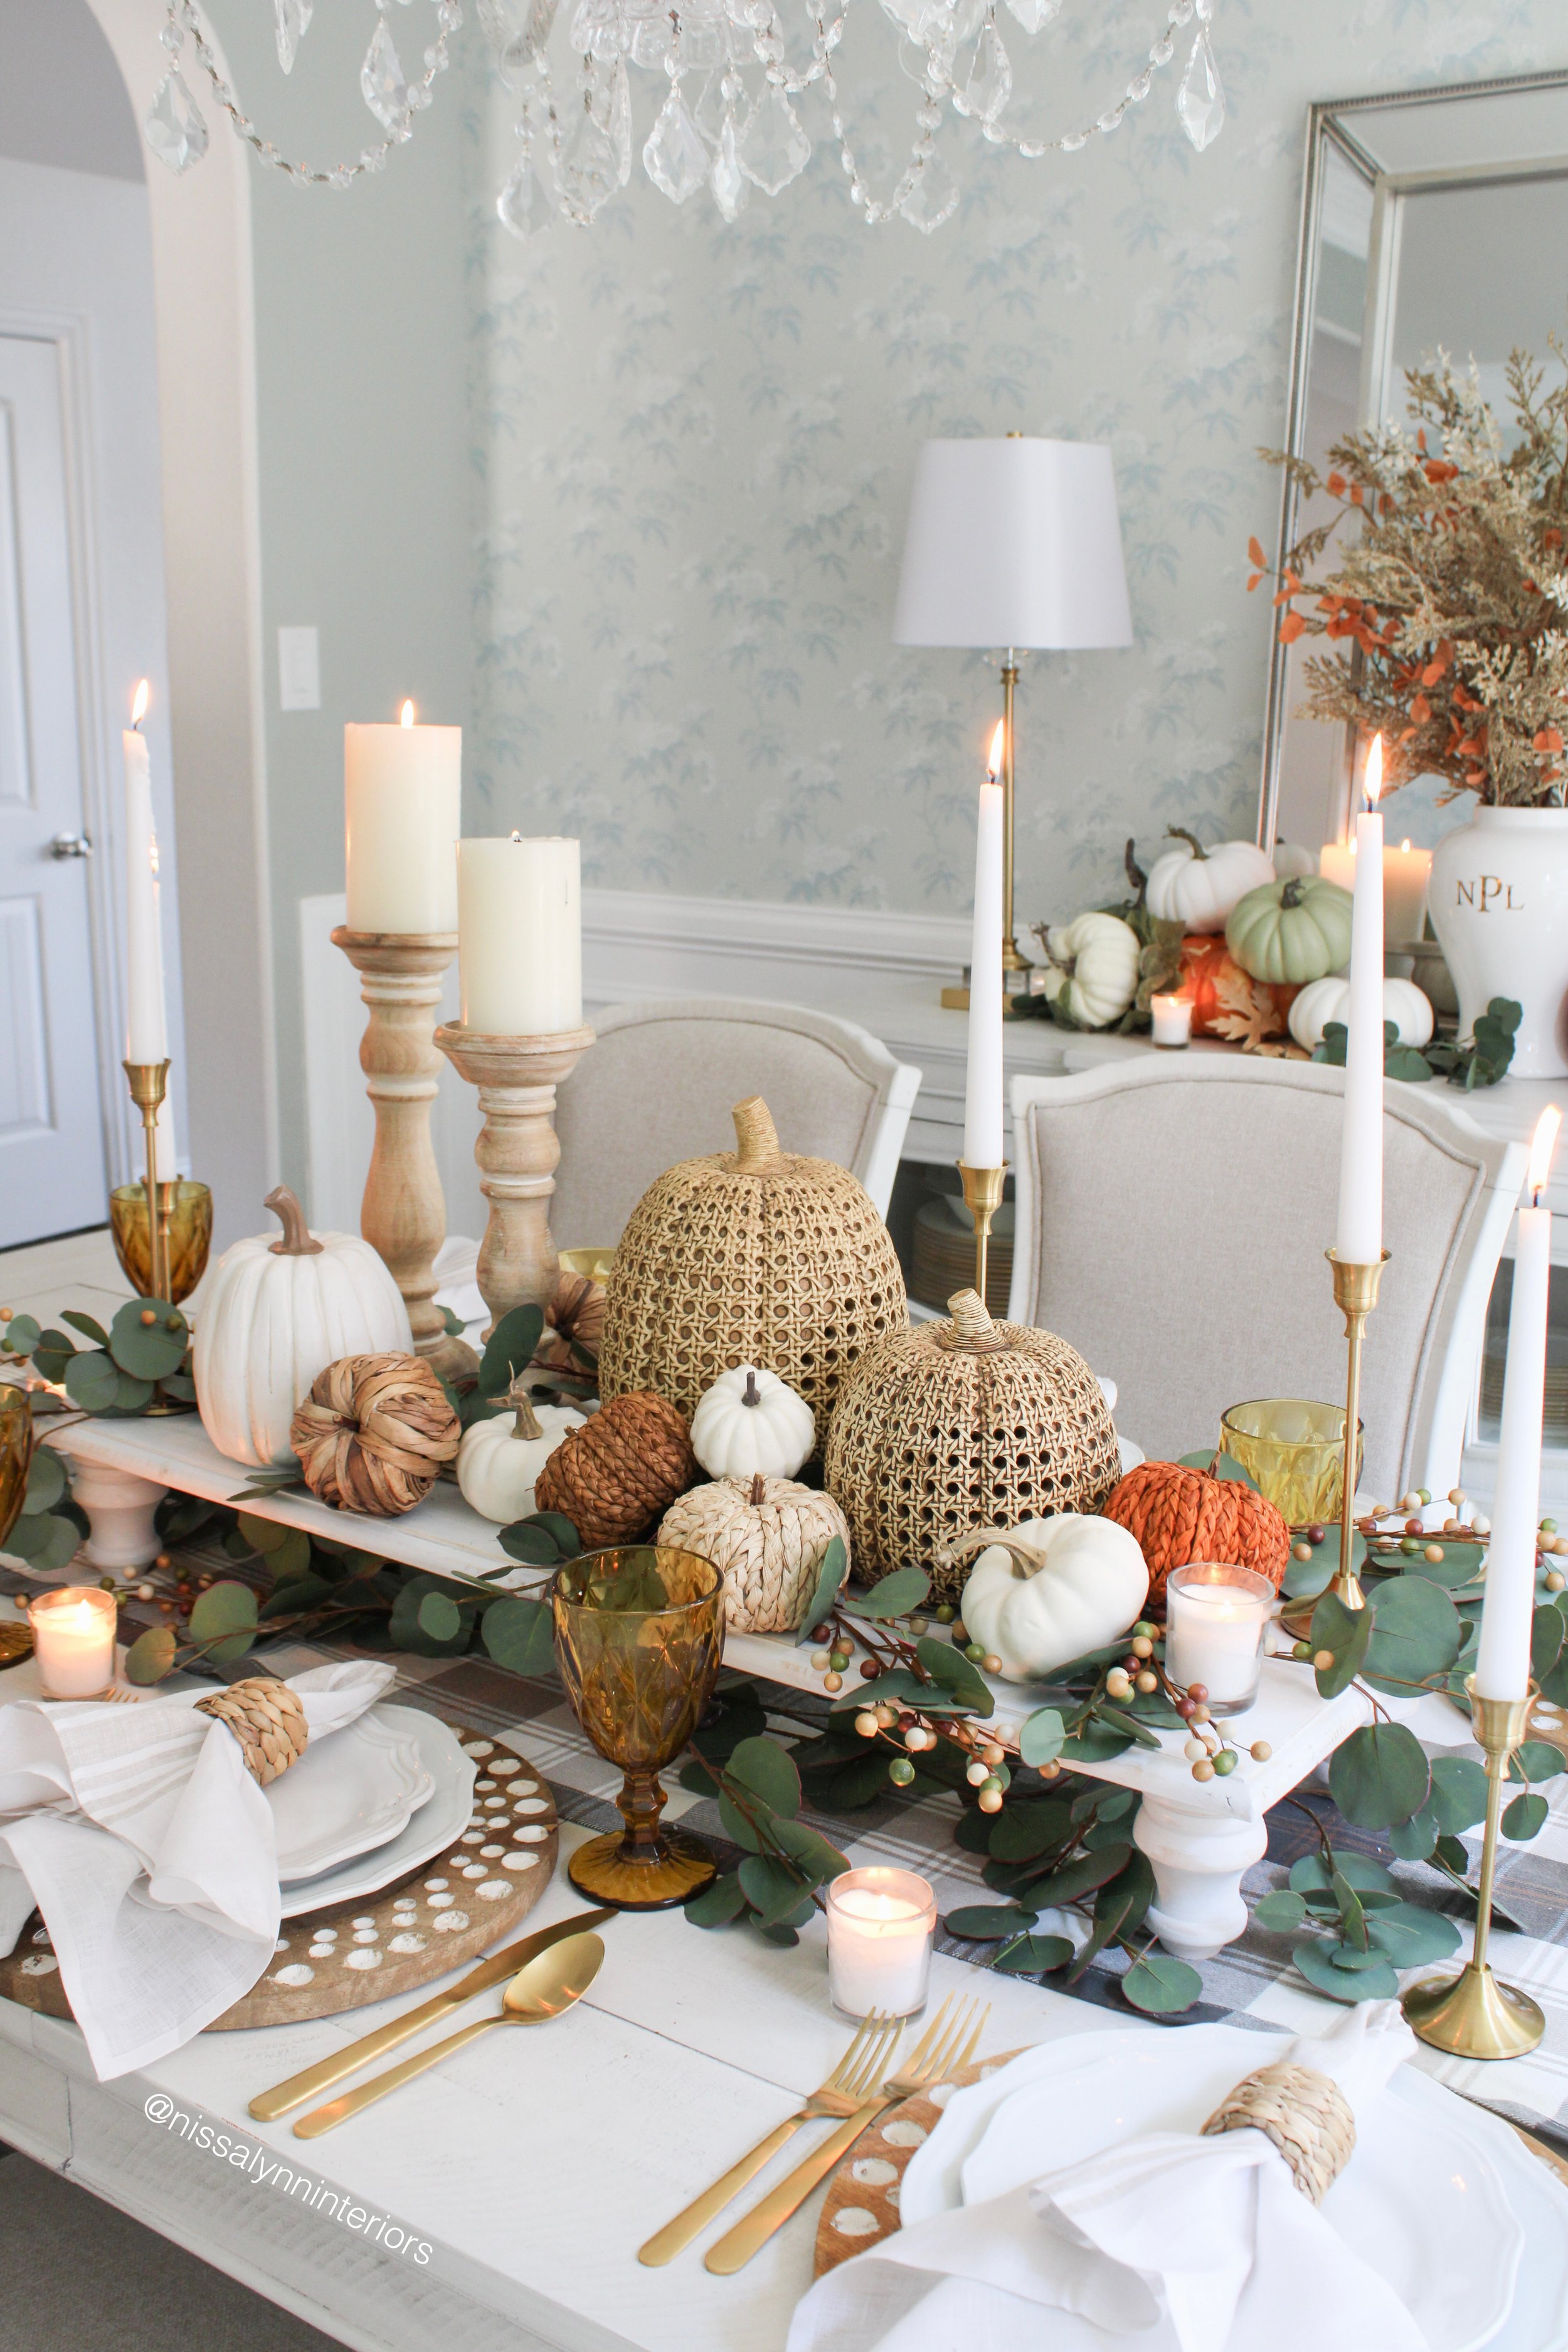
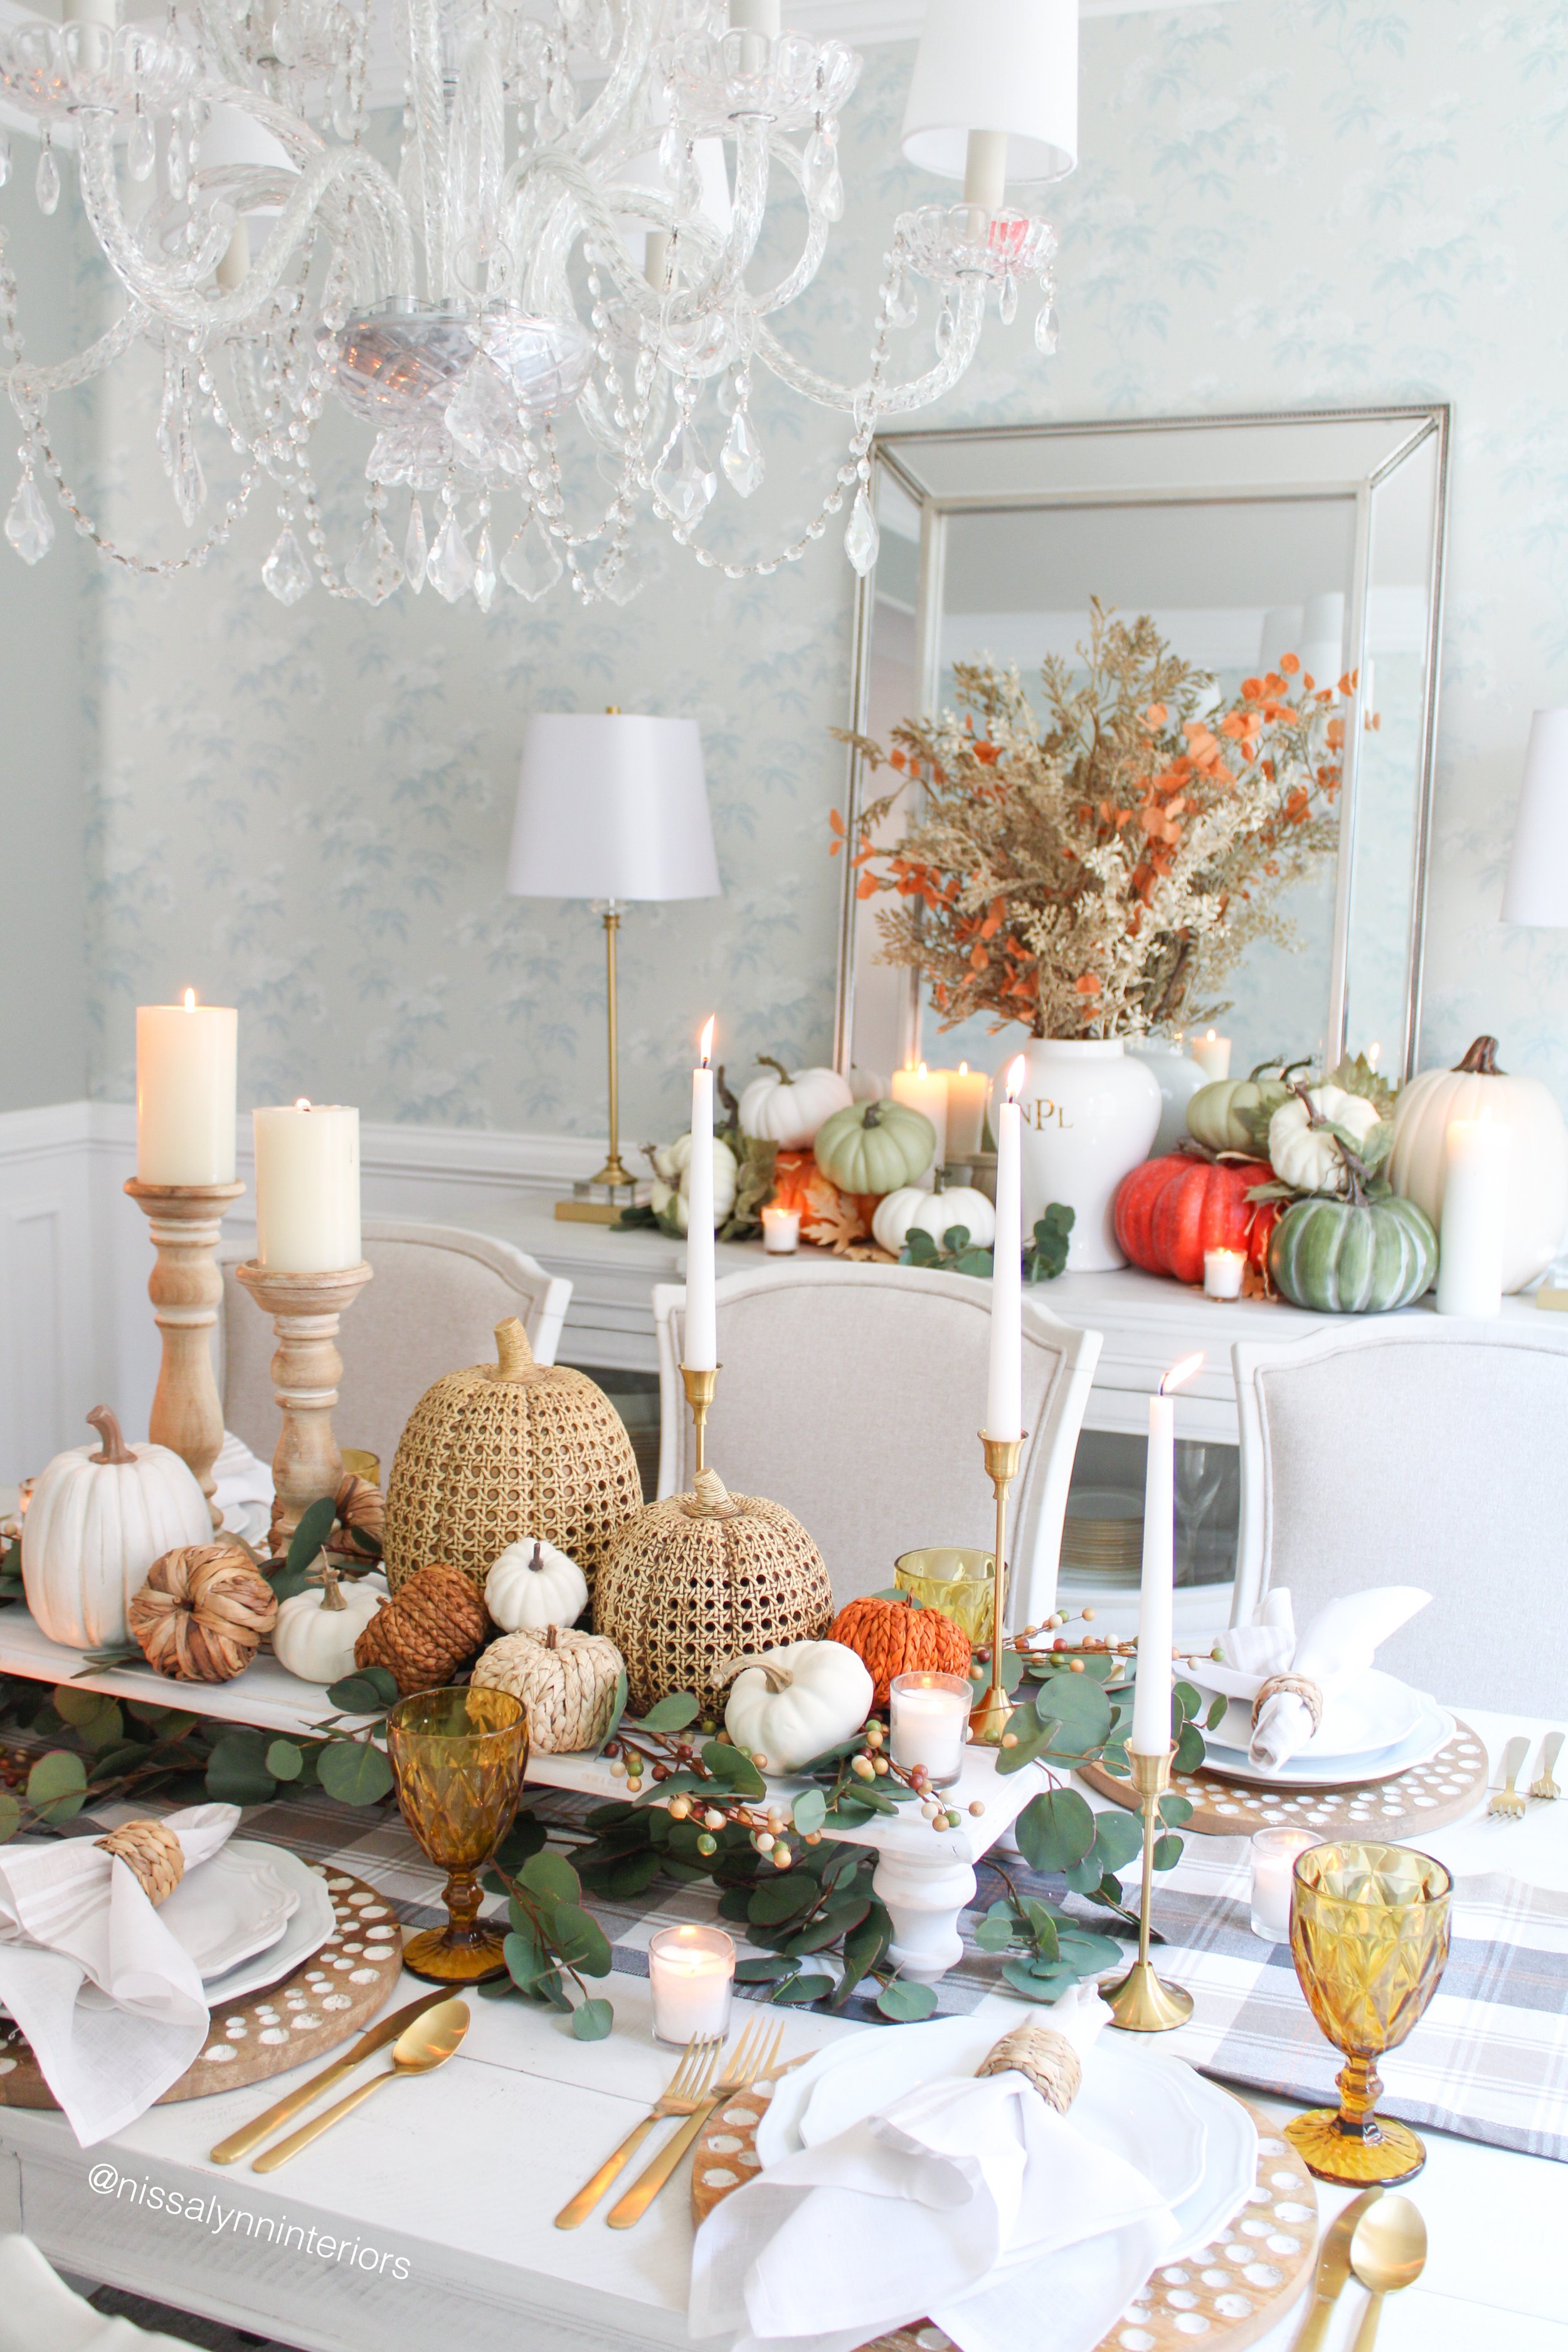
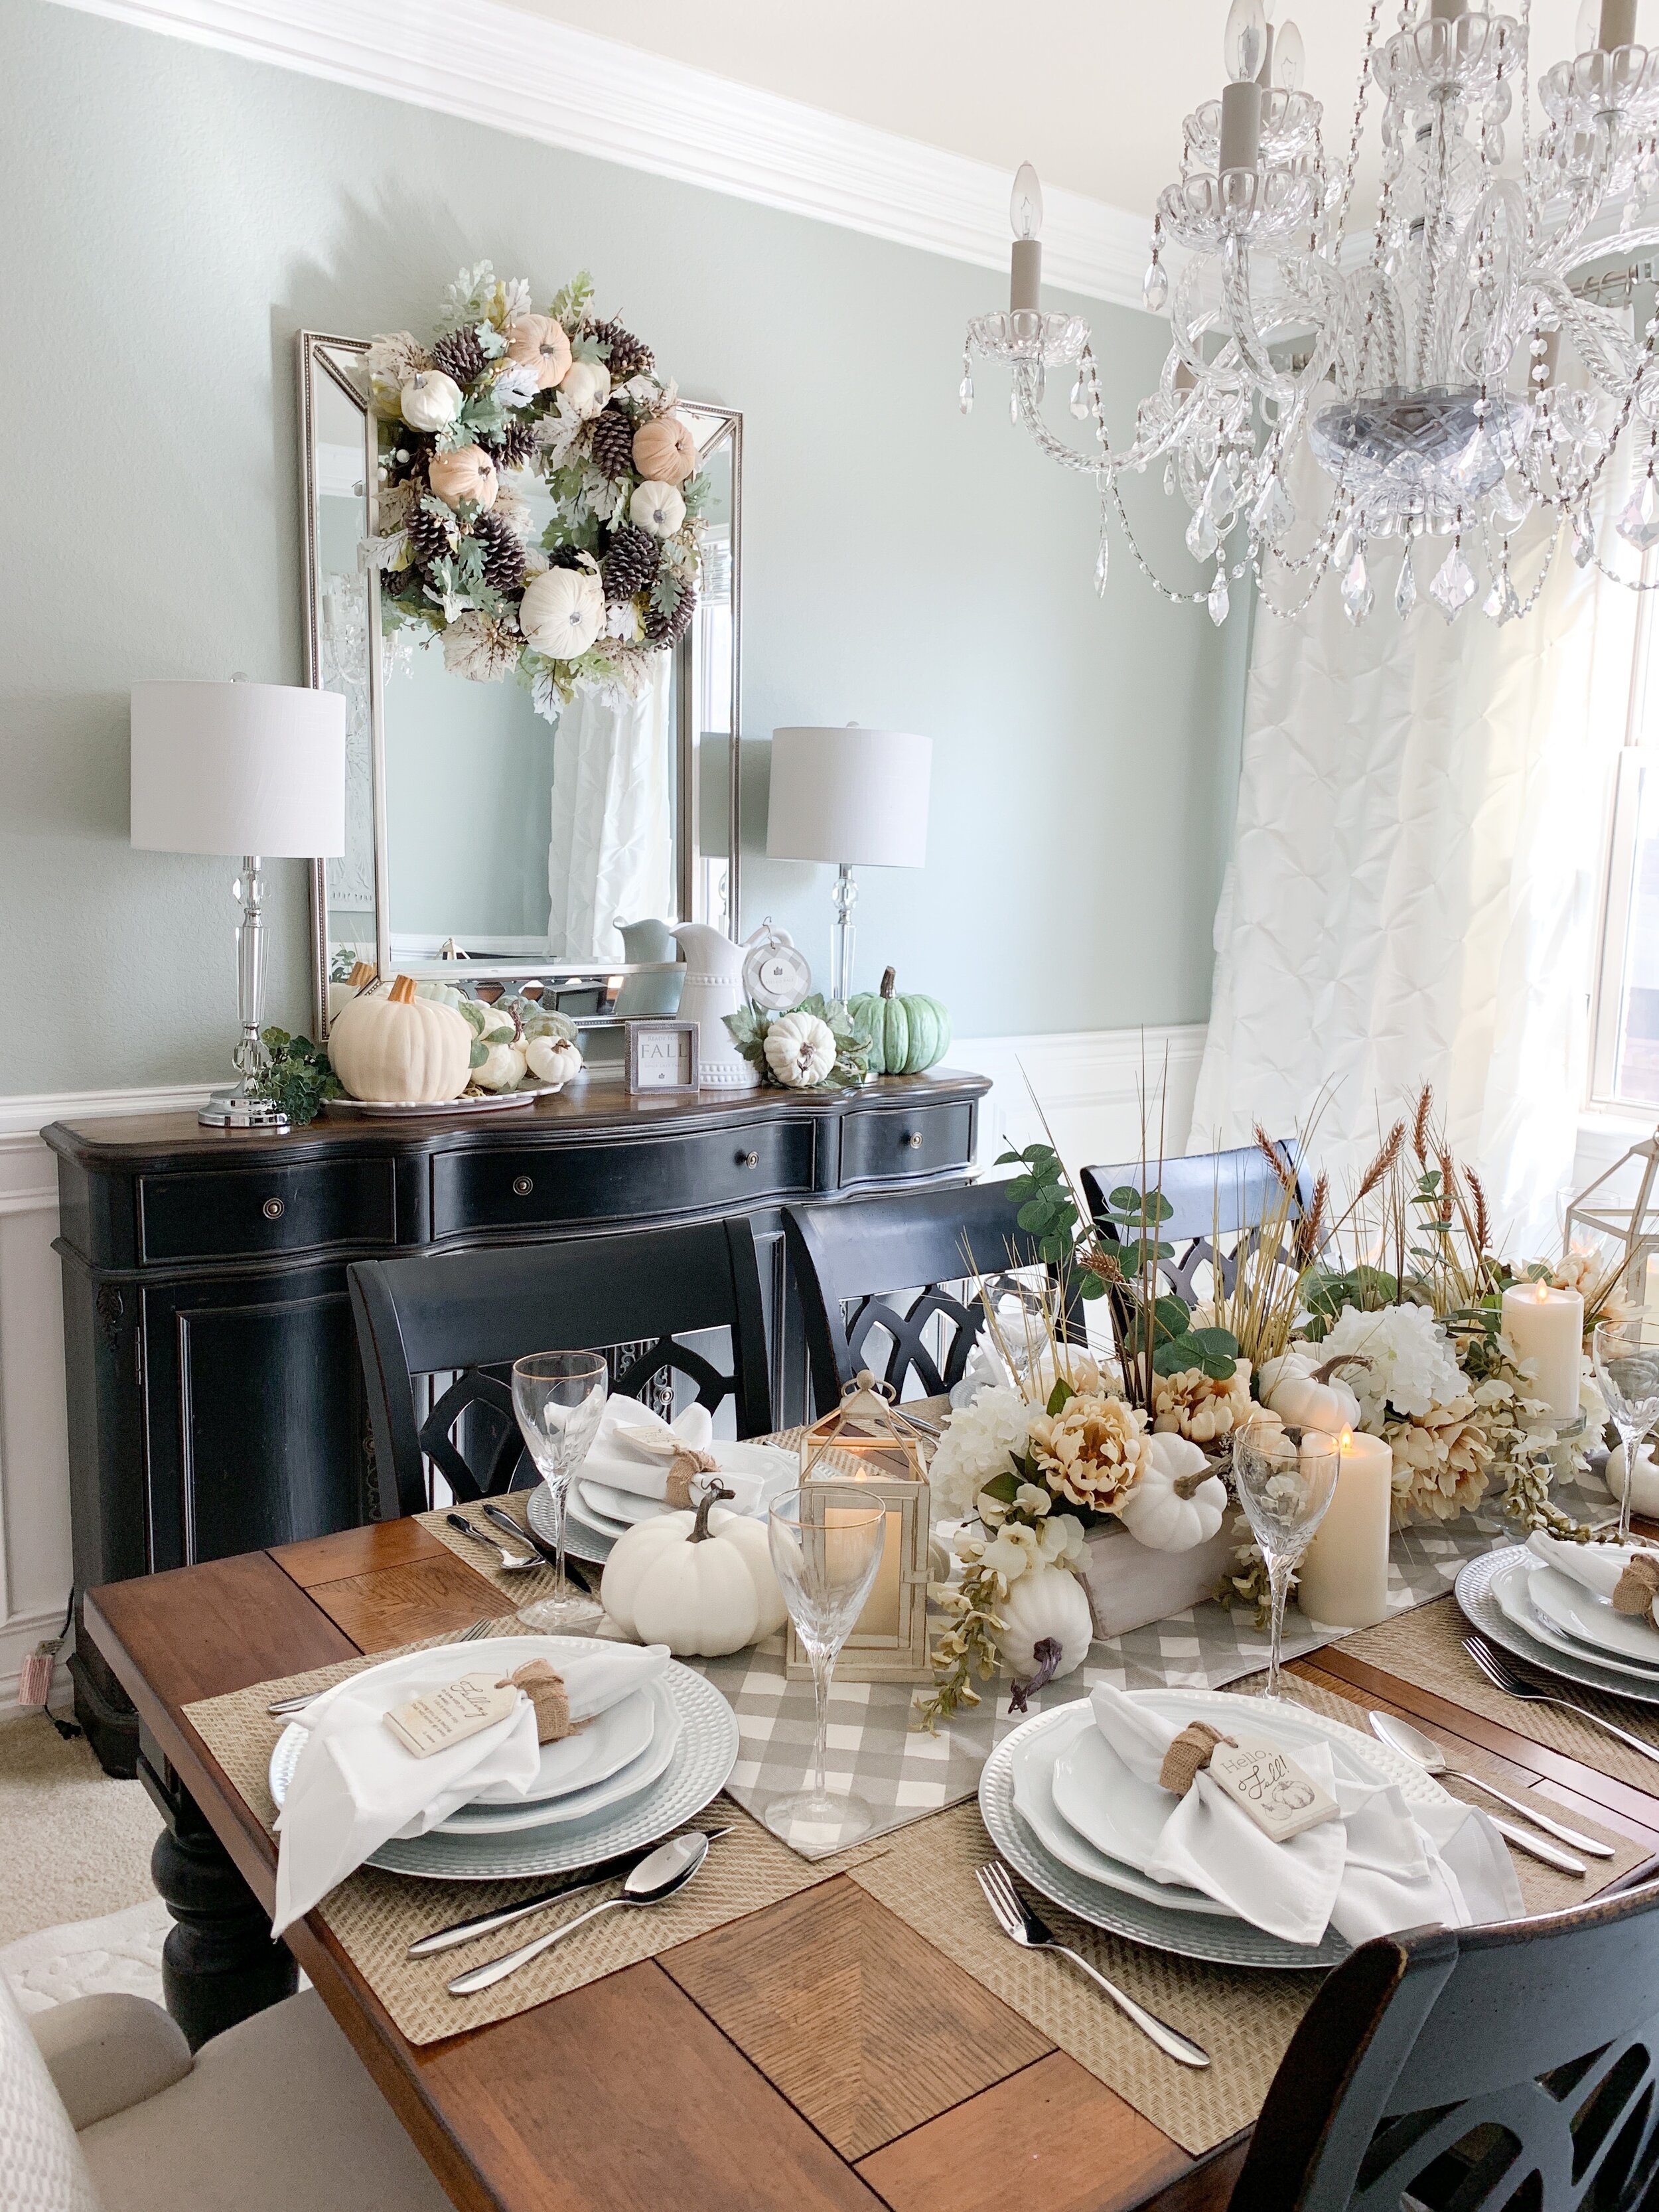
After a nation wide search with thousands of entries, I am honored to selected one of the top four finalist for the American Farmhouse Style Magazine Ambassador contest. Below is the DIY elevated tablescape riser I built for the final project. You can view the magazine article here.

As the seasons change, fall ushers in cool crisp nights, falling leaves, pumpkin decor, cider, and cozy sweaters. 

A Time for Gratitude

Thanksgiving will soon be here and families will gather around a loved one’s kitchen or dining room table to celebrate the season of gratitude and renewed blessings. Creating a fun and festive thanksgiving tablescape is my way to welcome family and friends into my home and help make the holiday feel special.

DIY Centerpiece for the Thanksgiving Tablescape

I love to think of an empty table as a canvas, and the pieces as the paint. Creating a Thanksgiving tablescape can be a wonderful way to be creative and expressive. I always start with the centerpiece and make it the focal point of the table.

My table is just over eight feet long, so I wanted to use an extra long elevated centerpiece. But I couldn’t find one in the stores so I decided to make my own! I went to my local hardware store and bought a large board and some furniture feet.

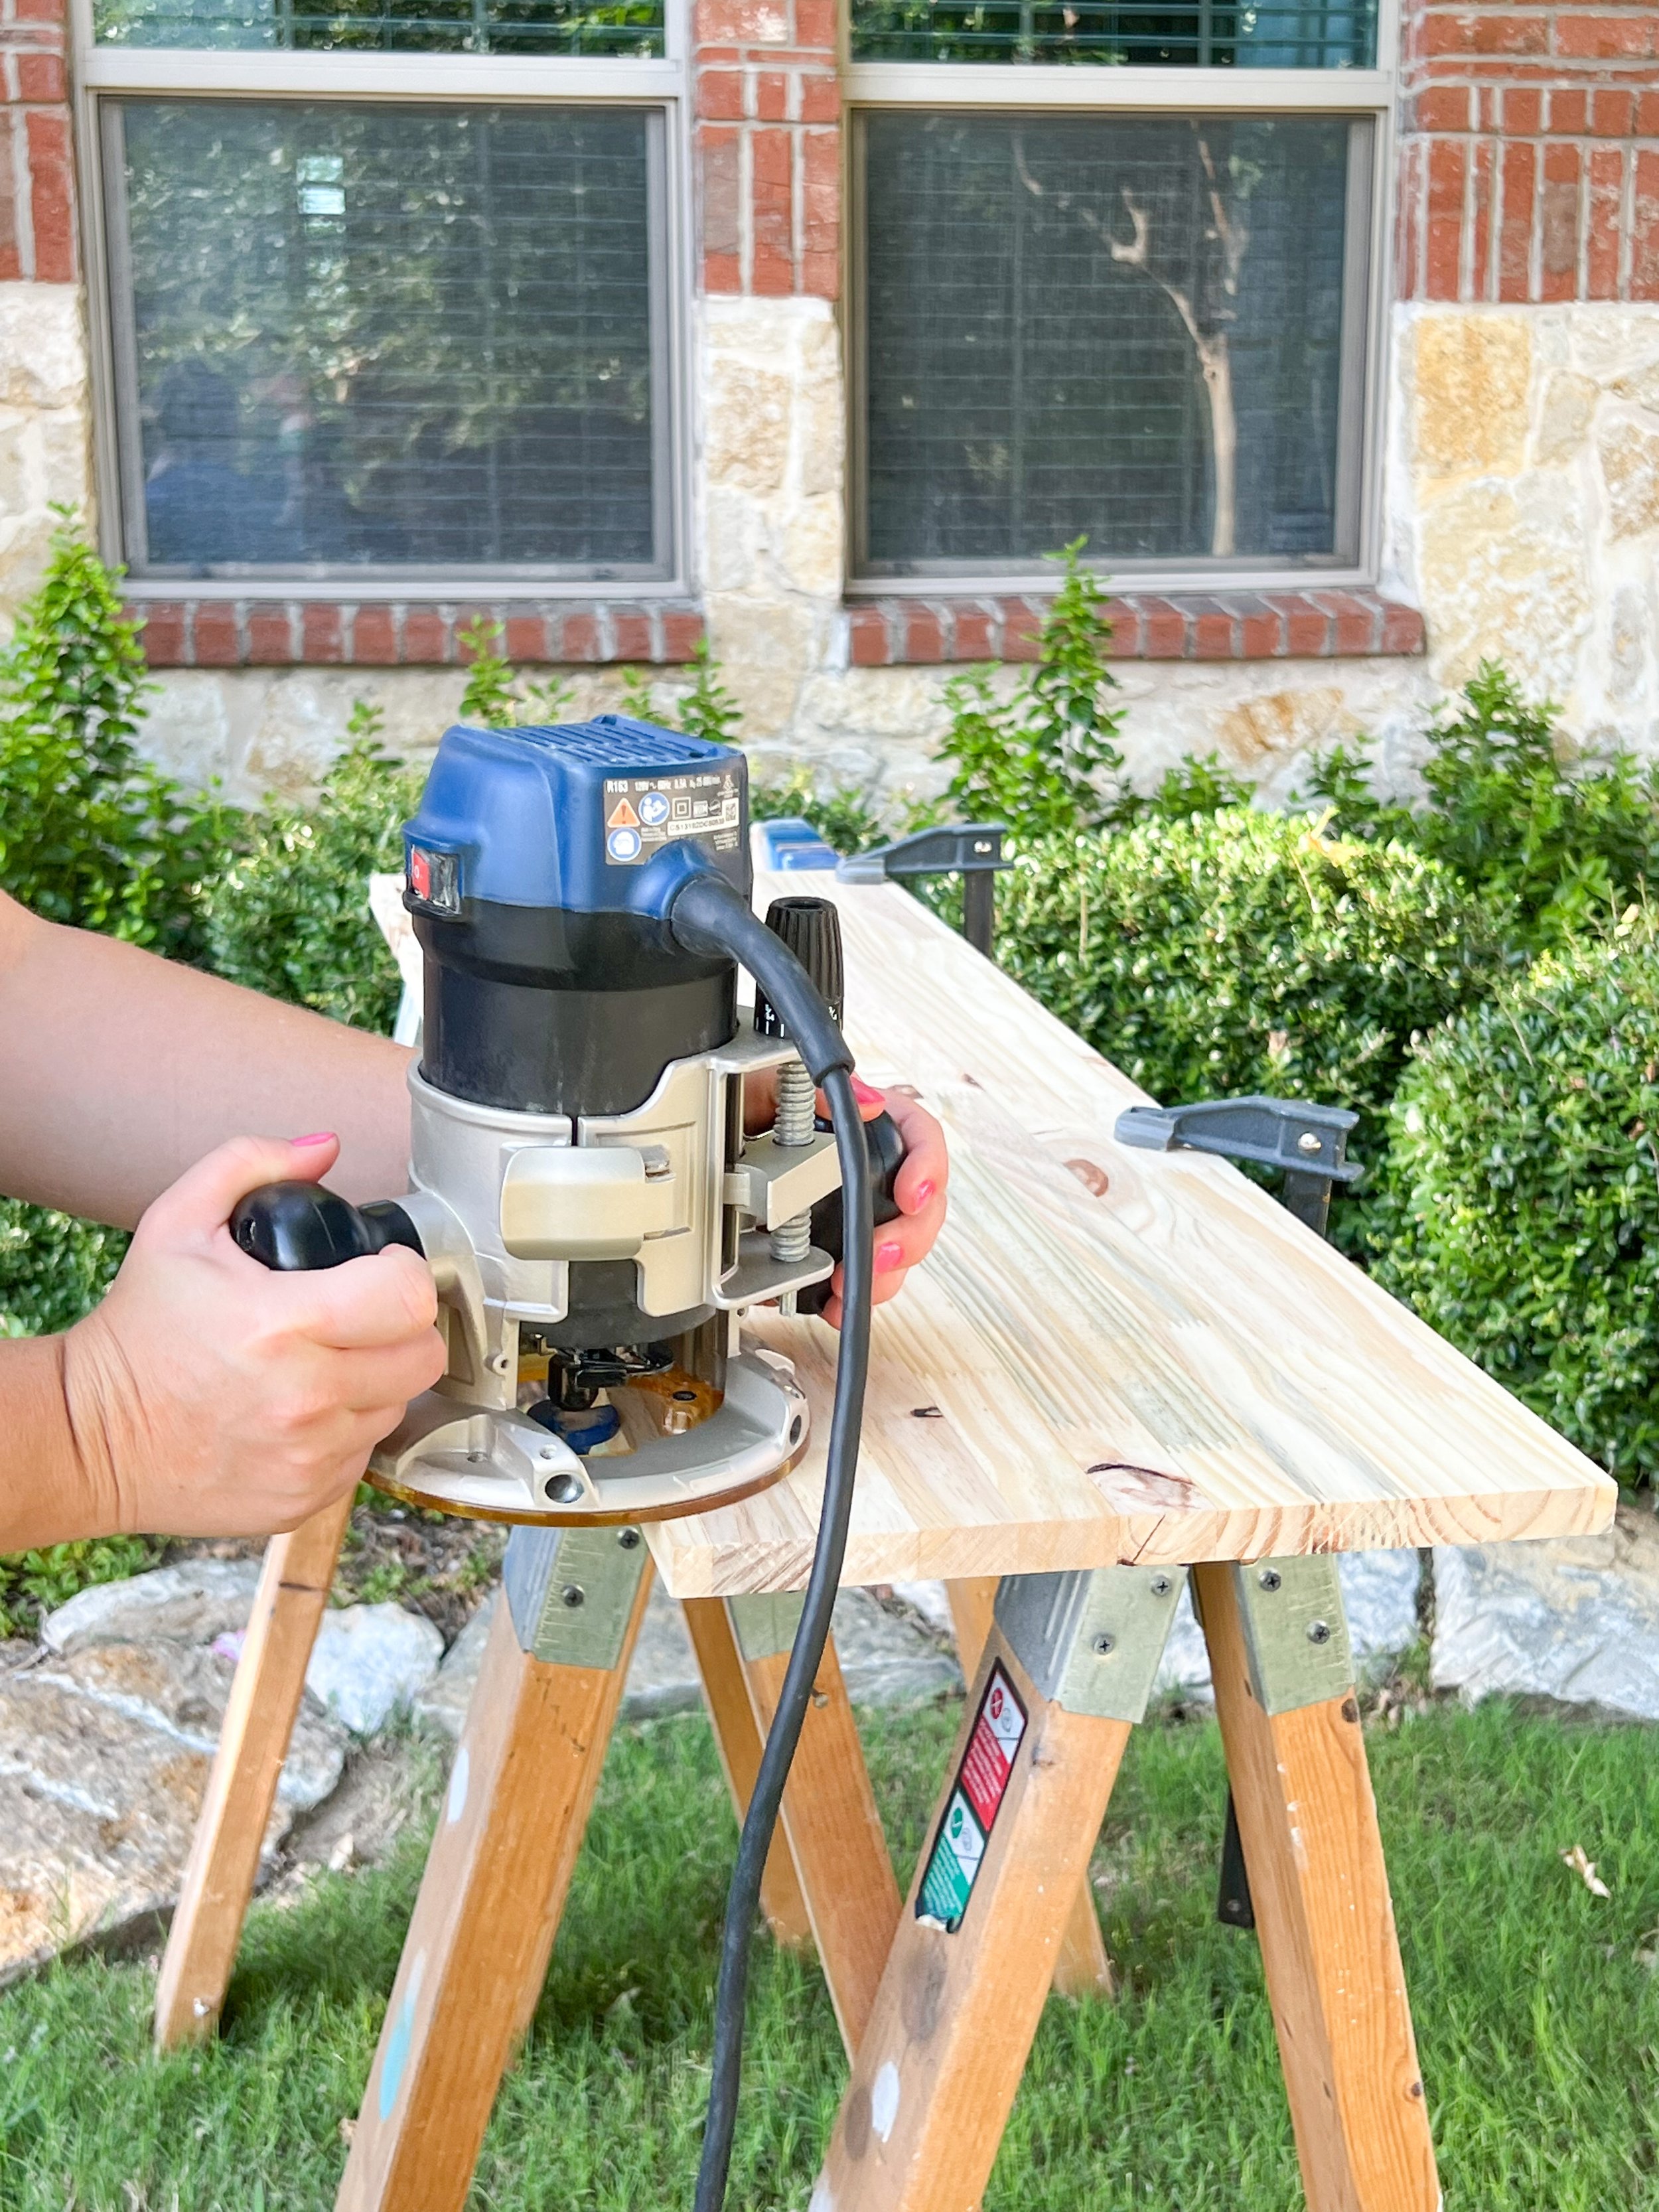
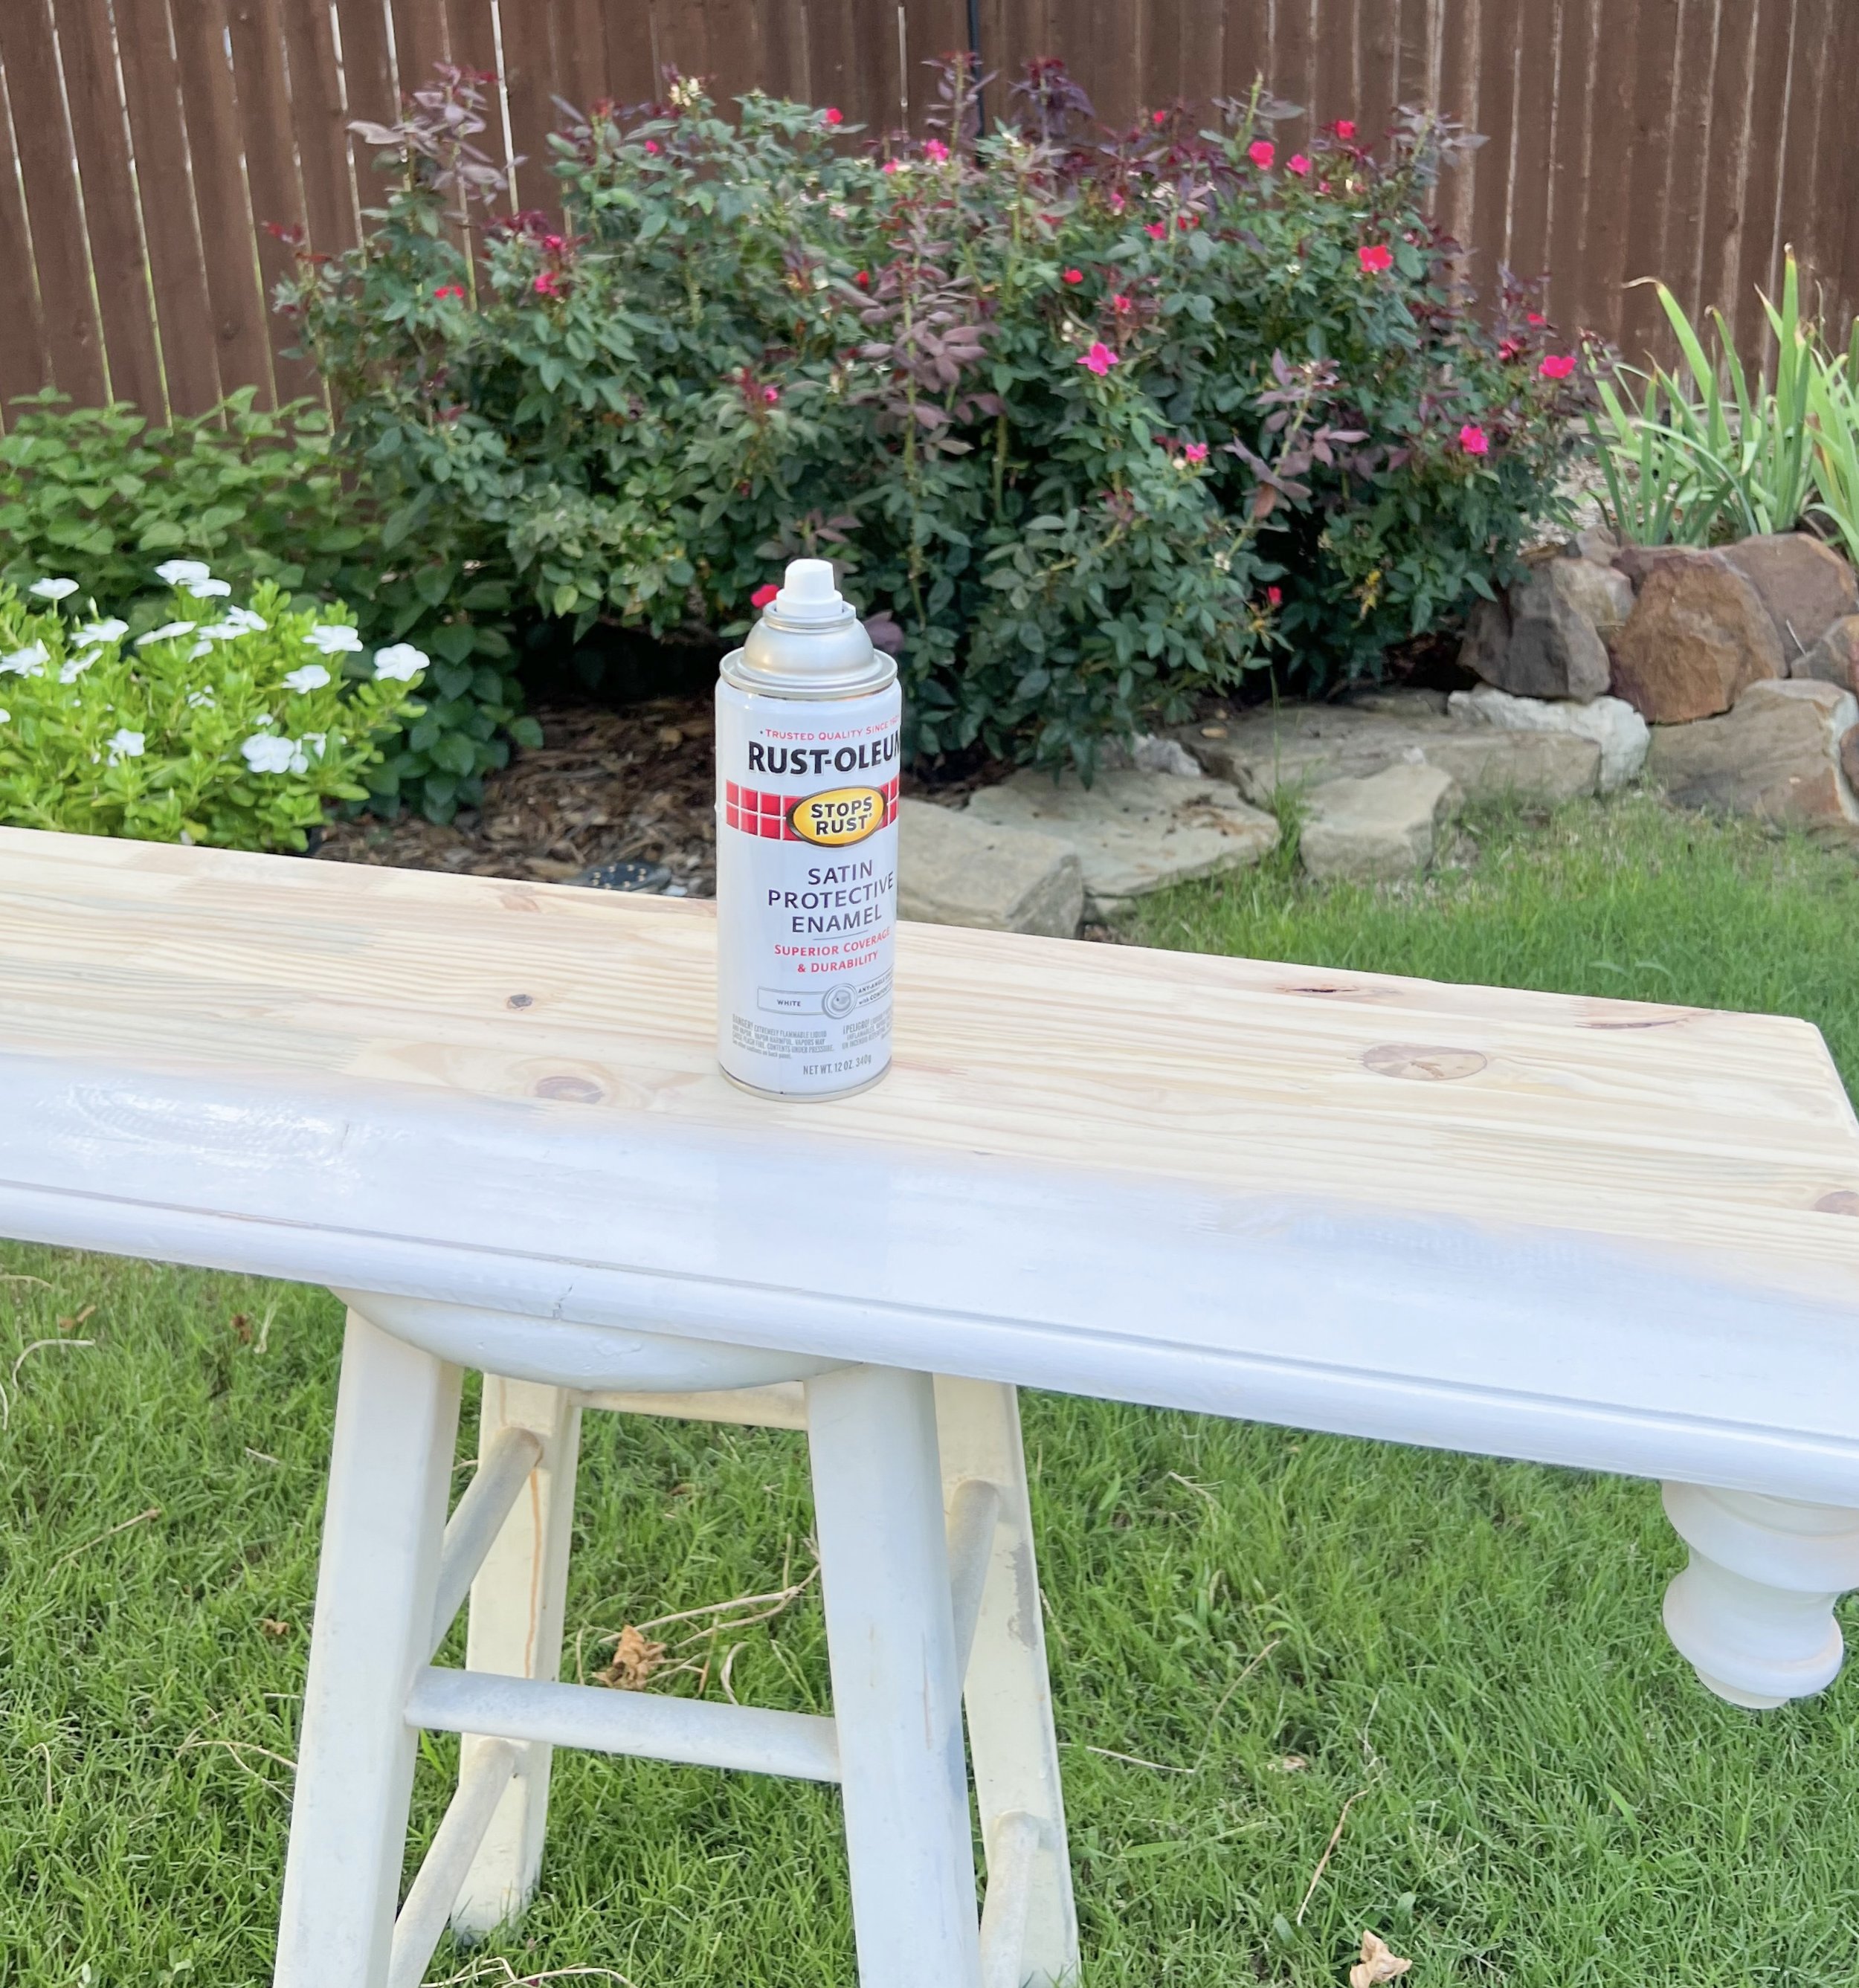
Once home, I gathered the materials and planned out my next steps. To make this centerpiece a bit more interesting, I used a router to create a decorative edge. If you don’t have a router, or want a simpler technique, just use sandpaper to round off the corners for a smooth finished look.

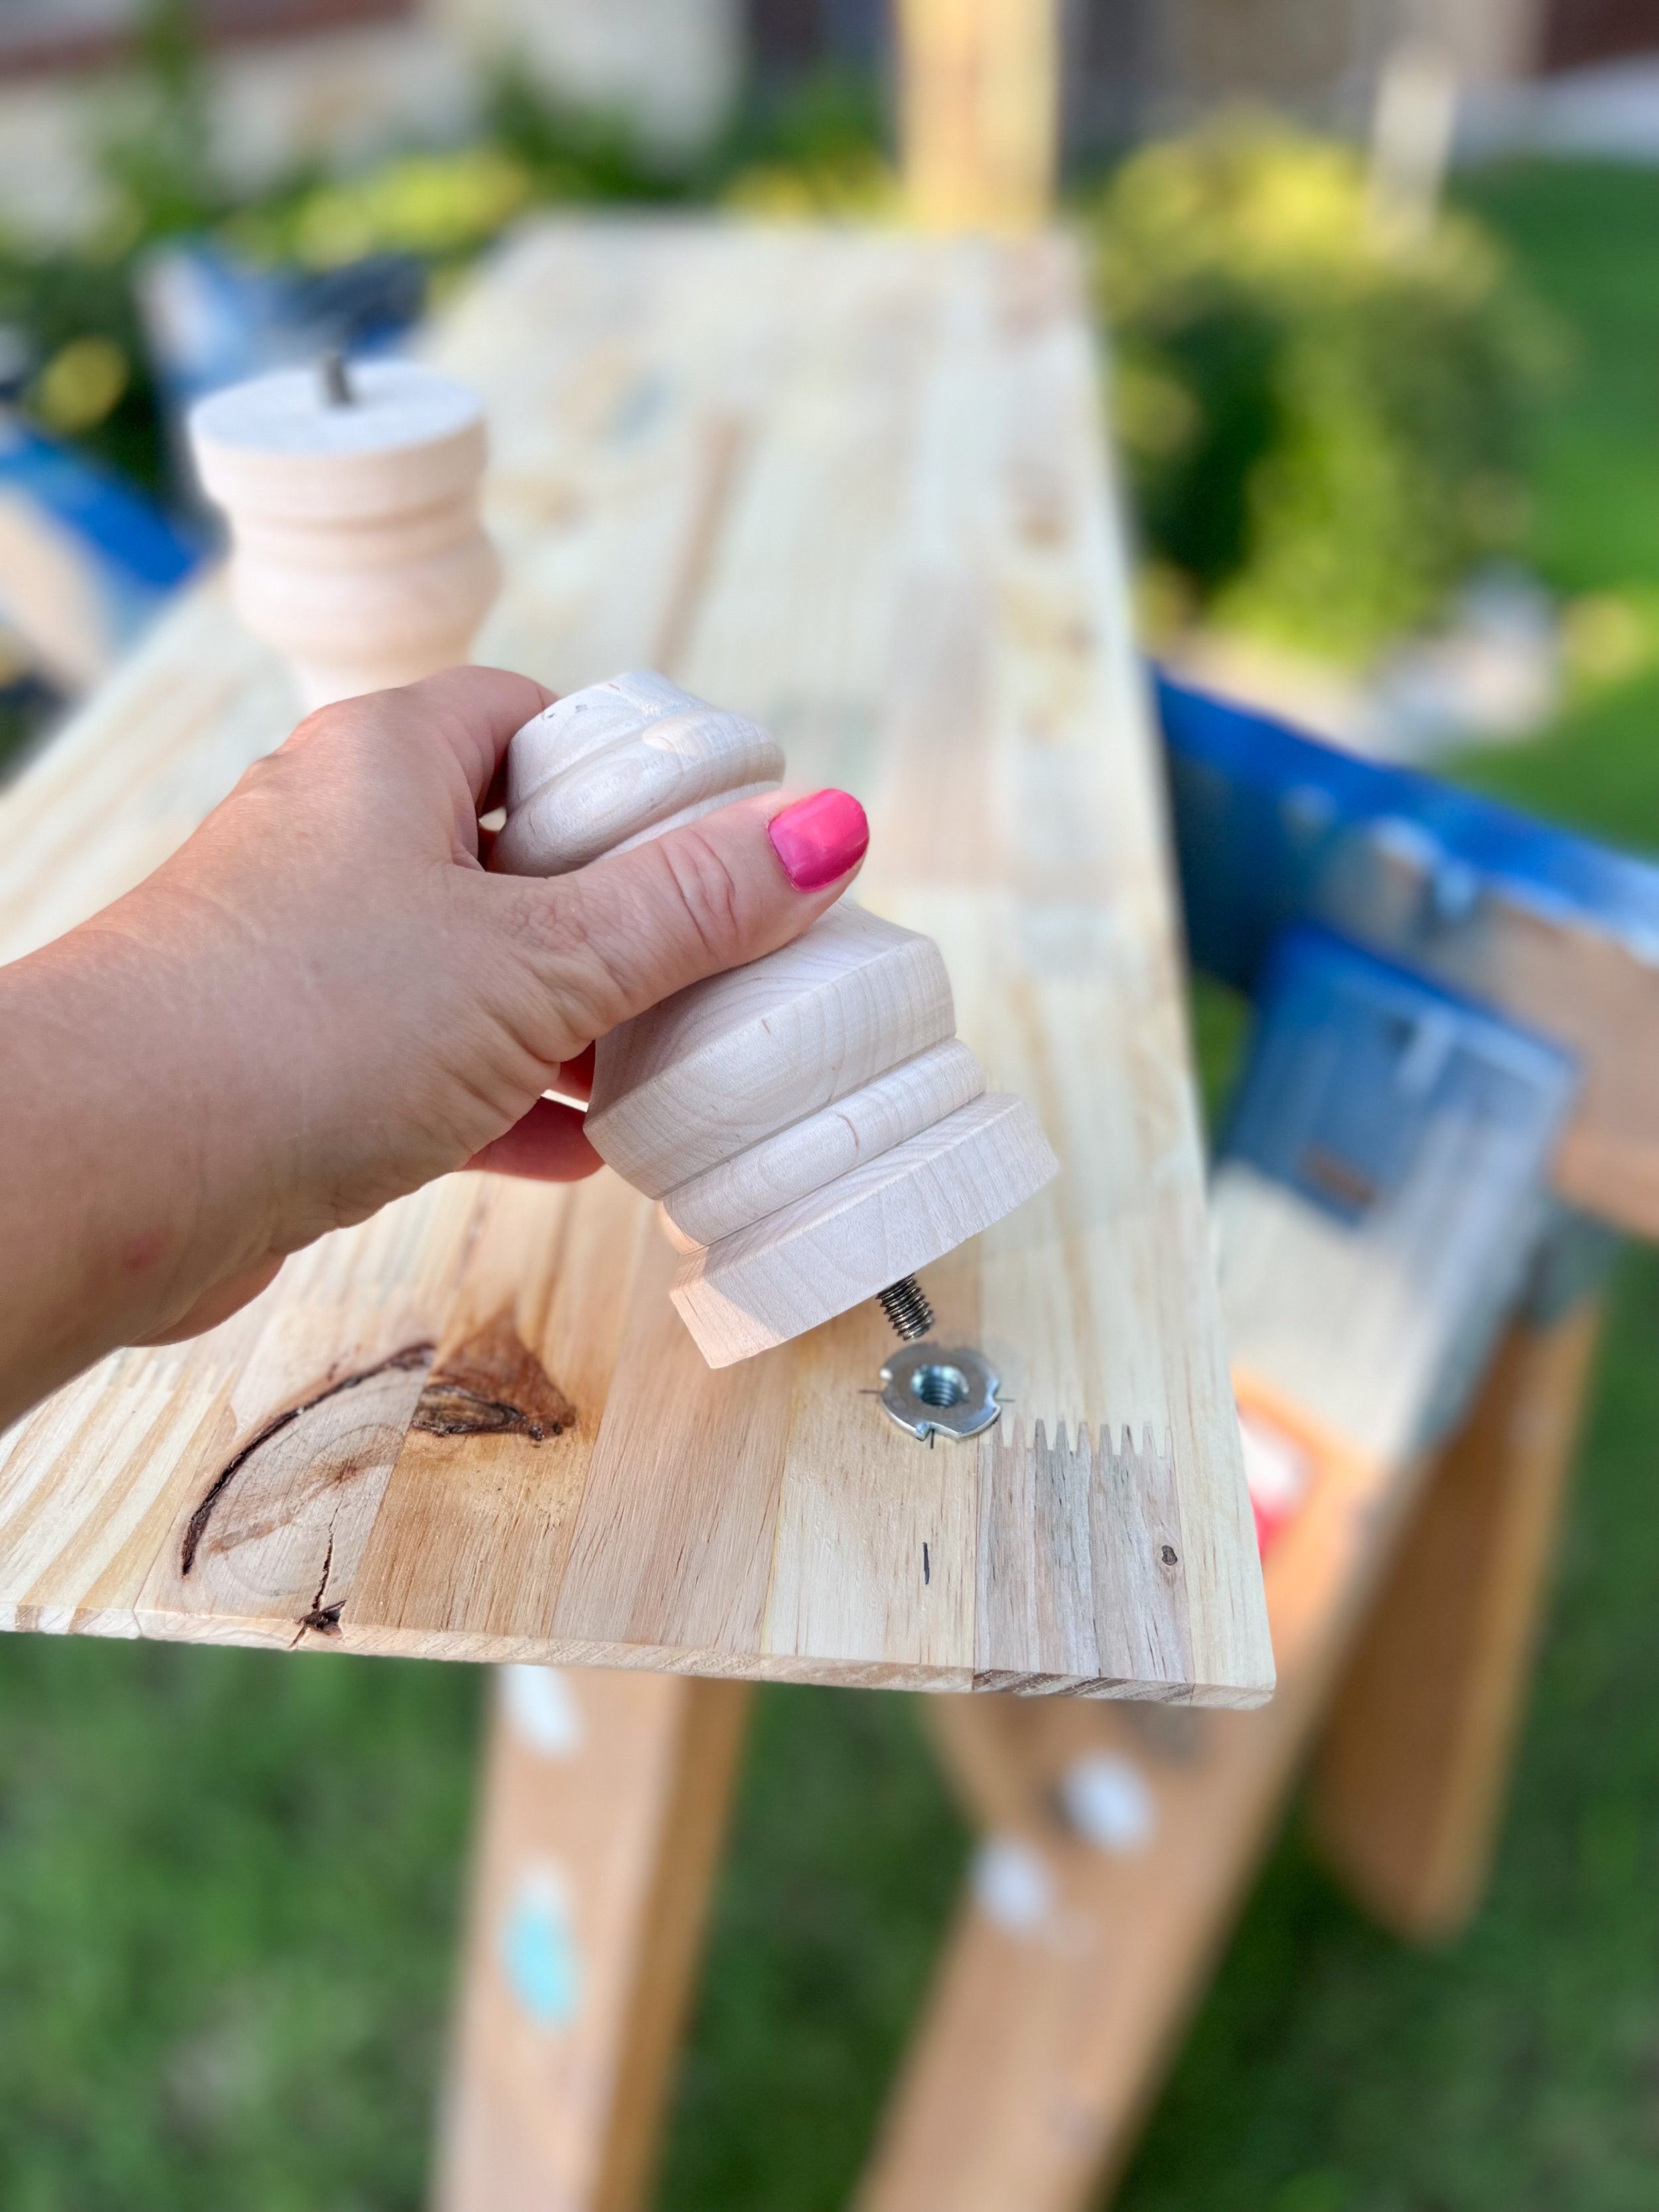
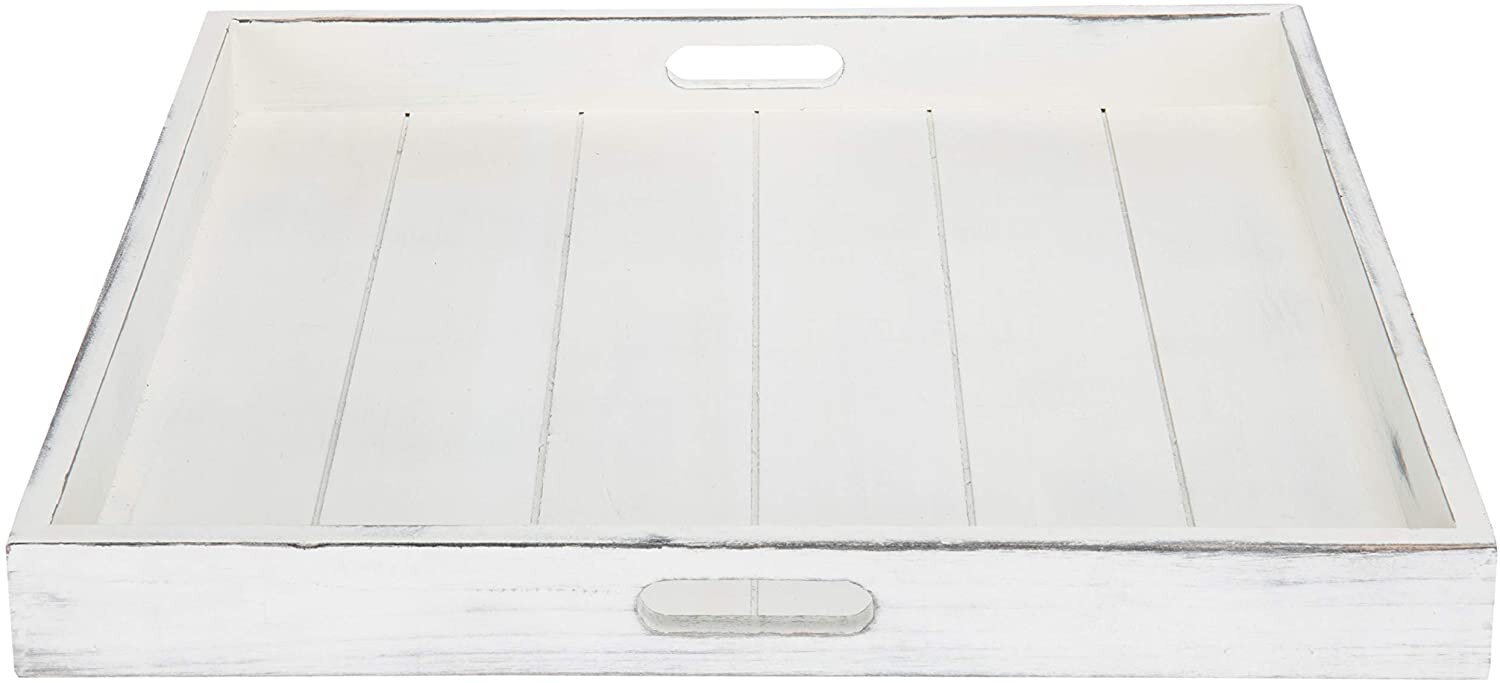
Afterwards, I drilled holes in one side of the board and hammered in threaded plugs to attach the feet. With the feet attached, it was time to paint. I chose a satin white spray paint for a quick durable finish. After the paint dried I went back over it with sandpaper to create a rustic texture for my Thanksgiving tablescape.

 Creating Coziness with Decor

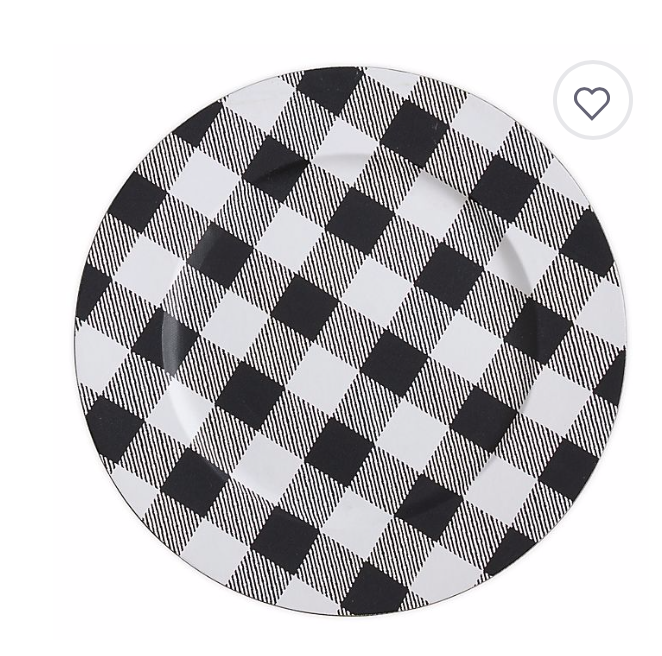
With the board complete, it was time to decorate the table. (My favorite part!) Going around the table I started layering the plates using a charger as a base, followed by the dinner and salad plates. By putting the largest plates down first, it gives me an idea on how much room I have to add the decorative pieces, uch as candles near the centerpiece. 

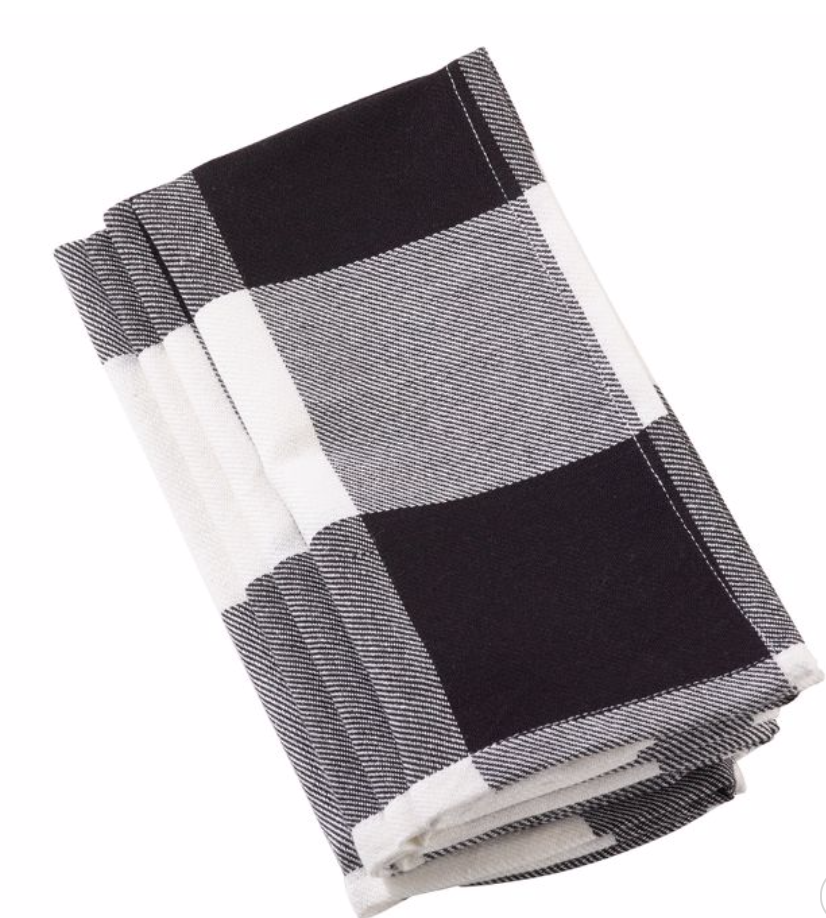
Next I place the glasses, silverware napkins with napkin holders. (There’s a wide assortment of napkin holders available.) I love to mix in florals, pumpkins, faux leaves, and sprinkle them around the Thanksgiving table to create ambiance. You could also incorporate a small charcuterie board mixed in with the decor. 

I hope these ideas spark your creativity and get you excited for the upcoming holiday season! 

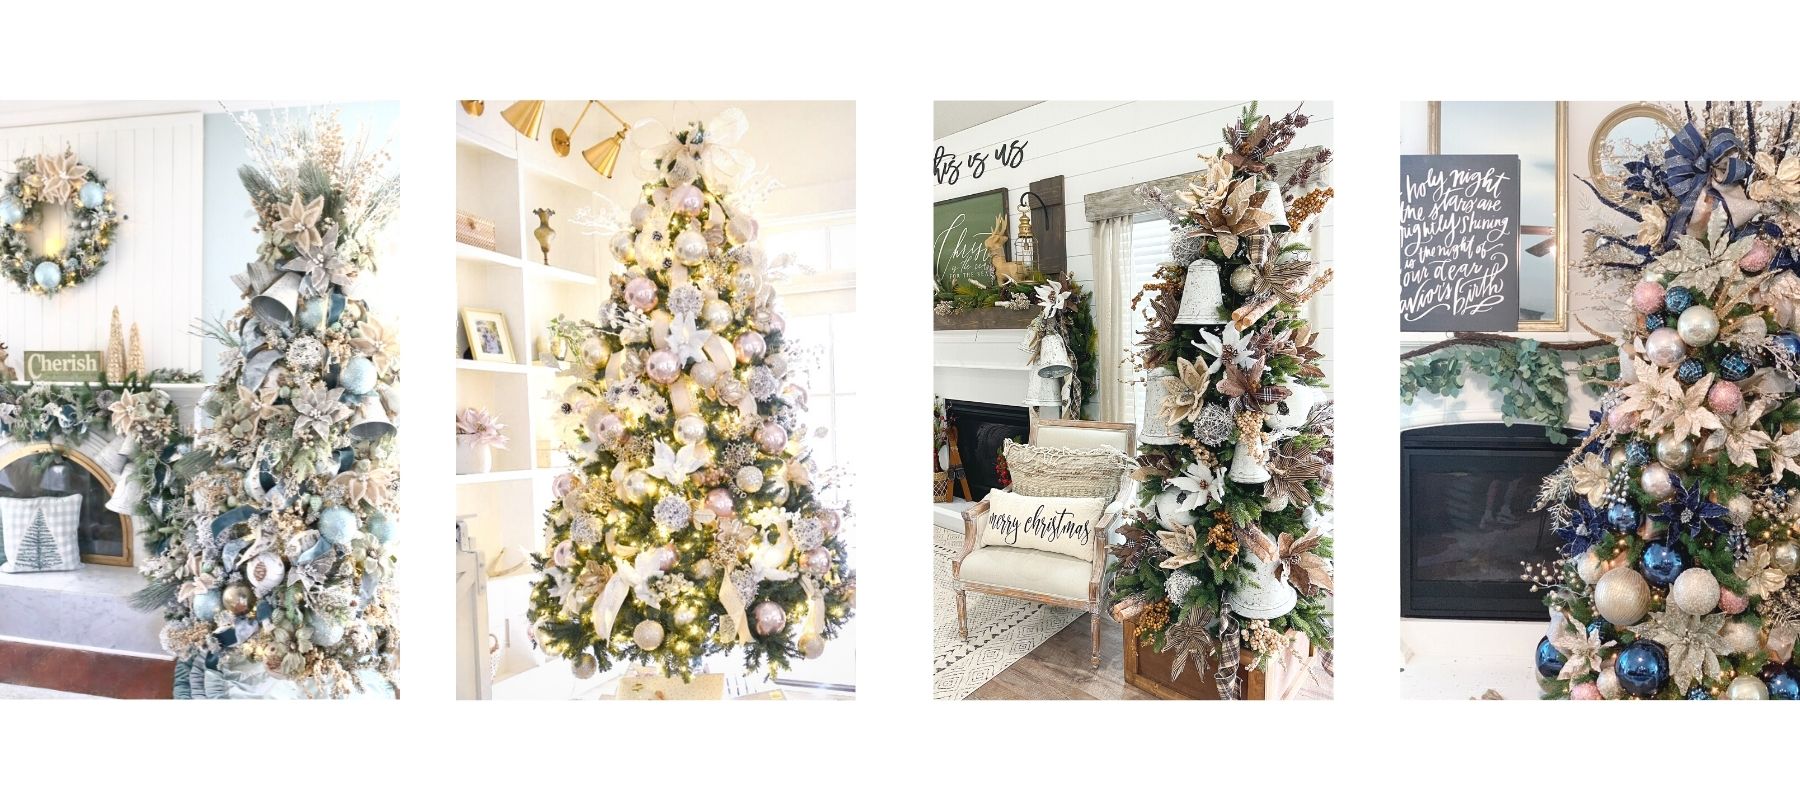
A Royal Christmas Tree

A few months ago I had the amazing opportunity to visit the Decorator's Warehouse in Arlington, TX. It was truly like stepping into a Christmas wonderland! Lights were twinkling everywhere, and themed Christmas trees were decorated to perfection!

B5460E58-4E9E-408F-8ECA-8196C941872B.jpeg

I met with Kristen, whose family has owned Decorator’s Warehouse for years, to pick out items to decorate a themed Christmas tree as part of the Home for the Holidays Christmas Tree Challenge with Decorator's Warehouse. #DWChristmasAtHome.

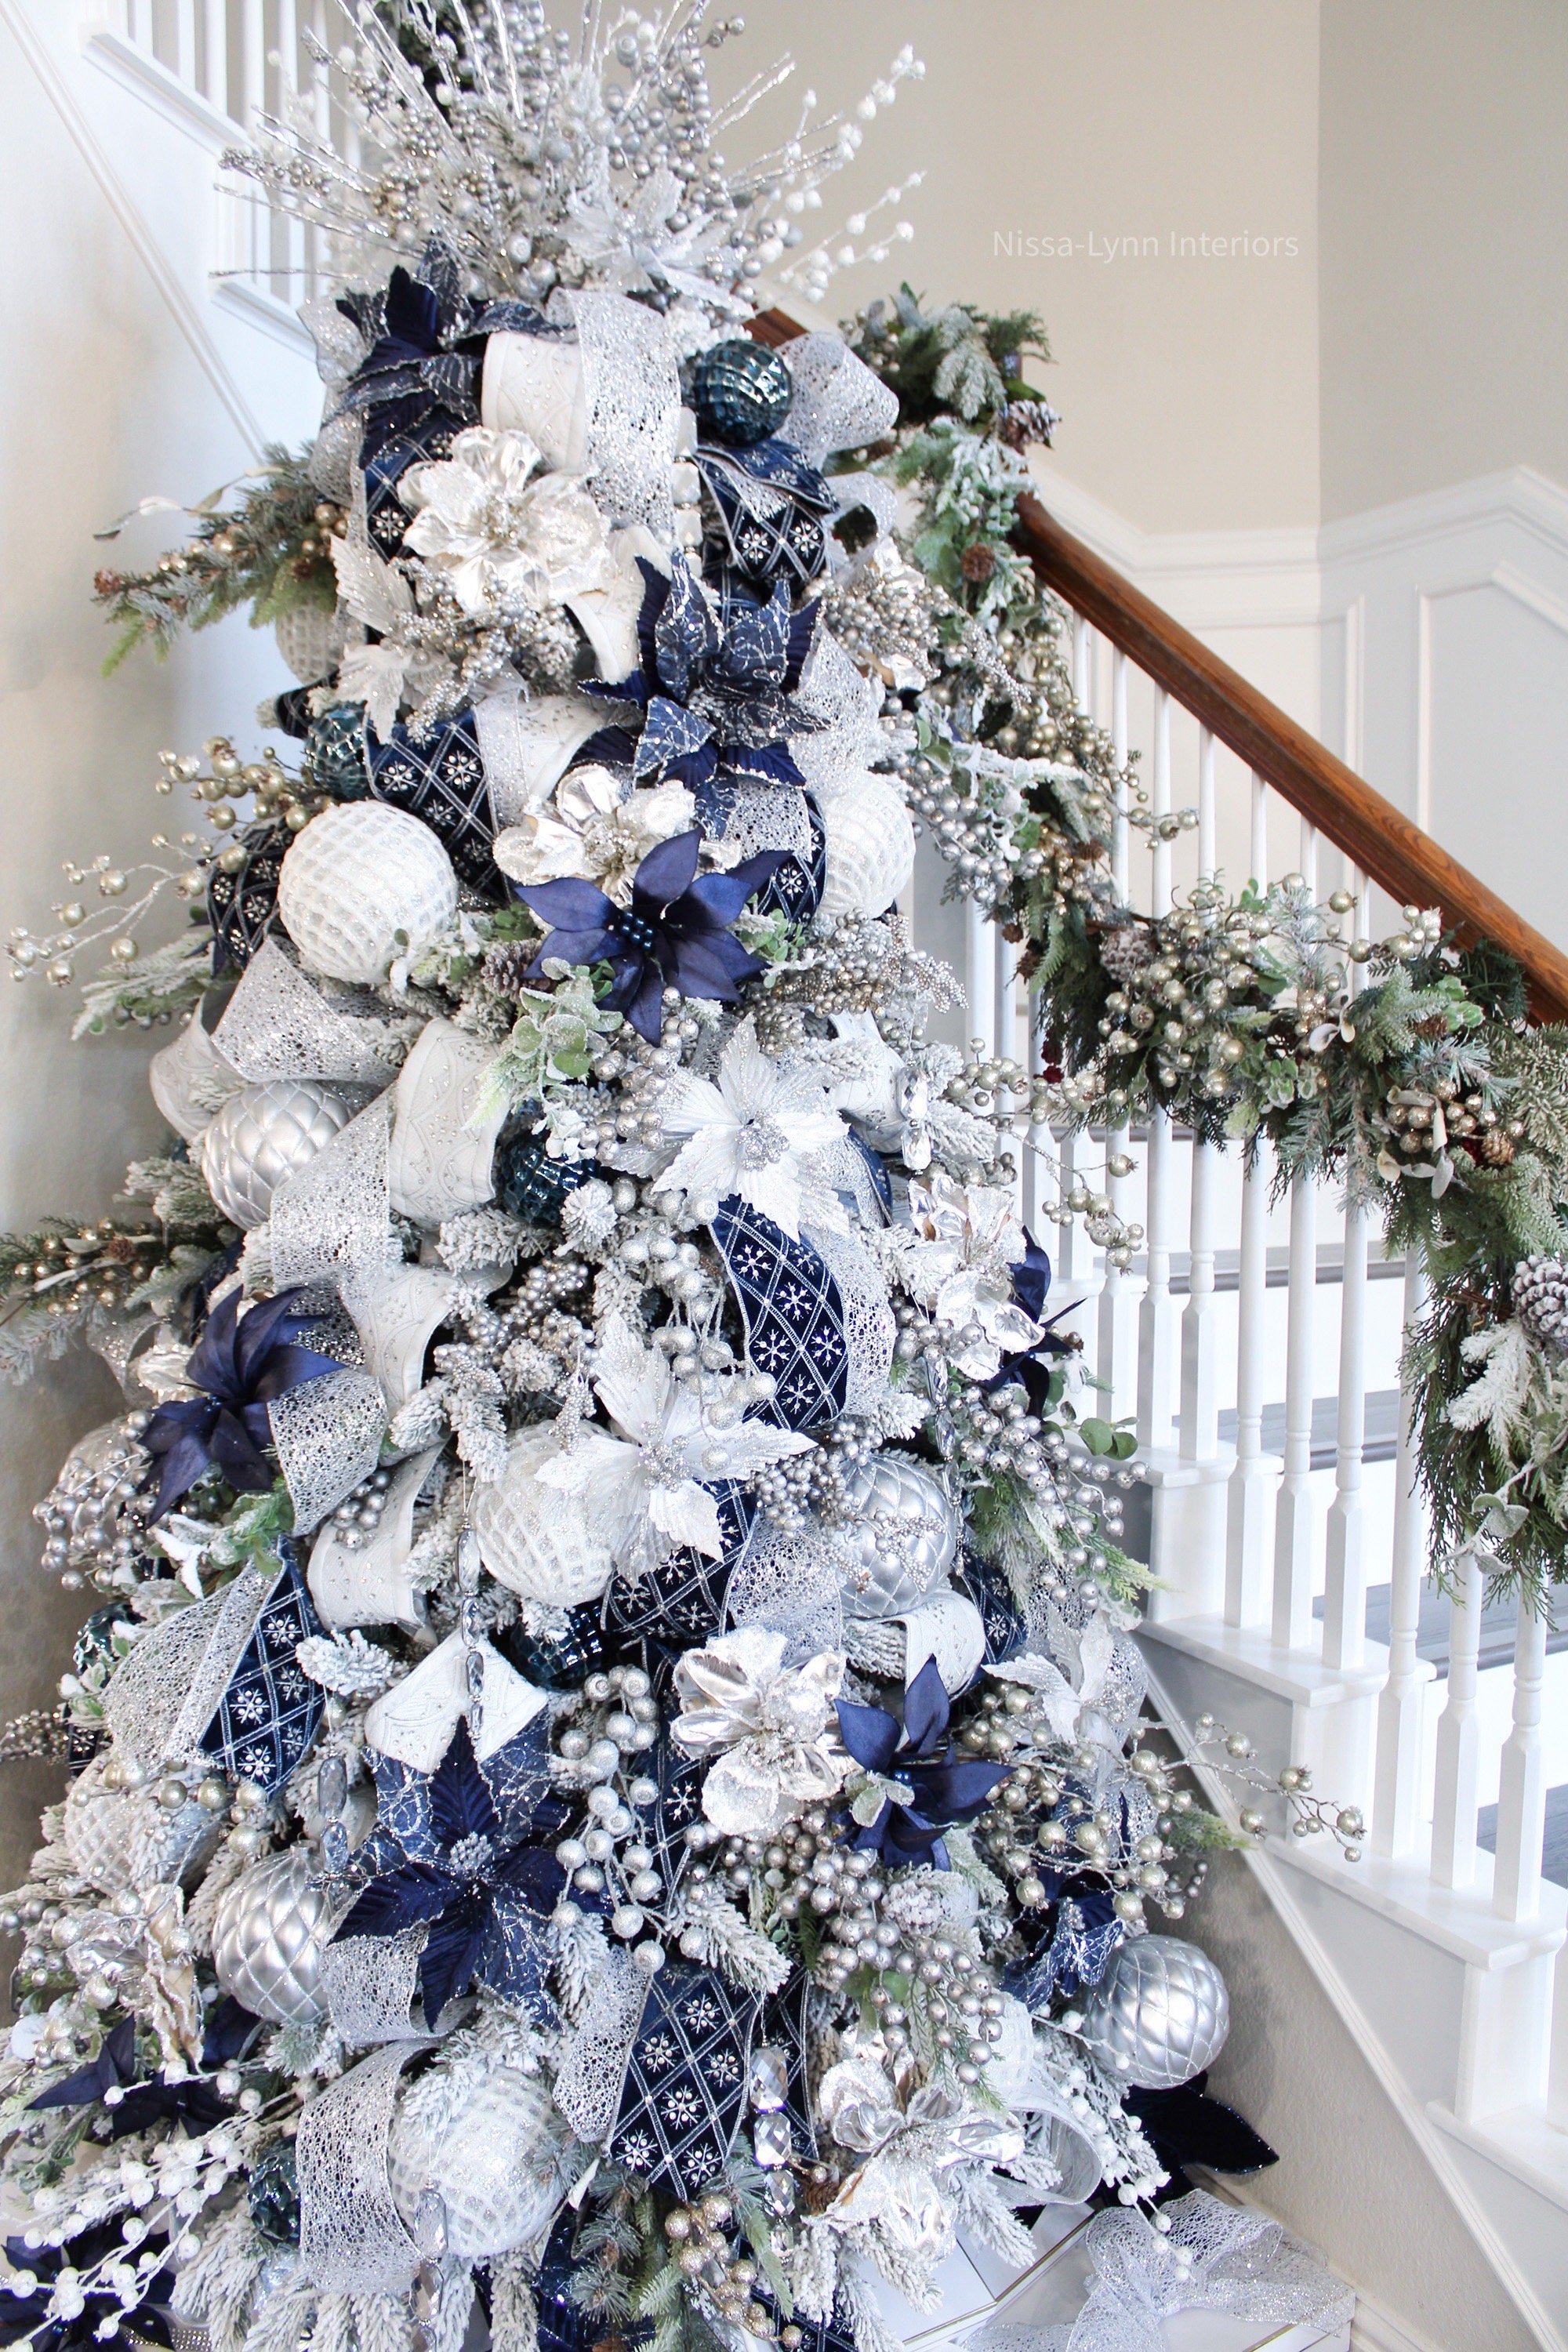
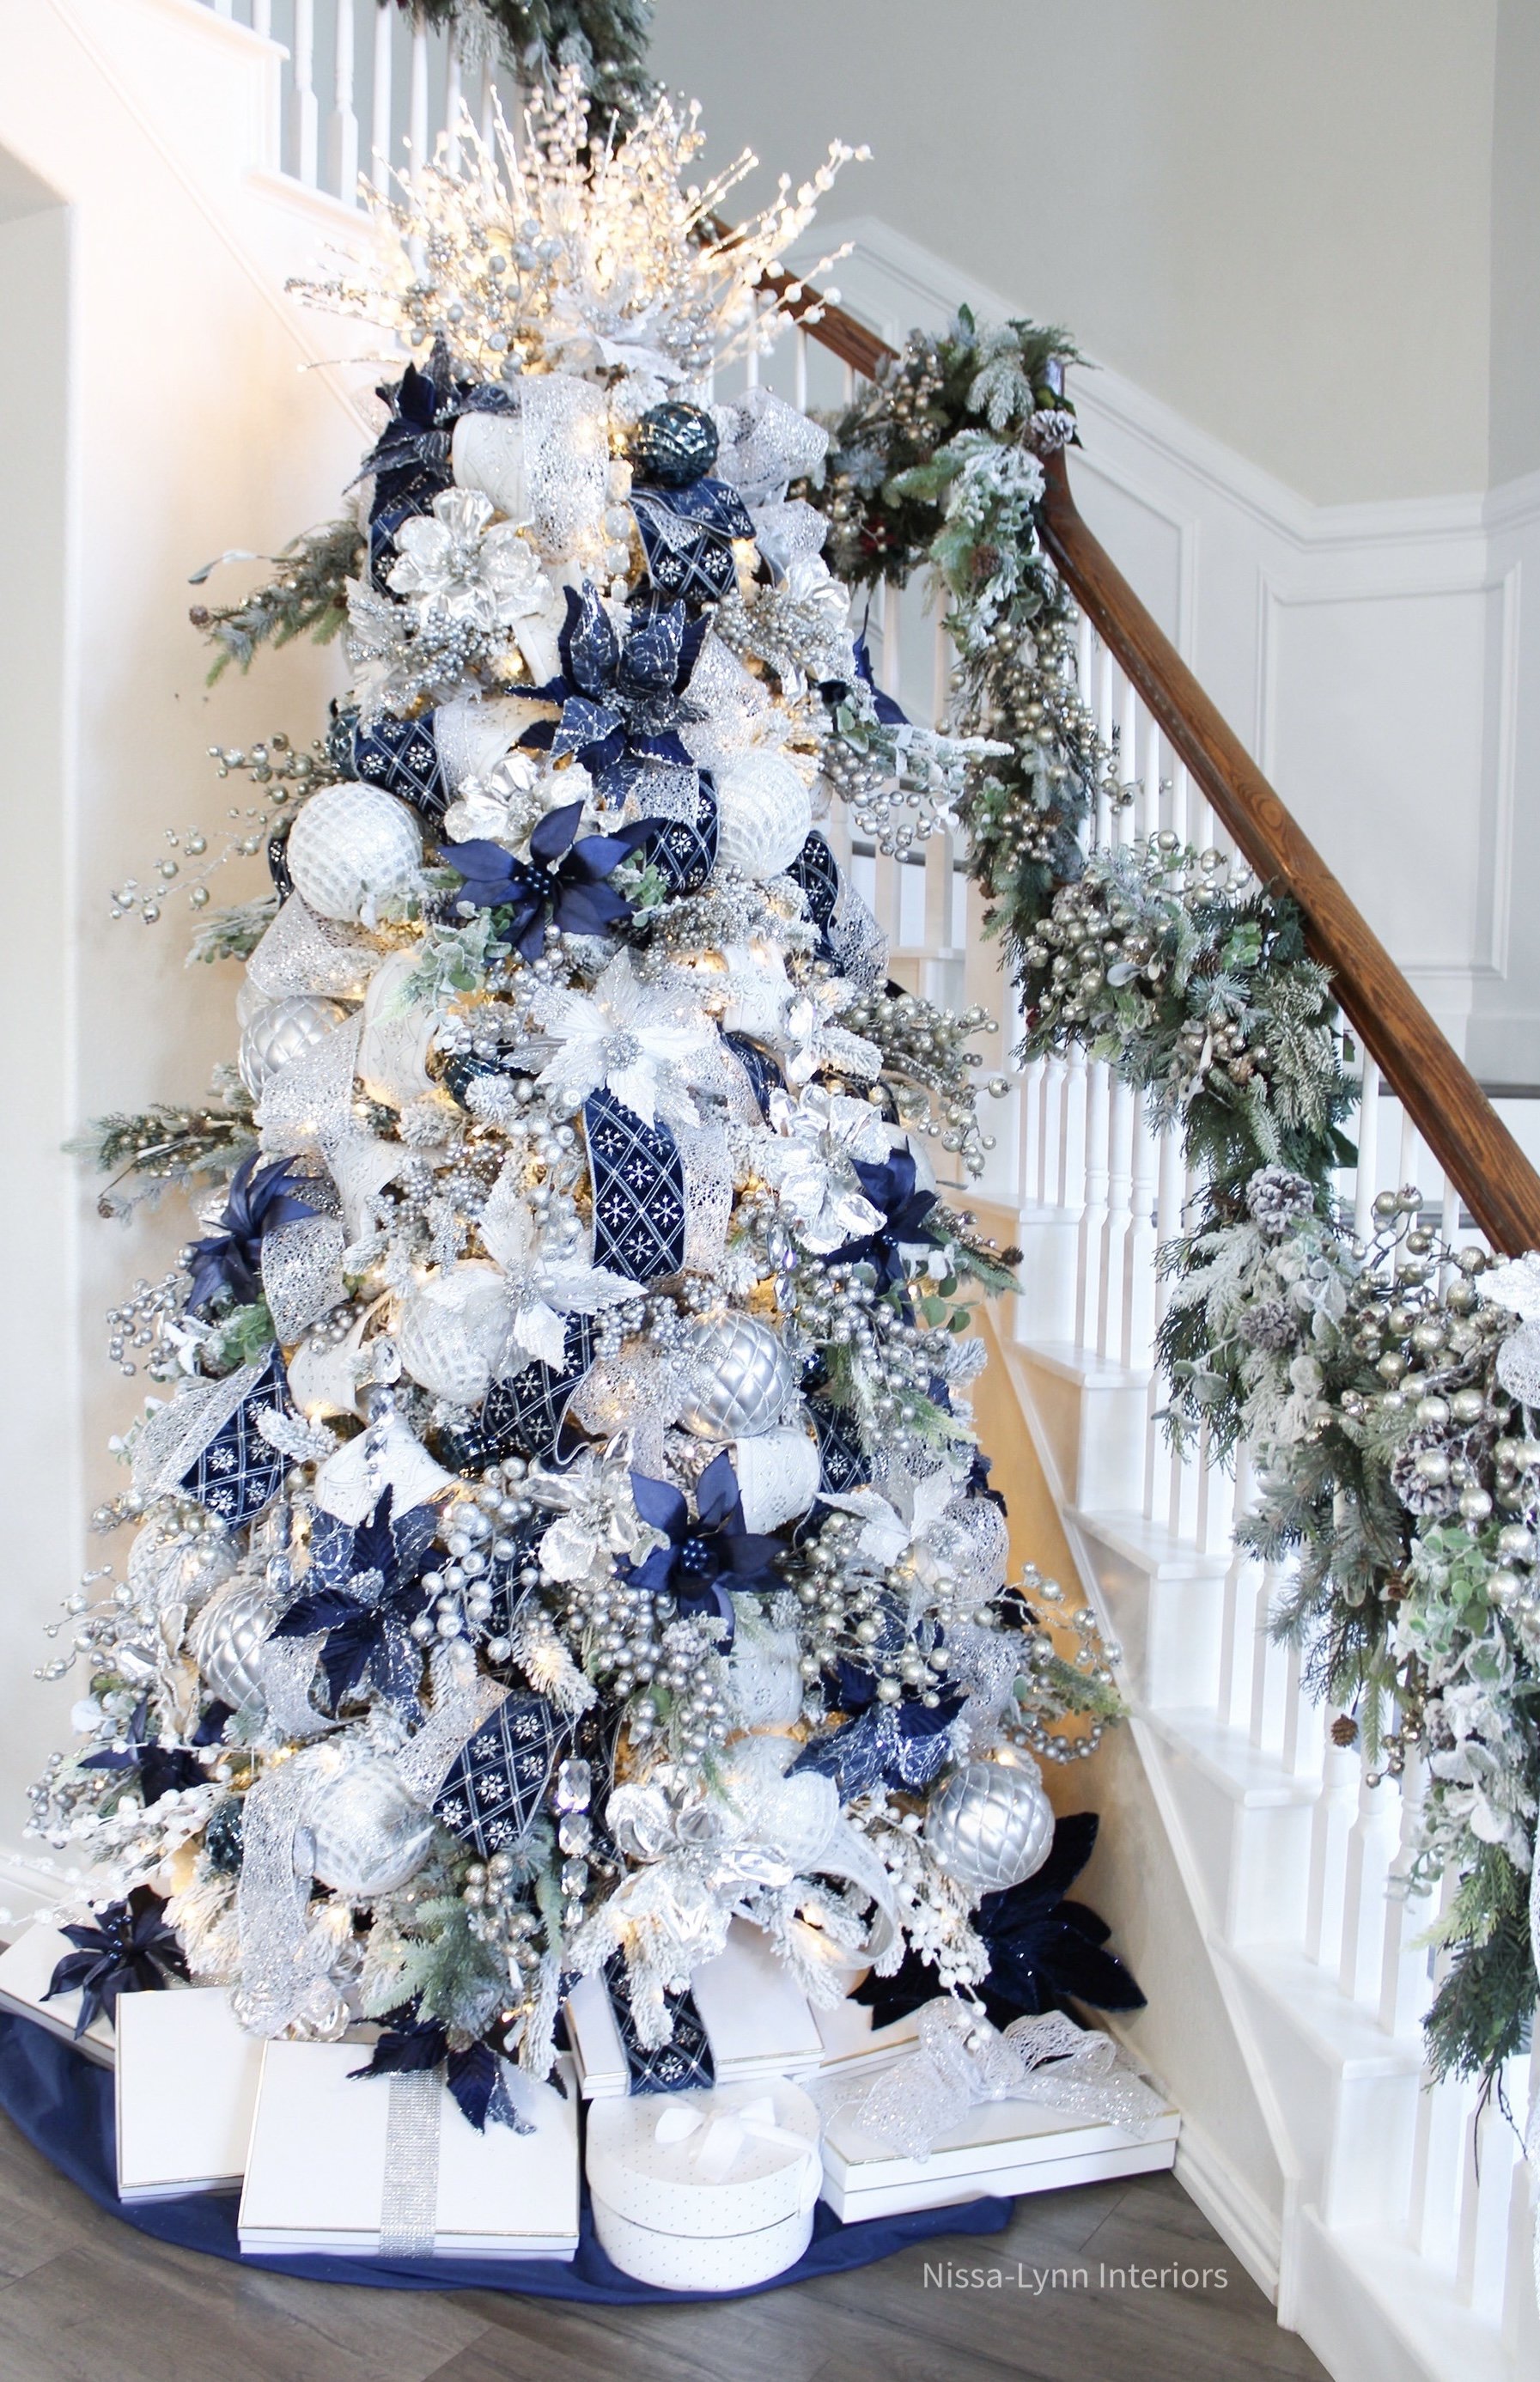
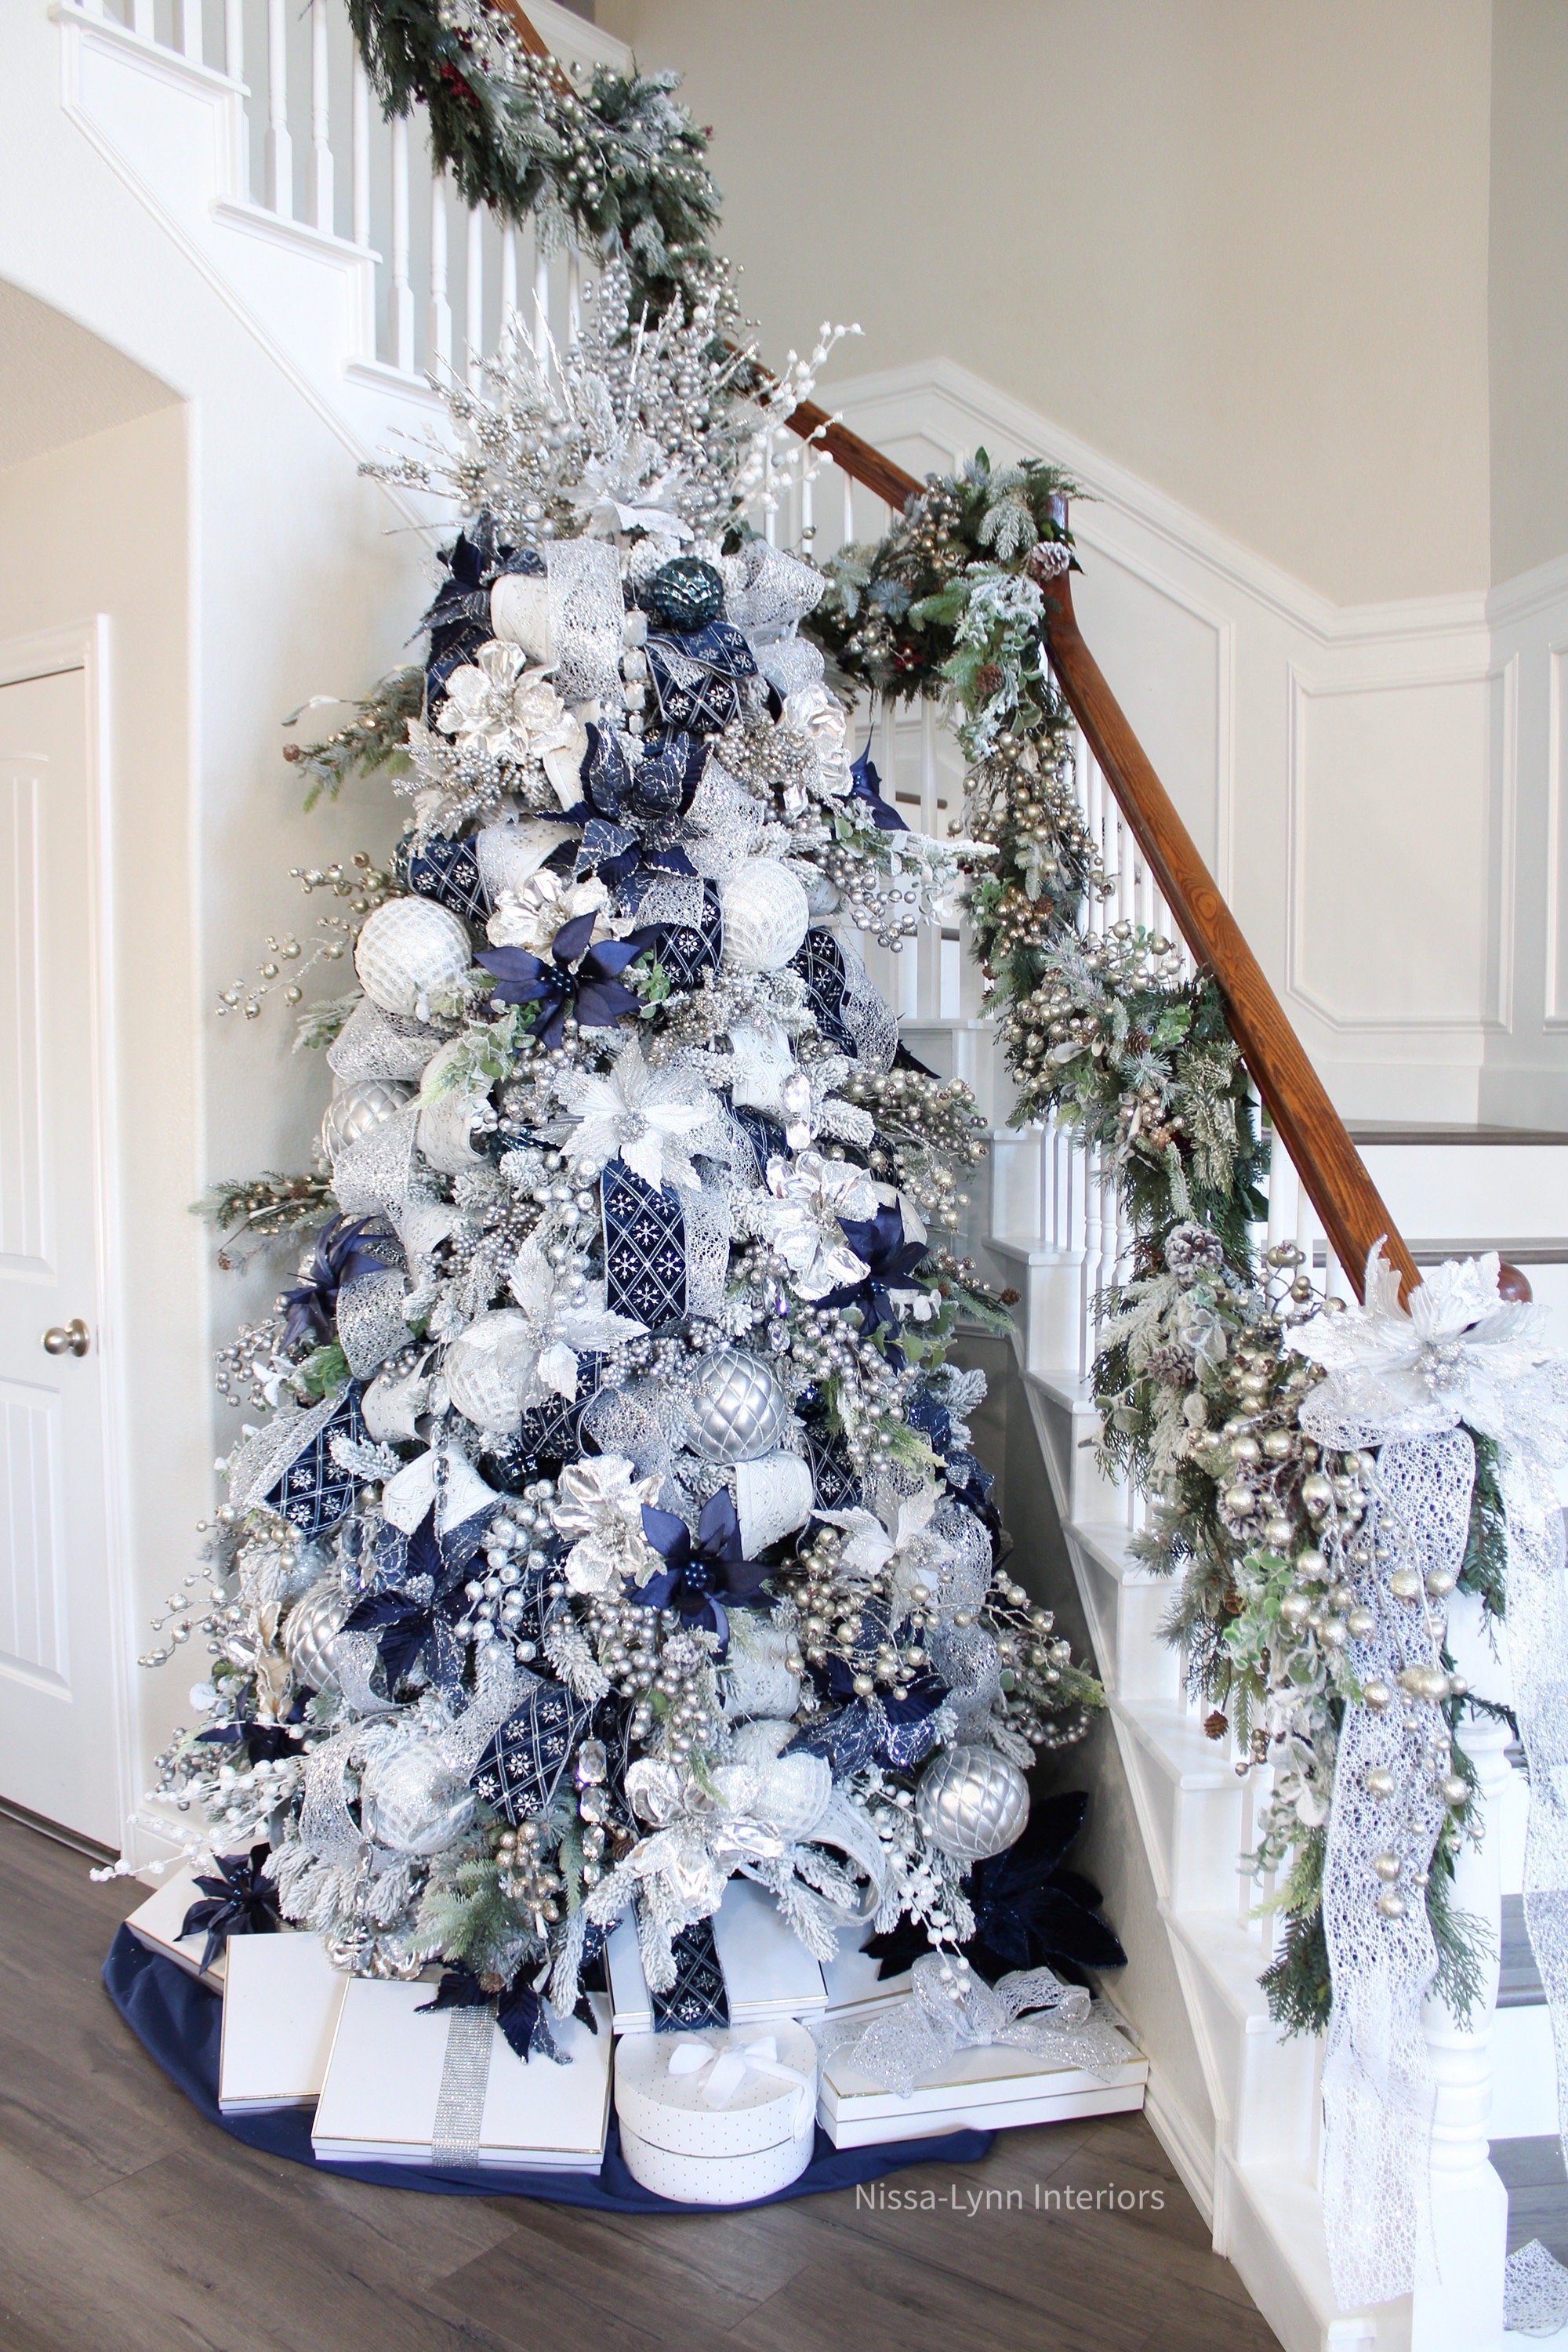
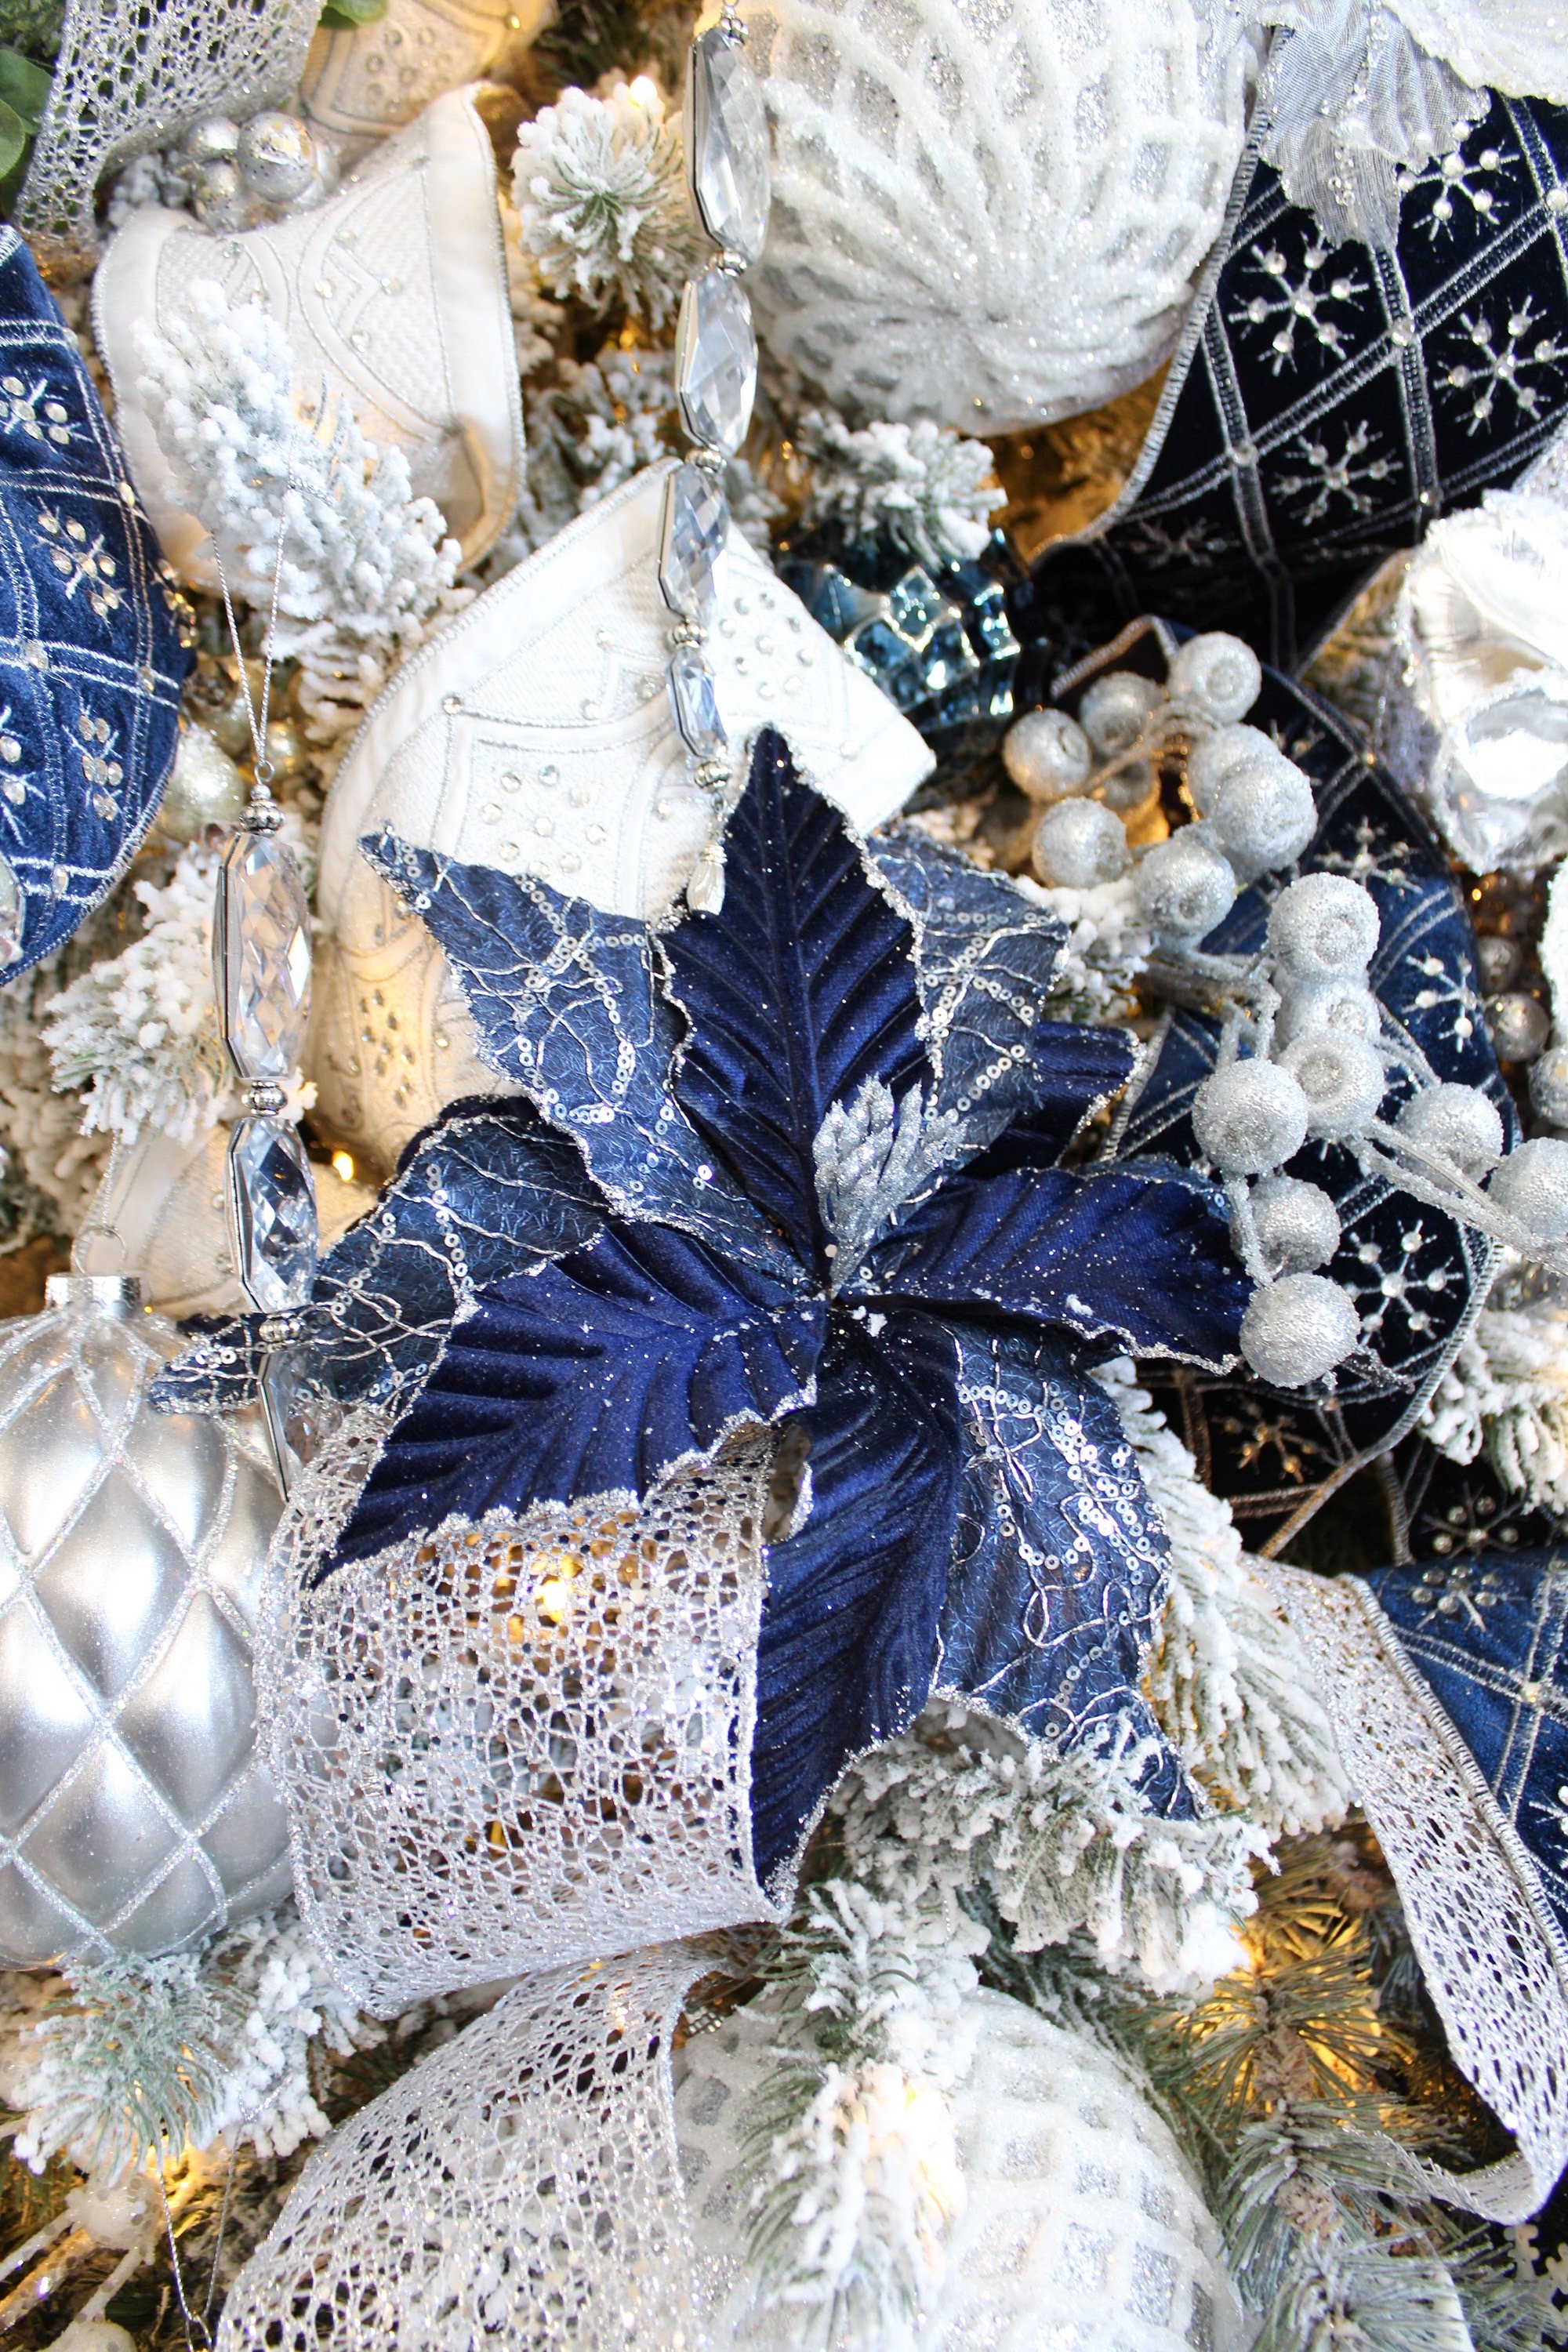
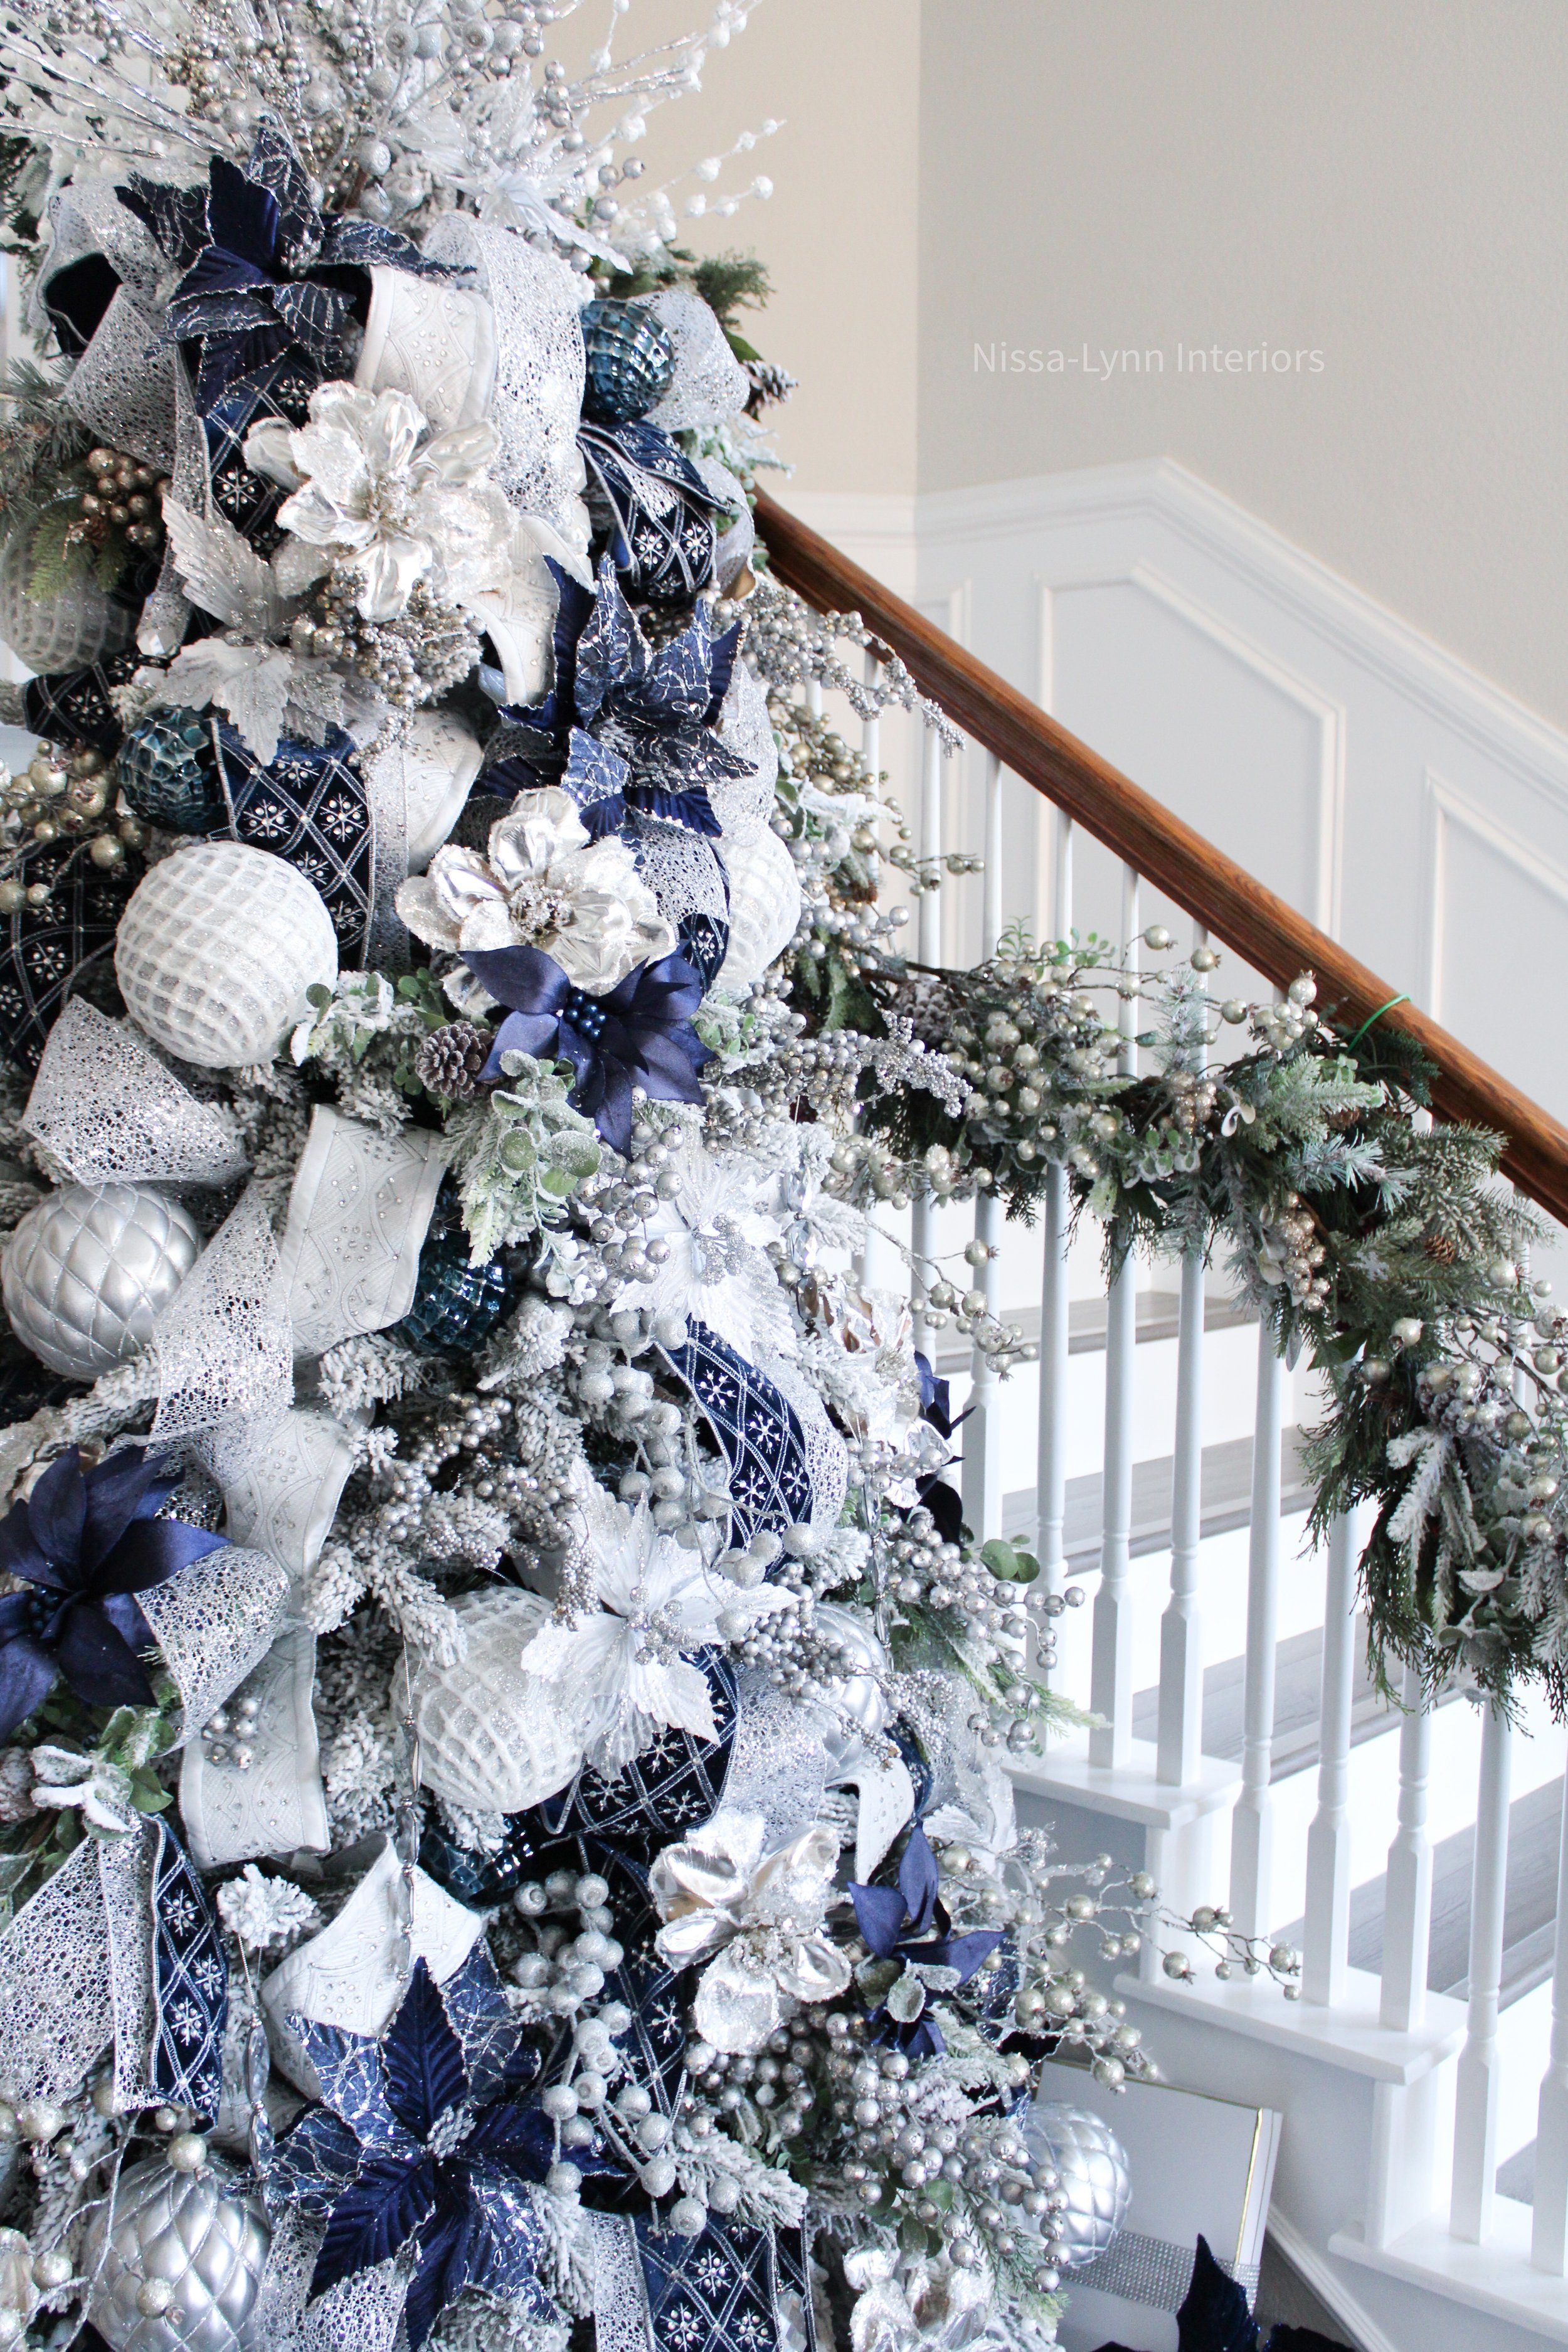
I knew I wanted to go for a regal look with luxurious Christmas ribbon and Christmas flowers adorned with silver and gold ornaments. I have always loved silver and gold trees and when I saw the navy flowers at the Decorator’s Warehouse store, I knew instantly I wanted to combine the two looks of silver and gold with navy accents to create an elegant Christmas tree with lots of sparkle and shine!

My love for elegant Christmas trees started when I was a little girl and frequently visited Macy’s department store on 33rd street in Manhattan, NYC. I remember being in awe of all the large shining Christmas ornaments, lights, and stunning ribbon. The department store felt like a palace.
Drawing upon those memories, I used silver, gold, and navy to bring my regal Christmas tree to life!✨

To  get started, I made fourteen clusters (groupings) with one flocked and champagne crabapple spray, a poinsettia stem and white Christmas flower. I then wrapped the stems around each other to secure them. Next I applied my navy blue velet Chrstimas ribbon in 2 ½ feet strips throughout the tree and added the larger balls. I placed in two different types: The Silver/White Christmas ornament and the 15 CM Glitter ball. After that I added tree different types of flowers - two white and one navy blue, along with a small navy blue ornament for an addition pop of the navy blue color. I also added the crystals to give the Christmas tree an extra dose of glam! The final step was to add several different sparkle sprays.

To simply:

  1. Make clusters.

  2. Add ribbon to Christmas tree. 

  3. Add two different types of large ornaments.

  4. Add four types of flowers and small ornaments.

  5. Add sprays to fill in any gaps or holes.

Click here for all the sources for my Christmas tree! Plus you can use code NISSALYNNINTERIORS at checkout for 10% off your purchase at Decorator’s Warehouse

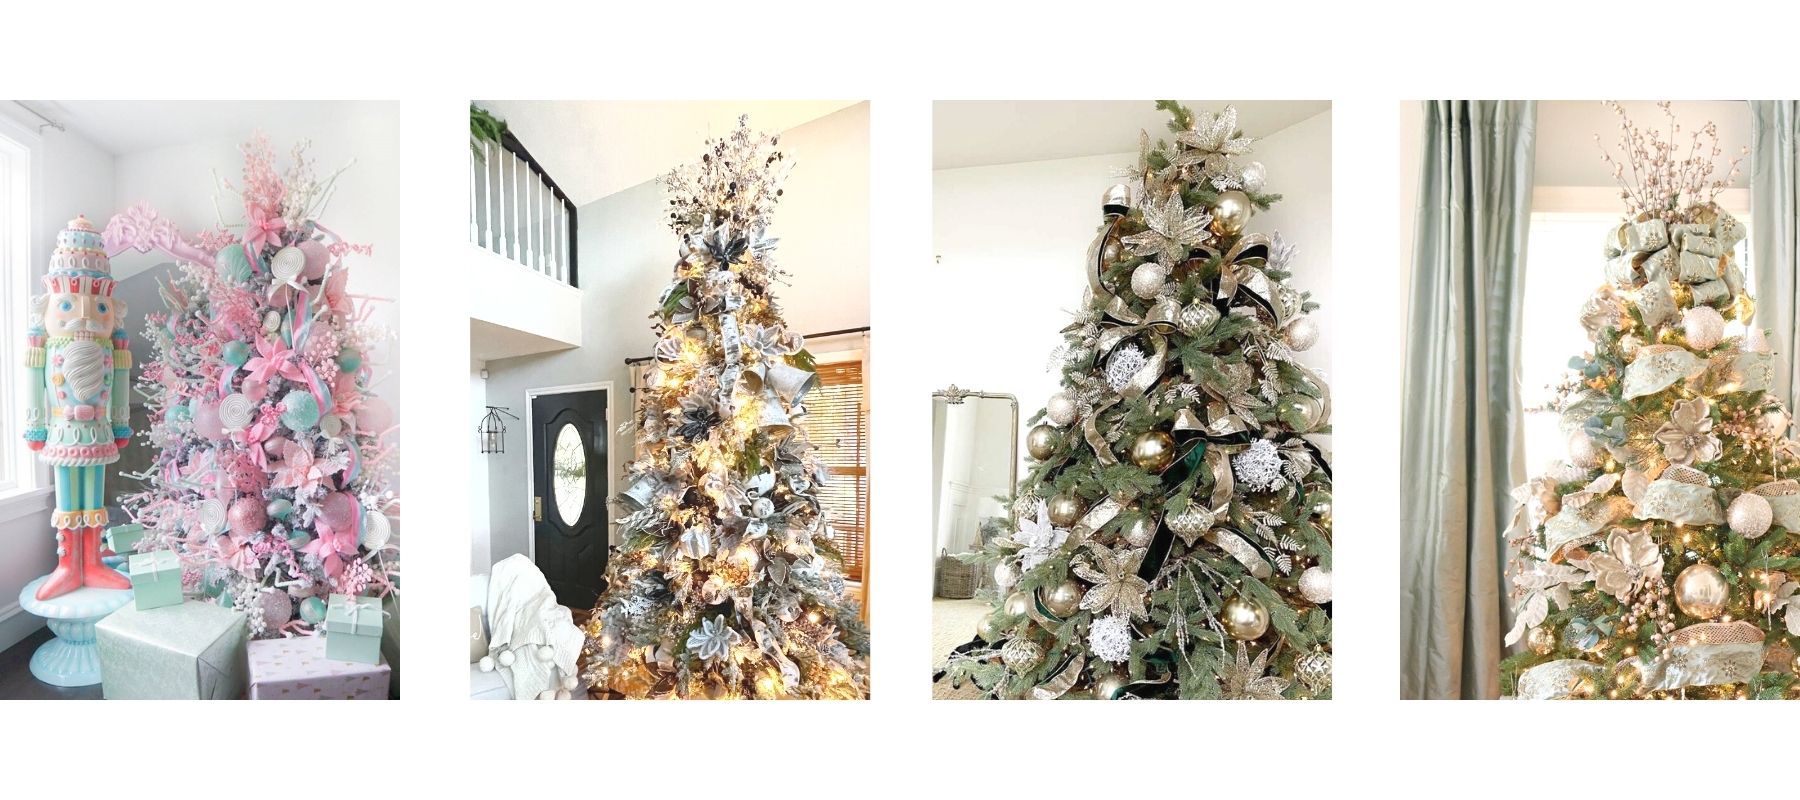
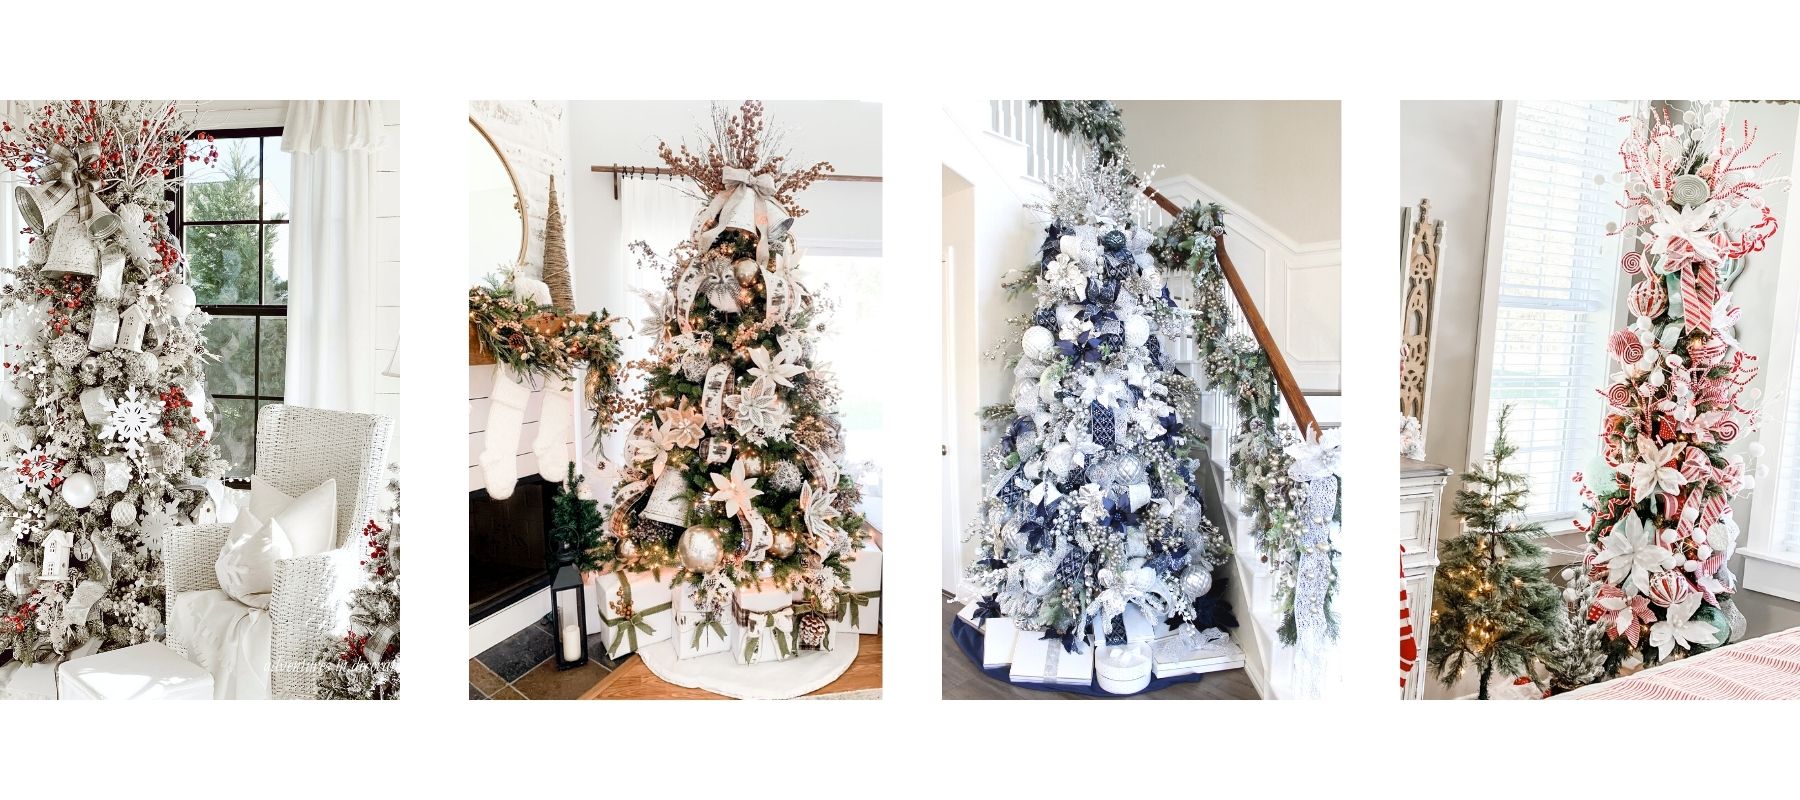
 I hope you enjoyed my new regal tree. Check some of my friends’ beautiful Decorator’s Warehouse Christmas trees below!

Falling For Fall

Do you like to change up your fall decor look? Every year I love to change up my fall decor. Some years I like to push the boundaries and decorate with pastels and creams, other years I like to stick to neutrals, muted grays or traditional jewel tones. 

I’m excited to show you a collection of my favorite fall photos through the years. Let’s go back five years ago to 2017 and work our way up to 2021.

In 2017 I saw this sage green pumpkin at Micheal’s Craft Store and knew I had to have it! The shape was so perfect and color was so calming. This one pumpkin ended up setting tone for that year’s entire fall look. I then added more soft hues mix with it like faux lambs ears. It was nice to have the light and airy feel cary over summer. To this day, this photo is still one of my most popular liked photos on Instagram. 

I loved that sage green pumpkin so much that I decided to try different coffee table arrangements with it. I created this lovely light colored display bringing in neutral colored florals, greenery in wood vases and a beaded garland.

For the fall of 2018, I decided to go more of a farmhouse rustic look. I celebrated the season with muted grays, soft greenery, and lots of darling farmhouse signs. I also brought in touches sunflowers in neutral colors. Who says you can’t mix sunflowers with fall decor?😉

The cute wood signs and pillows are from Krumpets Home Decor. You can always use code NISSALYNN for 10% off your entire order.

Brought in lots of neutral creams, soft hues and lots of texture during he year 2019. My inspiration came after I took a trip to Hobby Lobby and saw their lovely fall florals. I bought lots of fall colored stems and put them into a custom wood planter box my just built for me. 🍂

I was extra excited to decorate for fall in 2020! I wanted to usher in autumn in with traditional fall colors - but with a twist. I placed bright oranges and browns in my mantle garland, and I love how it looked against the white trim work and light walls. It definitely gave the room a much needed pop of color! I repeated the same colors for the coffee able but added different textured pumpkins. This photo of my coffee table and fall mantel has been shared thousands of times and featured on many social media accounts. It’s one of my favorites for sure!🍁

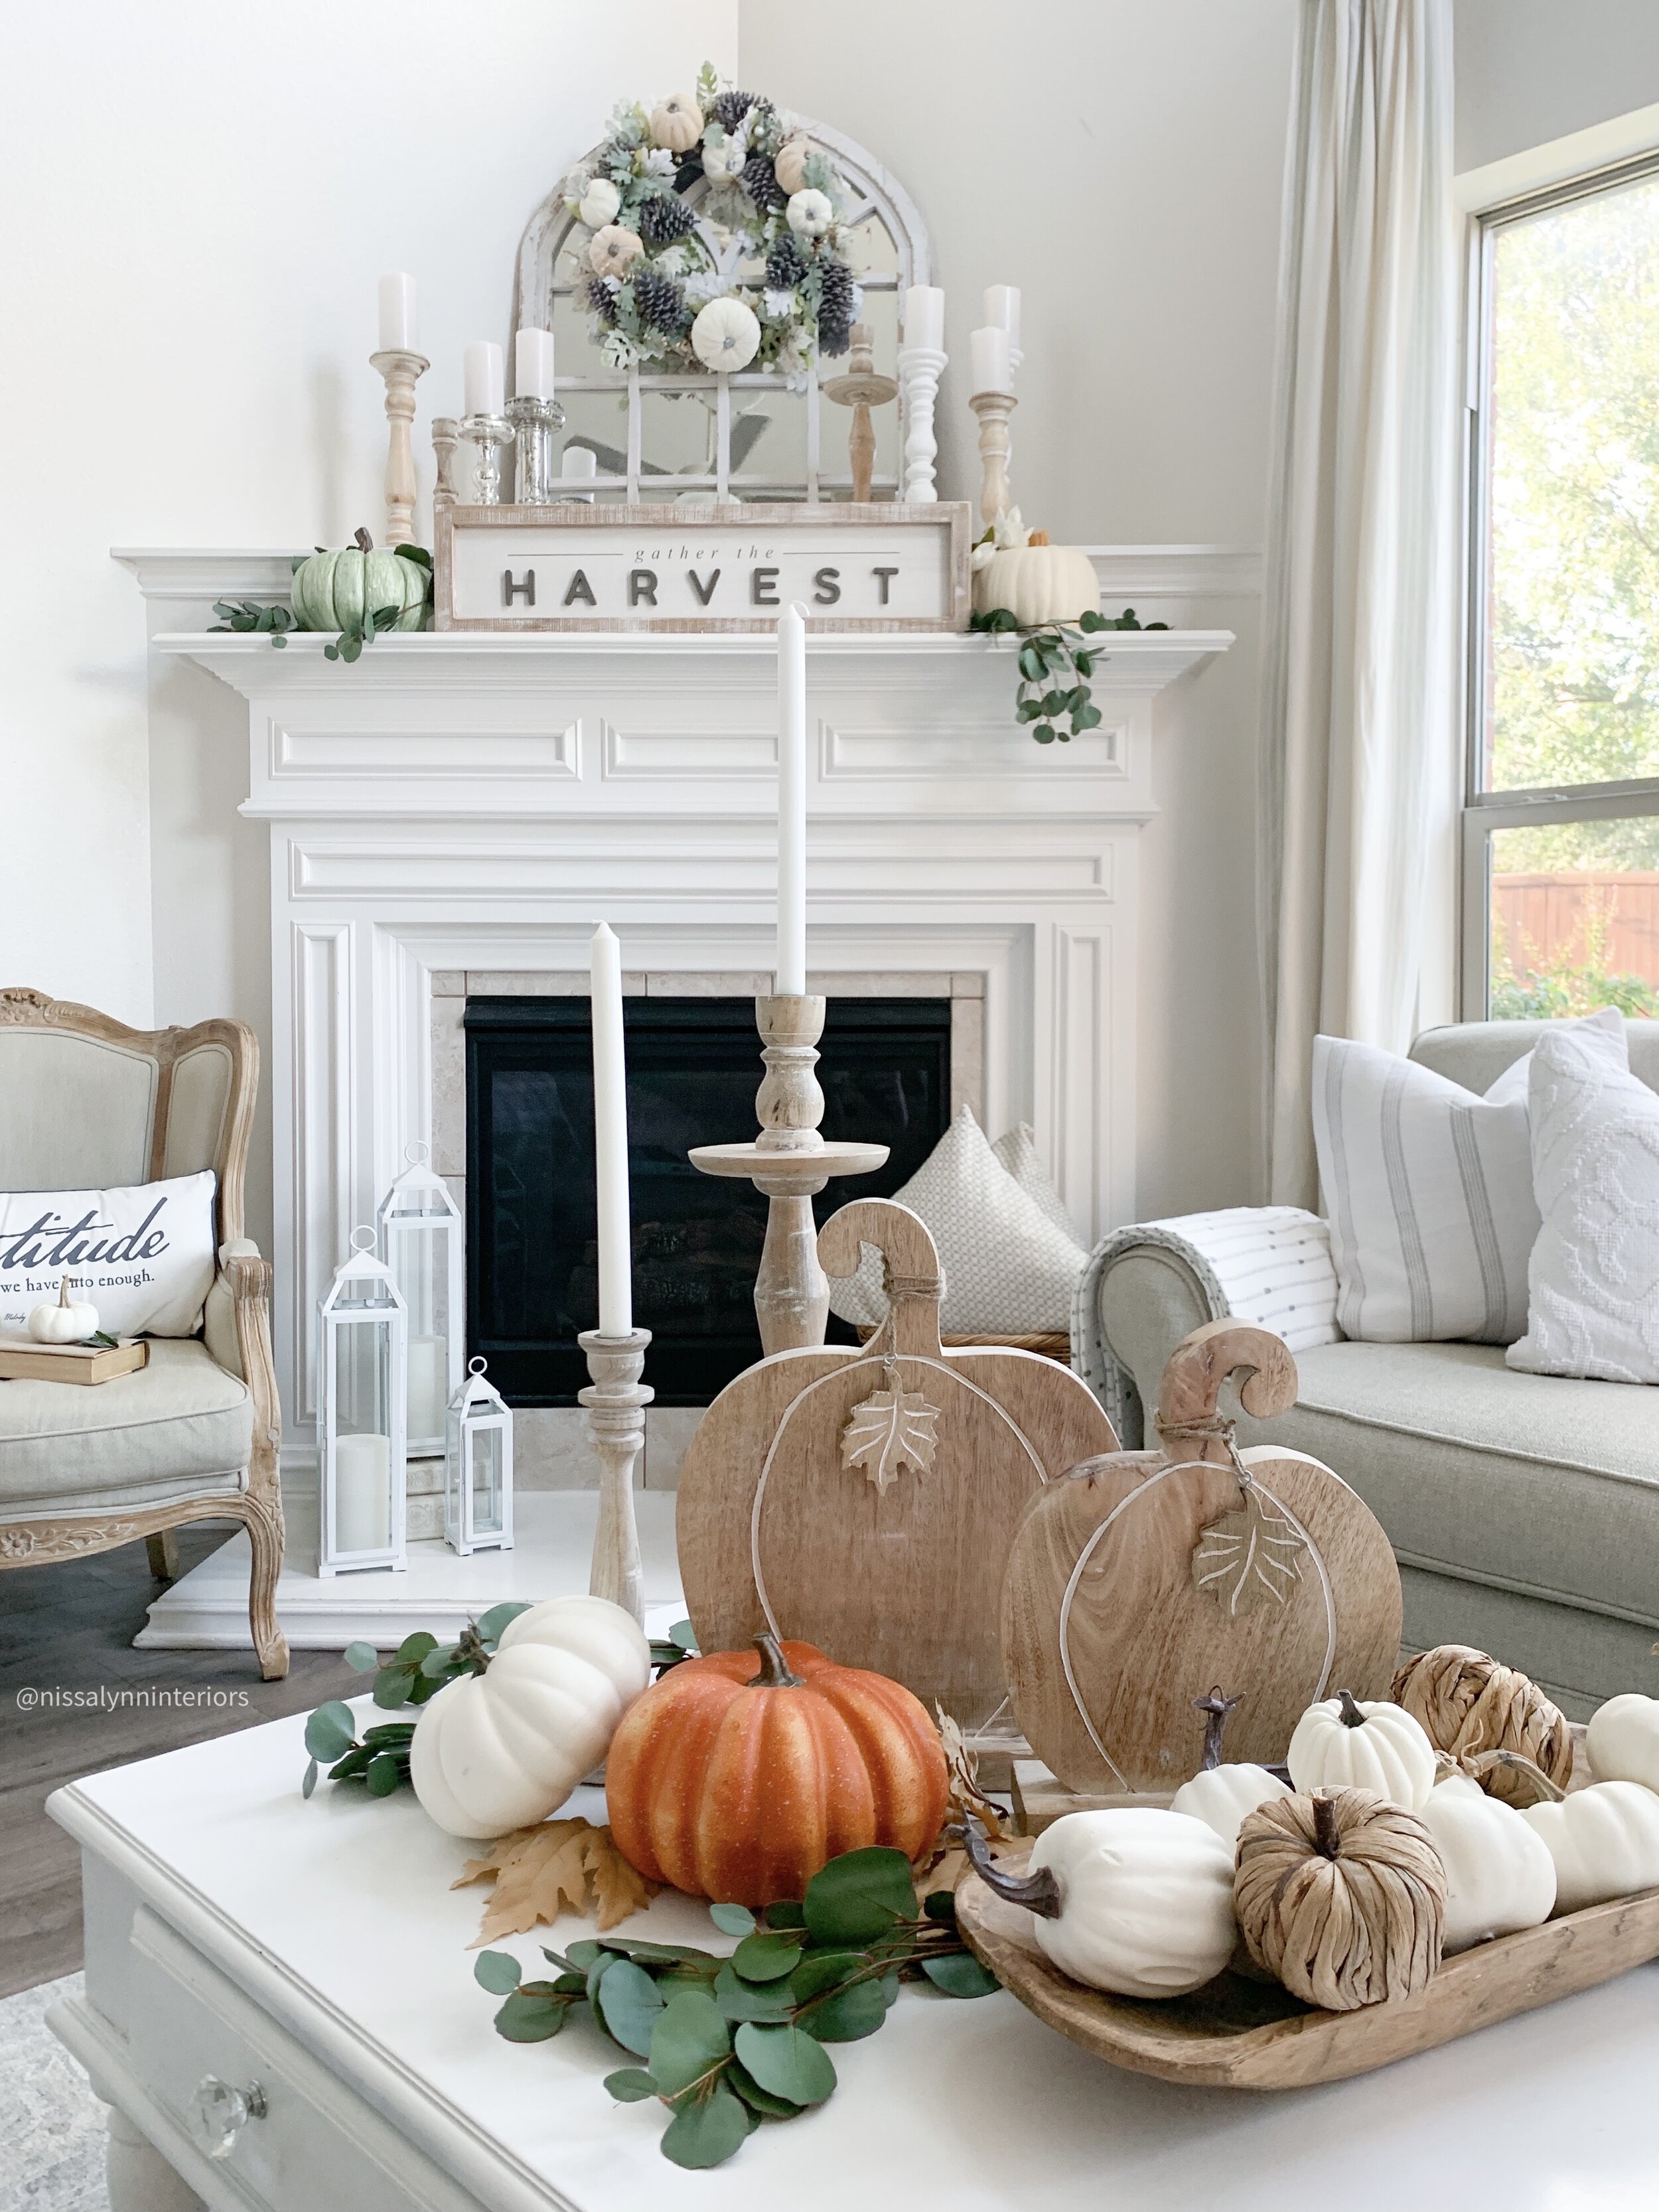
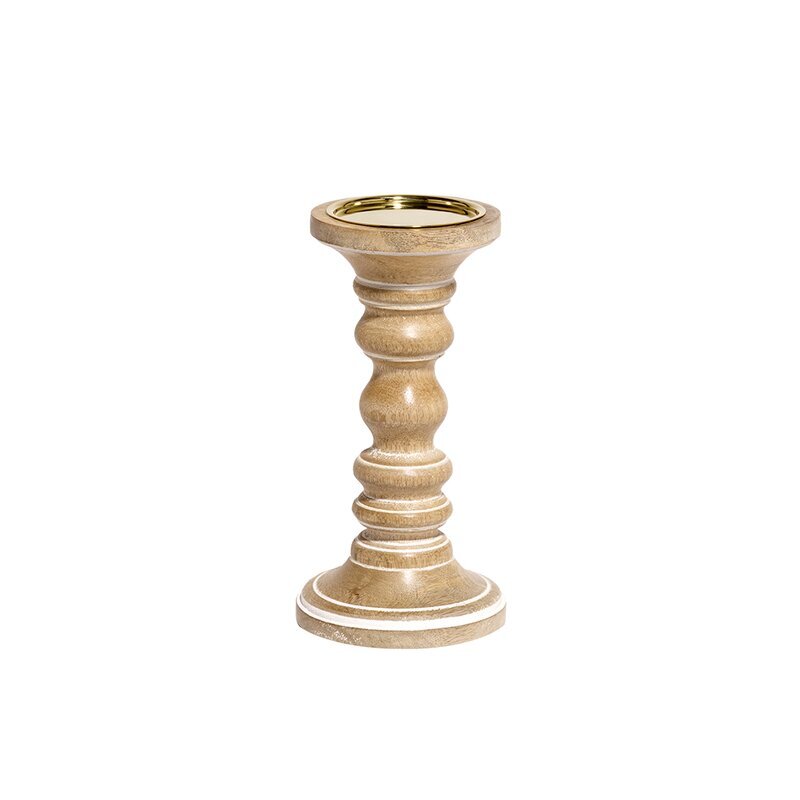
I discovered my love of Mango wood and incorporated it with the candle sticks on my coffee table. The clean leans lines and easy to read font made meI fell in love with this mid century modern sign for my mantle. Plus the mango pumpkins were too cute to not be seen by all.

This year, in 2021, I discovered my love of mango wood and incorporated it this year’s fall decor. I knew this mid century modern sign would be a perfect fit for my mantle - because of the clean lines and easy to read font.

These darling mango pumpkins are from Krumpets home. You can always use code NISSALYNN for 10% off your order at Krumpets.

These darling mango pumpkins are from Krumpets home. You can always use code NISSALYNN for 10% off your order at Krumpets.

I purchased these rattan pumpkins this year from Kirklands. I love that light brown color, and I know they will be pieces I will use in years to come!

I purchased these rattan pumpkins this year from Kirklands. I love that light brown color, and I know they will be pieces I will use in years to come!

I also had fun bringing fall decor into the kitchen this year by decorating this tiered tray. I purchase this tiered tray from Hobby Lobby a few years back and it was sage green.  After a year of having it, I spray painted it white to brighten it up.  The wooden leave cut outs are from 12timbers

I also had fun bringing fall decor into the kitchen this year by decorating this tiered tray. I purchase this tiered tray from Hobby Lobby a few years back and it was sage green. After a year of having it, I spray painted it white to brighten it up. The wooden leave cut outs are from 12timbers

Hopefully this has given you lots of fall decorating inspiration!

For links to where you can purchase items in this post click here.

Transitioning from Nursery to Little Girl's Room

My youngest daughter is growing up so fast! I’ve been meaning to write this post for a long time but life happened and then I forgot about it - until now. 

When our daughter Annalise turned three it was time to take down her crib and put up a twin bed. It was time to transition from nursery to a big girl’s room.

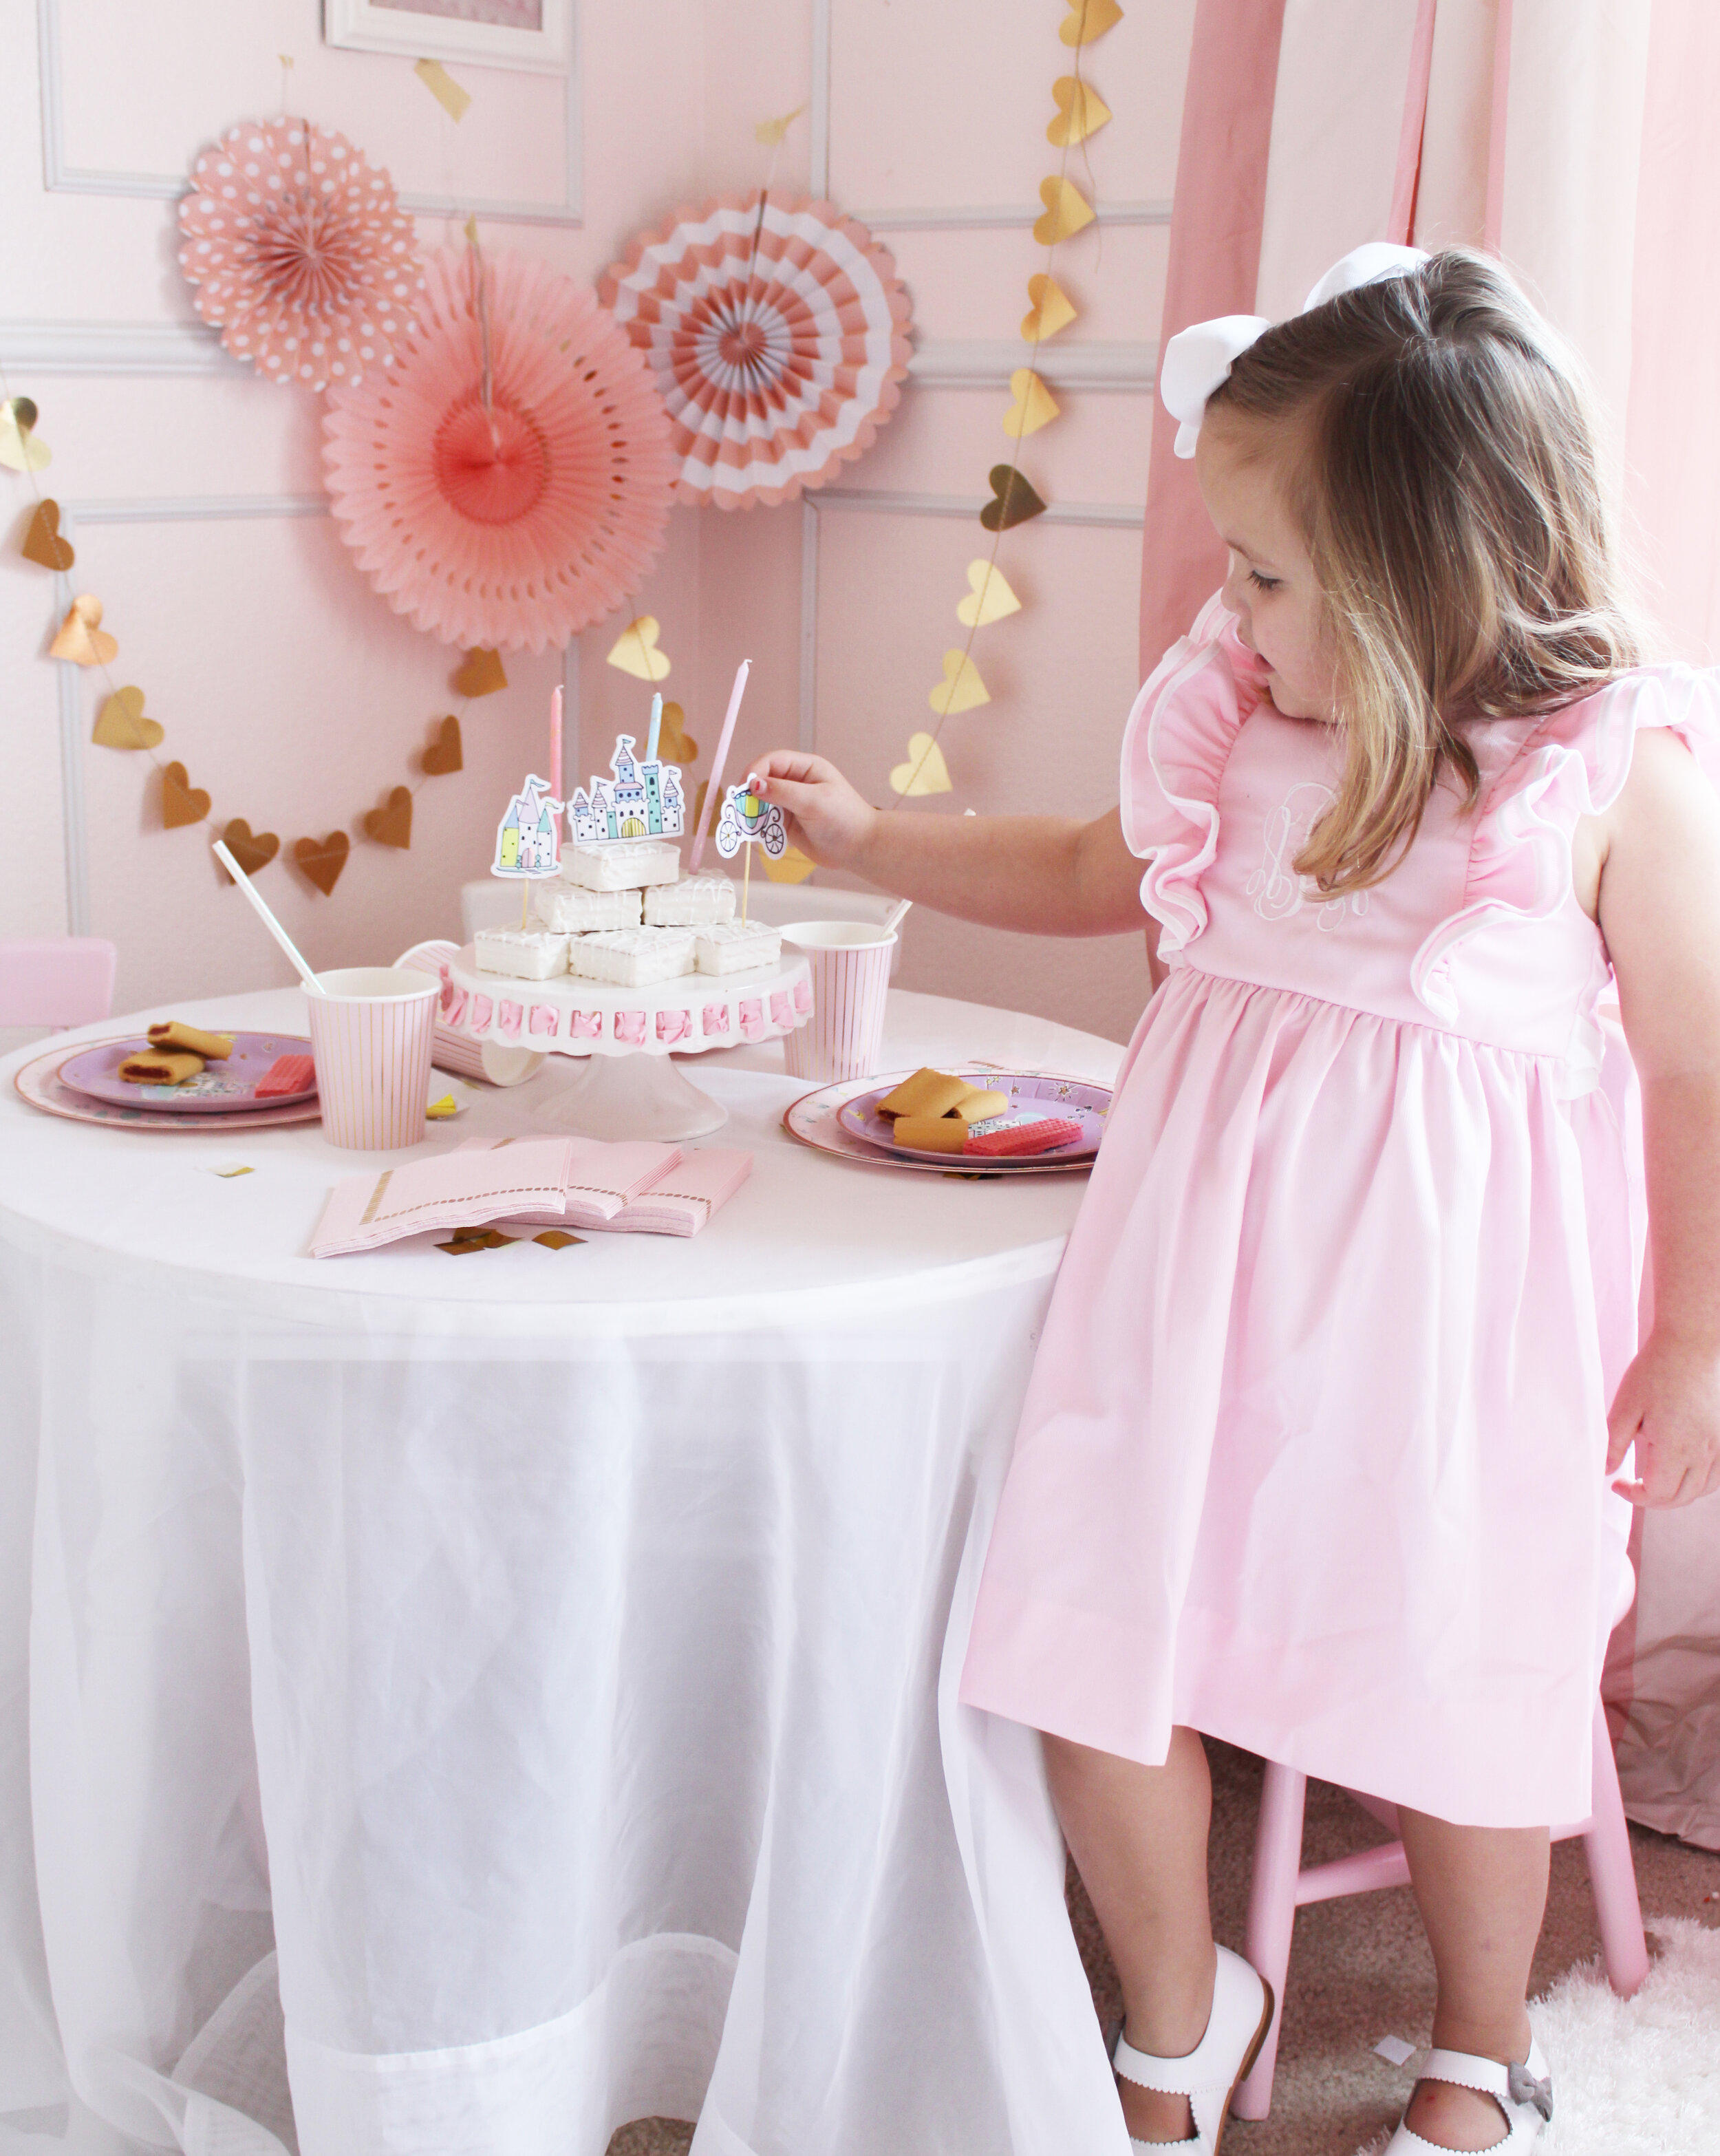
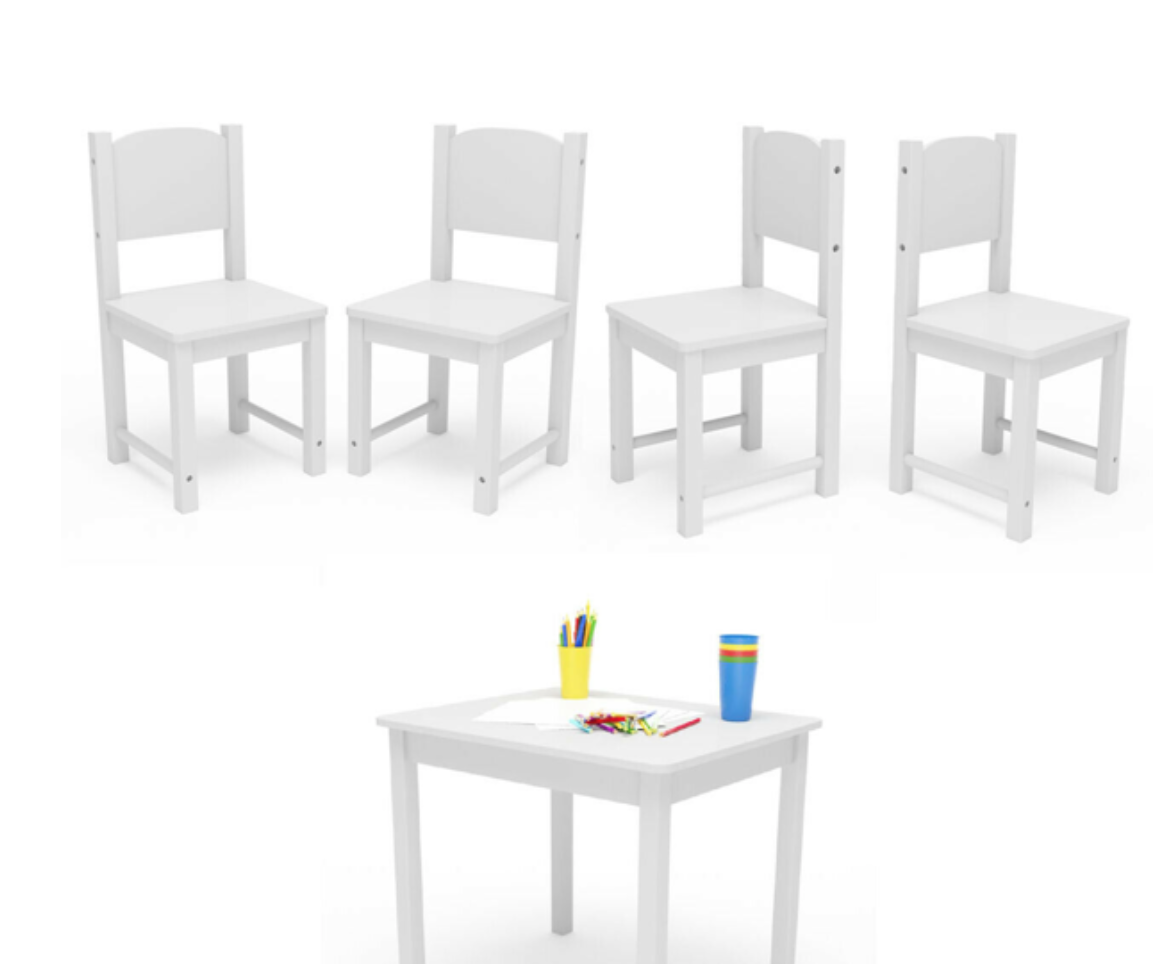
We fun have playing tea party in this cute corner of her room. The chair and tables were given to us 14 years ago with our older daughter’s Kay-Lynn. The table and chairs were originally white, but I spray painted two of the chairs pink for a pop of color.

We fun have playing tea party in this cute corner of her room. The chair and tables were given to us 14 years ago with our older daughter’s Kay-Lynn. The table and chairs were originally white, but I spray painted two of the chairs pink for a pop of color.

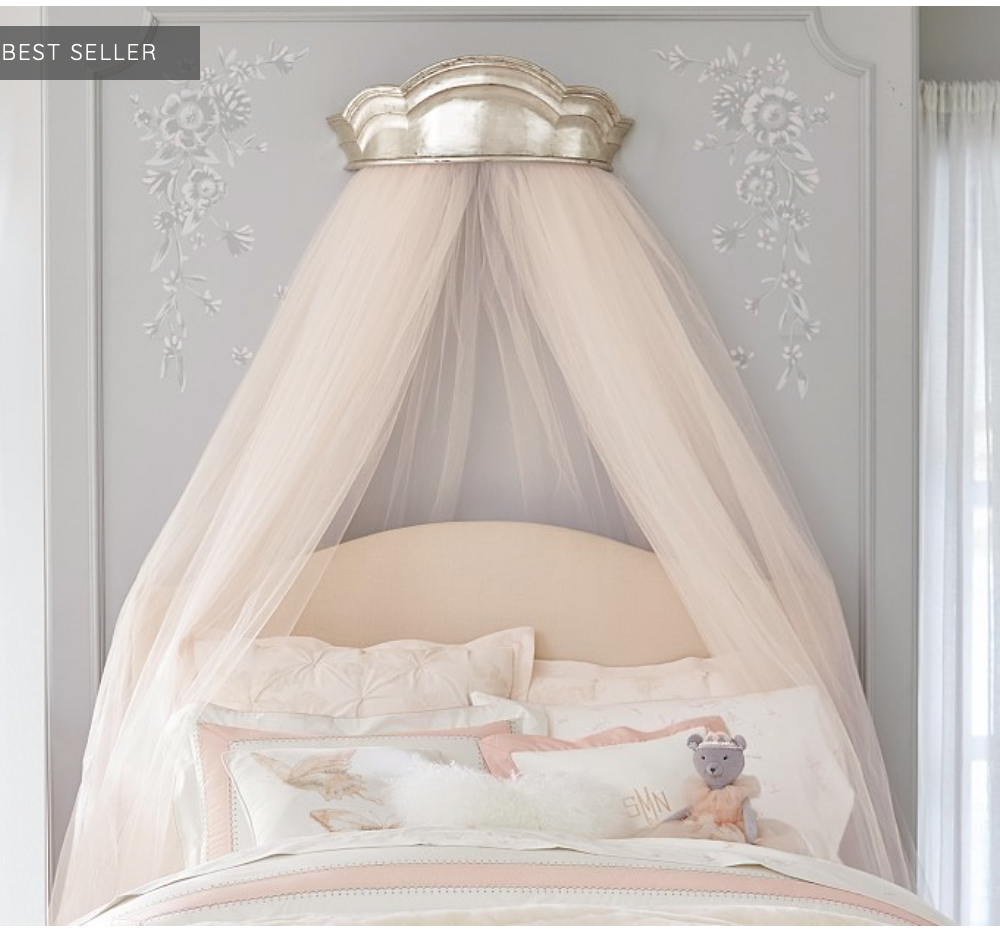
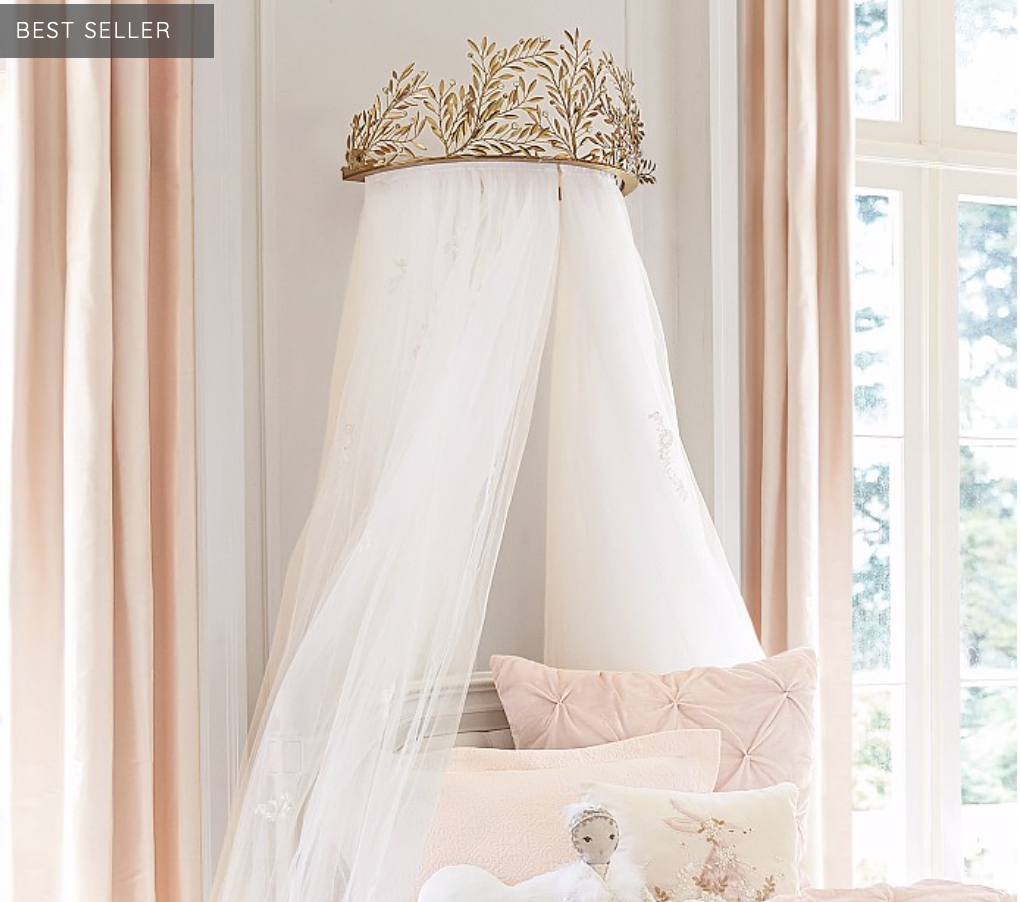
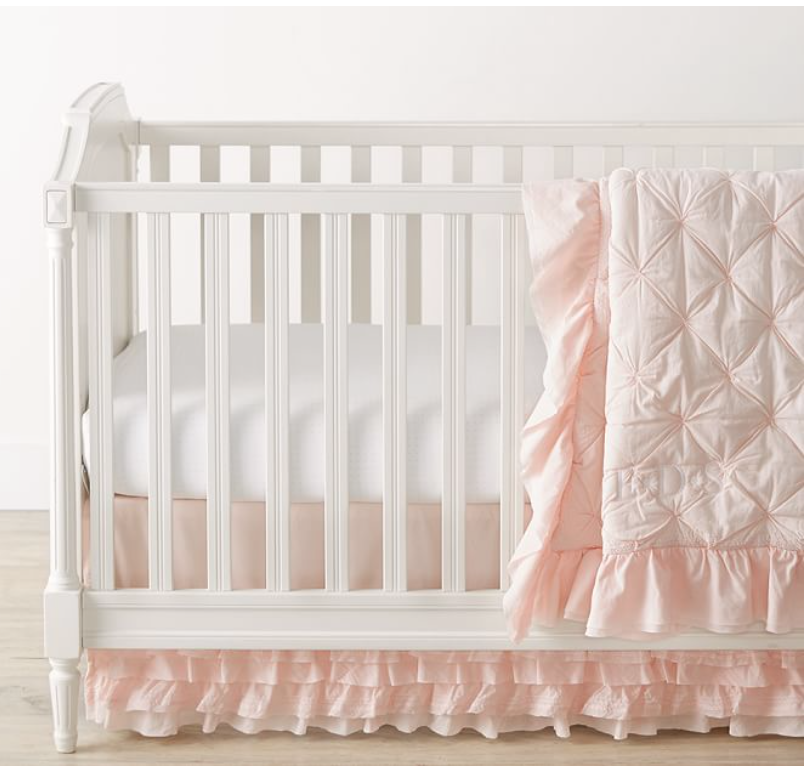
I knew I wanted a princess themed room and with a canopy to hang from a crown. I found several beautiful ones at Pottery Barn Kids - but they were way over my budget. So I decided to create my own - with my husband’s help. I found this resin crown at Hobby Lobby. It was originally hot pink so I spray painted it gold to match the blush and gold princess theme. We then screwed the crown into the custom made wood box. My husband built the wooden box from scrap wood in our garage. Then we attached it to the wall. I then added the white chiffon fabric that I bought from my local Joanne’s fabric store and fastened it to the back of the wooden box with rope. I also sewed the bows and made the crib skirt. For the pink edge on the chiffon canopy, I used bias tape The crib bumper and quilt are from Pottery Barn Kids.

My husband and I dressed up this @ikeausa dresser by adding new feet, moldings on the top and bottom, and new mirrored knobs. I also added a glass top for elegance. And do you see that pretty pink dress hanging on the hanger? That was mine from when I was a little girl! I love sentimental pieces - do you?

nursery.jpg
IMG_6424 copy.jpg

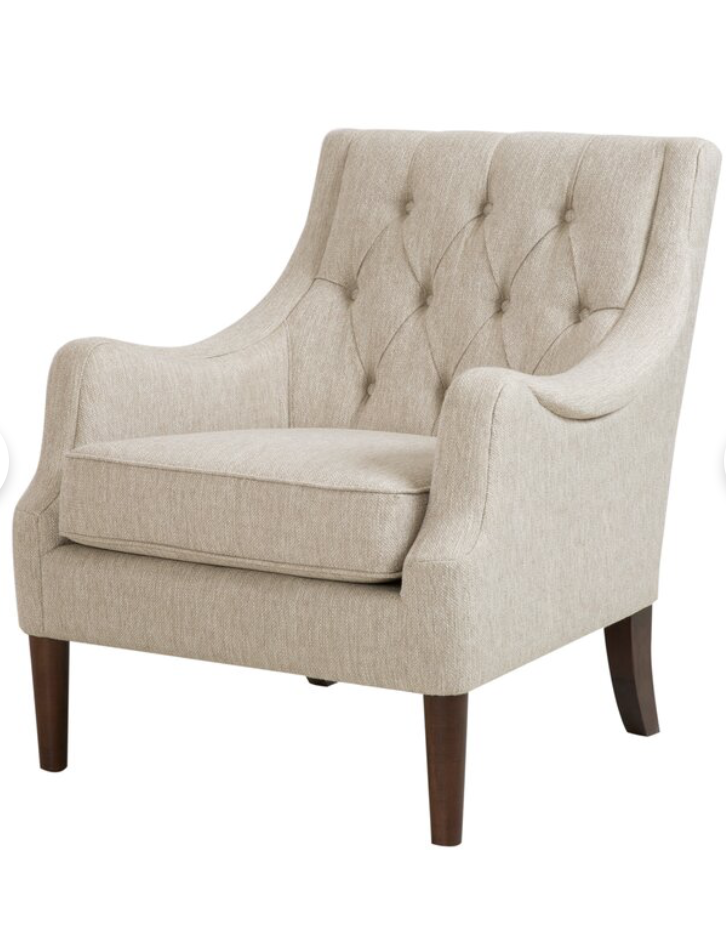
As much I loved this cozy corner where I would cuddle up my baby girl, I knew the tufted arm chair had to be removed to make room for a table and chairs that would inspire childhood play.

IMG_6443 copy.jpg

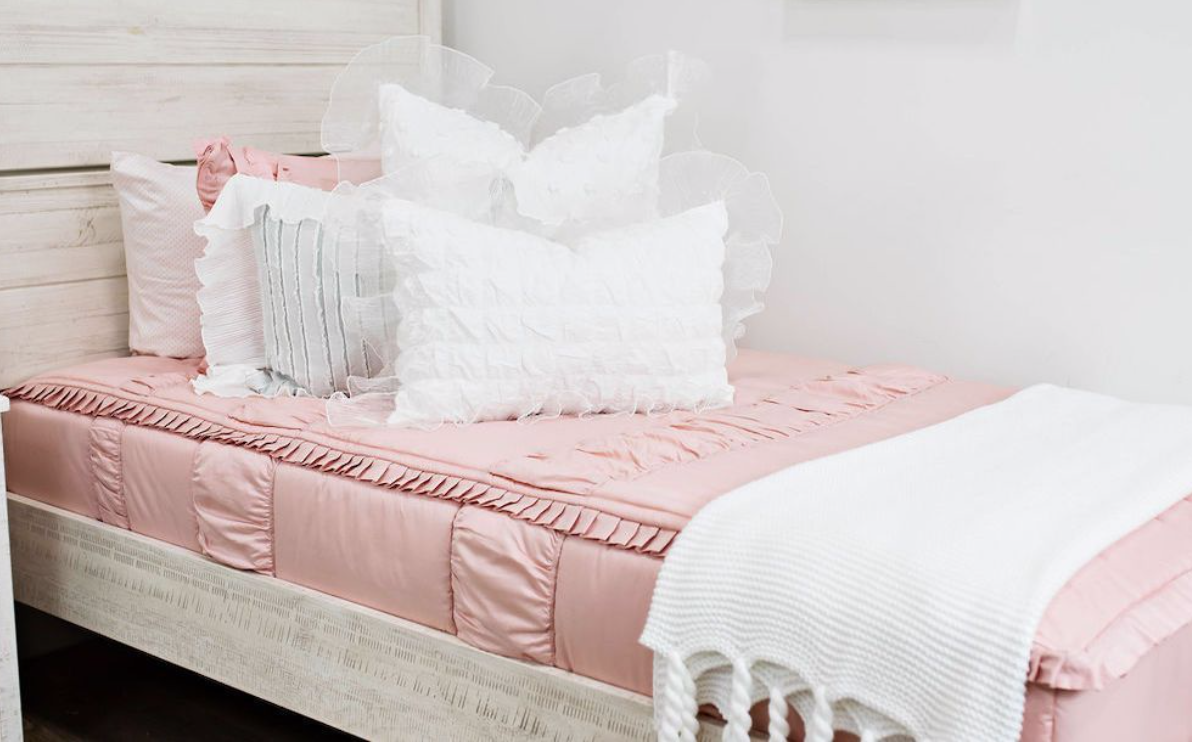
Here is is! Her beautiful grown up princess bed! I knew the exact bedding I wanted and needed for her. I chose Beddy’s in Vintage Blush because it works wonderfully with the existing room decor, paint and throw pillows. (Use can use code NISSALYNN for 15% off your entire purchase at Beddy’s.) I also ordered the gray poka dot minkey blanket from Beddy’s.. I picked up the gold dot and blush throw pillows from Hobby Lobby. The small white monogramed ruffle pillow sham is from Pottery Barn Kids.

My husband added the white trim work on the walls.

My husband added the white trim work on the walls.

Even though Annalise has a big girl room, I still kept these new born photos of her on her dresser.

Even though Annalise has a big girl room, I still kept these new born photos of her on her dresser.

Annalise is loving her new room! She spends hours playing in her new space!

Pink Kitchen.jpg
Playingcake.jpg

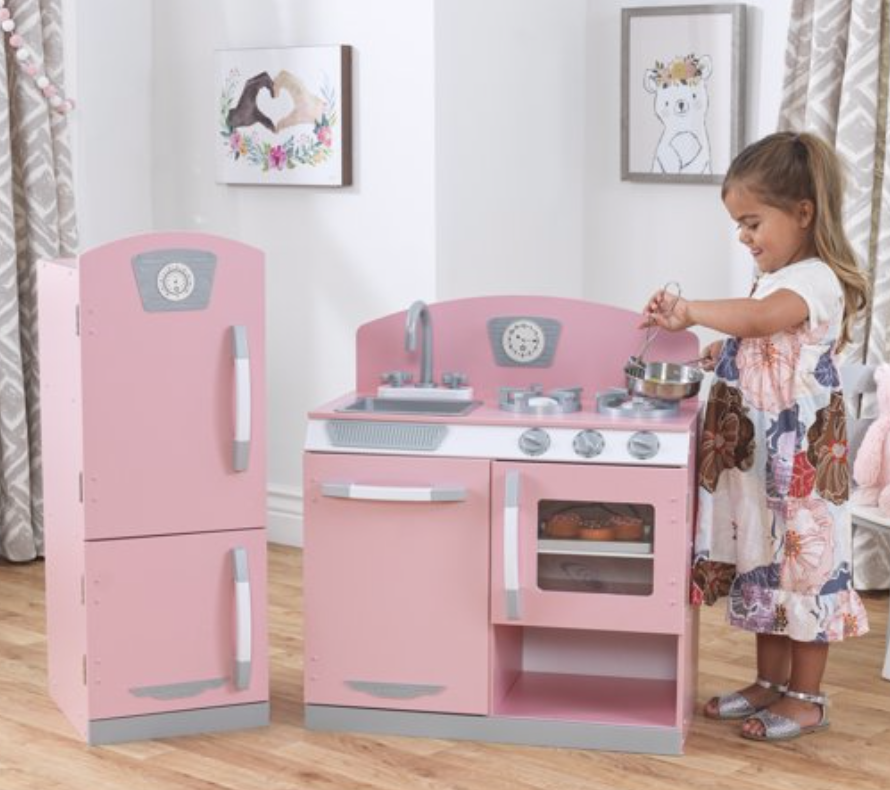
You can shop similar items below, or you can click here to shop more decor from this post.

It's a "Spooktackular" Halloween!

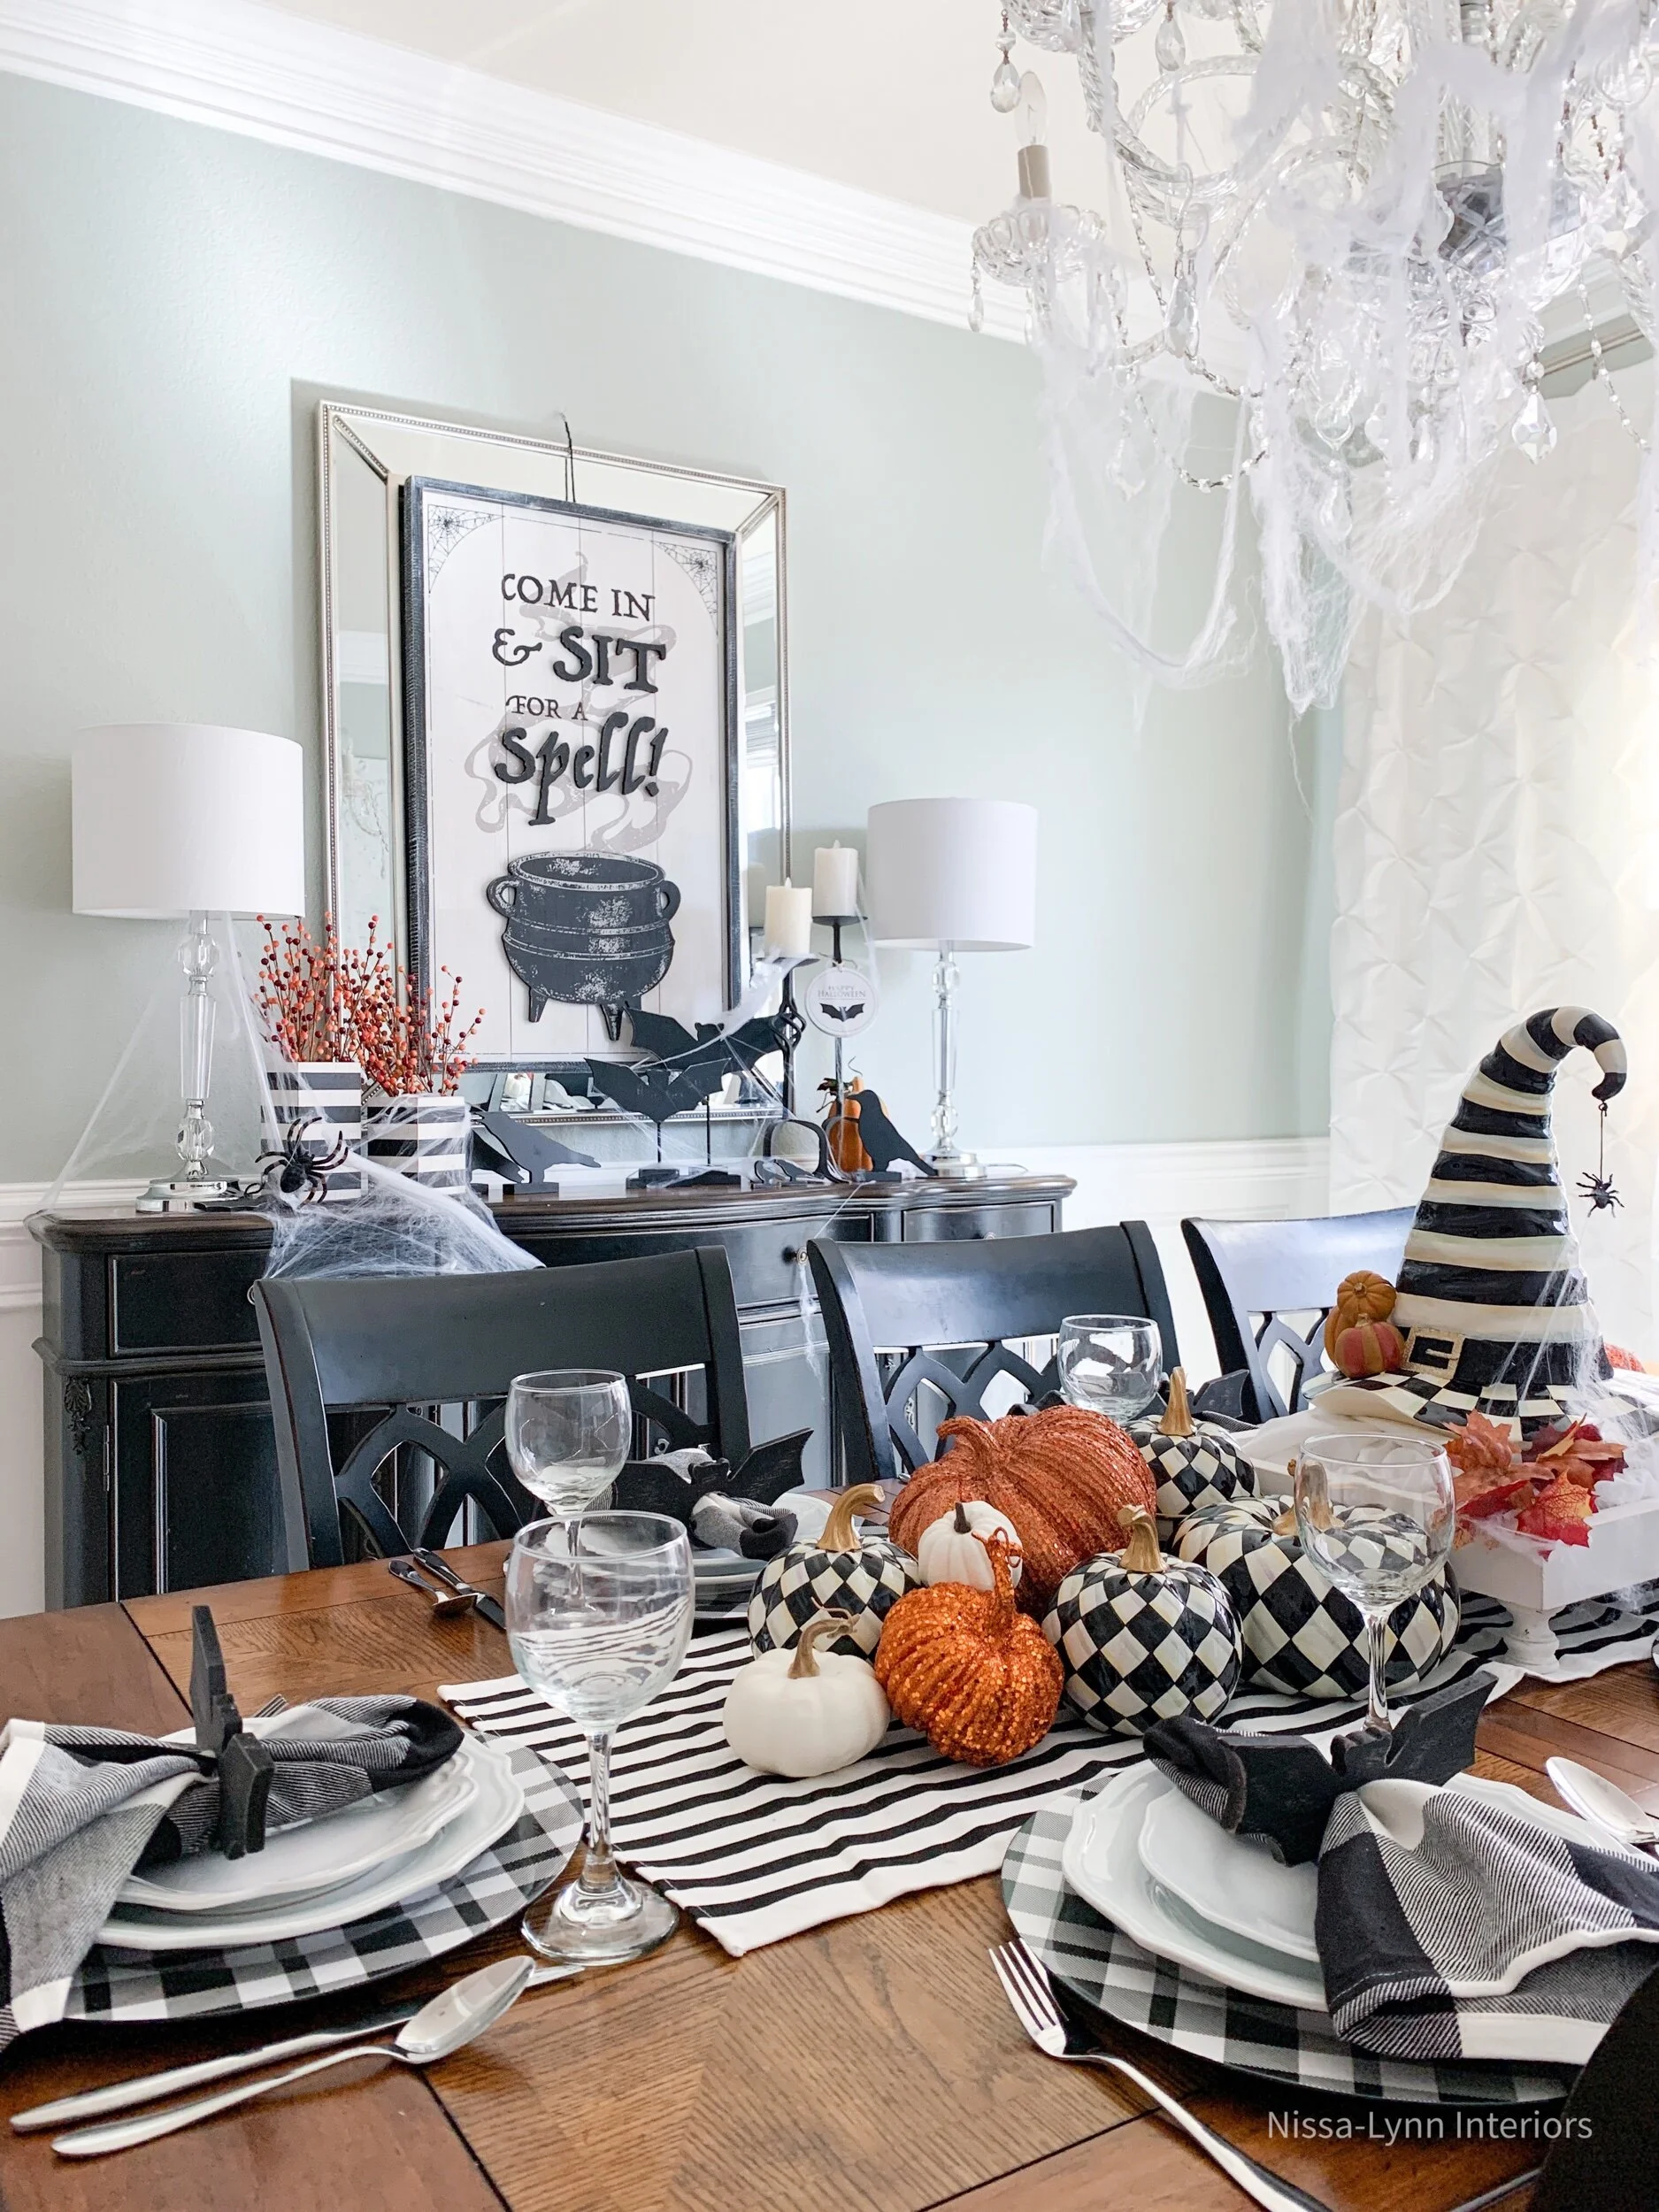
When I found out I was going to have family flying into town for Halloween, I was so excited to decorate for this holiday! Every year I’ve always just decorated my living room for Halloween, but this year I wanted to branch out and do a “spooktackular” Halloween tablescape! And I must say, I think it’s my most favorite tablescape ever!

FEEAE1CA-7F46-49D9-9BFA-50CE428298FD.jpeg

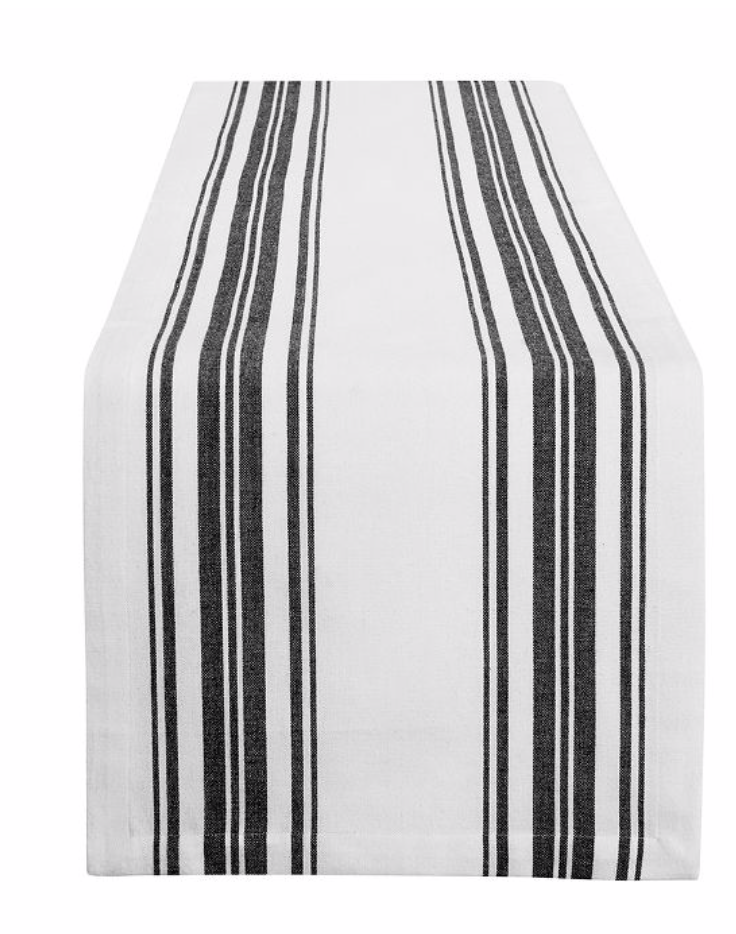
With it being halloween, I chose a black and white color scheme, and then added pops of orange. The first thing I did was pull out this black and white striped table runner from my decorating closet and put it on my table.

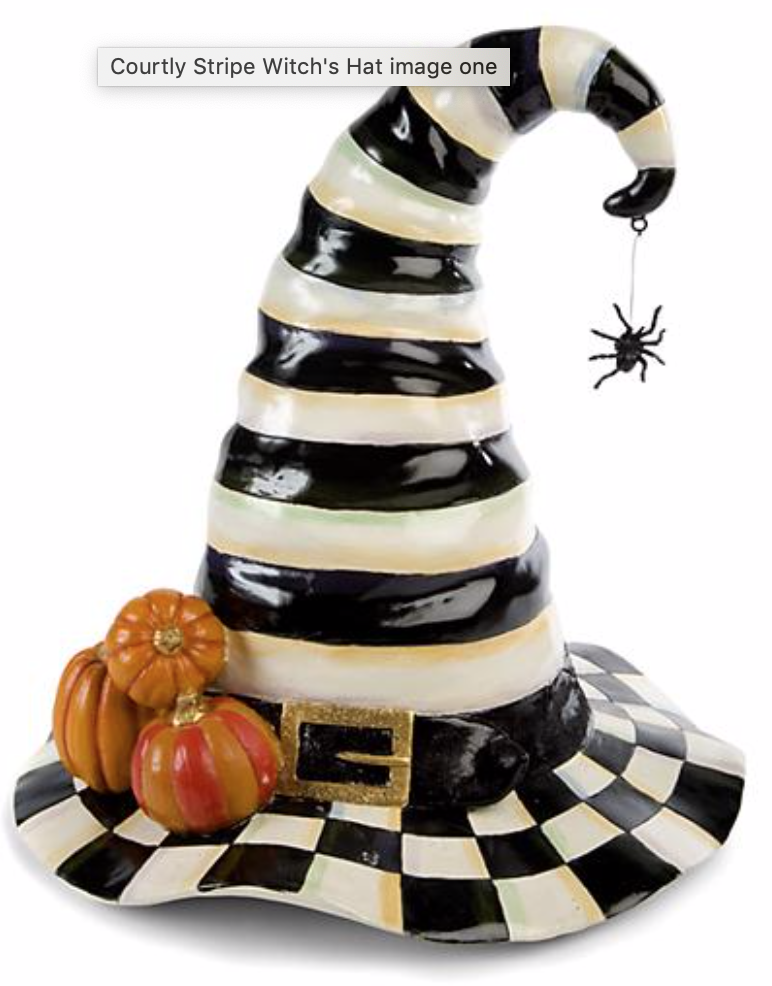
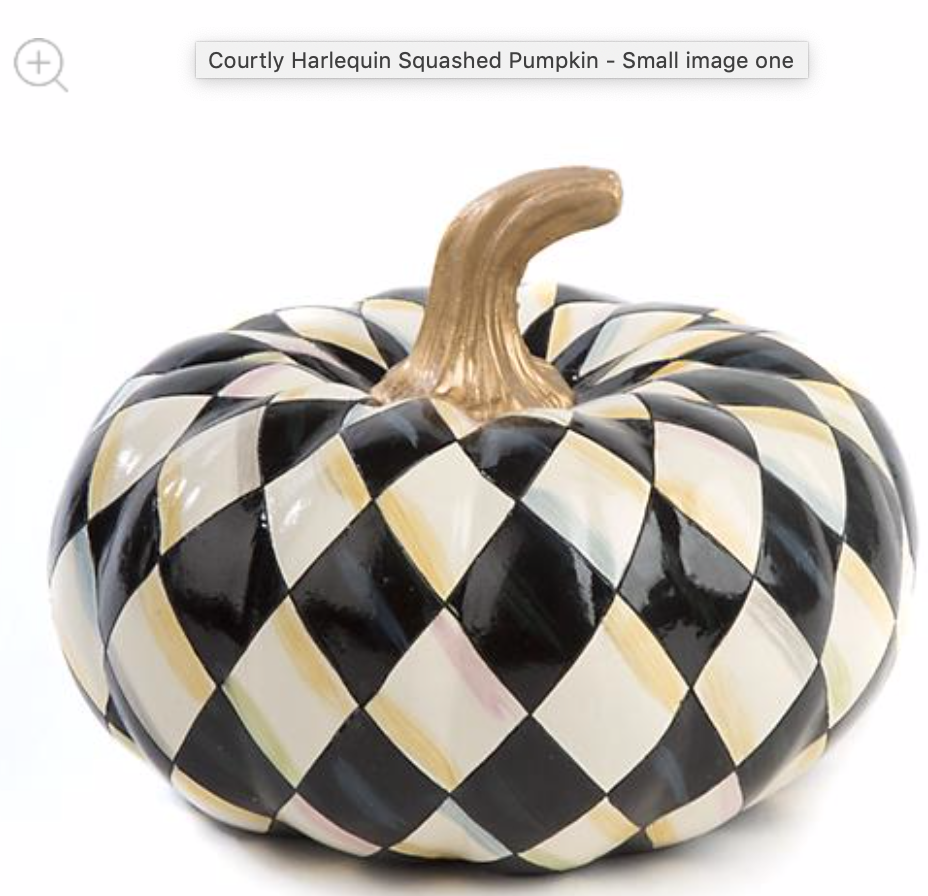
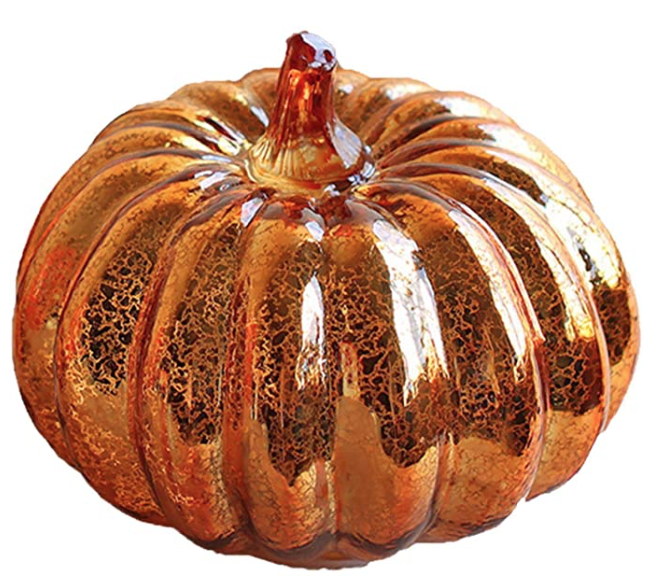
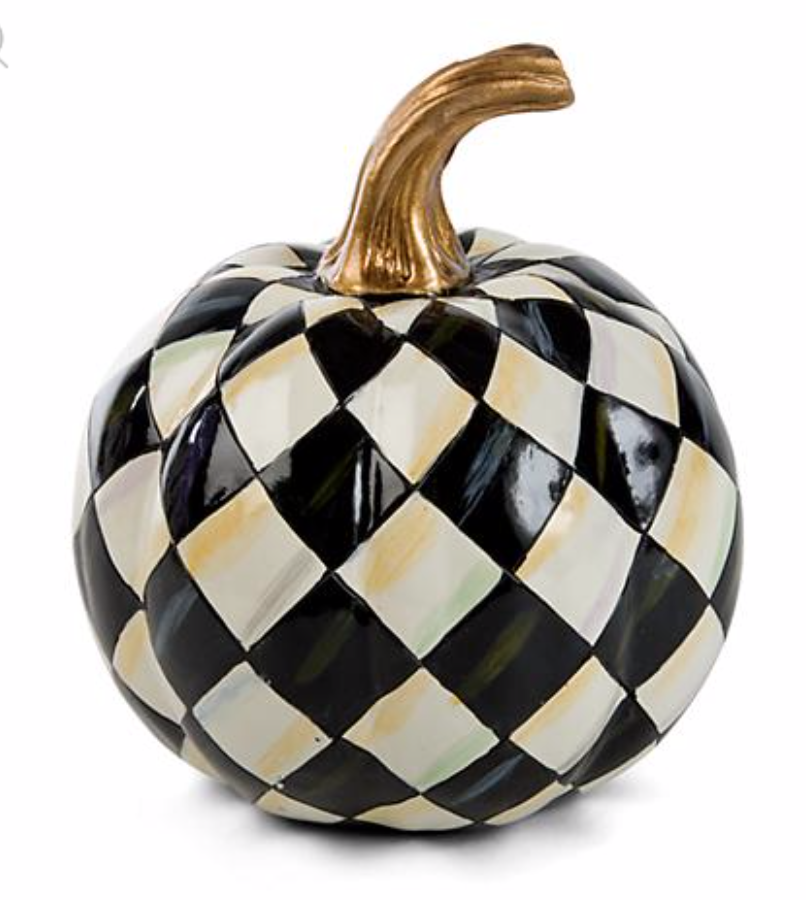
Then I was on the hunt to find some fun Halloween decor. When I saw this Mackenzie-Childs witch’s hat - I was obsessed! I knew that it had to be the center of the tablescape. After placing it on the table, I wanted the hat to stand up a little taller, so I put the hat on a white tray and then raised it a couple more inches by putting it on a couple wood boards. Then I covered the boards with fabric and fake leaves. Next I added patterned and solid colored pumpkins on either sides of the hat. (The Mackenzie-Childs Courtly Check gets me every time! I just love the black and white whimsical pattern.)

Adjustments.jpeg
89EEB7A1-FB18-4E5F-BB7E-7AF9D1B99FAD.jpeg
03C1F53E-07F4-4389-ADDD-645CC75836DB.jpeg

These glasses are from the Dollar store! Can you believe it? I only needed eight for this table setting, so I bought each glass at a dollar a piece. That was cheaper than buying 2- 6pk glasses at Walmart or Target - I checked!

Tip: When putting together a place setting, think of it as a pyramid. Start with the largest piece on bottom and layer until the smallest piece is on top. I usually start with a placemat, then a charger, dinner plate, salad plate and napkin and napkin holder to finish it off. 😊

F015D9EB-7E1A-447C-B1C8-AA6F64D1363A.jpeg
*These darling bat napkin rings and Sit for a Spell sign are from Krumpets Home Decor. Use code NISSALYNN at checkout for 10% off your entire purchase, plus free shipping on orders $25 or more.

*These darling bat napkin rings and Sit for a Spell sign are from Krumpets Home Decor. Use code NISSALYNN at checkout for 10% off your entire purchase, plus free shipping on orders $25 or more.

FC7DBFD1-FB37-47D9-88F8-41A4037C7160.jpeg
1B511797-FB43-4B02-9330-F5ACC9ECCB3D.jpeg
I wanted to throw this photo in for fun. This is my Halloween decorated living room.

I wanted to throw this photo in for fun. This is my Halloween decorated living room.

I hope you have an amazing Halloween! I hope it’s a day filled with fun and laughter.

You can easily shop my Halloween tablescape by clicking on the products photos below.

Getting Guest Room Ready!

With summer almost here, you might have friends and family coming to visit. Today I’m sharing some ideas to help you create a beautiful guest room without having to do an entire bedroom remodel!

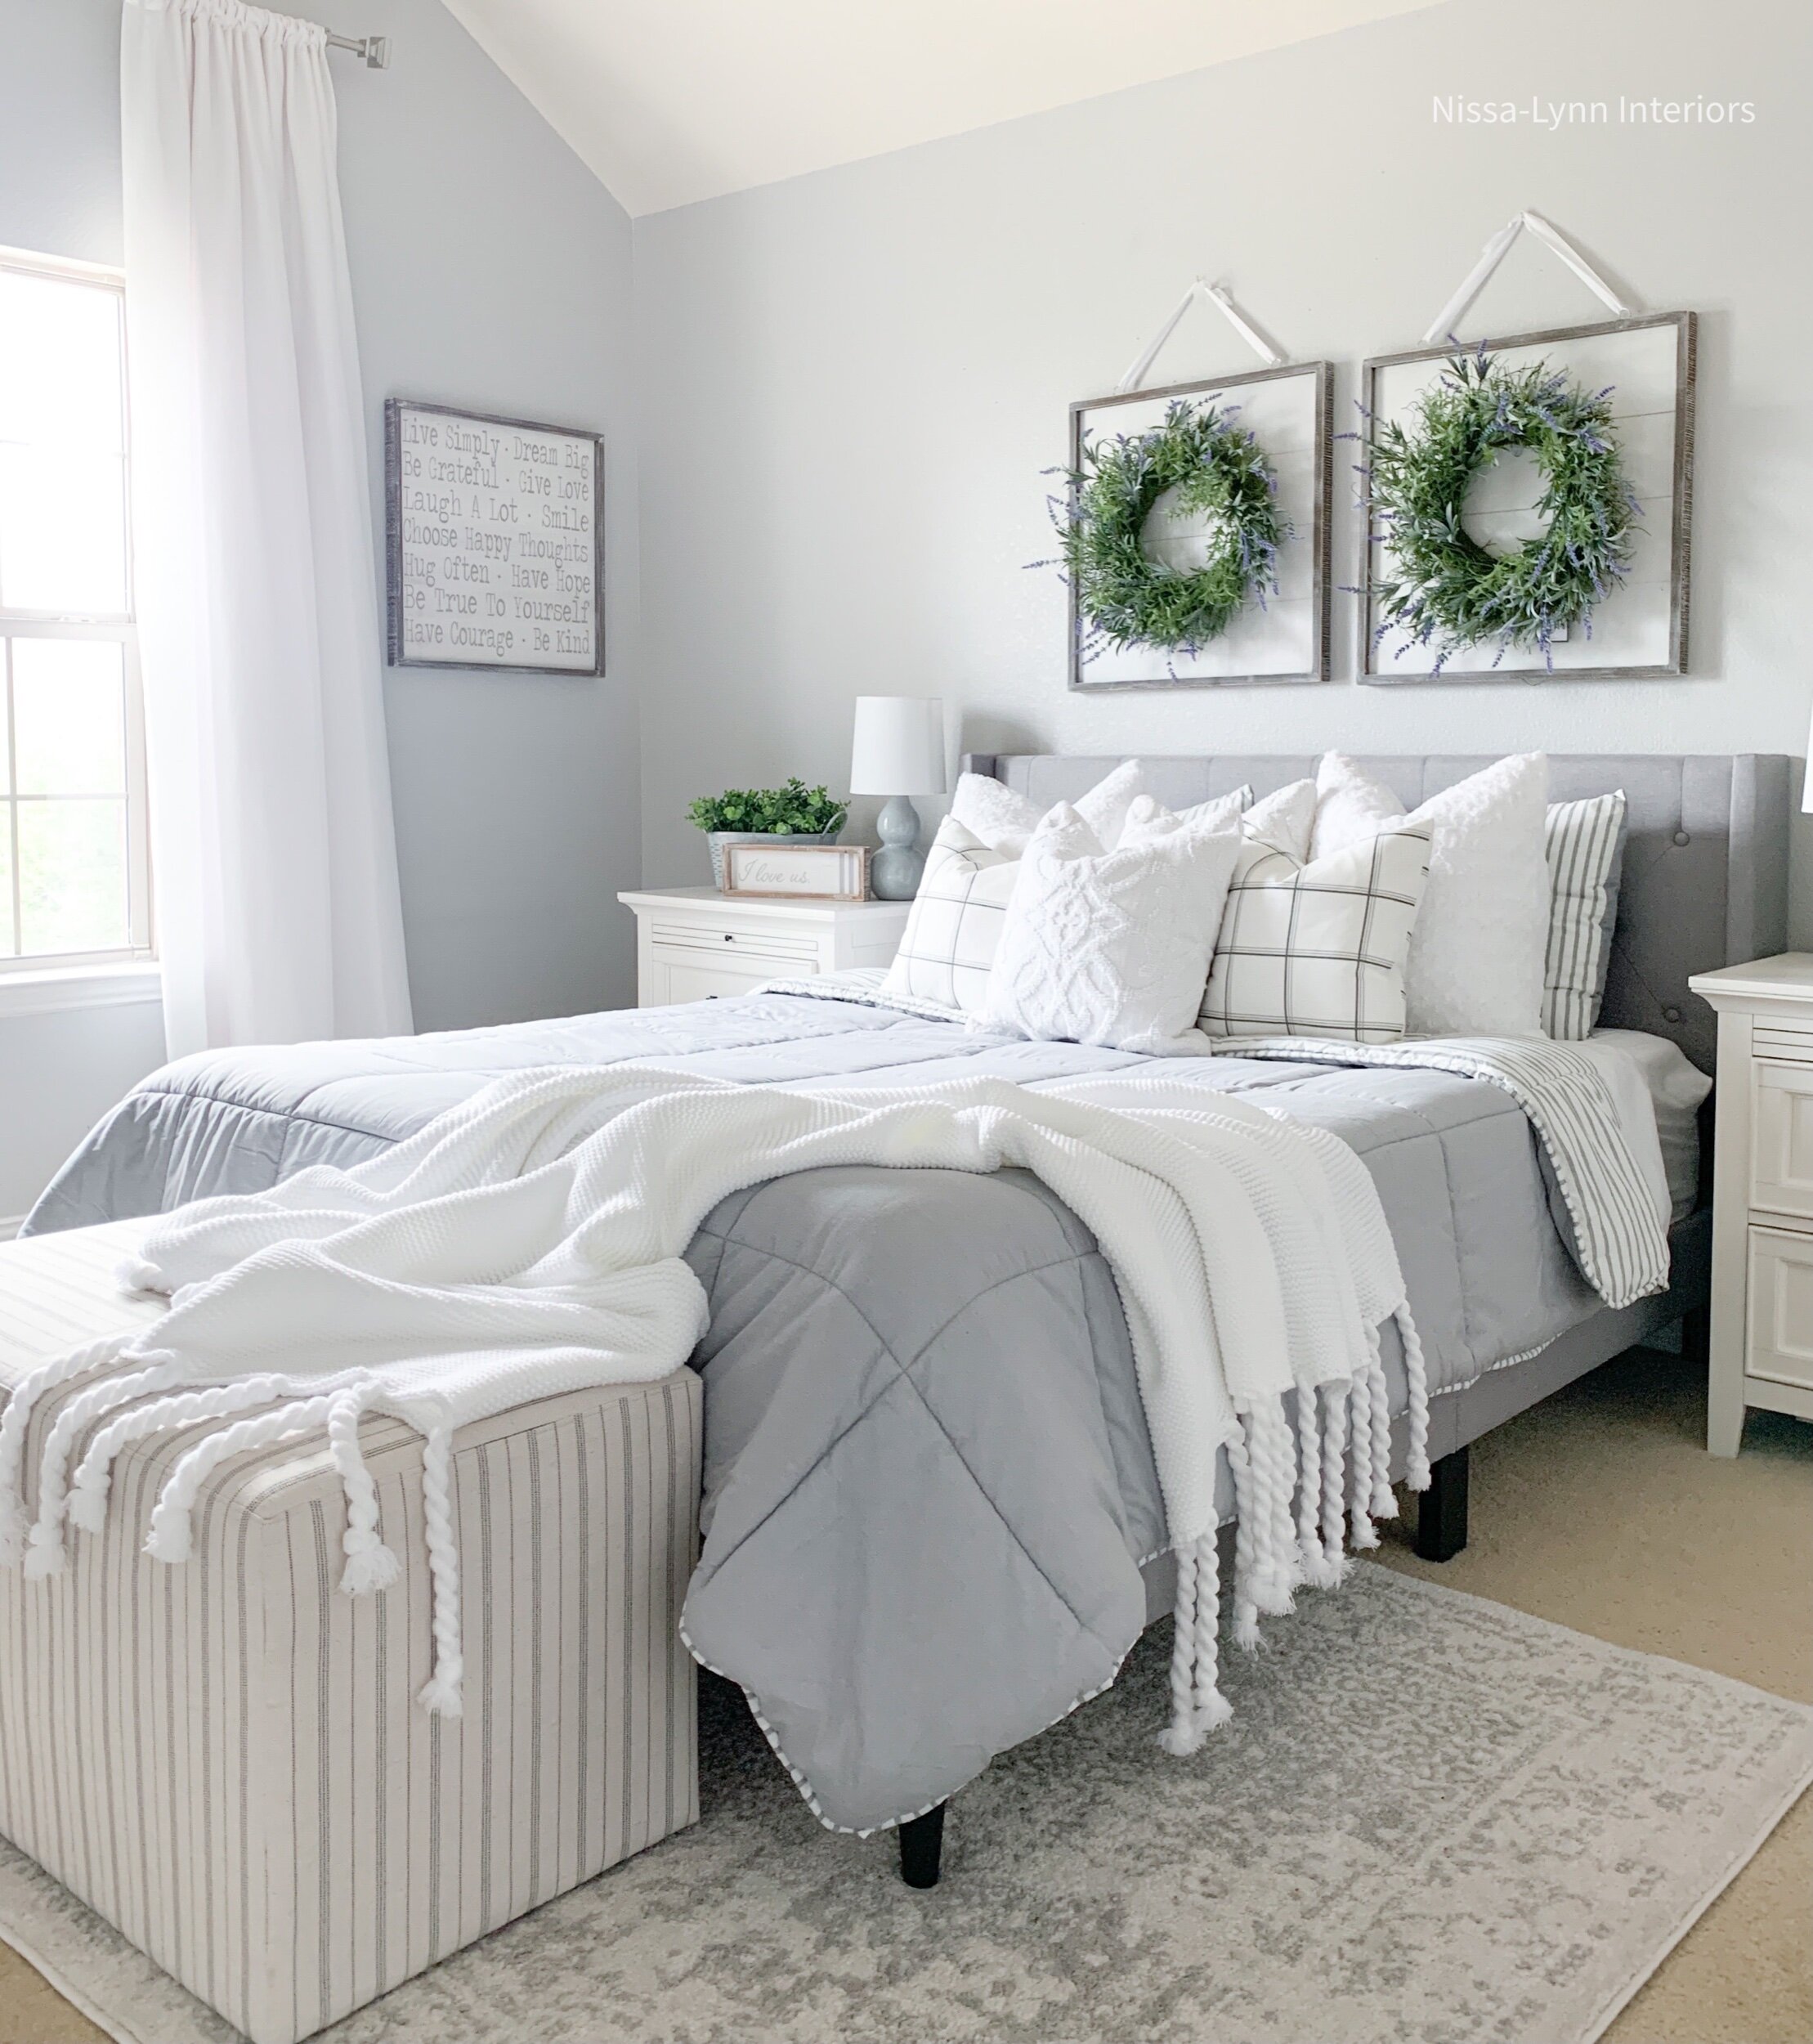
After my daughter left for college in Idaho, I wanted to transition her high school looking bedroom into a classic and timeless guest bedroom. My Texas girl loved her country gray and yellow themed room, but it wasn't quite the sophisticated look I wanted. I didn’t want to repaint her light gray walls or replace the white drapes, so I decided to keep the gray color pallet and swap out the yellow accessories for white ones - like new white pillows.

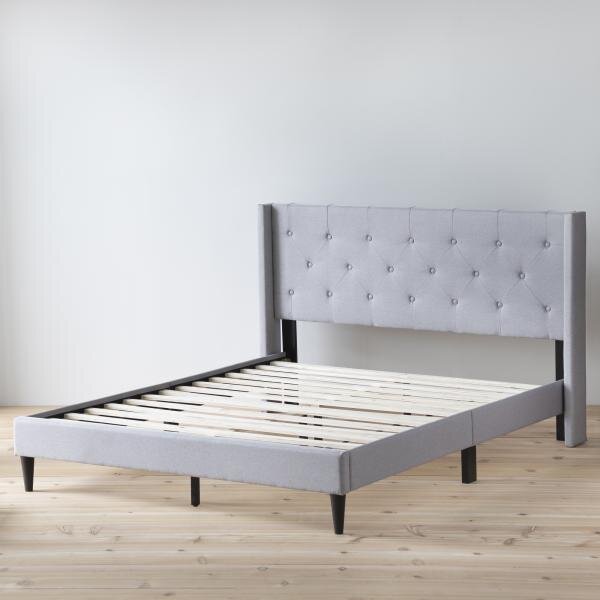
The first thing we did was sell her old shabby chic distressed bedroom set. Then I shopped for a new bed since that is the focal point of the bedroom. I knew I wanted a tufted headboard and I immediately fell in love with this one from Brookside

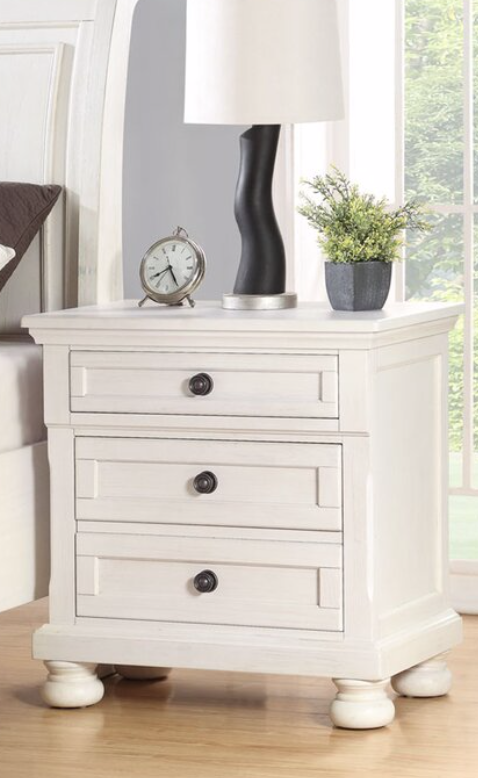
I also knew I wanted light colored night stands to help brighten up the room. I found a set and they are great quality and even have an outlet built in the back with a USB port for easy phone charging. I keep brand new bright white towels in the nightstand drawers ready for guests when they come visit.

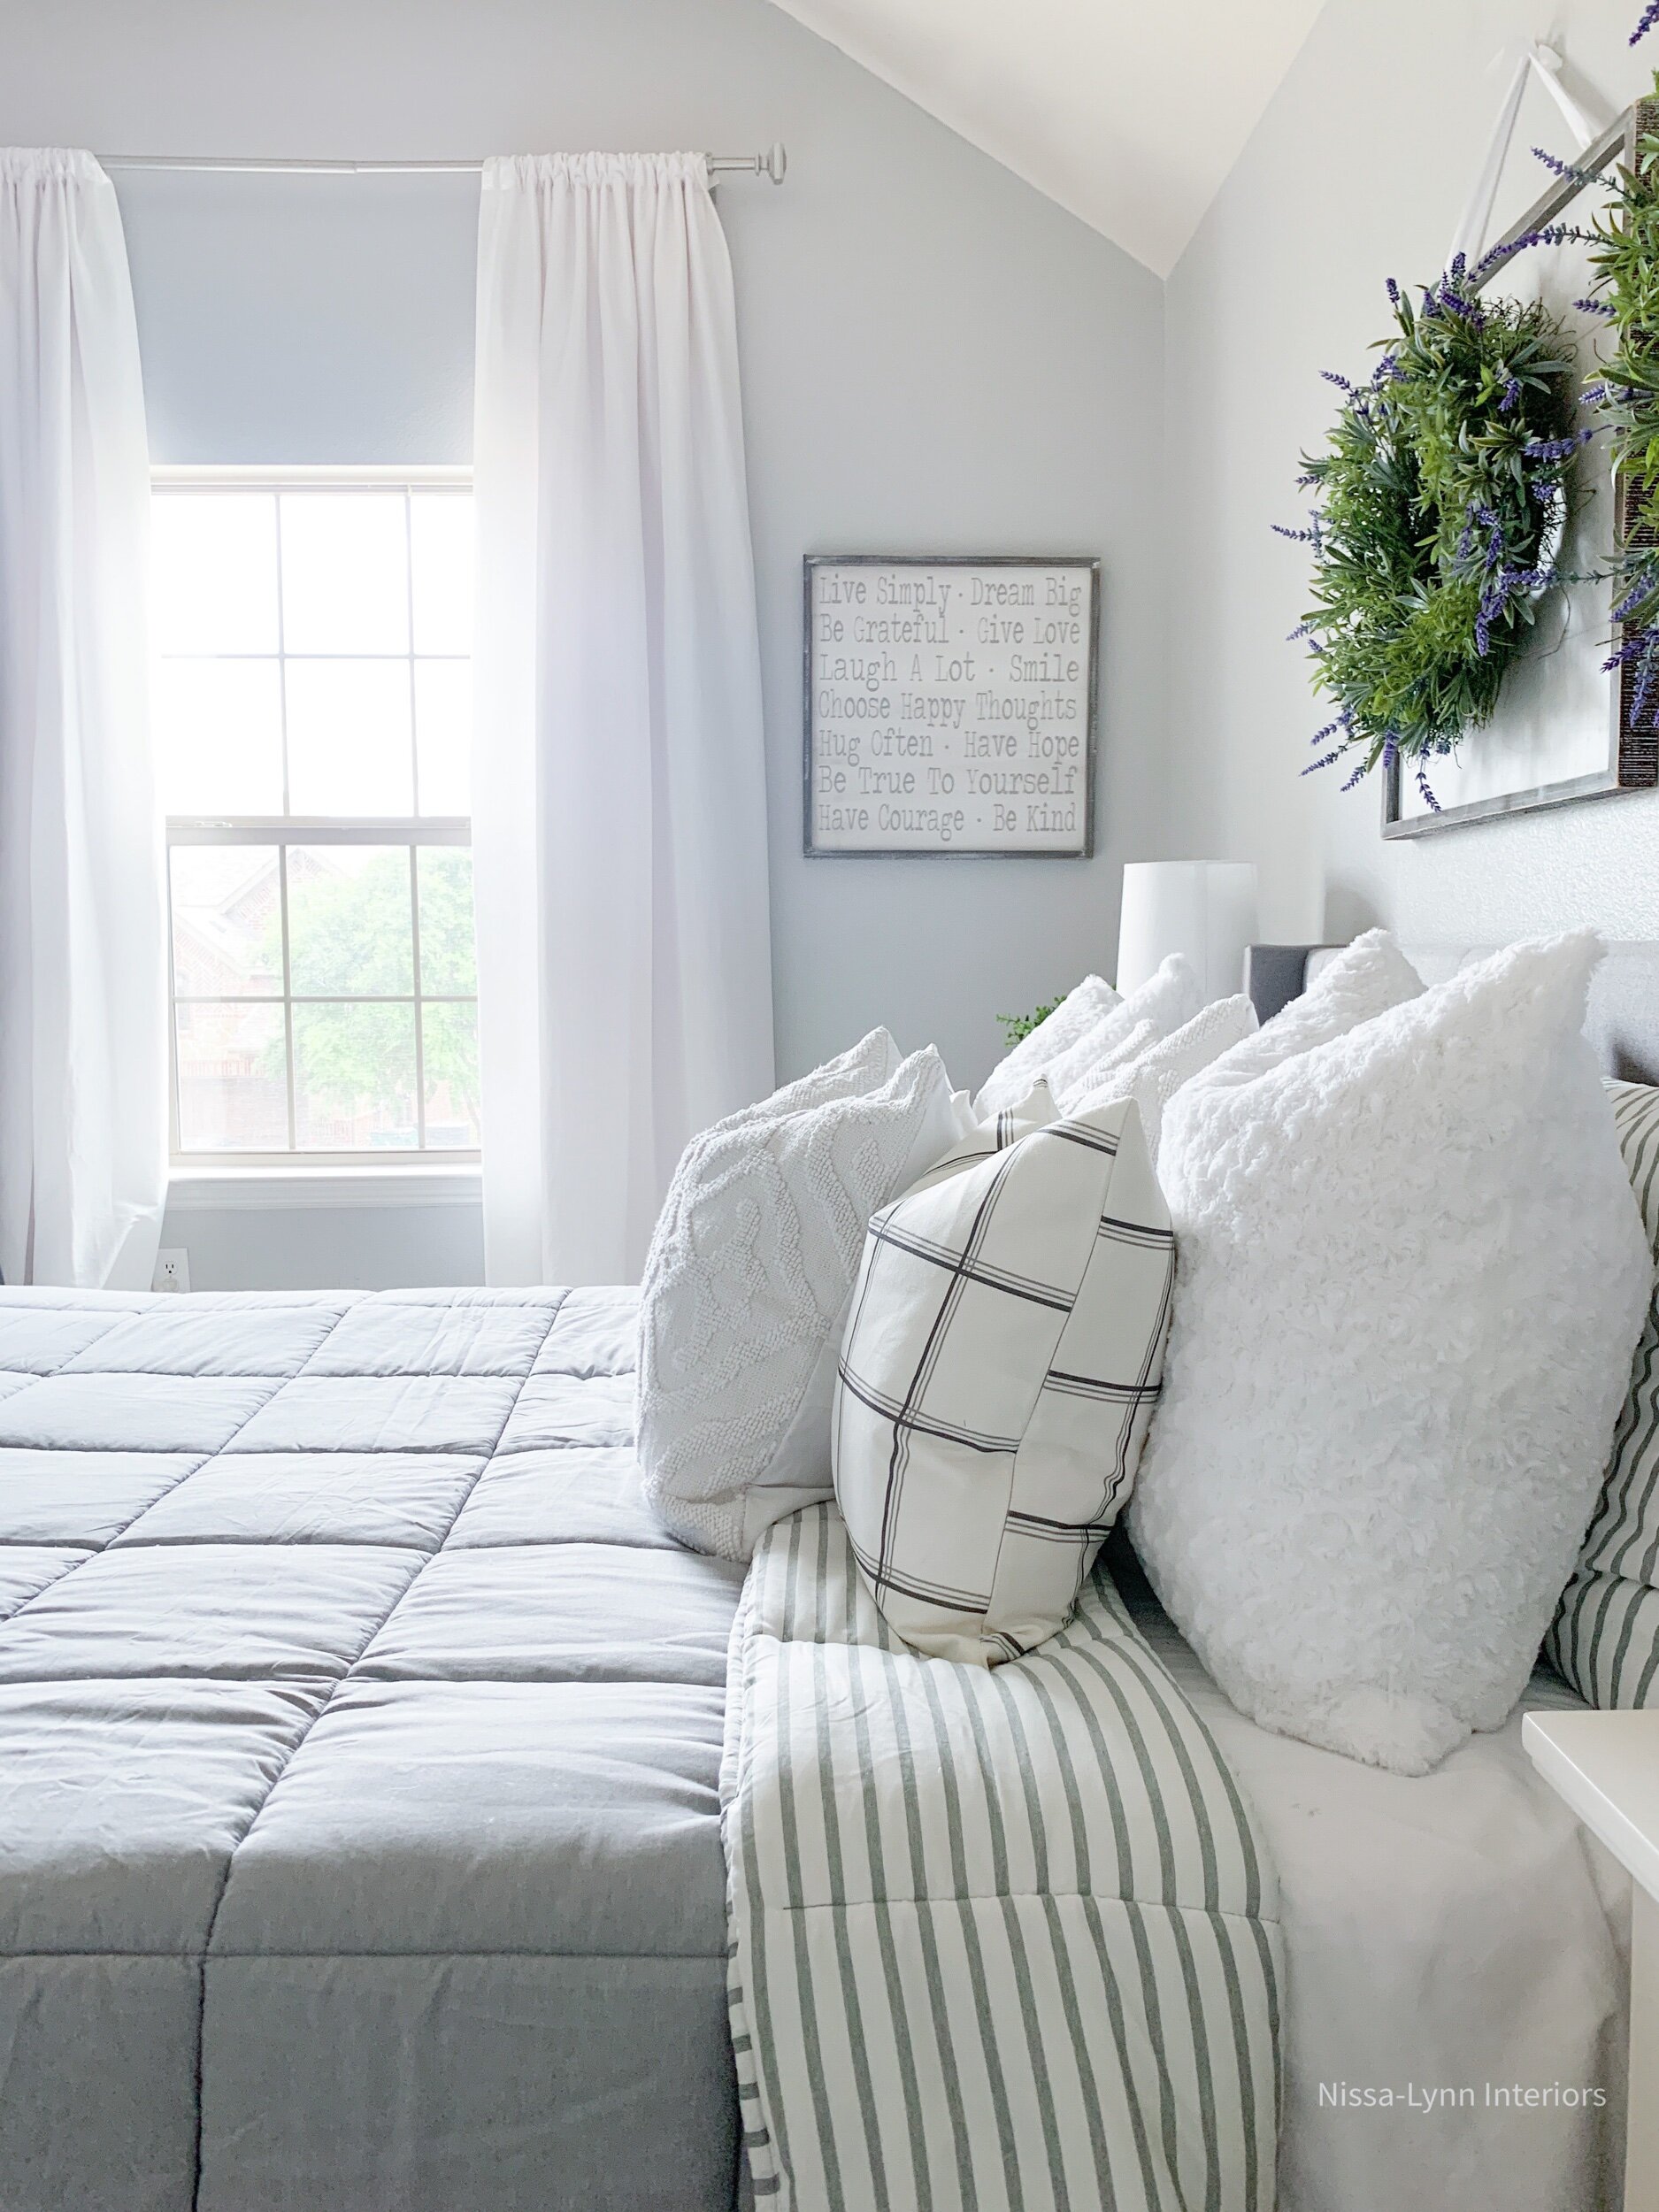
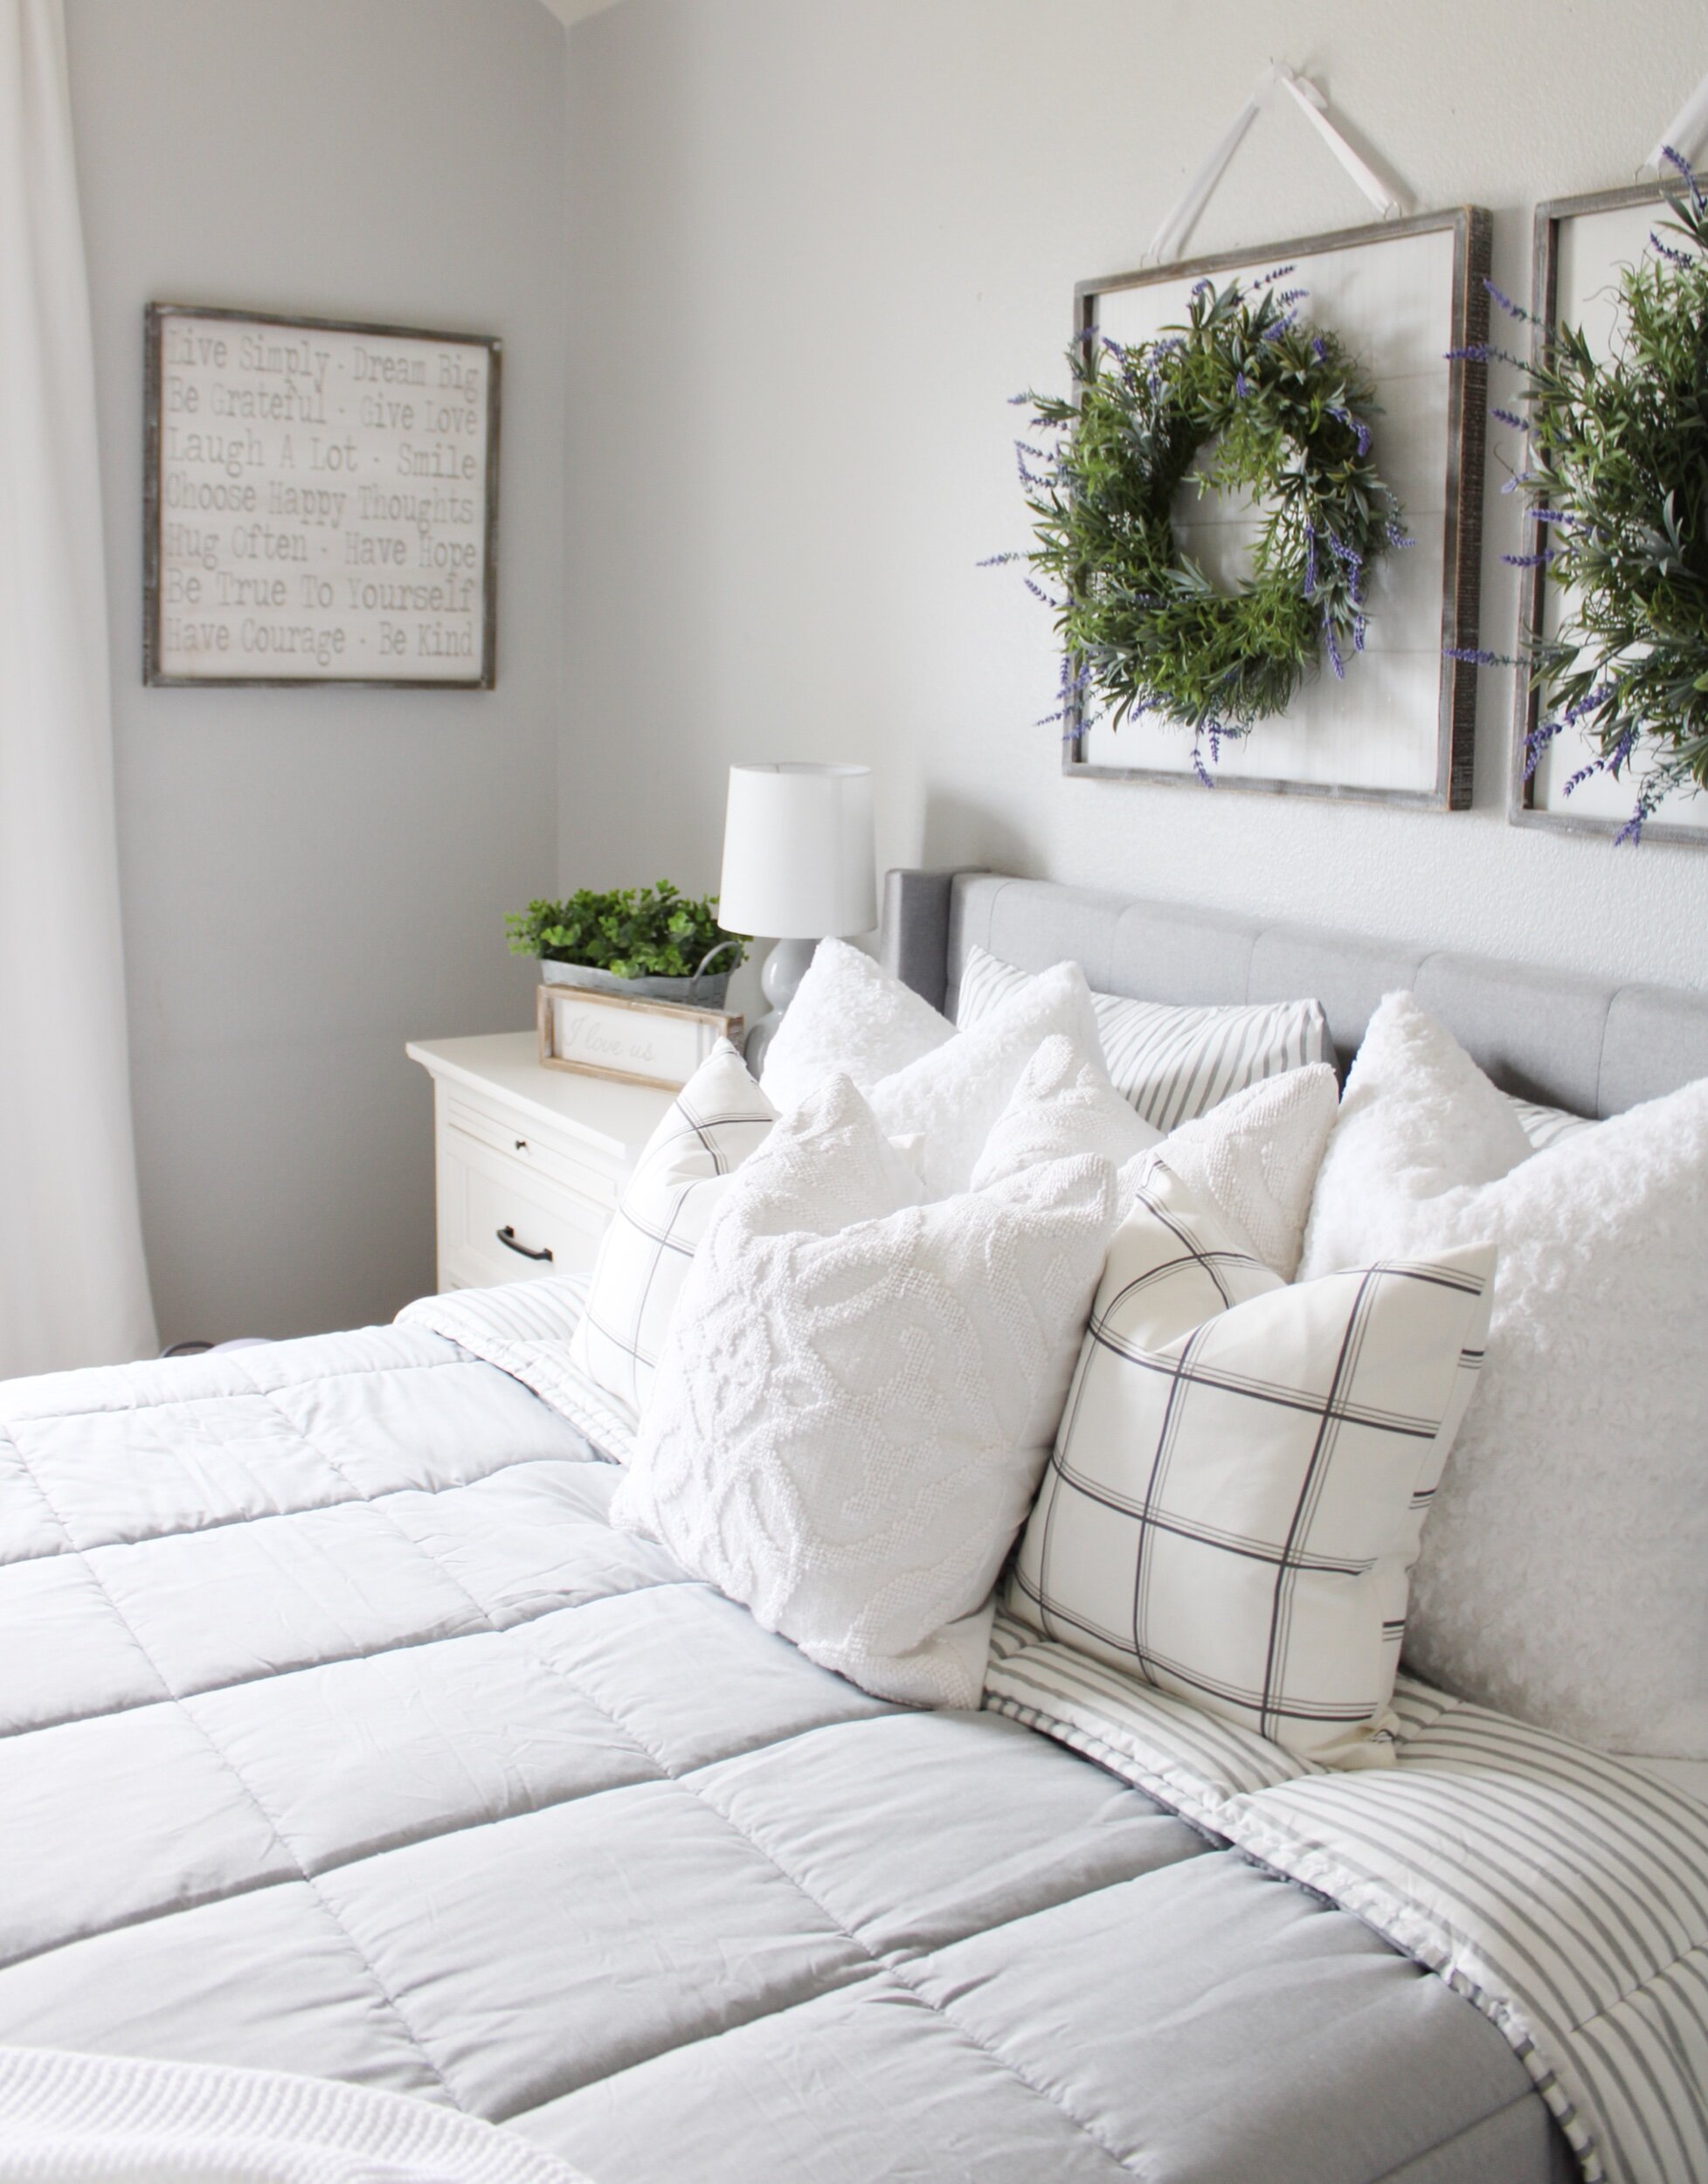
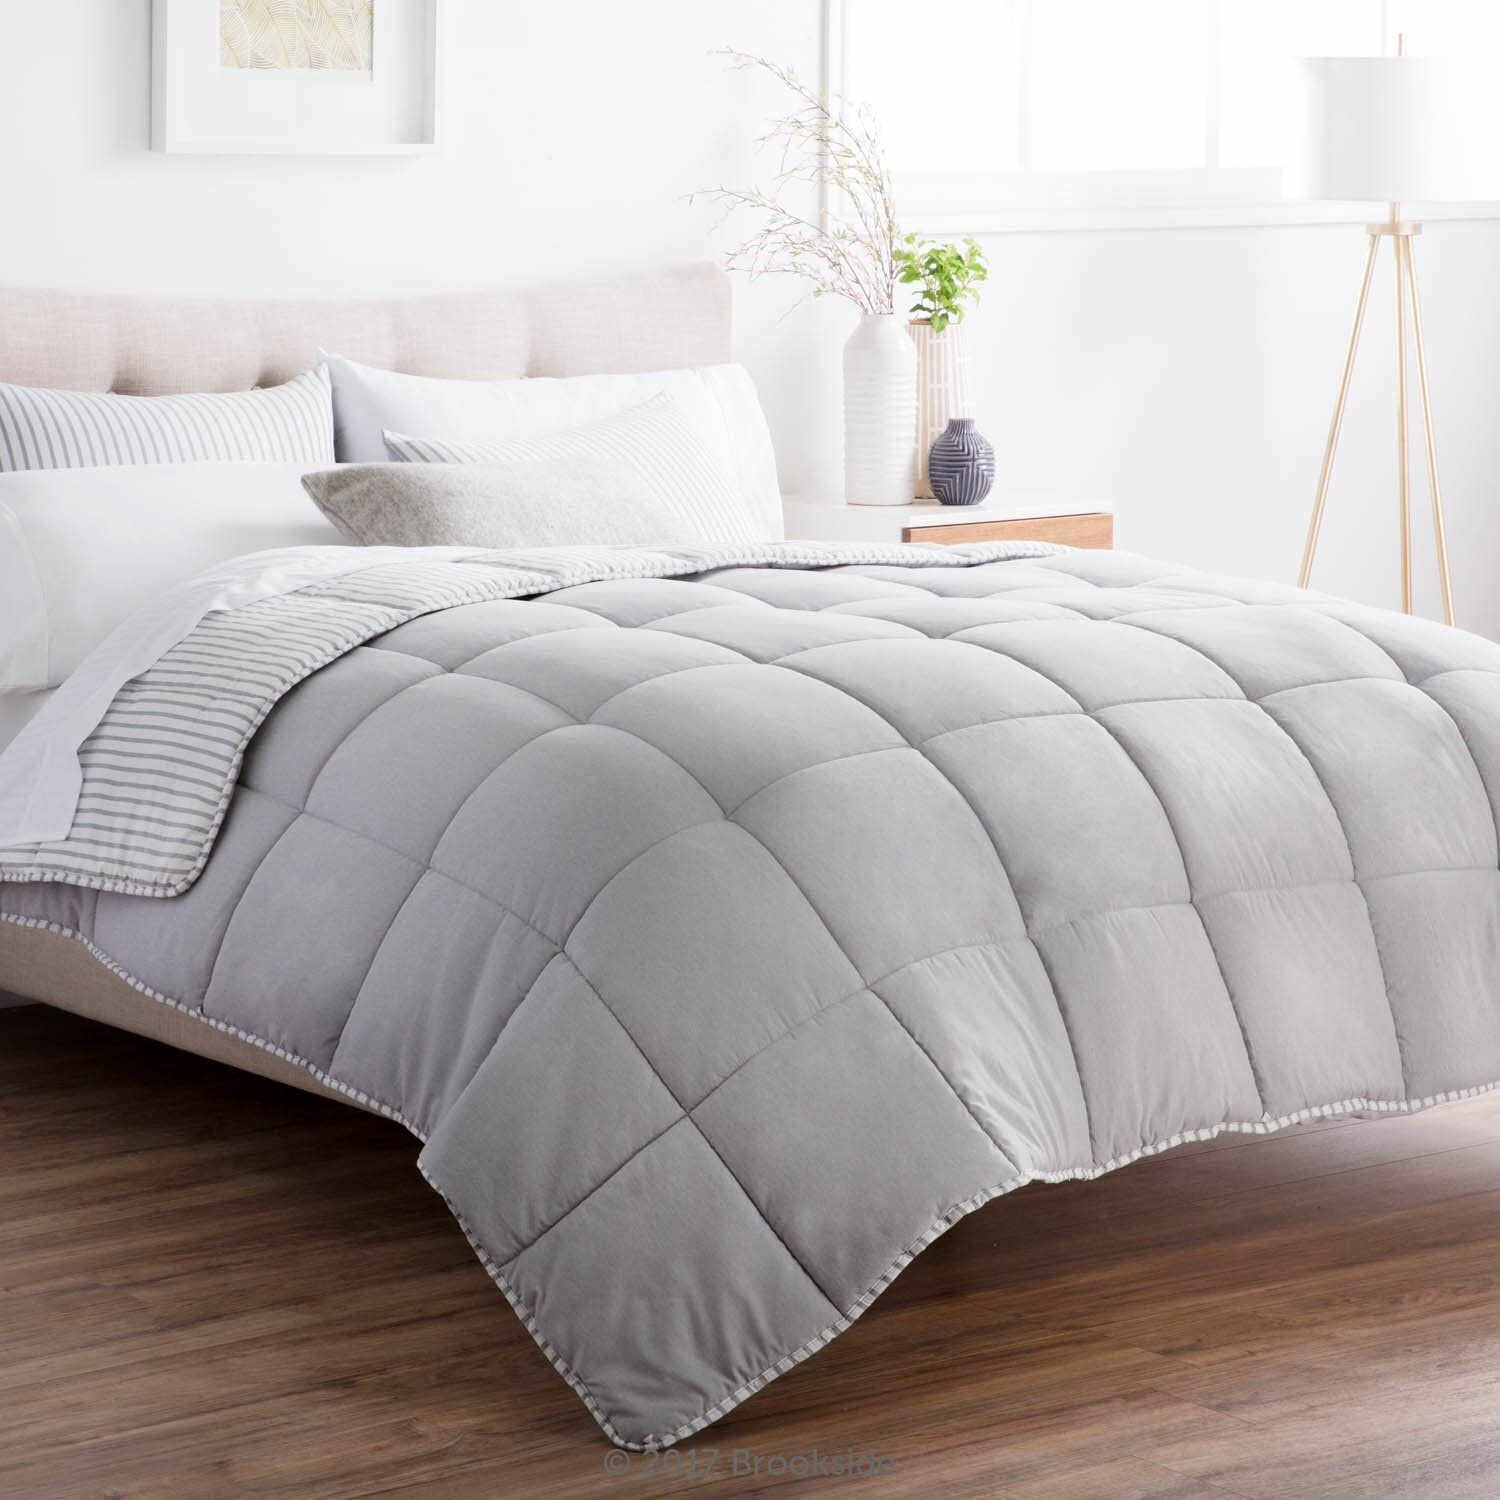
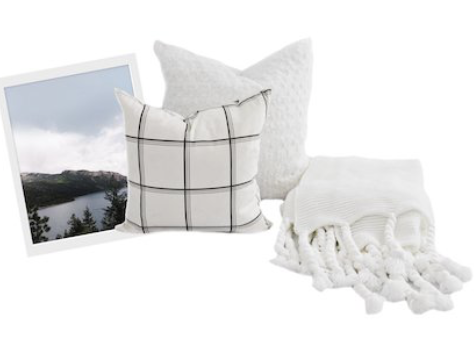
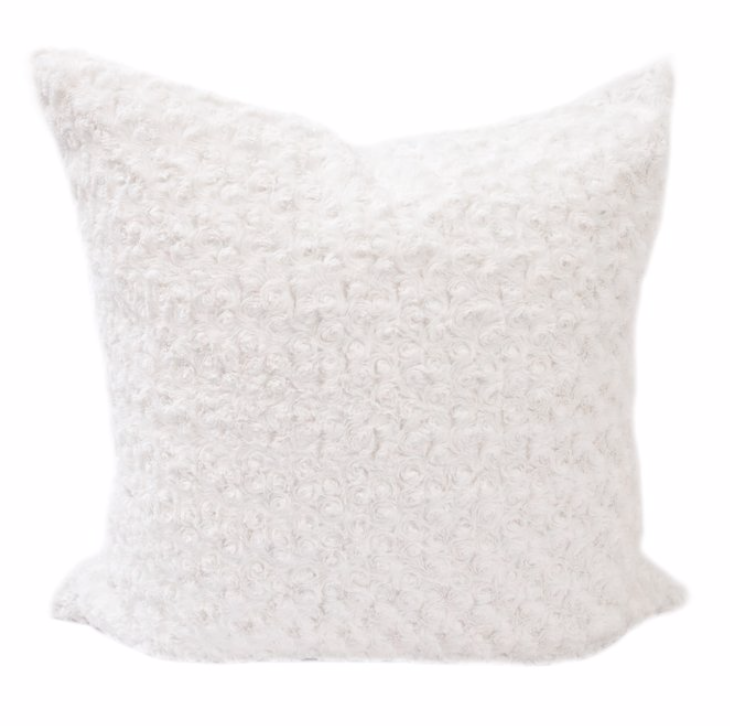
I love neutral decor and bedding, so even though the bed is gray, I decided to go with gray comforter and shams. To brighten the space up and add texture, I chose white faux fur euro shams, gray plaid pillow covers, and an ivory knit blanket from Beddy’s. These pieces are part of the Boujee Bundle. I originally ordered this bundle for my son’s room to go with his gray Beddy’s Boujee Luxe line bedding, but loved these pieces in this room too! White accent pieces are so versatile! (Use code NISSA LYNN for 15% off your entire purchase at Beddy’s.)

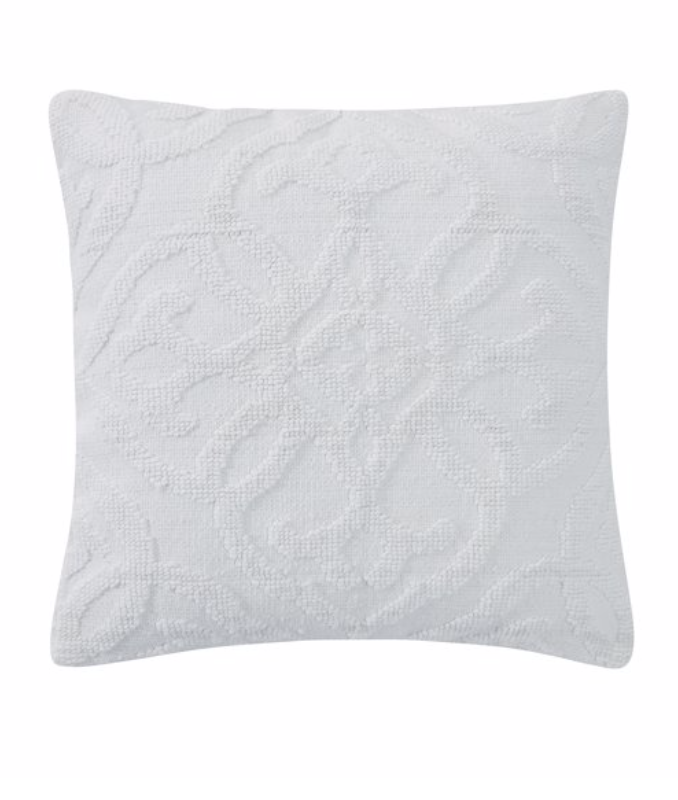
The middle pillow in the photos is my favorite because of the design and texture. Can you believe it’s from Walmart? It’s super affordable! 

The next thing I wanted to do to refresh this room was to get a new mattress. My daughter had been sleeping on an old queen mattress for some time, and a new one was definitely needed. When my husband and I upgraded to a king sized bed eight months ago, we chose the Tranquilium mattress from Bed in a Box. This mattress is made up of a 12" multilayer firm, foam construction, which feels so much better than a spring mattress. It also has a memory foam top layer making it super soft! I love it so much, I definitely wanted to get another one for my guest bedroom! (You can save money by using code NISSALYNN25 for $25 off!) #sponsored

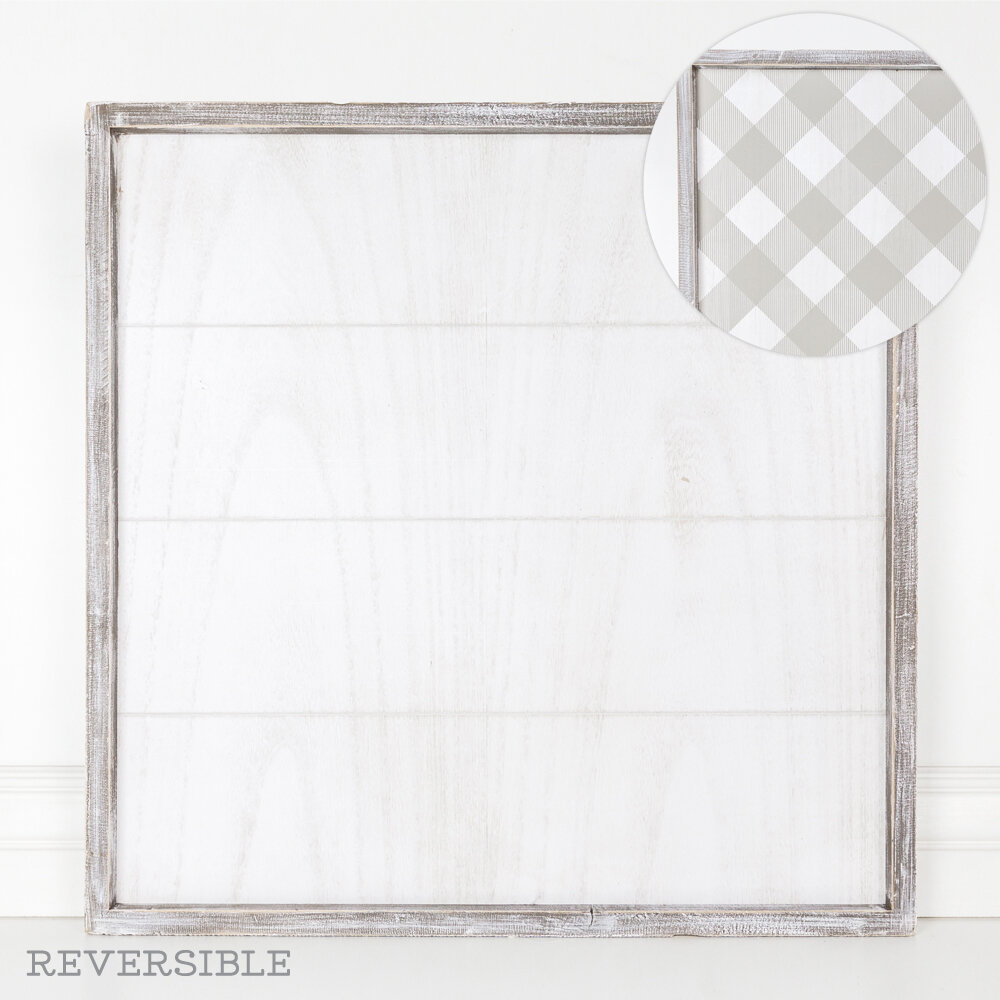
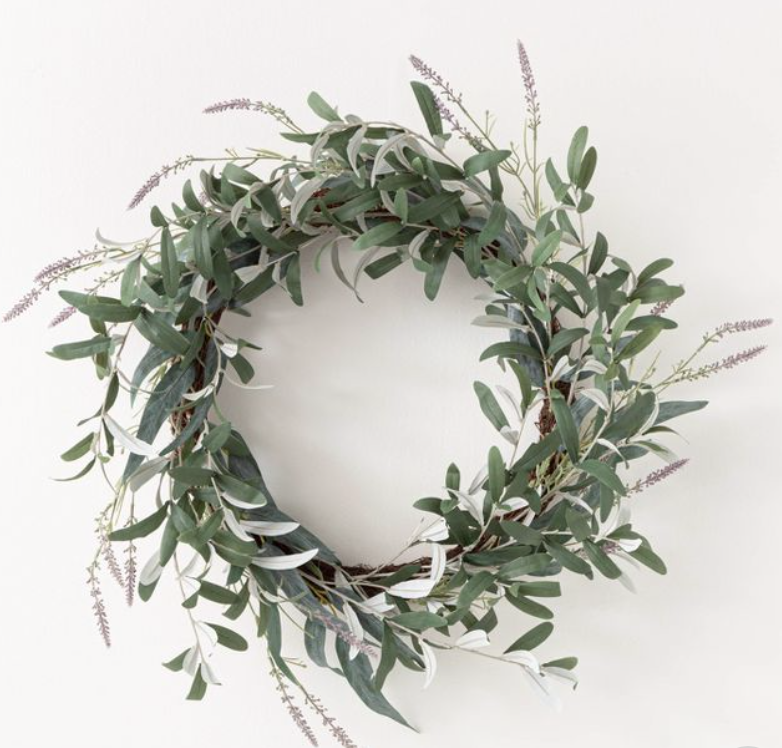
Since it is a guest room, I wanted to keep the decor to a minimum. I bought these two wildflower wreaths and placed them on top of two shiplap boards to hang above the headboard. (Use code NISSA LYNN for 10% off your entire purchase Krumpets!)

I attached a ribbon to the top hooks and attached the board to the wall with a nail. I used command strips to attach the wreath to the shiplap boards. 

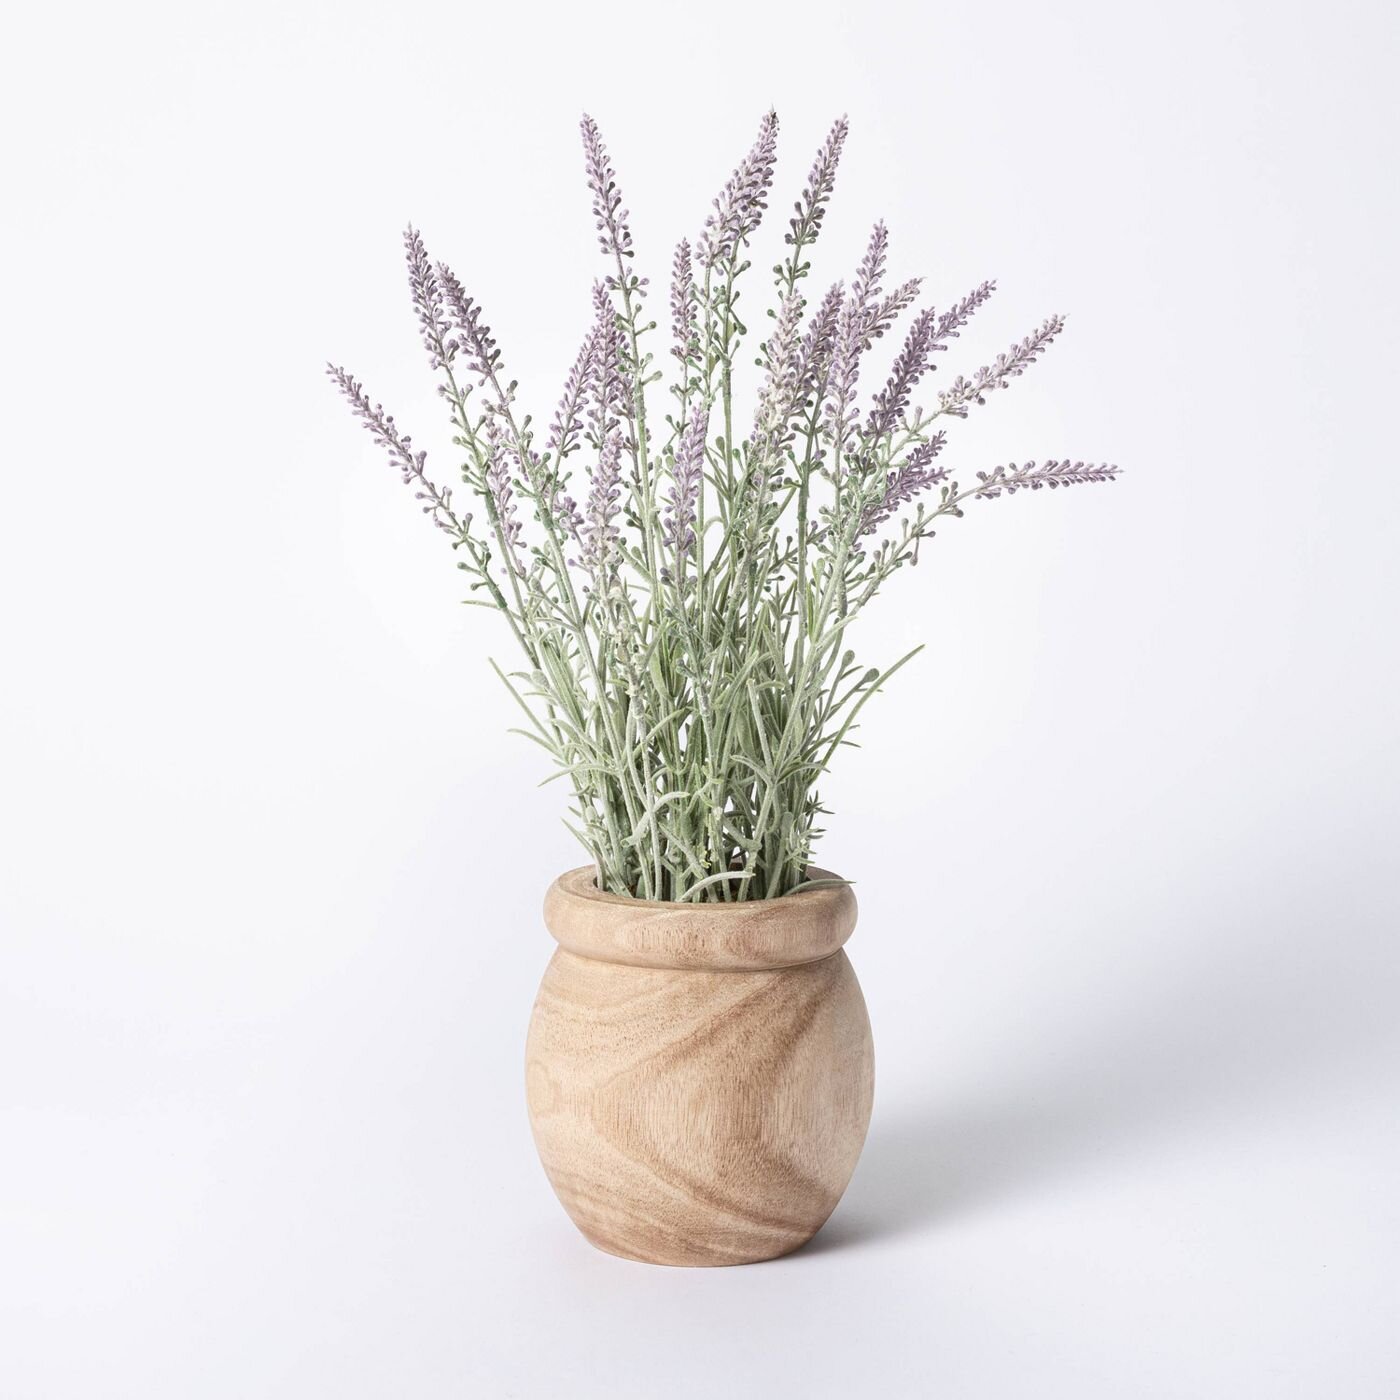
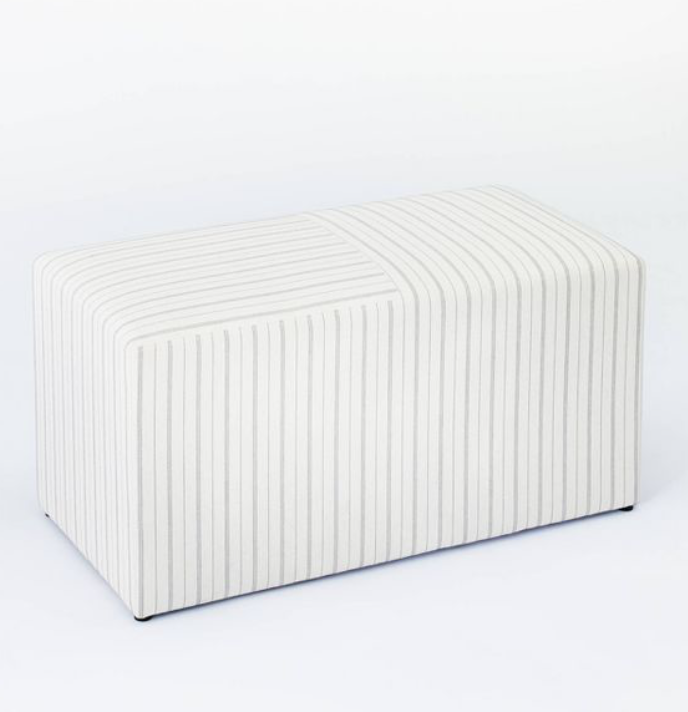
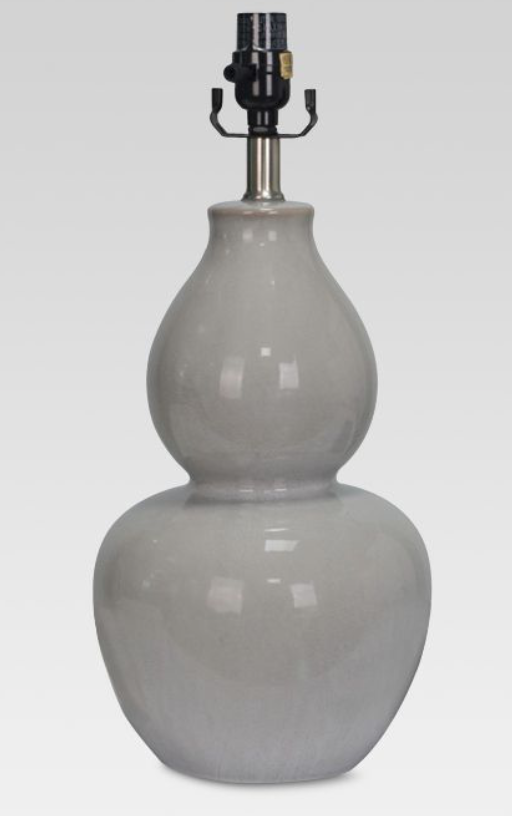
I found a pair of gray lamps that now I wish were a little taller, but I at the same time, I didn’t want them to tower over the bed and become the focal point of the rooms. I also added a fabric bench at the foot of the bed to make the room feel cozy. Then finished by adding some faux floral arrangements I found at Marshalls.

Hopefully this helps you get some ideas for refreshing a bedroom in your home. Below are the links to products or similar products I used.

New Floors Make the Best Christmas Gift!

Christmas came early with this new flooring from Select Surfaces! I keep looking around and can’t believe this is my home! ❤️ This new laminate flooring is a game changer! Everything went so smoothly from receiving the planks, to the removal of the carpet and final installation. (Sponsored)

F80626B3-4867-4DBB-8C77-4BA66F70D53C.jpeg

After living in our home for nine years, the builder grade carpet had definitely lived its life and needed to go! We planned on replacing the carpet in the dining room, living room, and master bedroom with wood flooring. But first I needed to explore options. I did a lot of research on different flooring types and materials.

We had some specific things we were looking for in new floors: 

-It had to be durable - because we have five children and lots of traffic. 

-It also needed be be waterproof/water resistant to protect against spills.

-We needed to be able to install it ourselves. 

-And I wanted a beautiful, timeless shade of laminate wood color. 


Select Surfaces met all of these requirements hands down, plus they offer a limited lifetime residential warranty!

7449C5DA-15C3-4263-AB16-931B481A9972.jpeg

You can purchase the flooring from your local Sam’s Club or order it online, and then pick it up at Sam’s Club.

We installed this over a concrete subfloor so after we removed the old carpet and pad, we put down a plastic moisture barrier to protect the laminate from any moisture that may transfer from the concrete. You can learn more about prepping your subfloor at here.

DE7311A7-56EF-4BB6-9706-6AEFF4136DA5.jpeg

Once we started installing we were amazed at how great it was. Select Surfaces flooring uses their Speedloc™ installation system which makes this laminate flooring extremely easy to install. The Speedloc™ system uses a tongue and groove joint that fits right together. Sometimes you need to wiggle the planks a bit to get them seated, but after they click together they hold very well.

0F76F269-E095-4BA0-BE8C-74CAE261CA26.jpeg

Here are some things I will recommend. First, get a saw blade specifically for cutting laminate. We couldn’t find the right size blade locally so we used a new fine tooth finish blade. It worked great for most of the project, but by the end it was cutting very slow and we replaced it before doing the transition moldings.

Second, a battery powered hand-held jig saw is very helpful for notching out the laminate to go around corners or any other molding or trim you may have in your room.

3FE980E6-024D-4E0D-A1E6-0FFDB445C7CD.jpeg

Third, do your research! There is a lot of good info here and more is available all over the internet. Especially if you will be going through any doorways, as the undercutting of the door frames is a different process.

1914B1F5-2BAC-4089-9152-FA338E8DBFAD.jpeg
2E92592F-1F7E-46AD-9314-B164FA48FAC0.jpeg

I had friends of ours that saw my Instagram stories of us installing the floors and they had to come over to check them out. They were in awe and couldn’t believe how amazing these laminate planks looked! They’re ordering their flooring samples from Select Surfaces next week!! 

I can’t even begin to tell you how impressed I am with the flooring from Select Surfaces! Definitely check them out for your flooring needs!

15FD07BE-6308-4E95-8698-A588CE14FF5B.jpeg

Fall is in the Air!

My living room is all decorated for fall! I had fun using lots of different textures in my coffee table decor, while bringing in pops of traditional fall colors. Do you enjoy decorating for fall?🍁🍂🍁

1E96E6EF-80E5-444C-9A99-980E33ABFF17.jpeg

Can you tell that this fireplace garland is actually three different garlands put together? 🍁 I couldn’t find a large garland anywhere so I used two garlands of one kind and a different one for the center, then put them all together. I nailed in two tiny white nails in the front of the mantle to keep the garlands from falling forward. Then I also added faux leaves, flowers and beaded stems to fill in empty spaces and to make the three garlands look like one.

garland.jpg

This photo below might be one of my favorite photos I’ve ever taken. To me this photo represents fall, with all its’ wide range of colors and natural elements. For the center police I used a lot of wood texture. I paired the mango wood candlesticks with the painted white word pumpkins, then added fall stems to fill in the empty areas on the tray. (The taupe and orange pumpkins are from Hobby Lobby.)

This white tray is a home decor staple in my home. I use it for almost every season because the white goes with everything, plus it’s the perfect size for most coffee tables. You can find it here.

This white tray is a home decor staple in my home. I use it for almost every season because the white goes with everything, plus it’s the perfect size for most coffee tables. You can find it here.

I love what this tag says. “Grateful.” To me this tag says one of the most important virtues in life. To me, being truly grateful for blessings in one’s life will only bring true happiness. When I saw this pumpkin at the store, I knew I had to get it and take an uncles photo of it. I also love the pumpkin because it’s so interesting with the carved indents on it. It make it so interesting, and interesting pieces are great in decorating.

greatful.jpg

I love the look of candlesticks, but I don’t lichee mess of real candles! Flawless candles were one of the best inventions ever! I always purchase mine here.

Notice the white leaf stamp on the orange pumpkin? I like the muted orange next to the contrasting deep red beads.

Notice the white leaf stamp on the orange pumpkin? I found it fun to mic the muted orange next to the contrasting deep red beads.

fall frech chair.jpg
The cute orange pillow, white wood pumpkins and Harvest sign are from Krumpet’s Home Decor 🍁 Use code NISSALYNN for 10% off your order plus free shipping on orders over $25

The cute orange pillow, white wood pumpkins and Harvest sign are from Krumpet’s Home Decor 🍁 Use code NISSALYNN for 10% off your order plus free shipping on orders over $25

You don’t have to buy new seasonal decor every year. I always use decor from previous years, and then buy a couple new pieces each year. In fact,this autumn sign I’ve had for over thirteen years. I bought it from one of my friend’s boutique, and it’s 100% hand made.

autmn sign.jpg
krumpets credenza.jpg
fall sign.jpg
fall different angle.jpg

Hope you enjoyed a little tour of my fall living room! If you have any questions feel free to email me!

Click on the links below to shop my home. And remember, you can always shop my posts by following me, @nissalynninteriors, on the LIKEtoKNOW.it shopping app @liketoknow.it #liketkit http://liketk.it/2XcfP #LTKhome @liketoknow.it.home