DIY Thanksgiving Tablescape with American Farmhouse Style Magazine

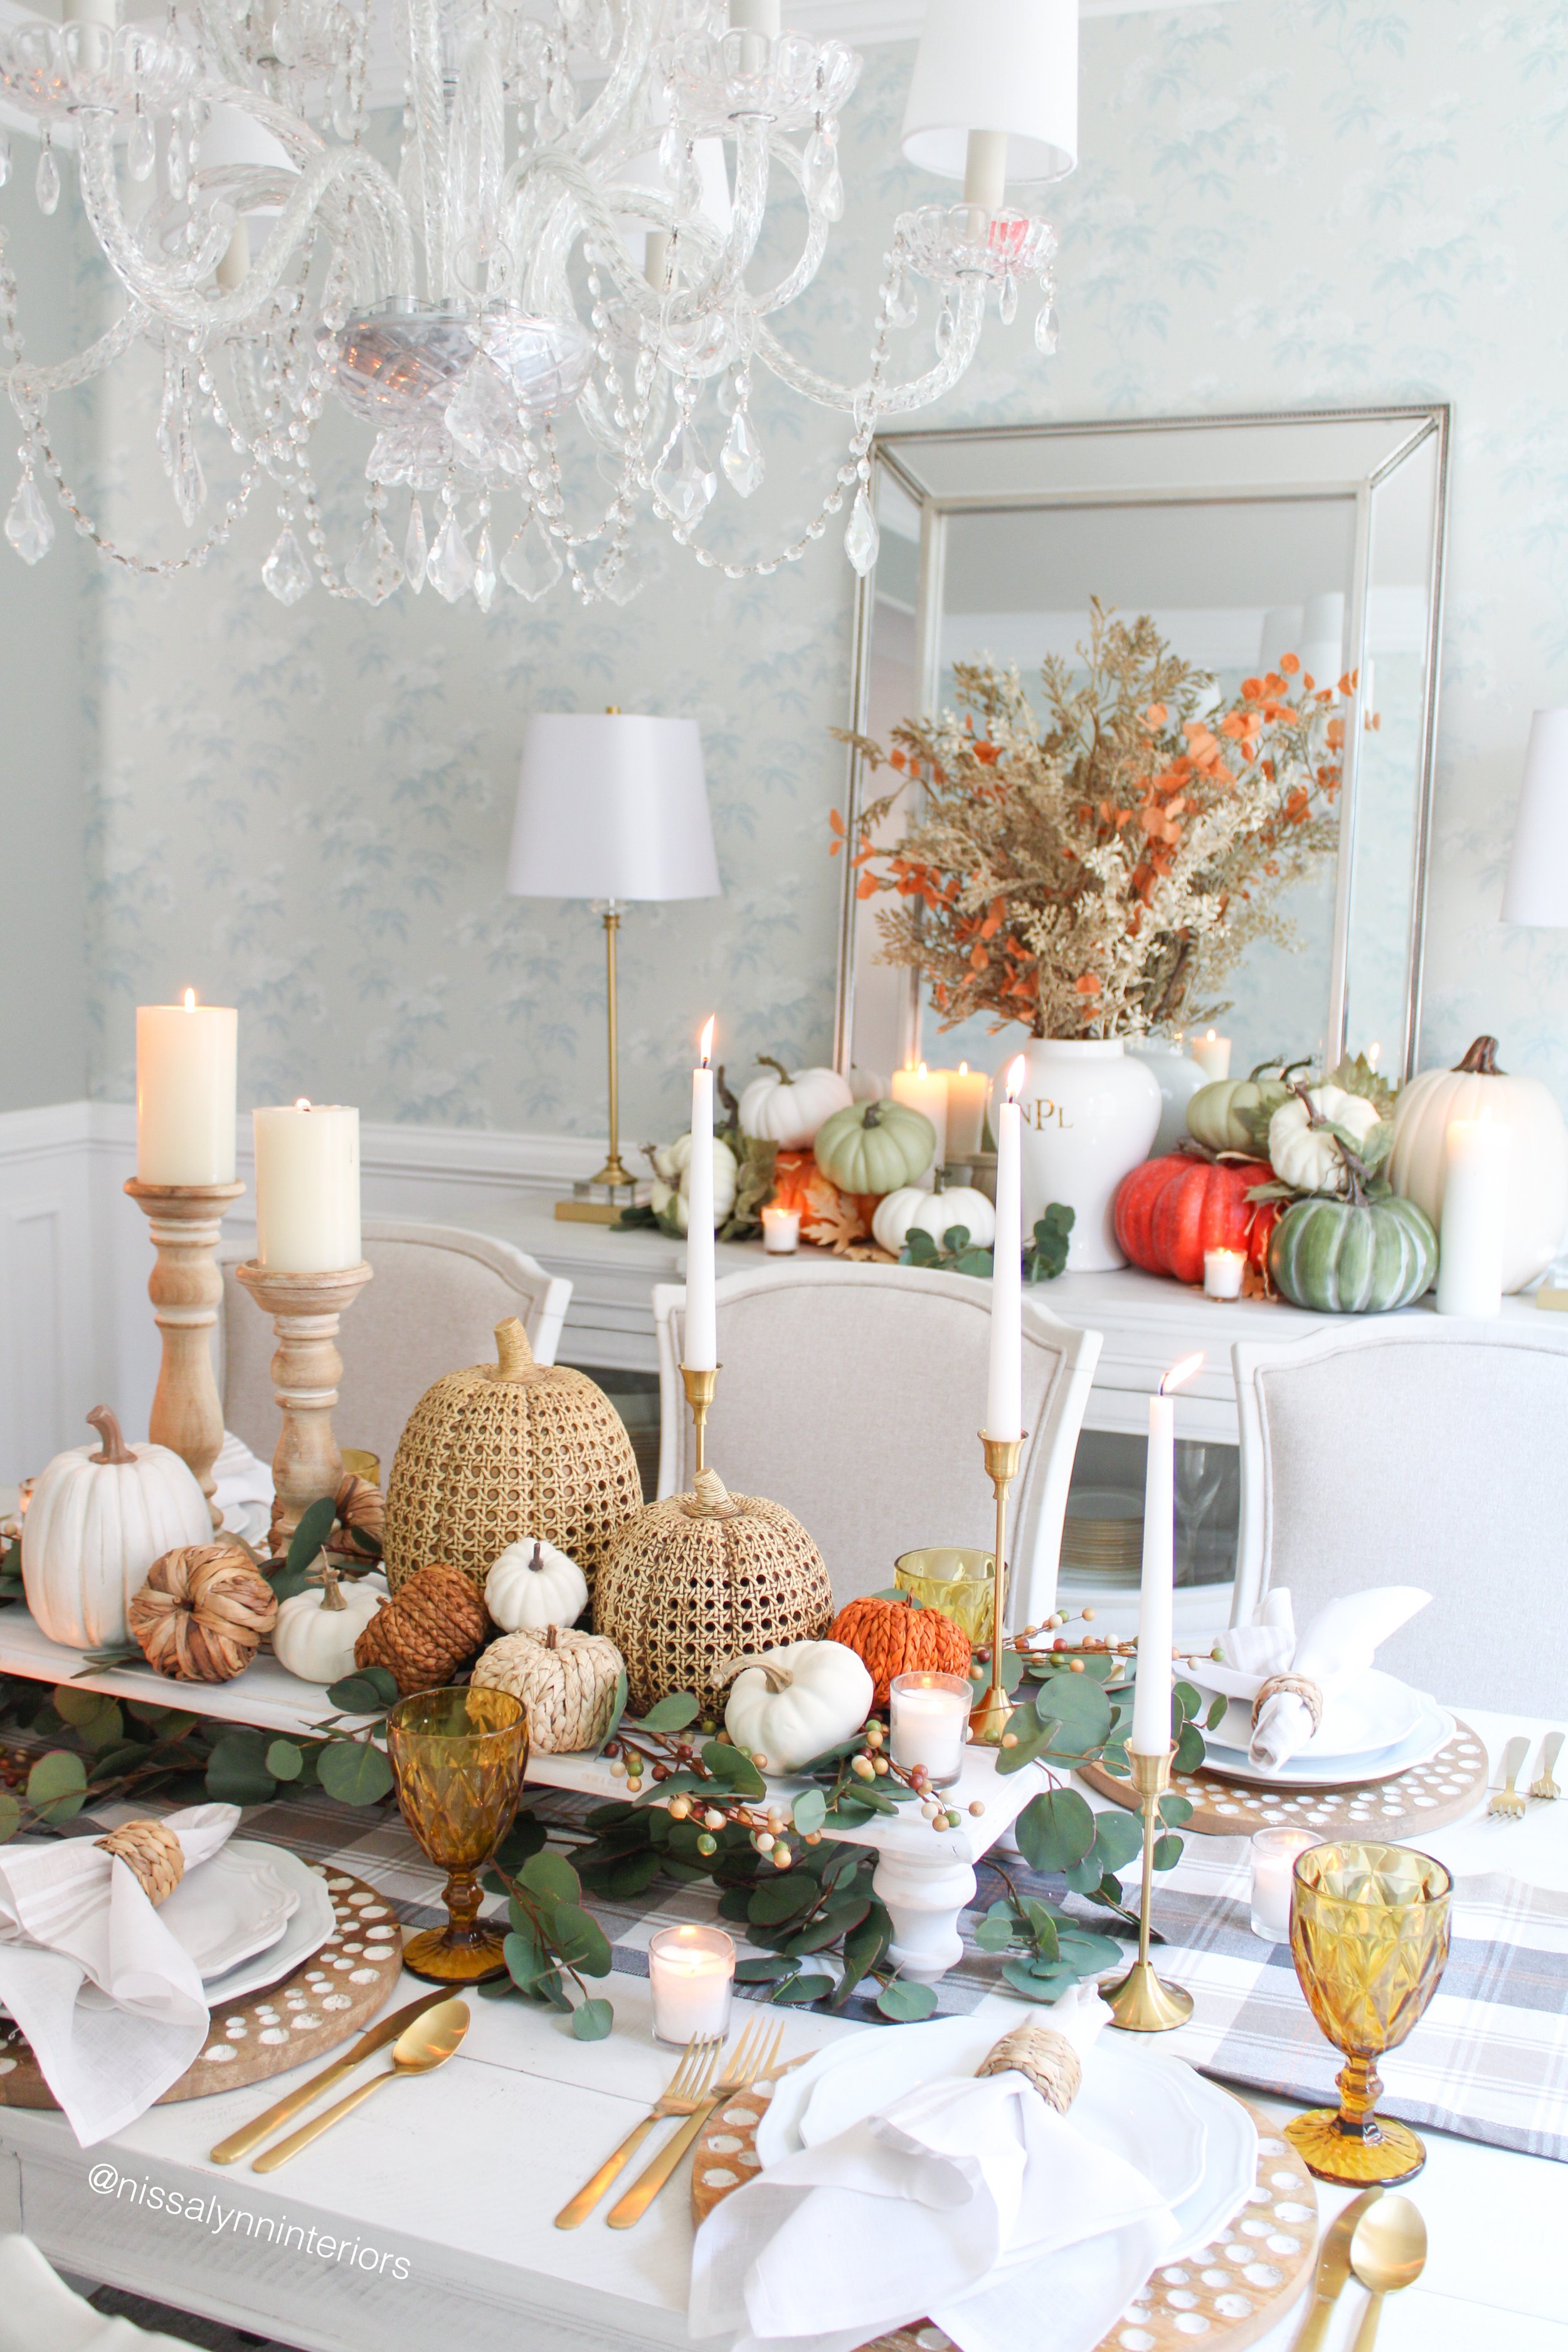
Last year after a nation wide search with thousands of entries, I was honored to selected one of the top four finalists for the 2022 American Farmhouse Style Magazine Ambassador contest. Below is the DIY table riser I built for the final project. You can view the magazine article here.

As the seasons change, fall ushers in cool crisp nights, falling leaves, pumpkin decor, cider, and cozy sweaters. 

A Time for Gratitude

Thanksgiving will soon be here and families will gather around a loved one’s kitchen or dining room table to celebrate the season of gratitude and renewed blessings. Creating a fun and festive thanksgiving tablescape is my way to welcome family and friends into my home and help make the holiday feel special.

DIY Centerpiece for the Thanksgiving Tablescape

I love to think of an empty table as a canvas, and the pieces as the paint. Creating a Thanksgiving tablescape can be a wonderful way to be creative and expressive. I always start with the centerpiece and make it the focal point of the table.

My table is just over eight feet long, so I wanted to use an extra long elevated centerpiece. But I couldn’t find one in the stores so I decided to make my own! I went to my local hardware store and bought a large board and some furniture feet.

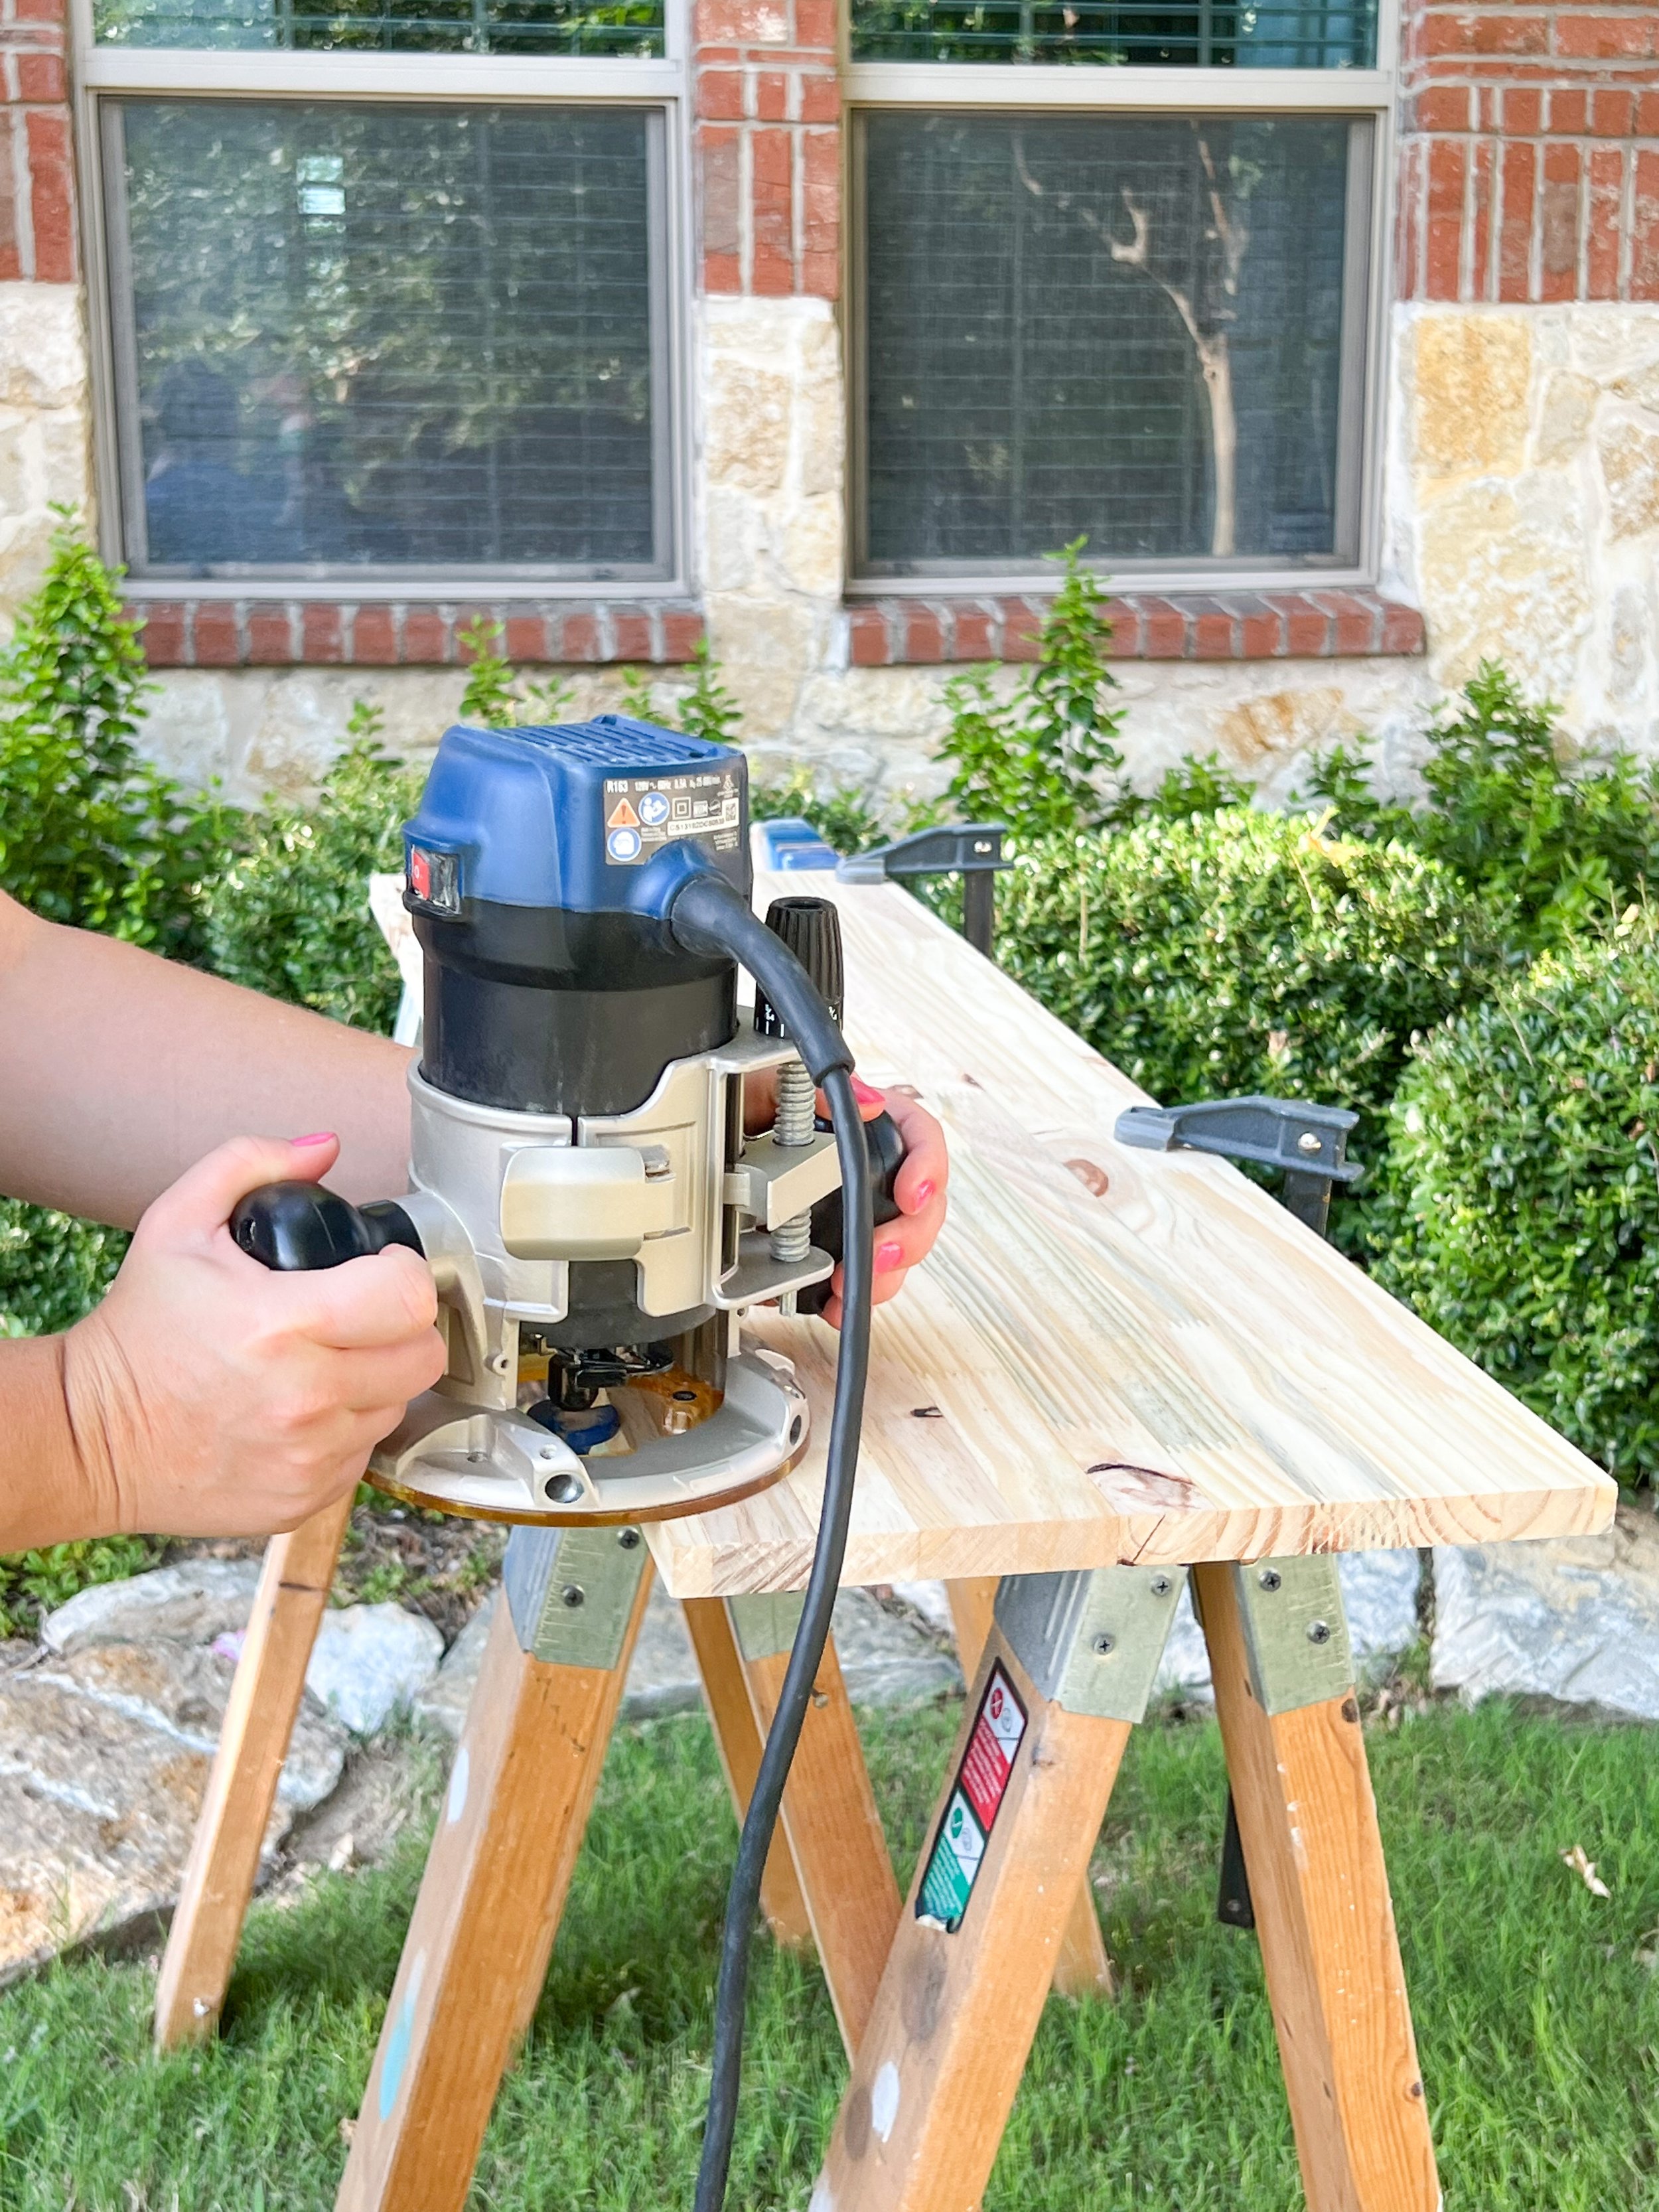
Once home, I gathered the materials and planned out my next steps. To make this centerpiece a bit more interesting, I used a router to create a decorative edge. If you don’t have a router, or want a simpler technique, just use sandpaper to round off the corners for a smooth finished look.

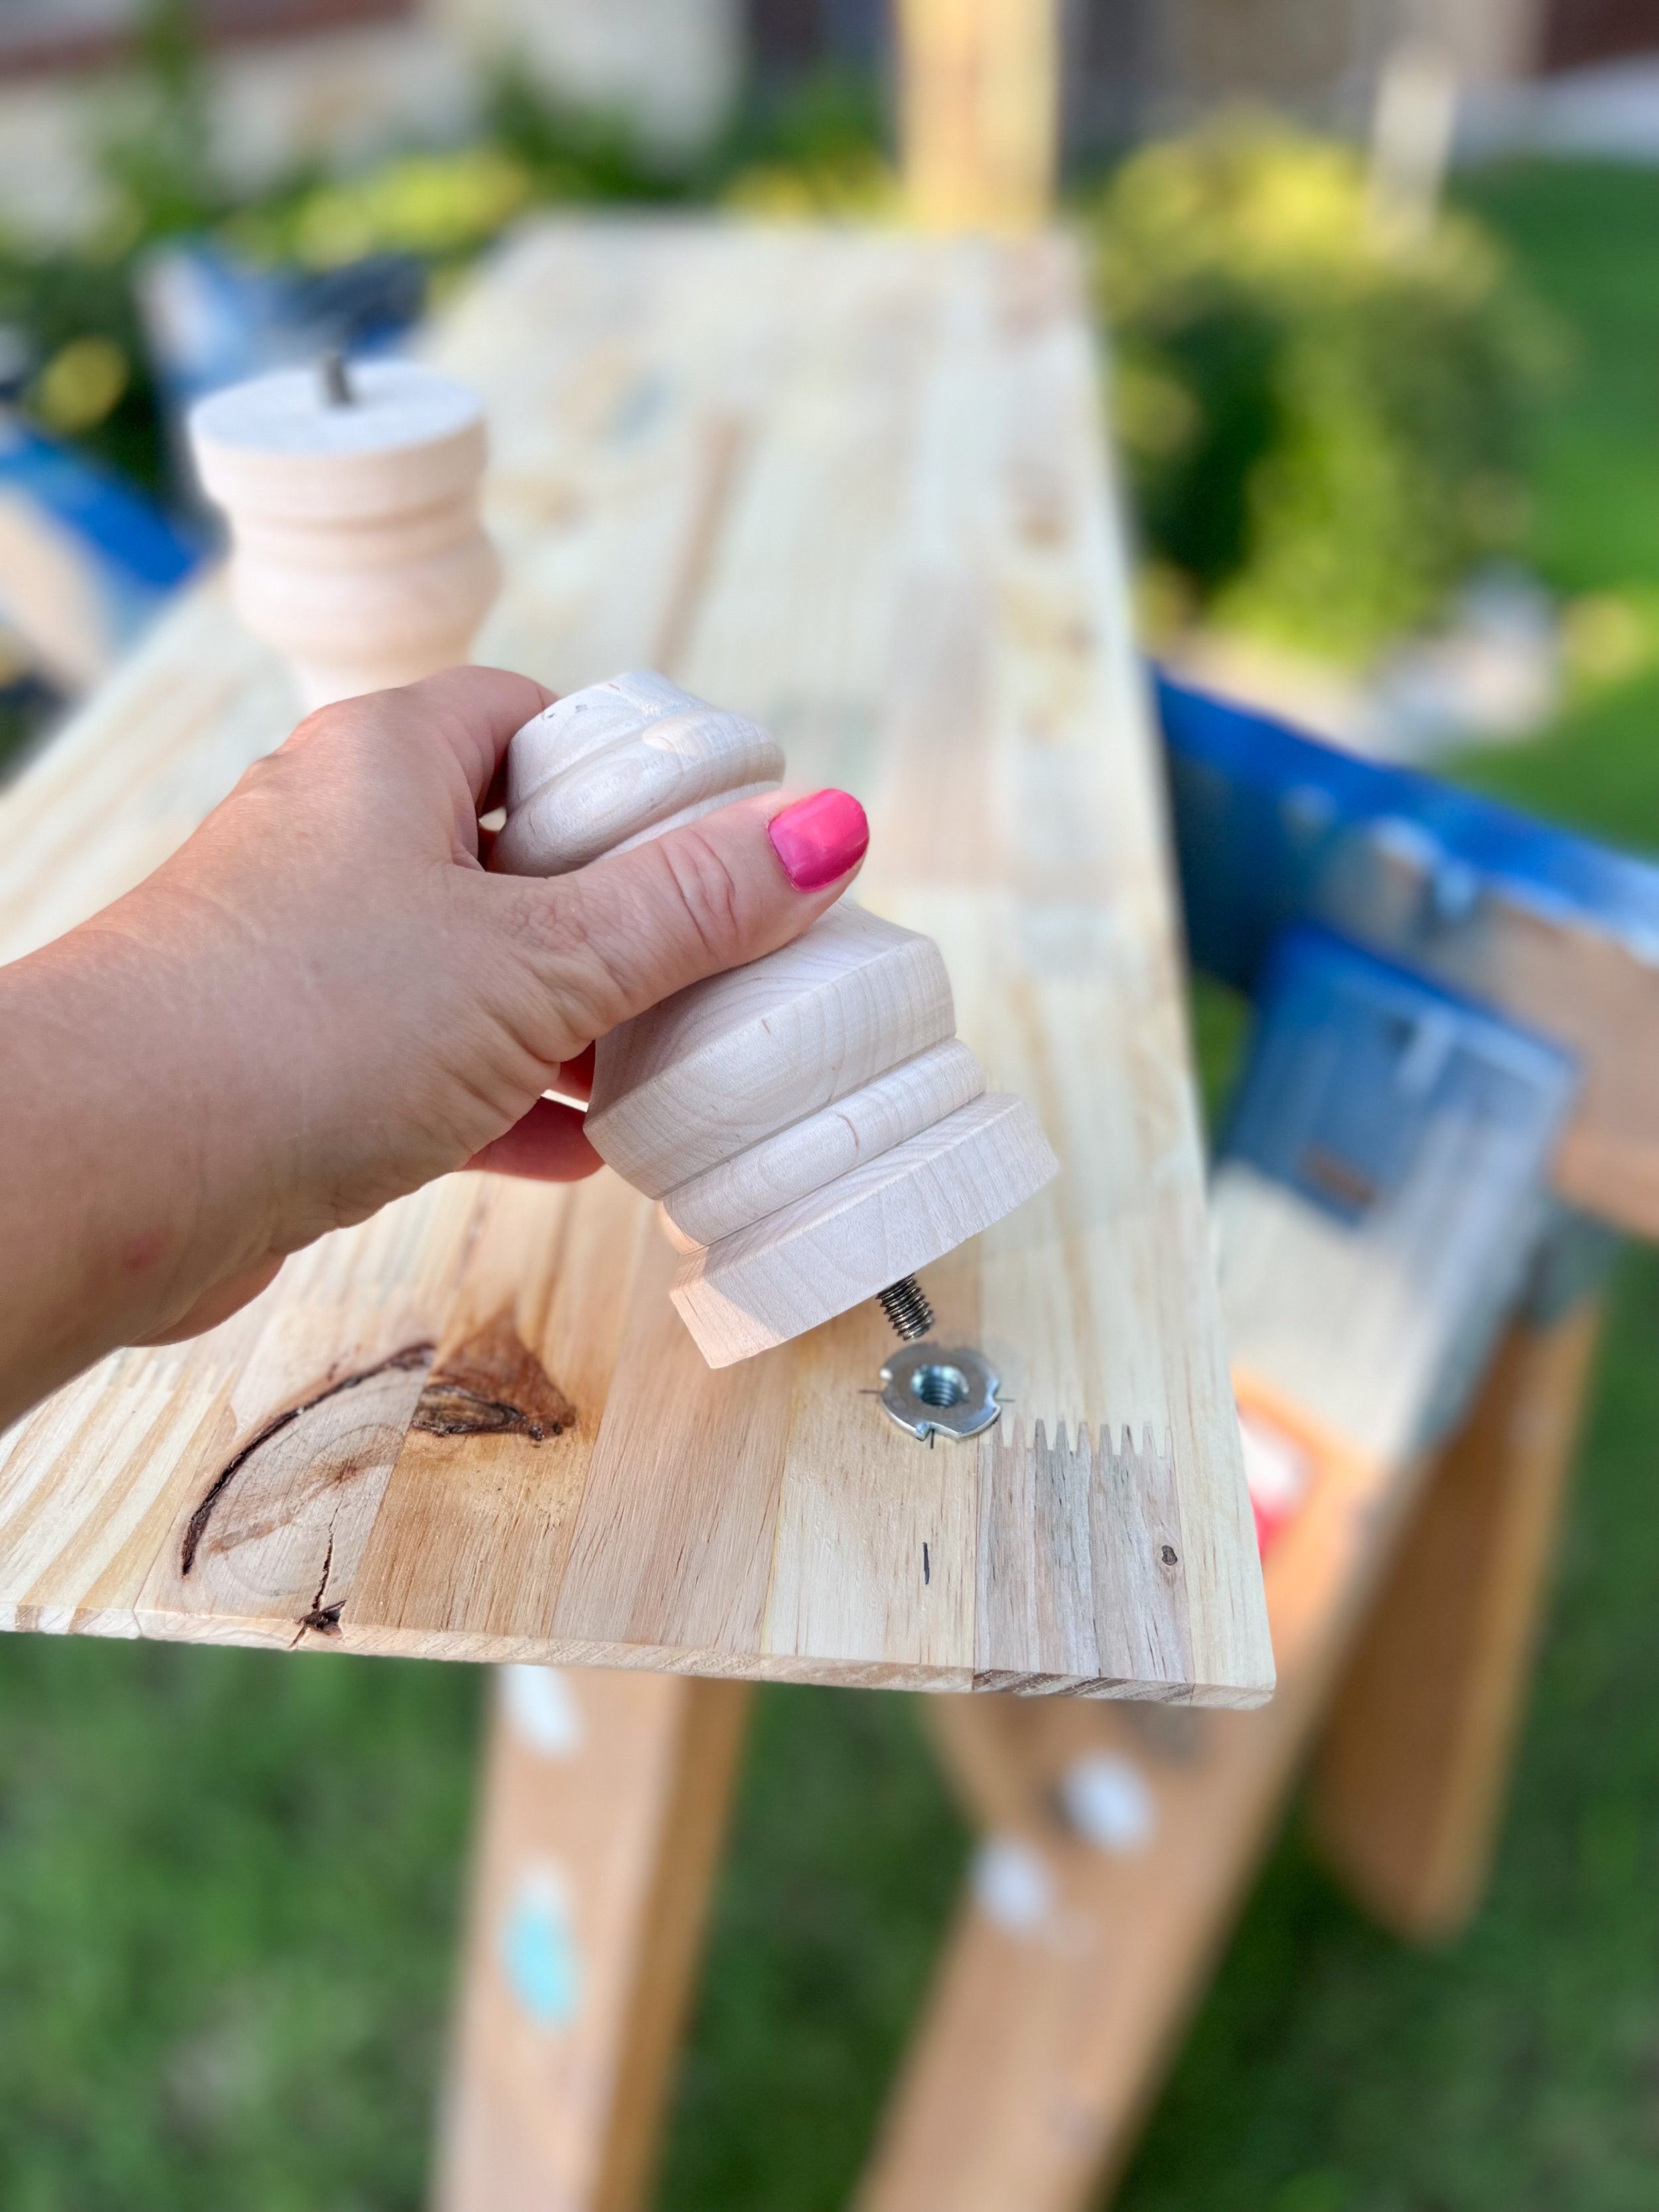
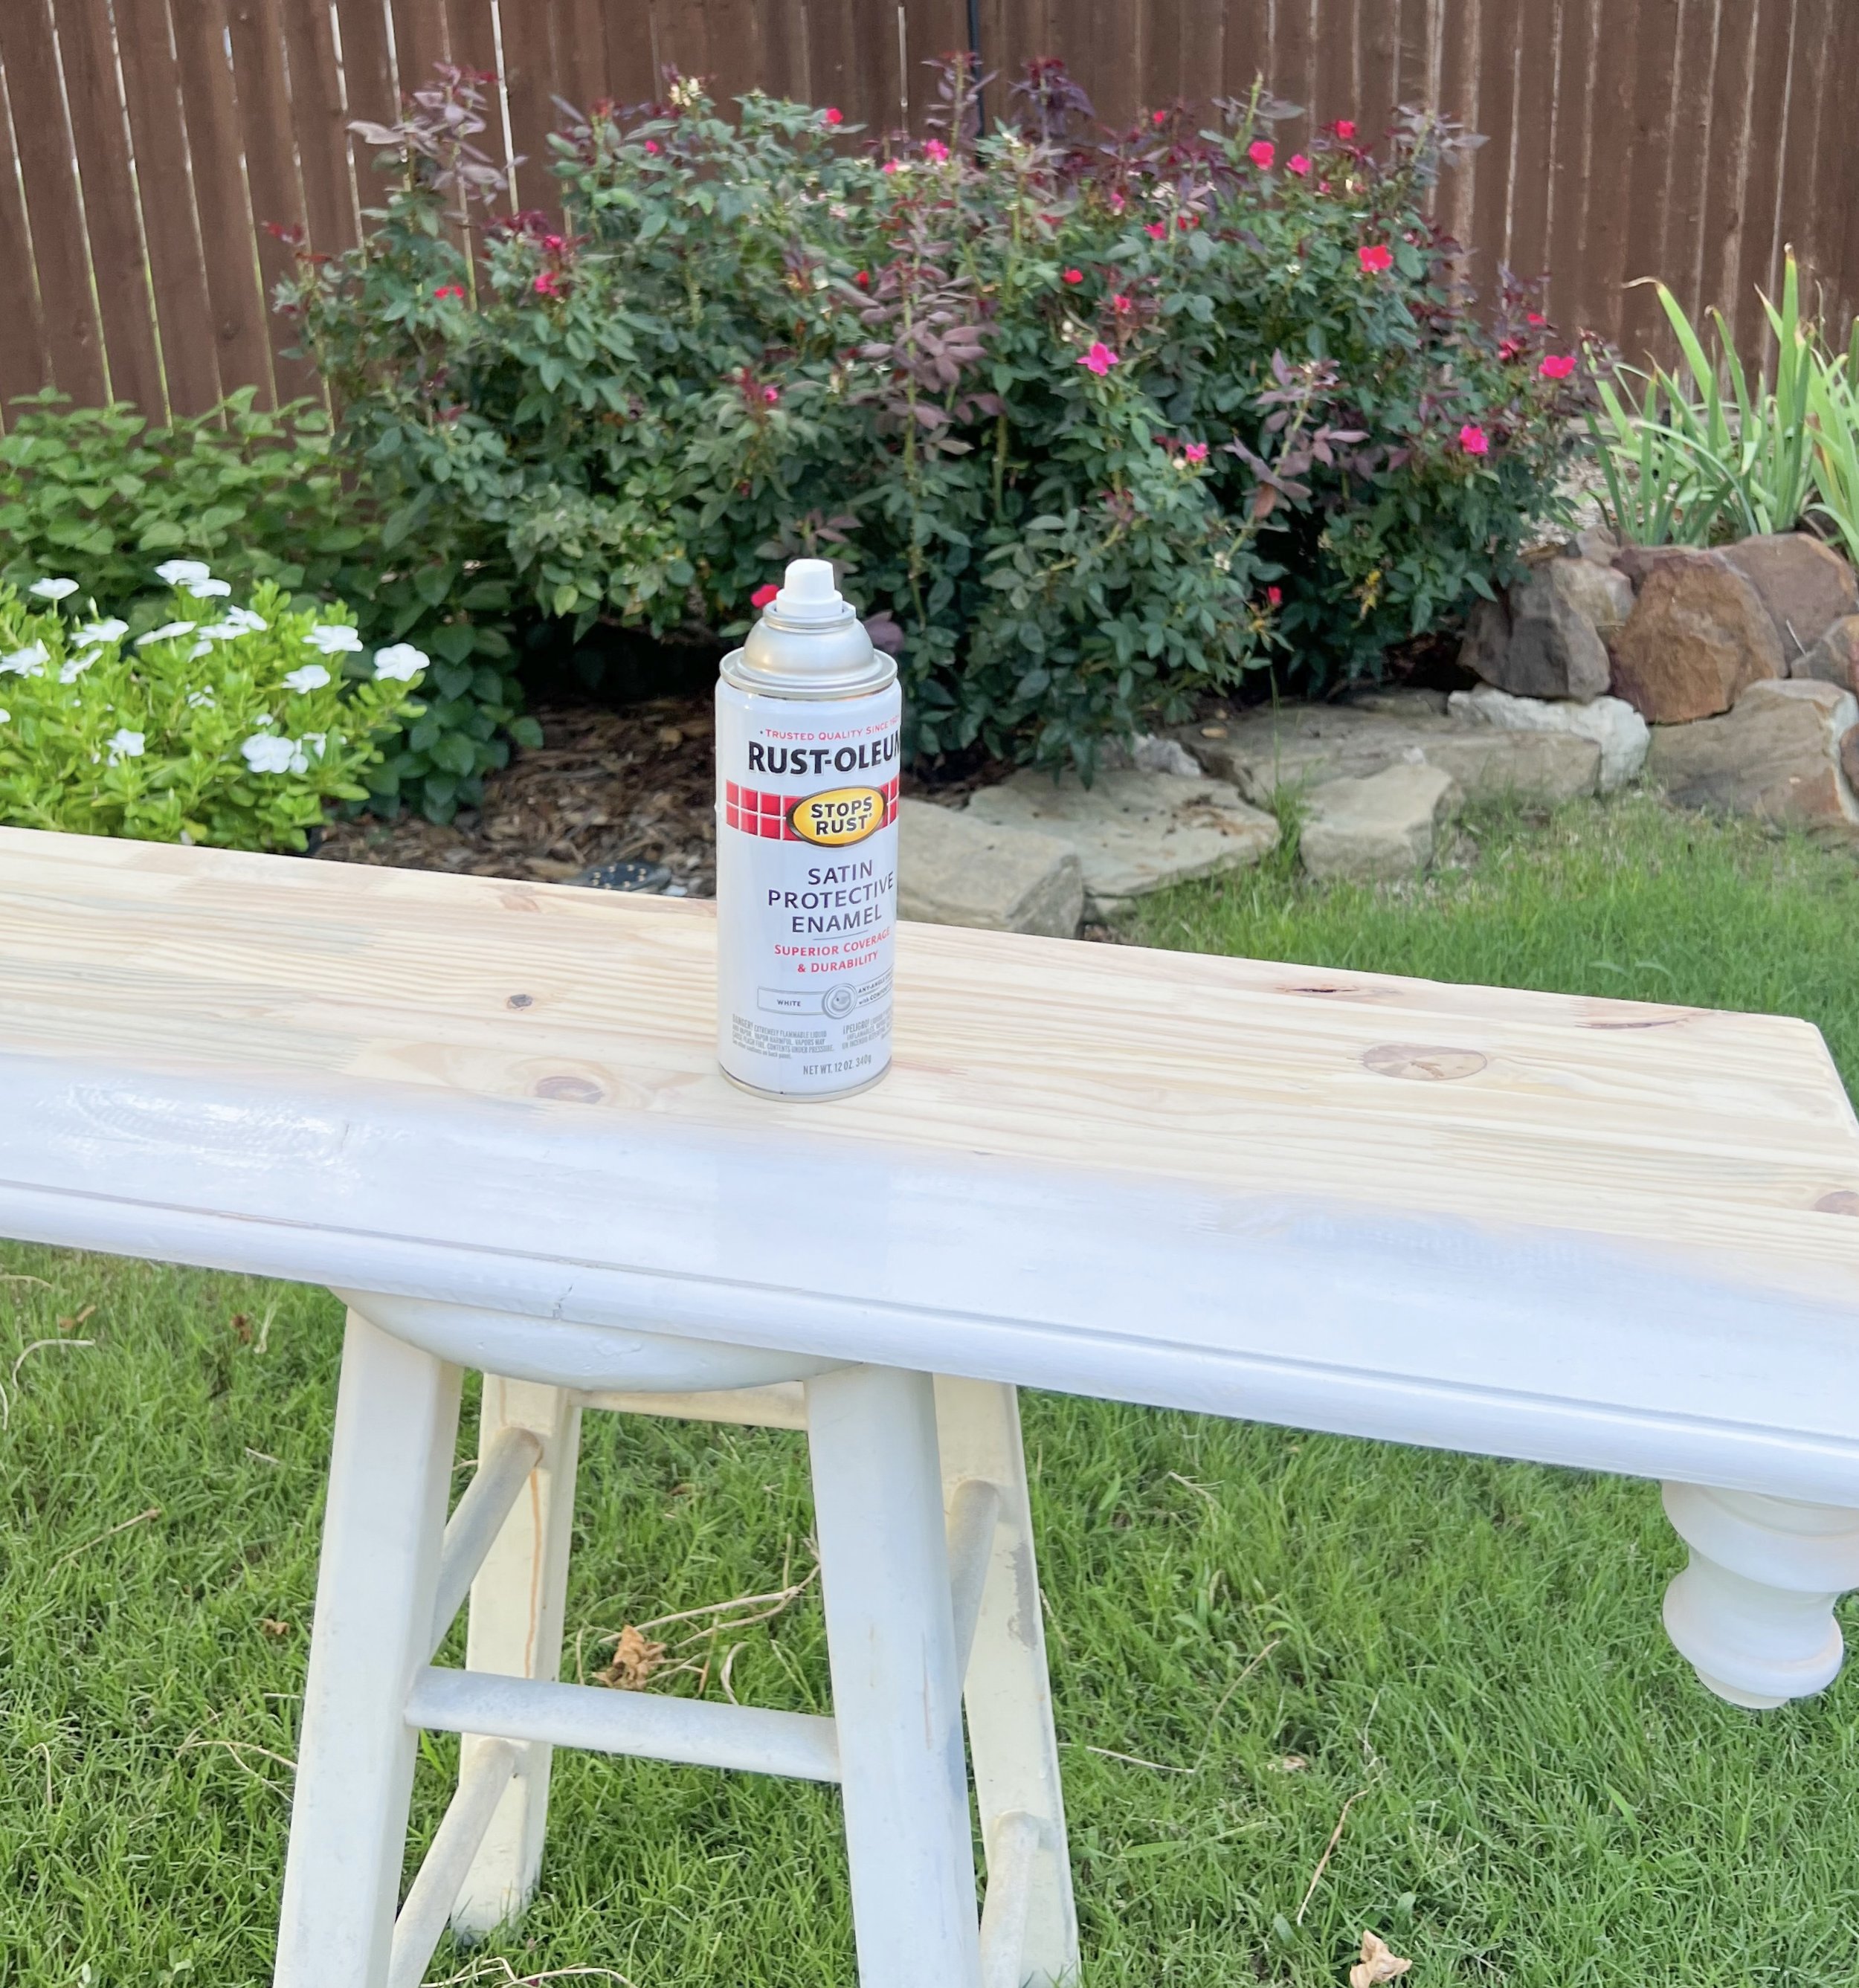
Afterwards, I drilled holes in one side of the board and hammered in threaded plugs to attach the feet. With the feet attached, it was time to paint. I chose a satin white spray paint for a quick durable finish. After the paint dried I went back over it with sandpaper to create a rustic texture for my Thanksgiving tablescape.

 Creating Coziness with Decor

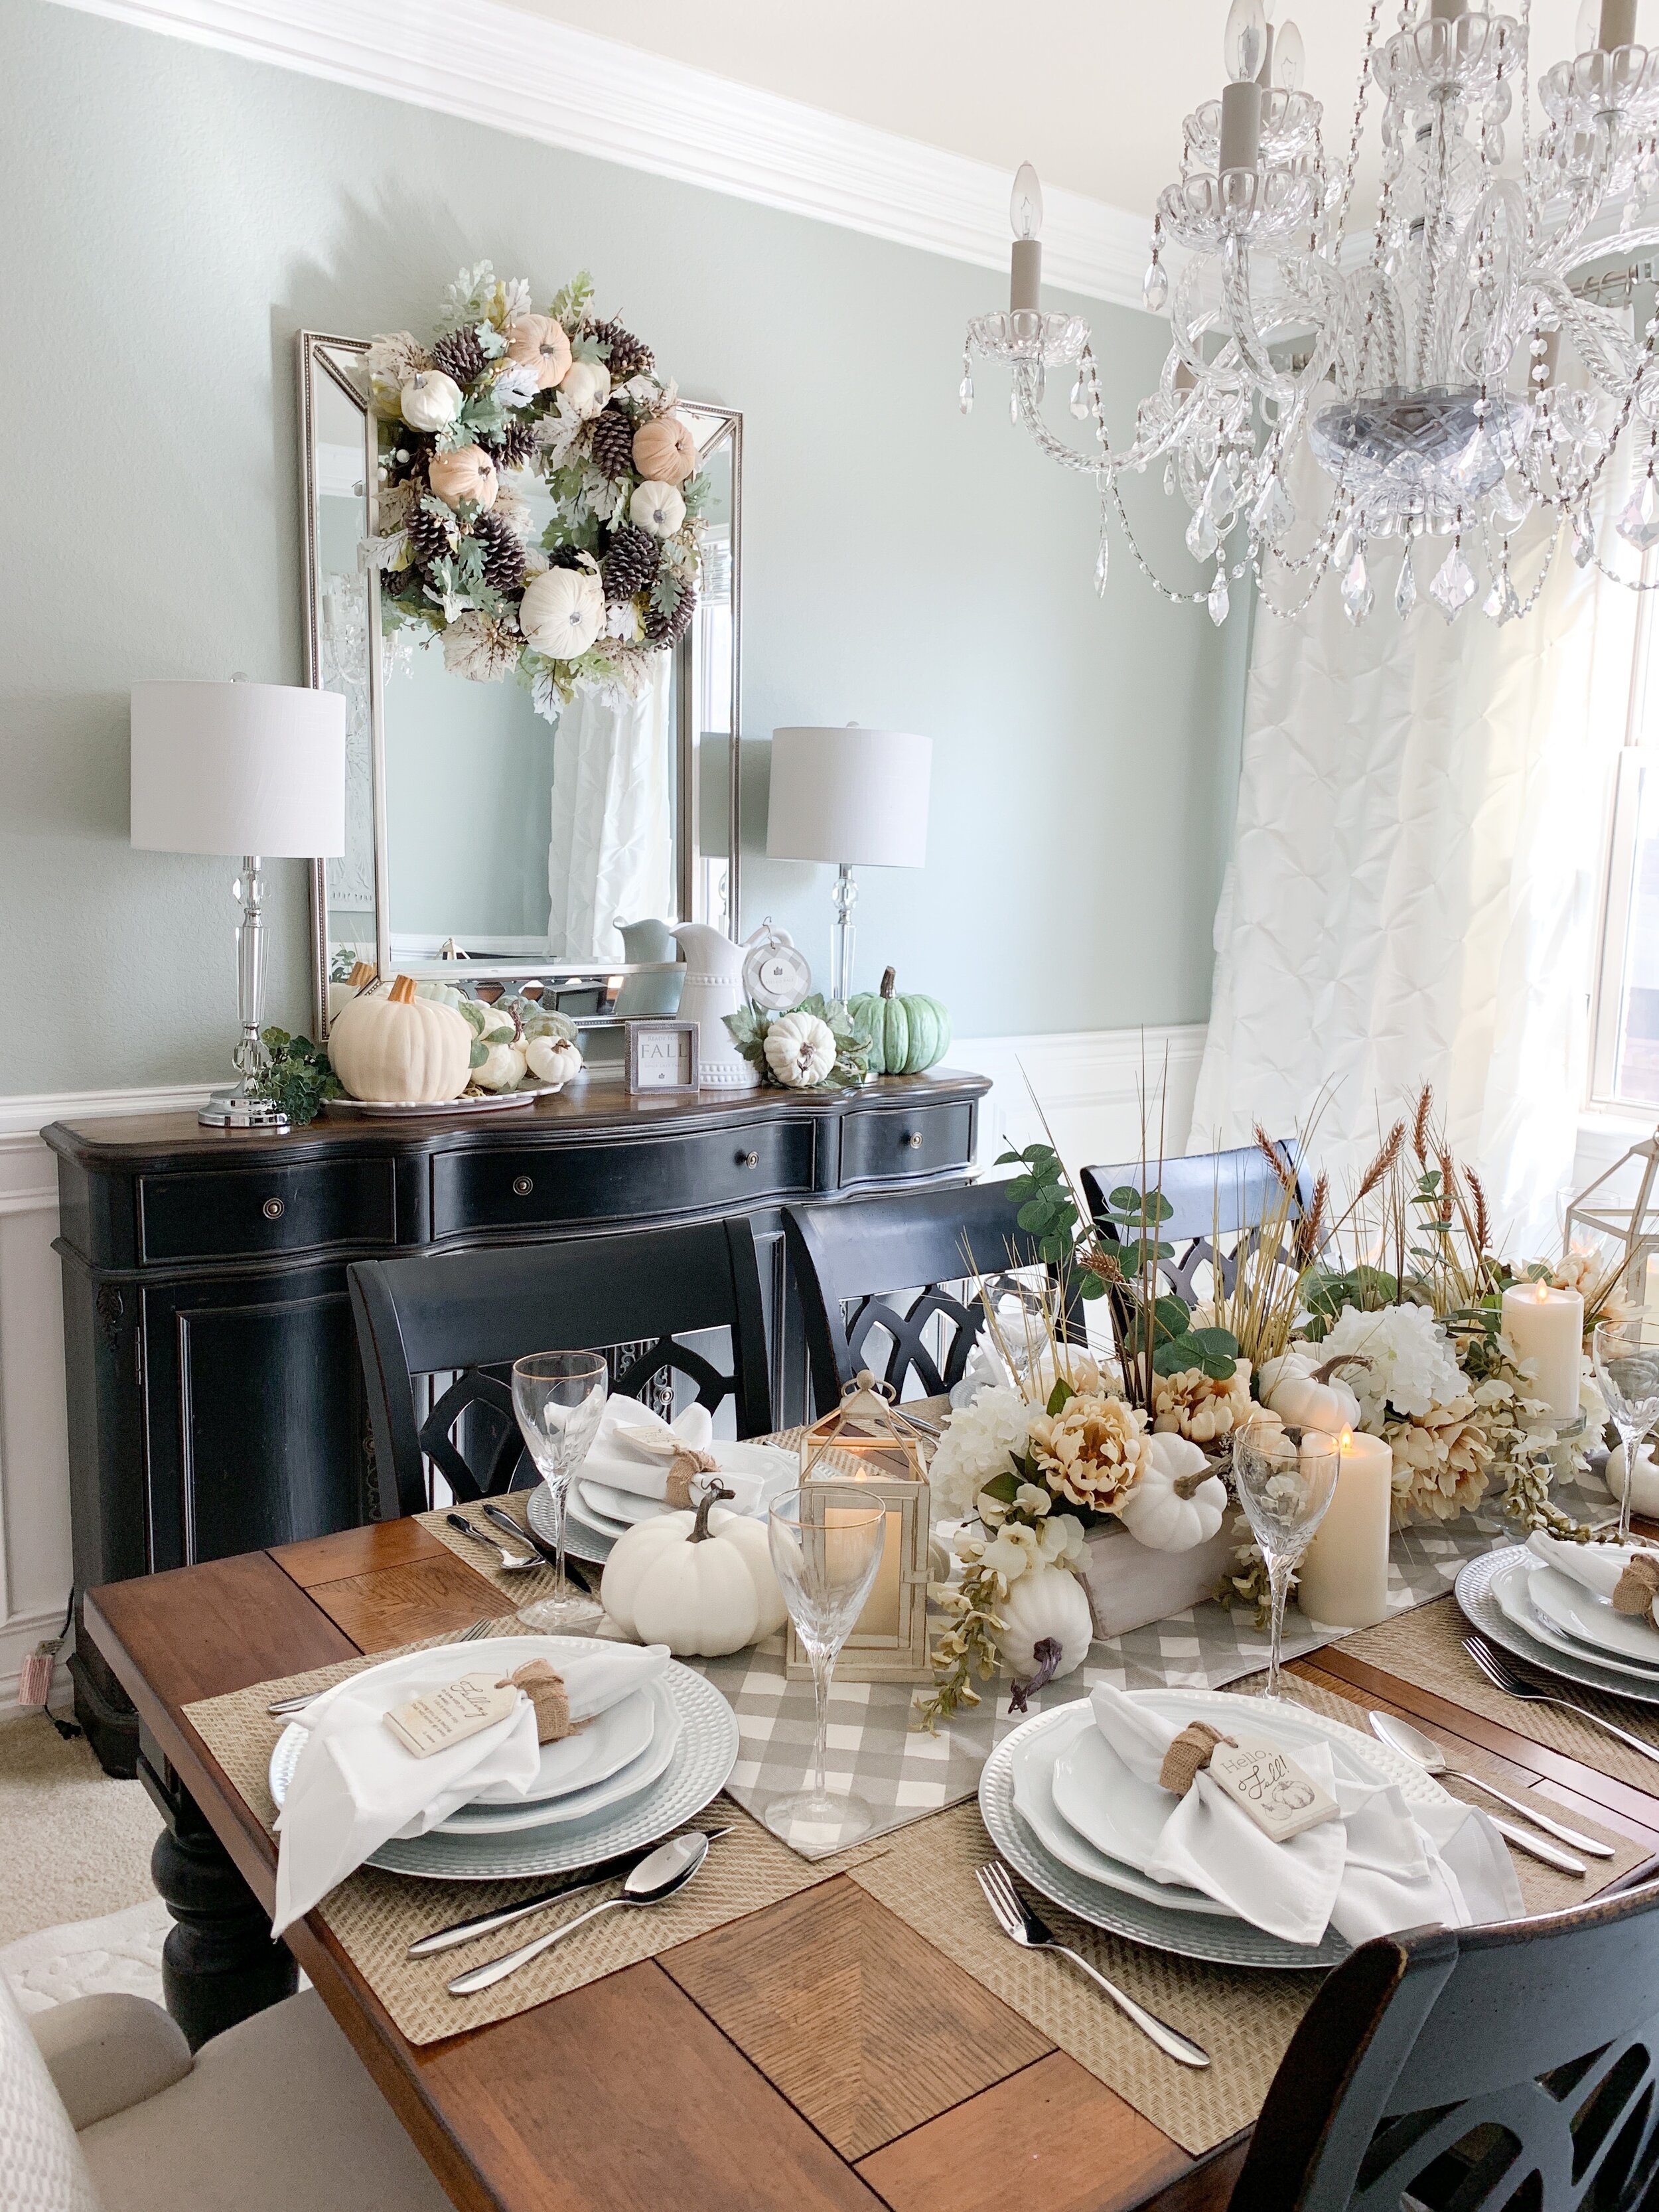
With the board complete, it was time to decorate the table. (My favorite part!) Going around the table I started layering the plates using a charger as a base, followed by the dinner and salad plates. By putting the largest plates down first, it gives me an idea on how much room I have to add the decorative pieces, uch as candles near the centerpiece. 

Next I place the glasses, silverware napkins with napkin holders. (There’s a wide assortment of napkin holders available.) I love to mix in florals, pumpkins, faux leaves, and sprinkle them around the Thanksgiving table to create ambiance. You could also incorporate a small charcuterie board mixed in with the decor. 

I hope these ideas spark your creativity and get you excited for the upcoming holiday season! 

Christmas Magic with a Sweet Treats Tree!

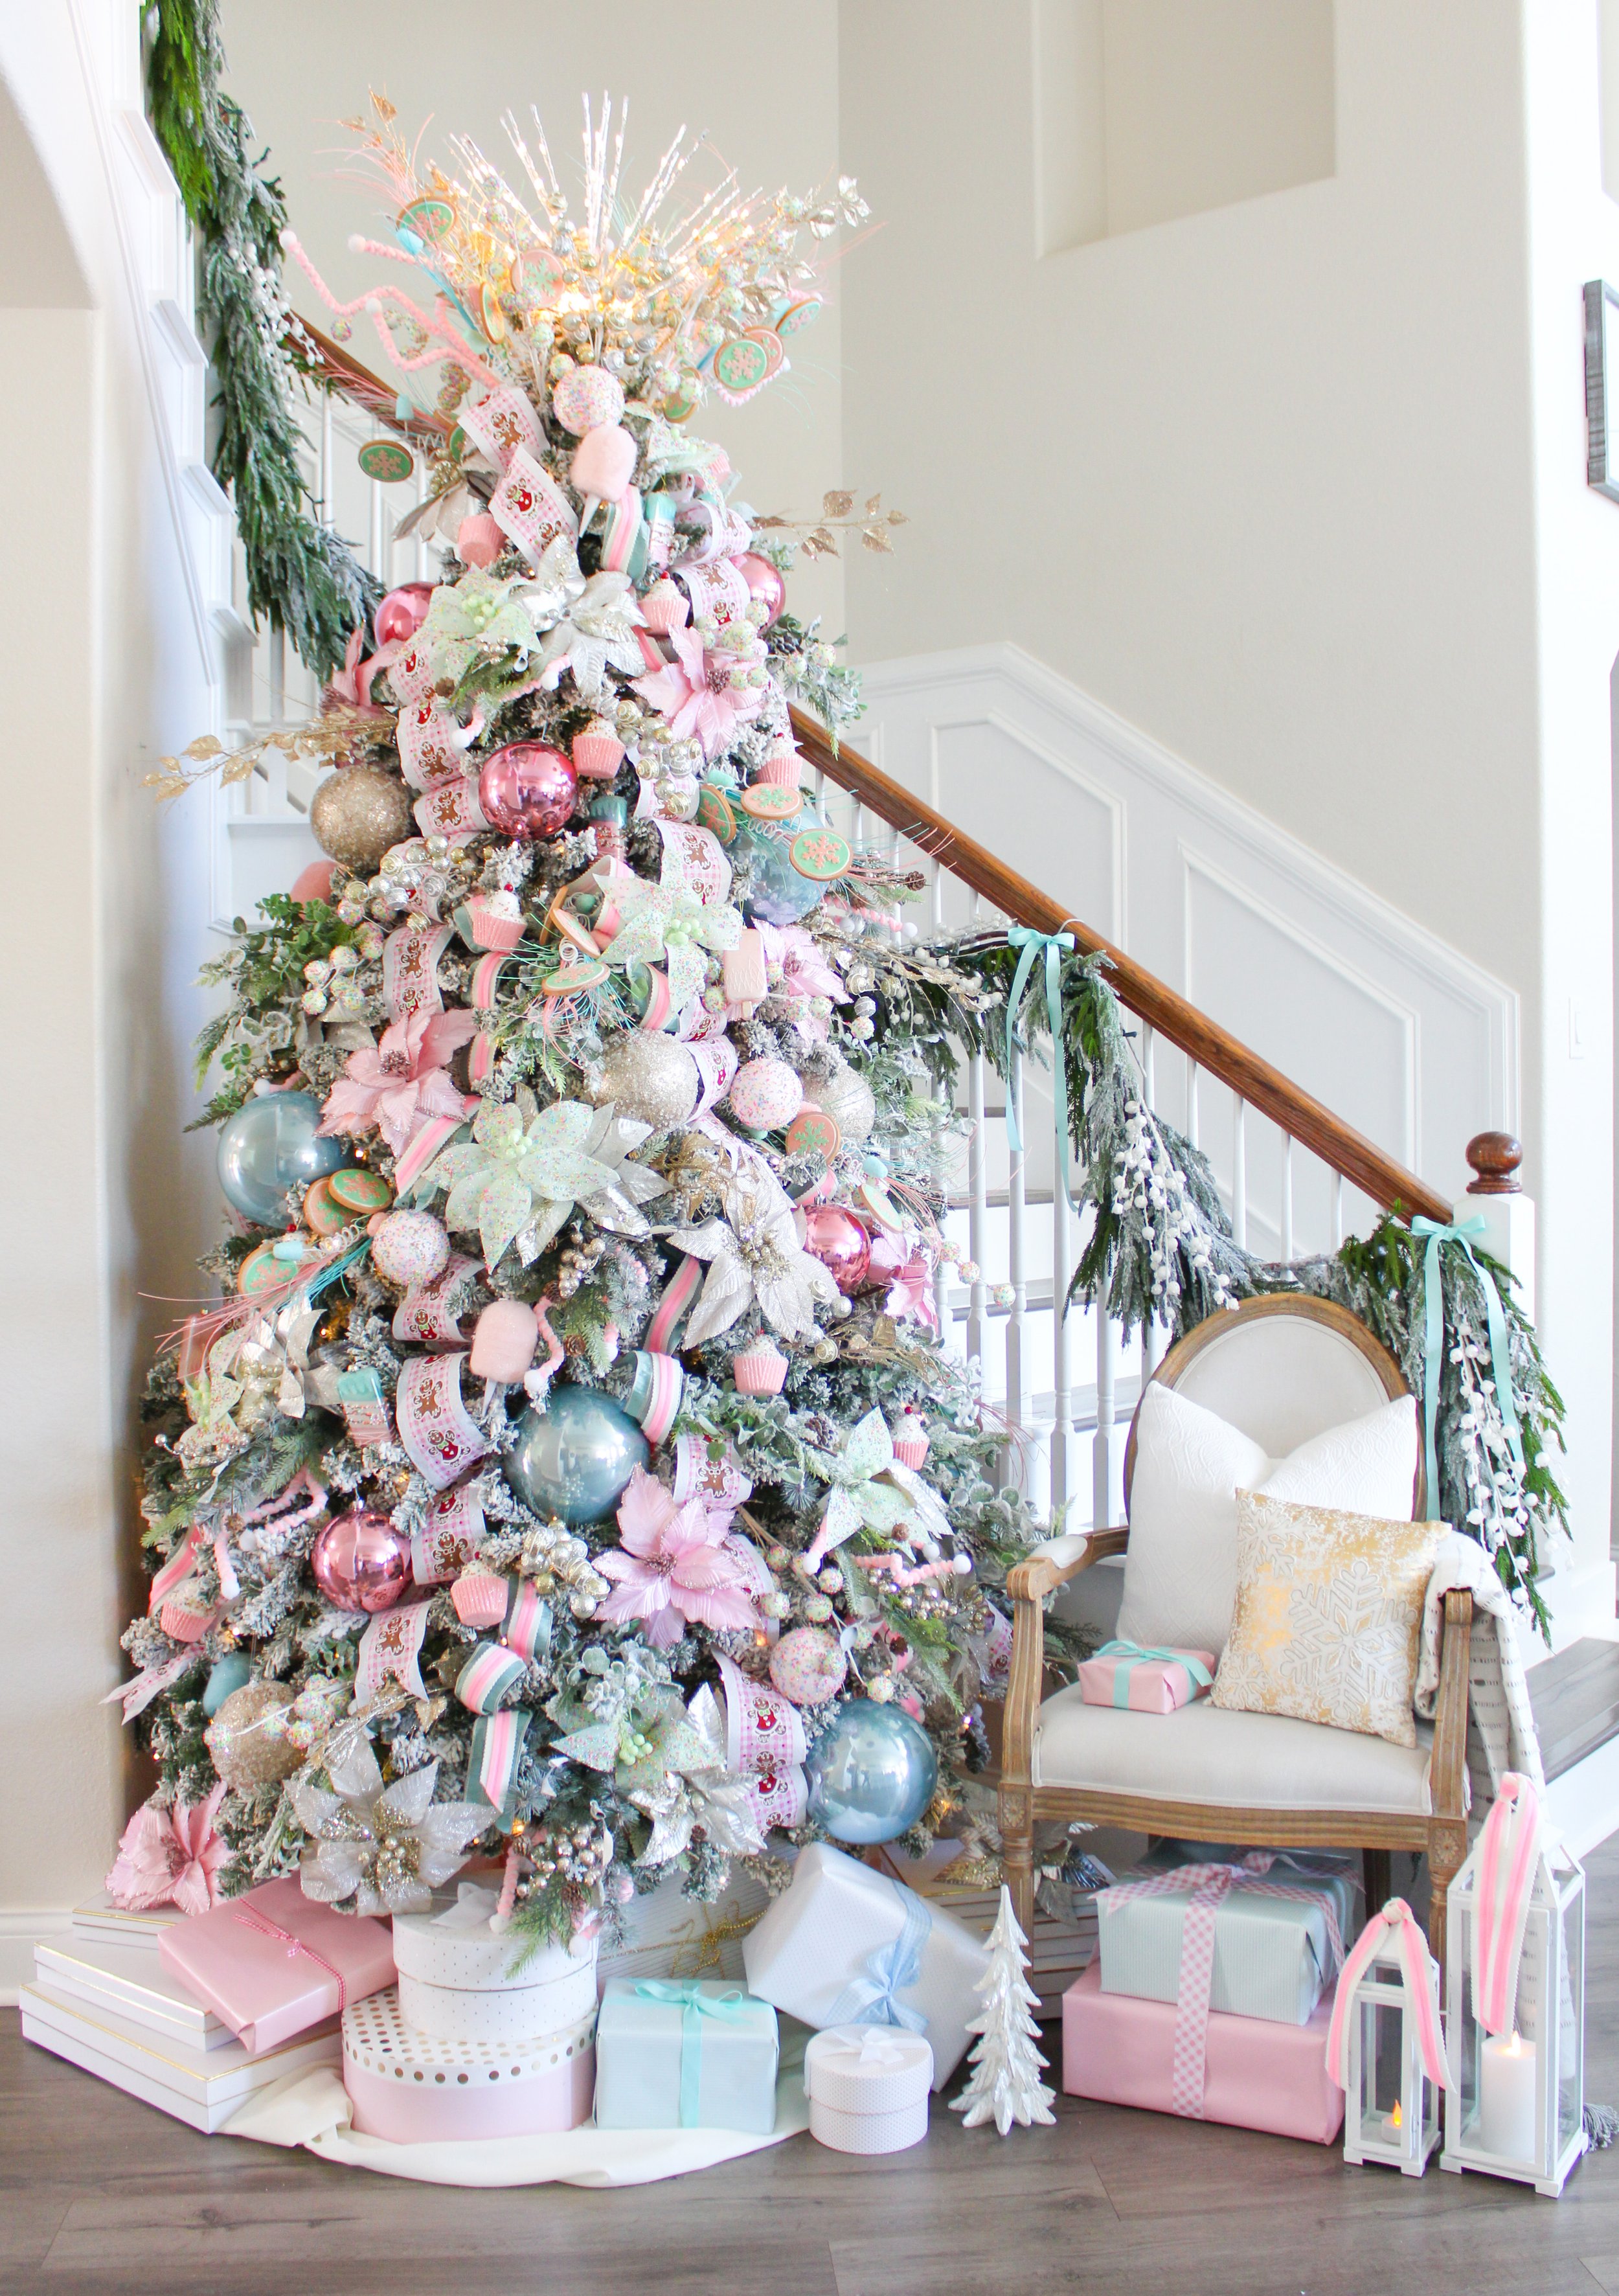
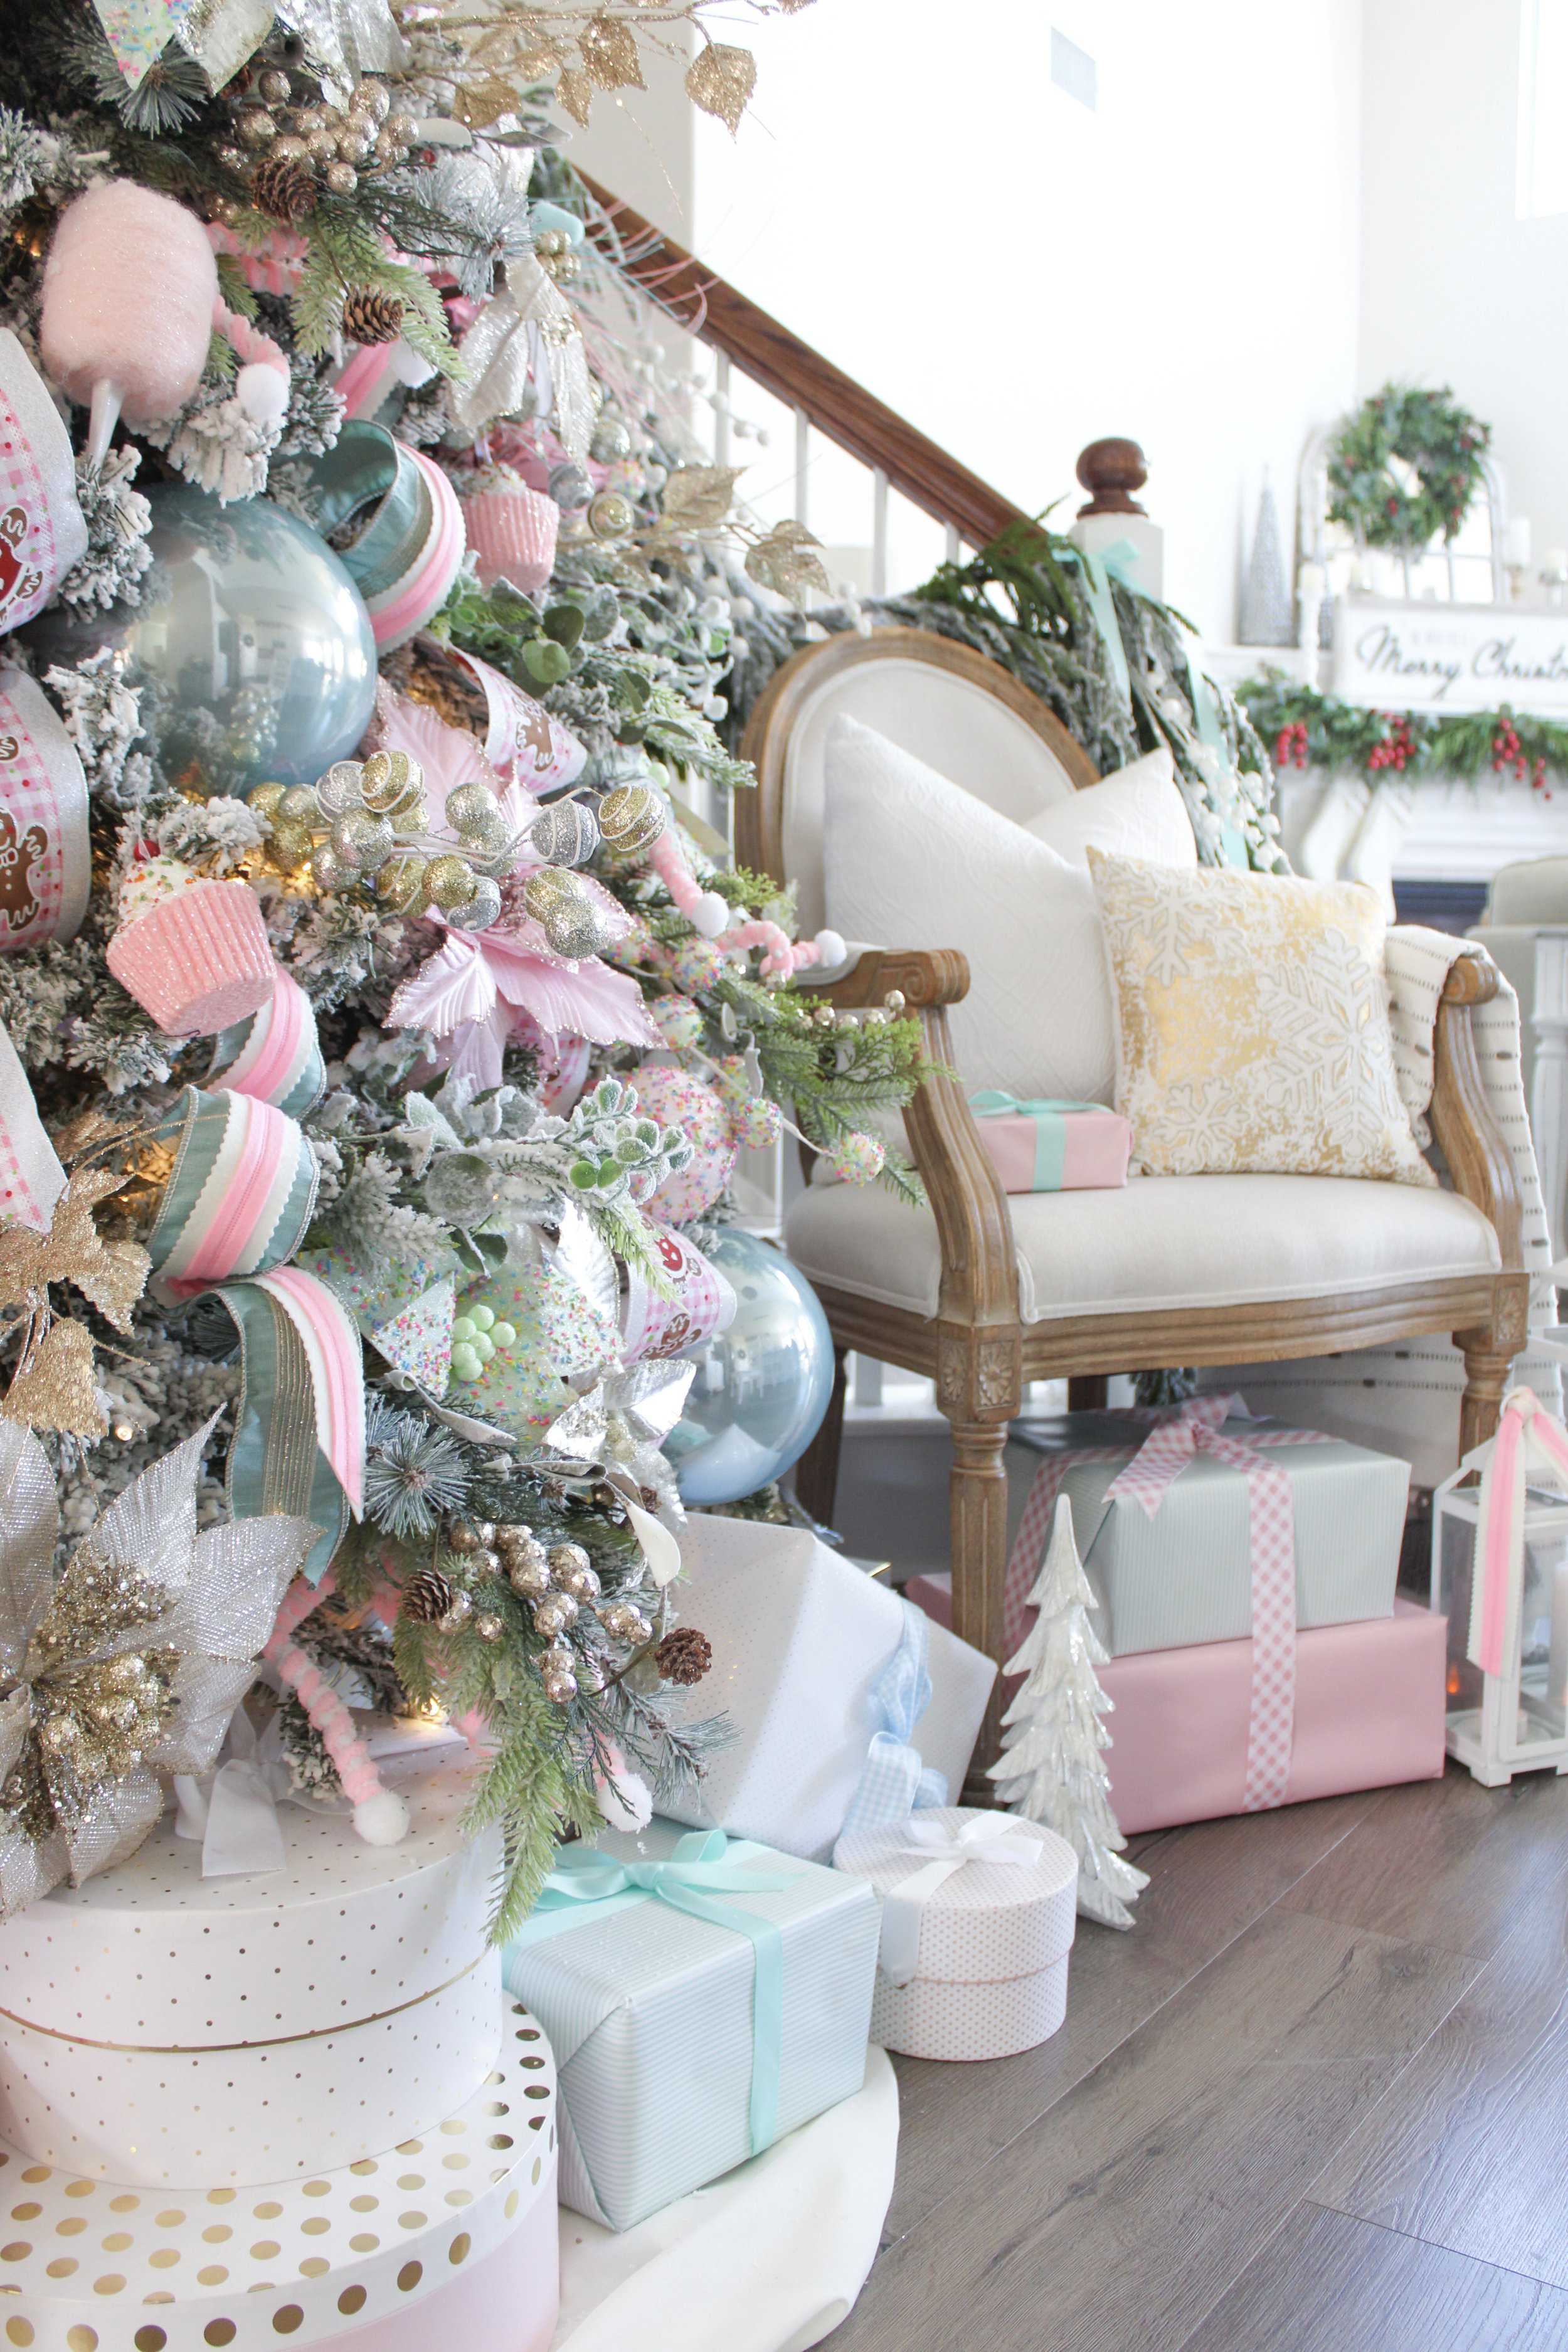
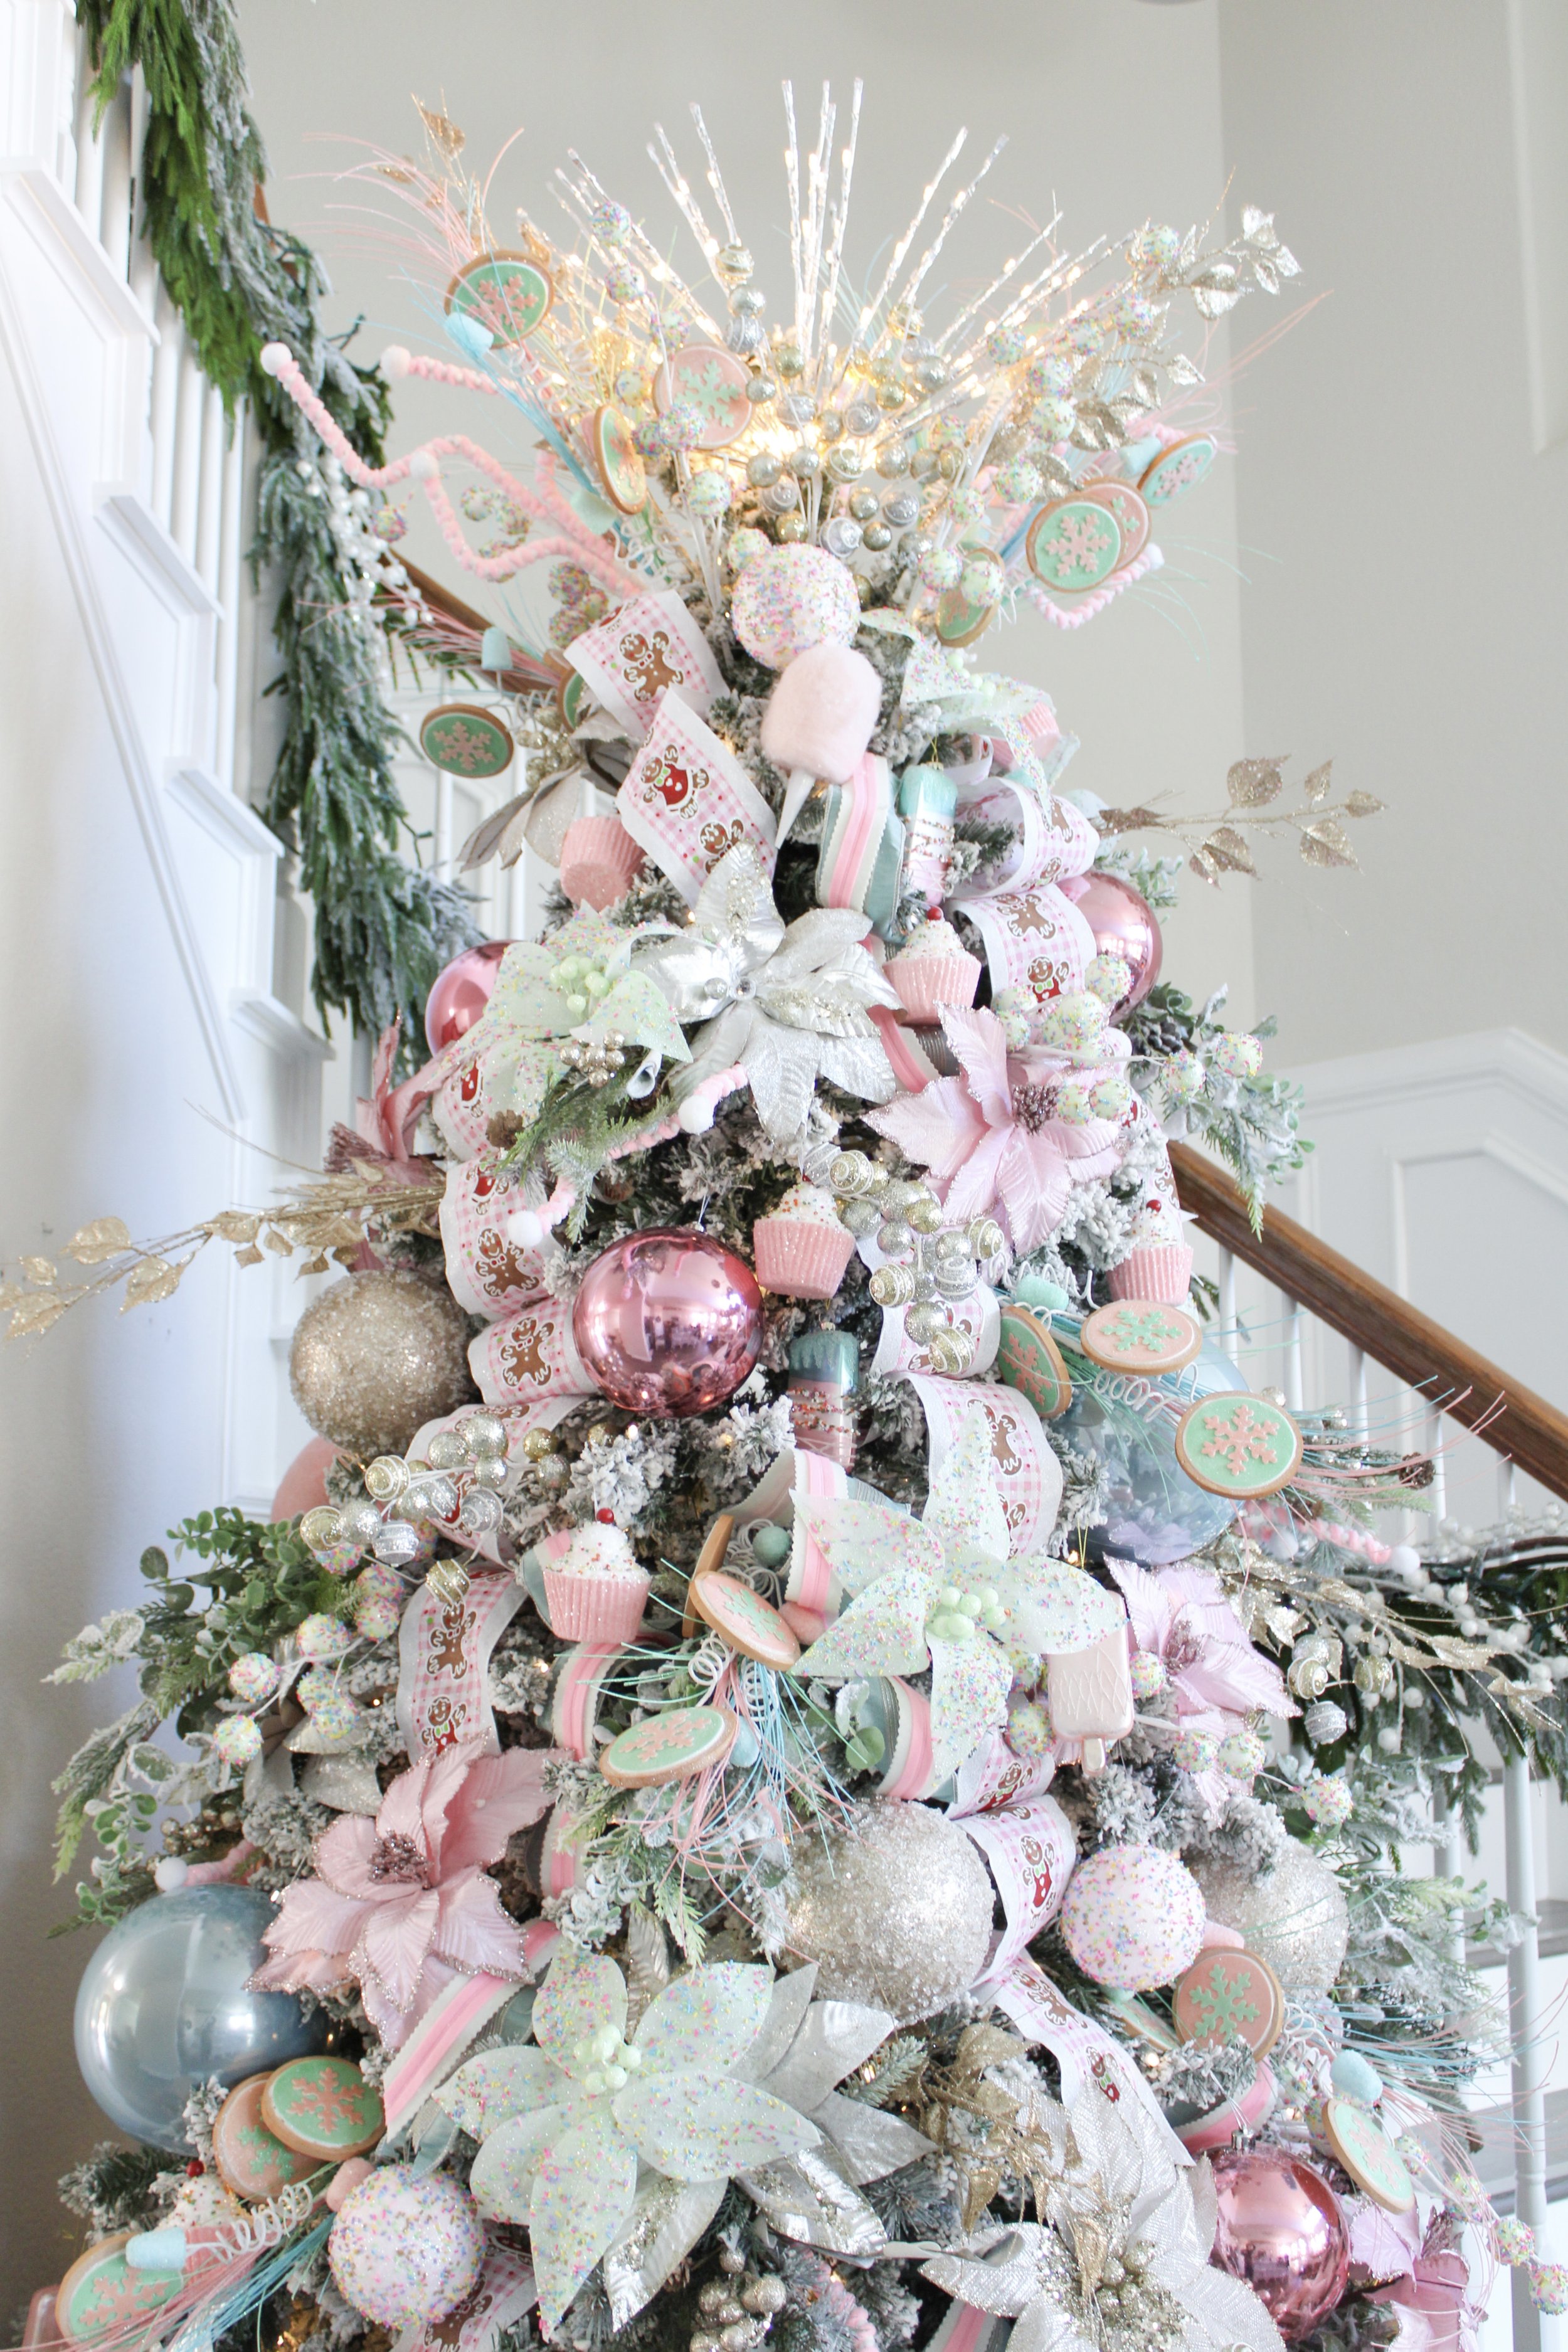
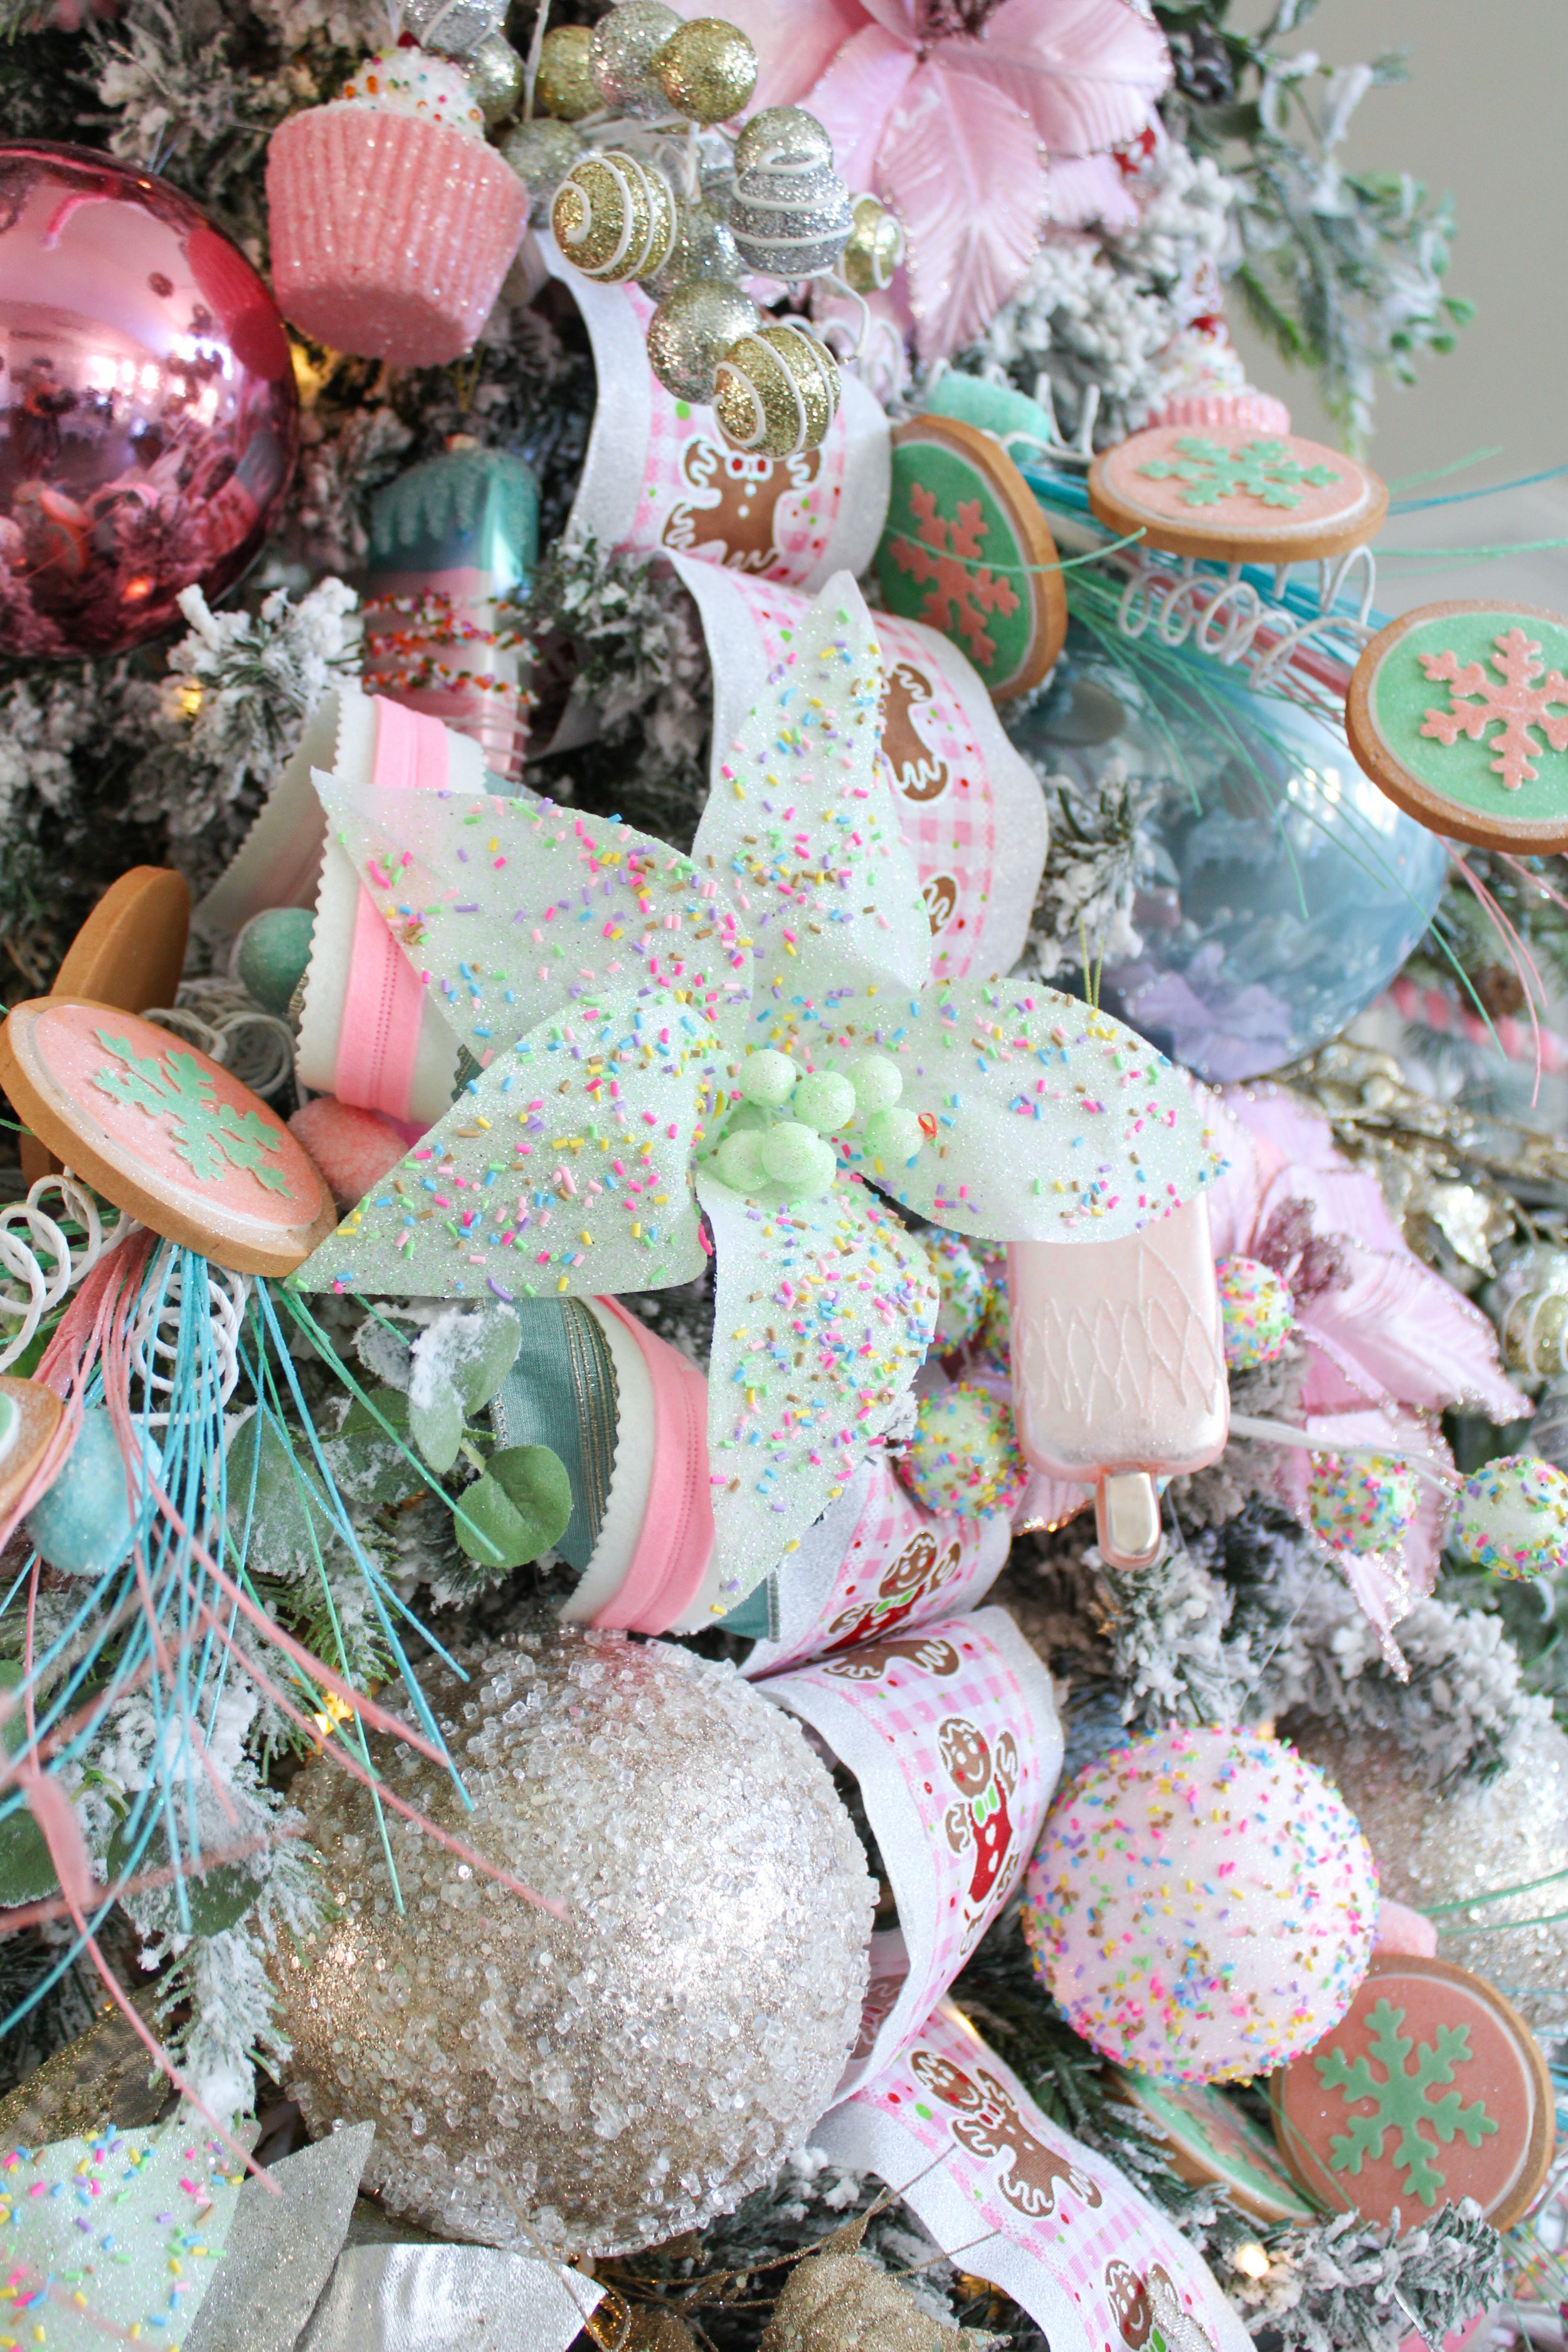
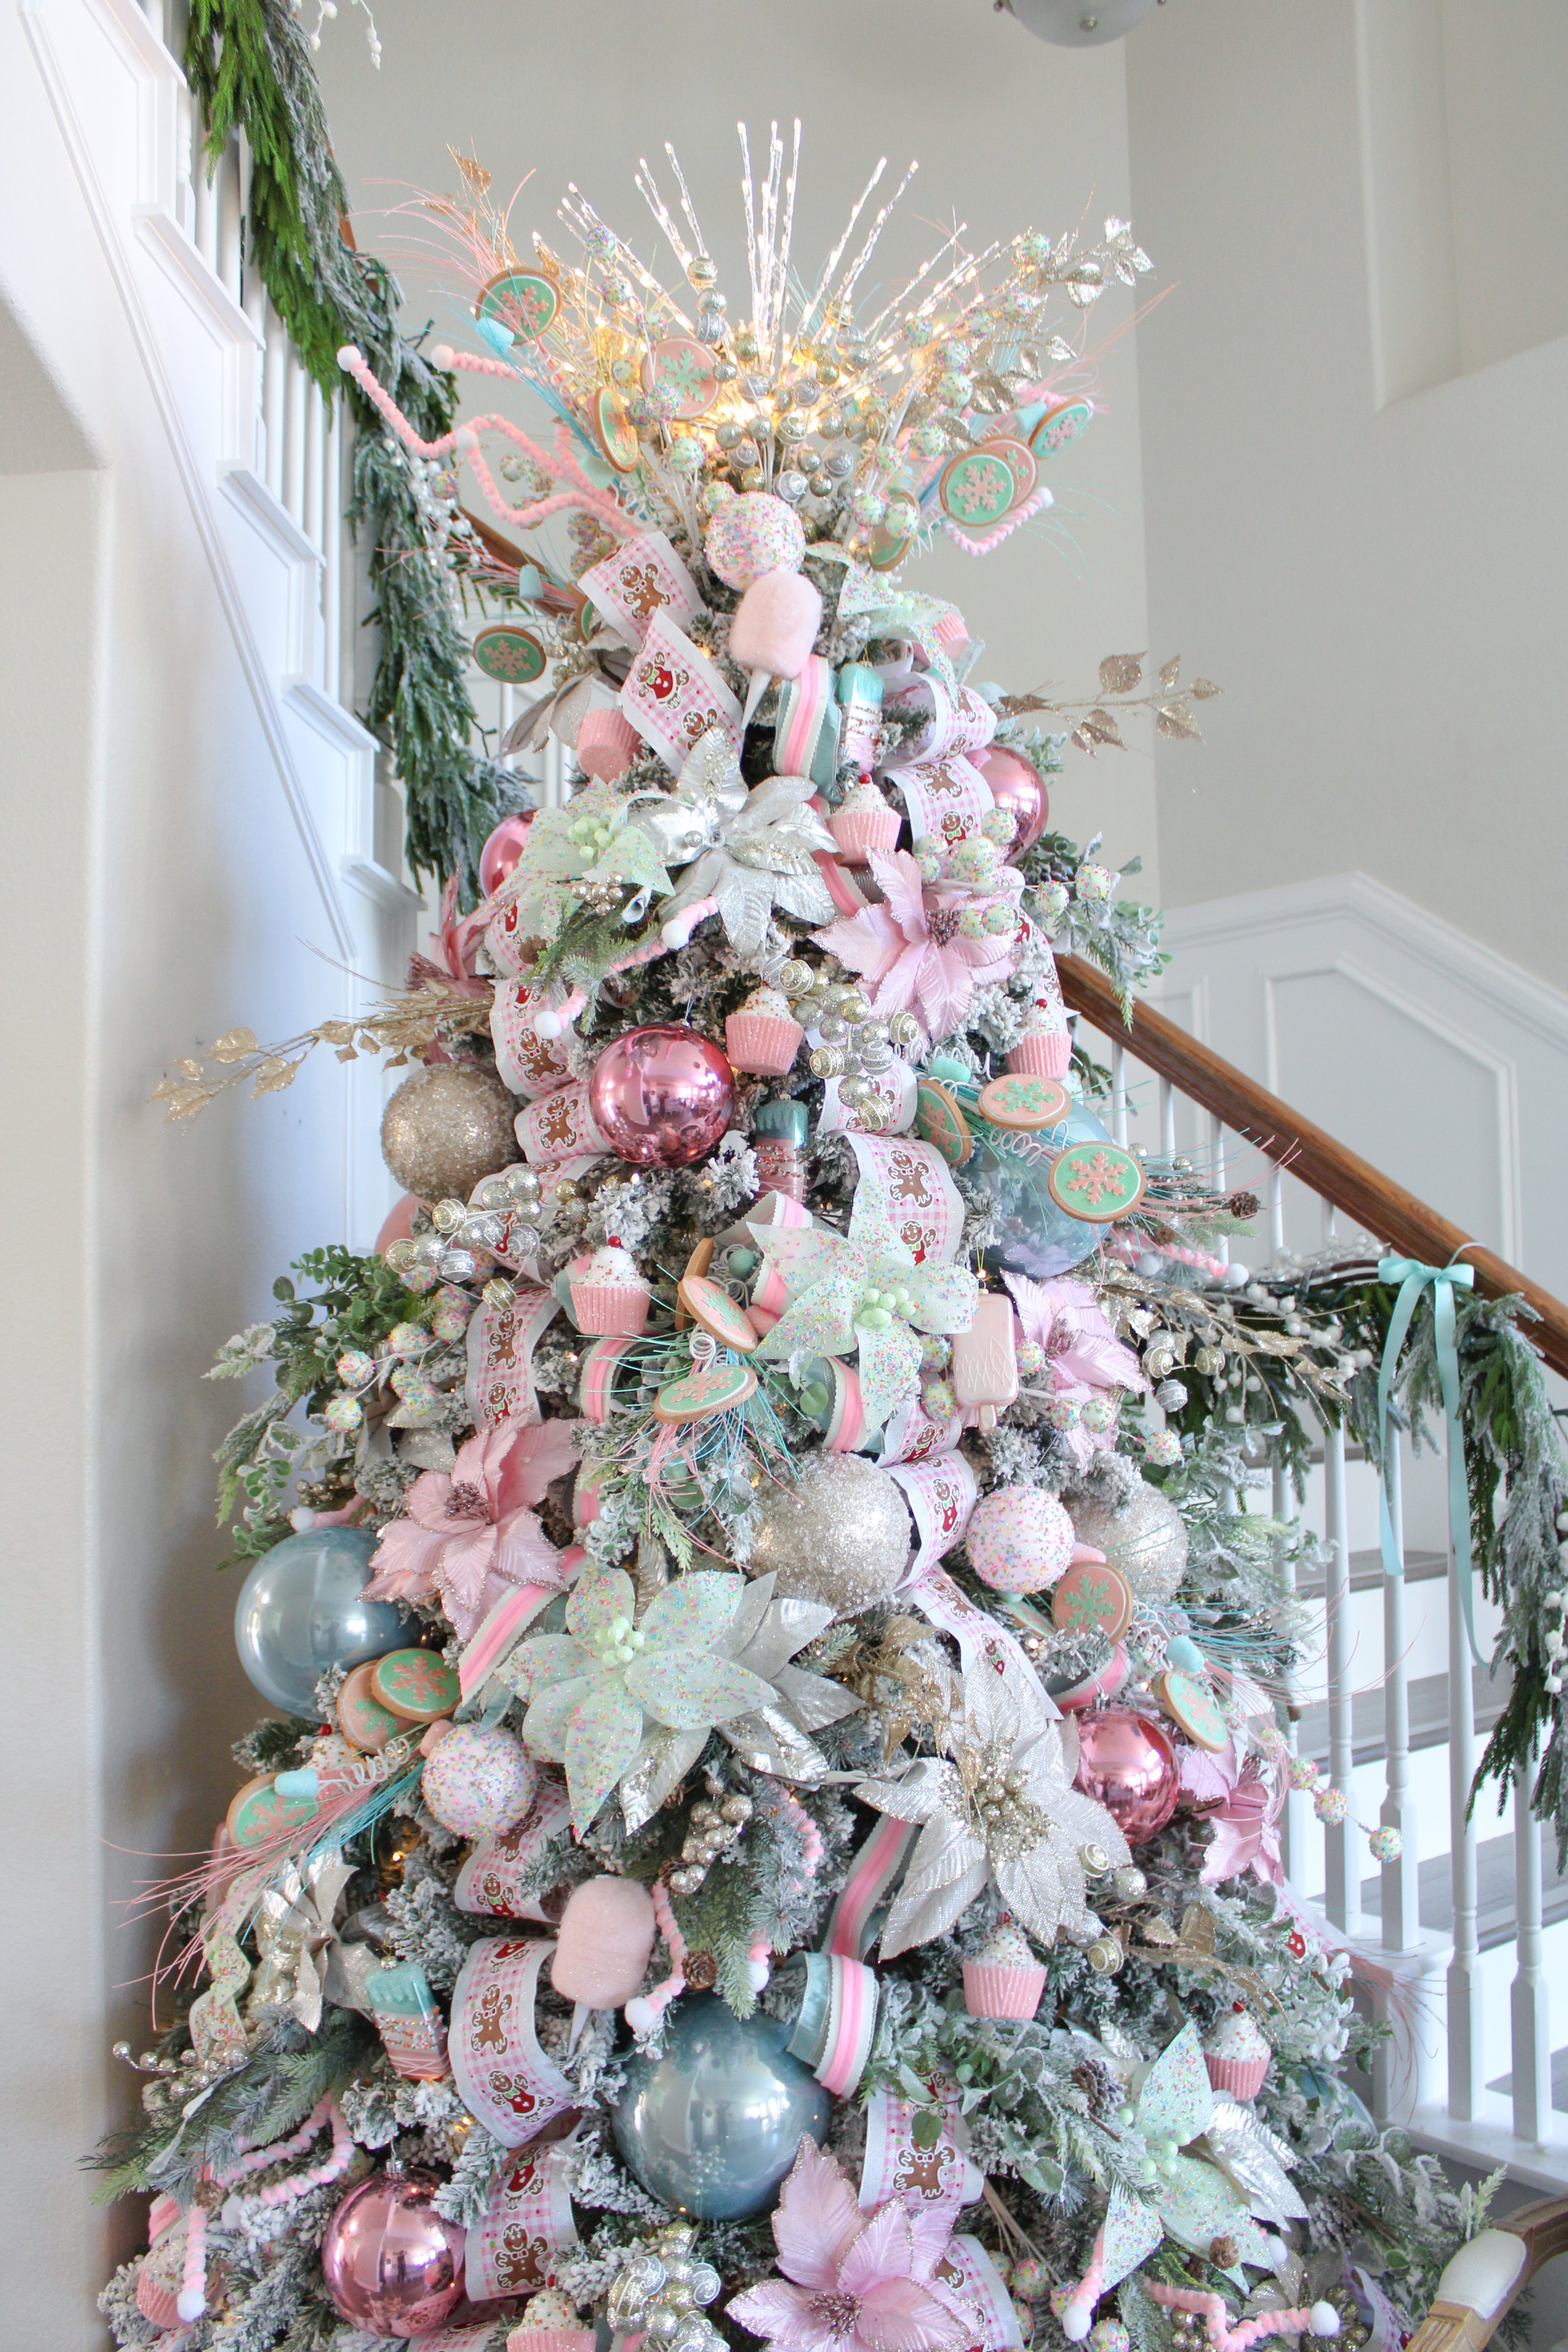
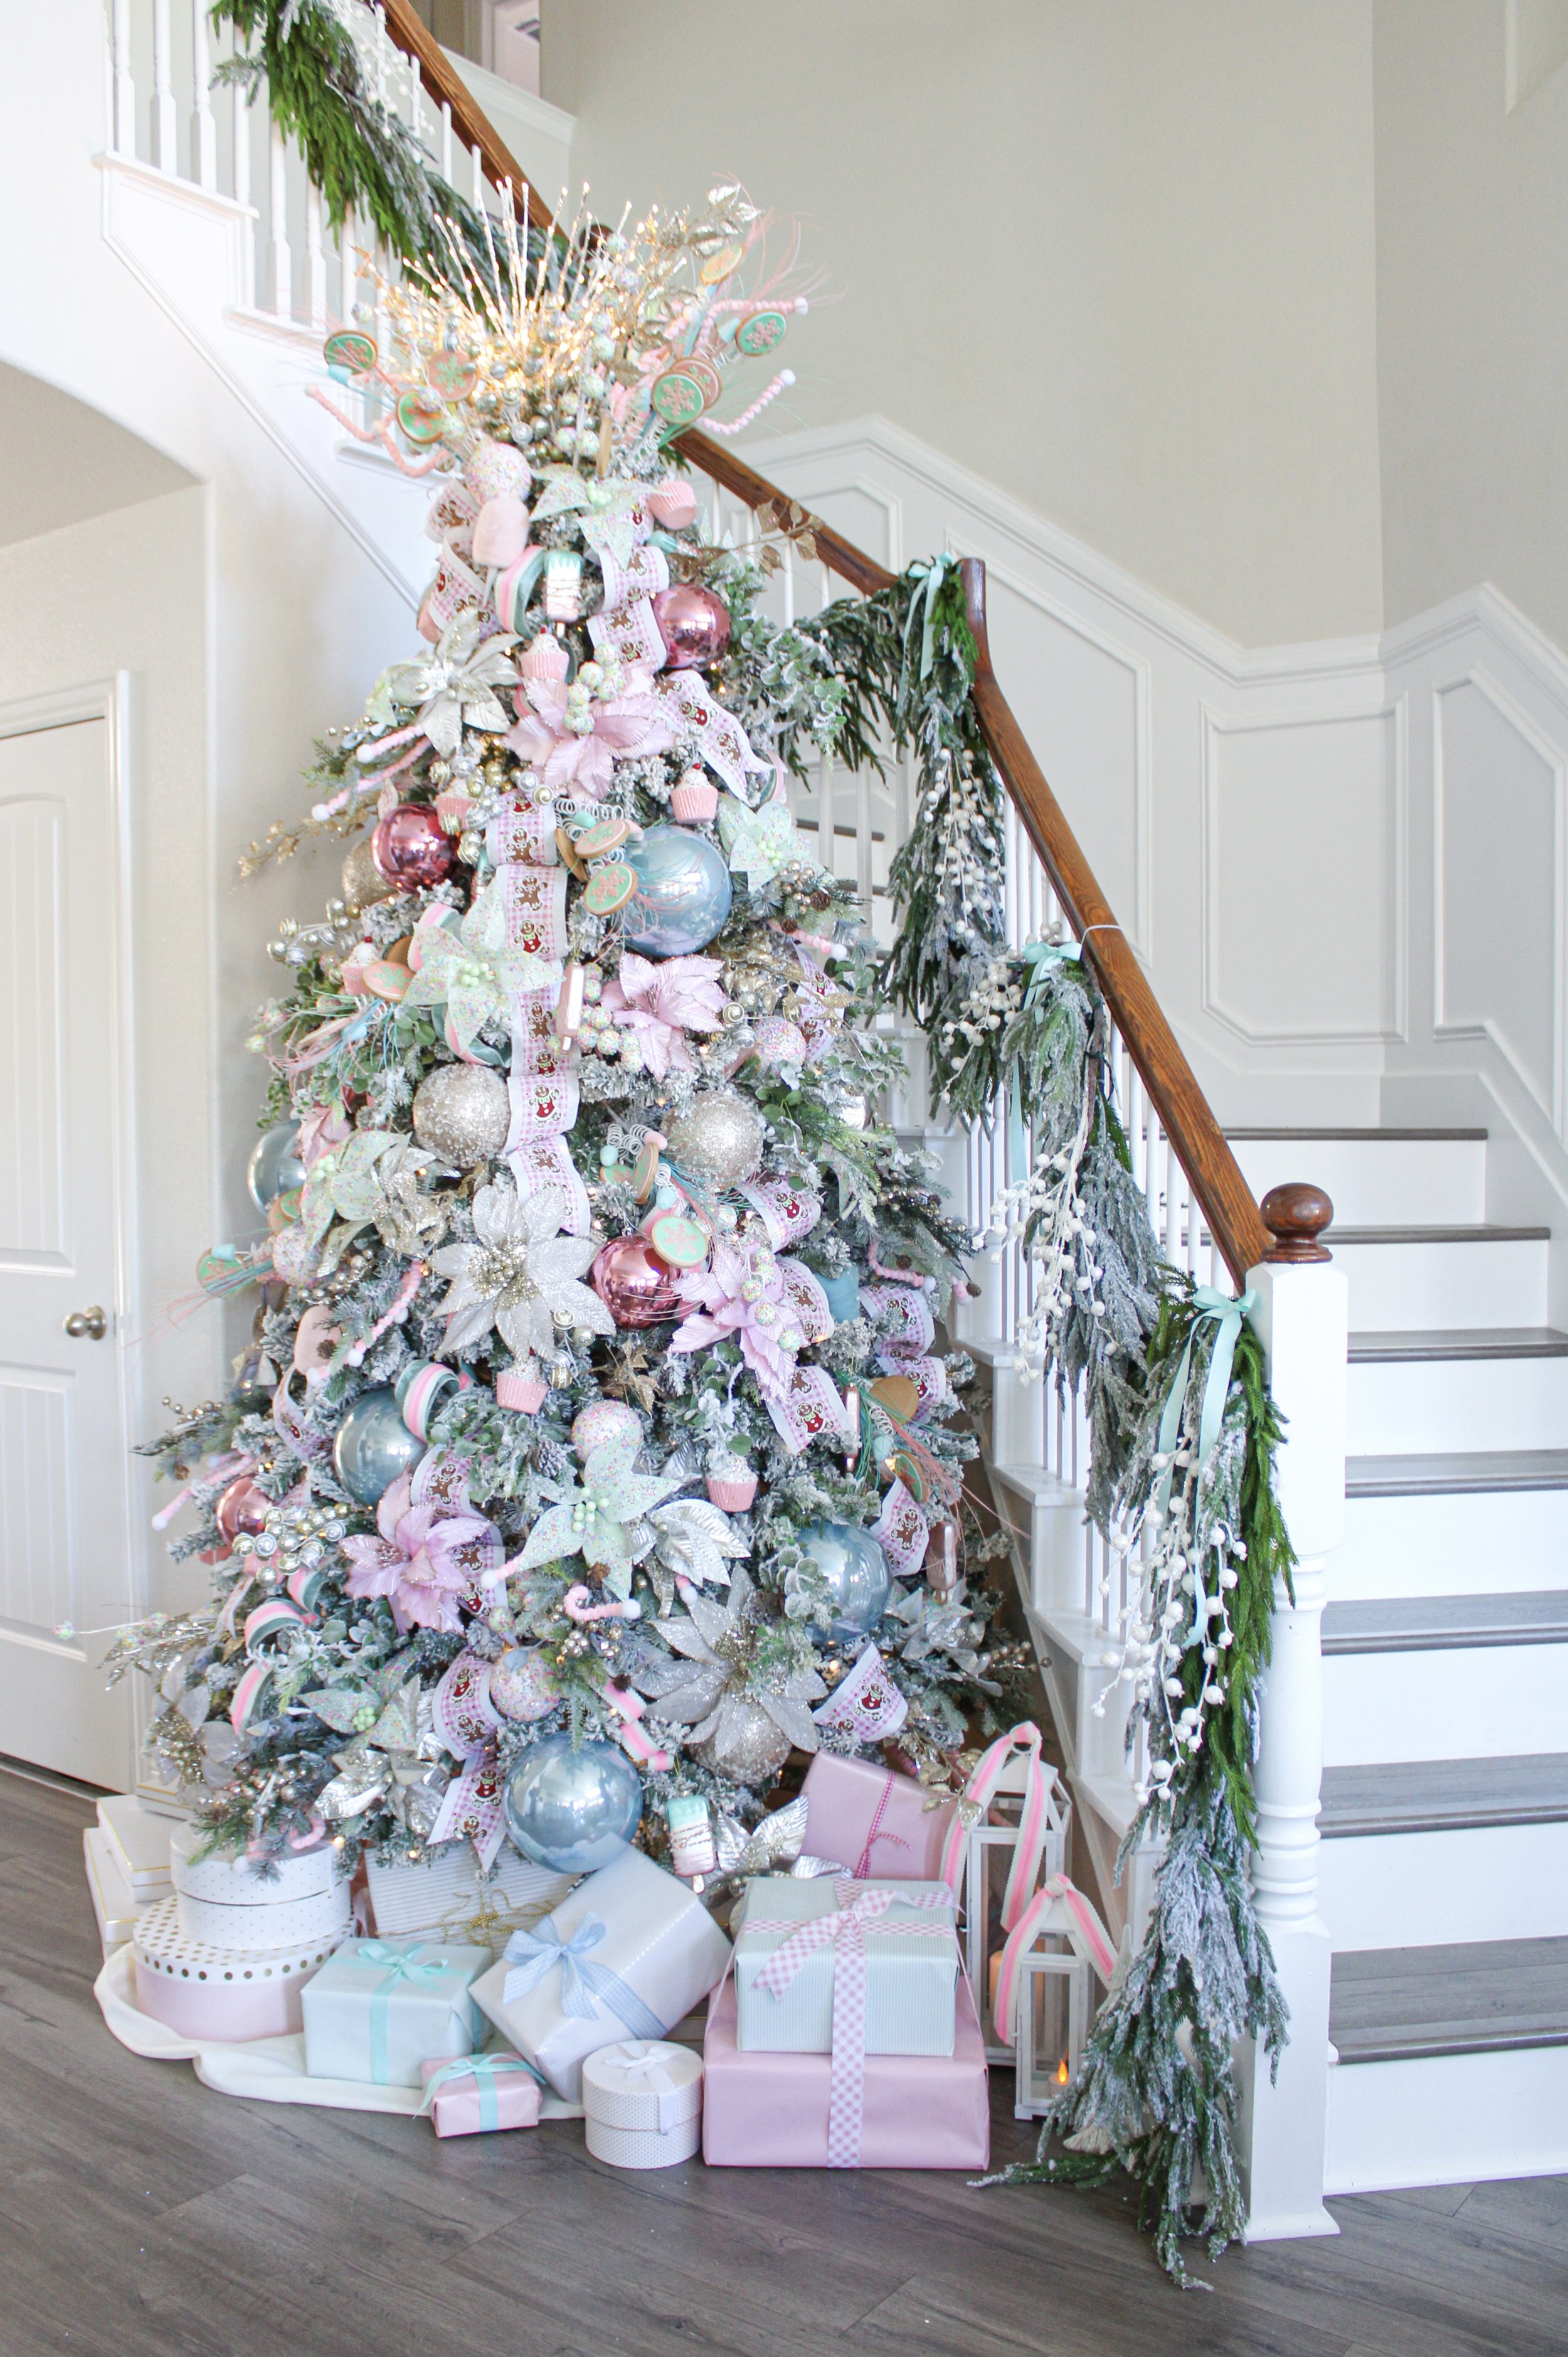
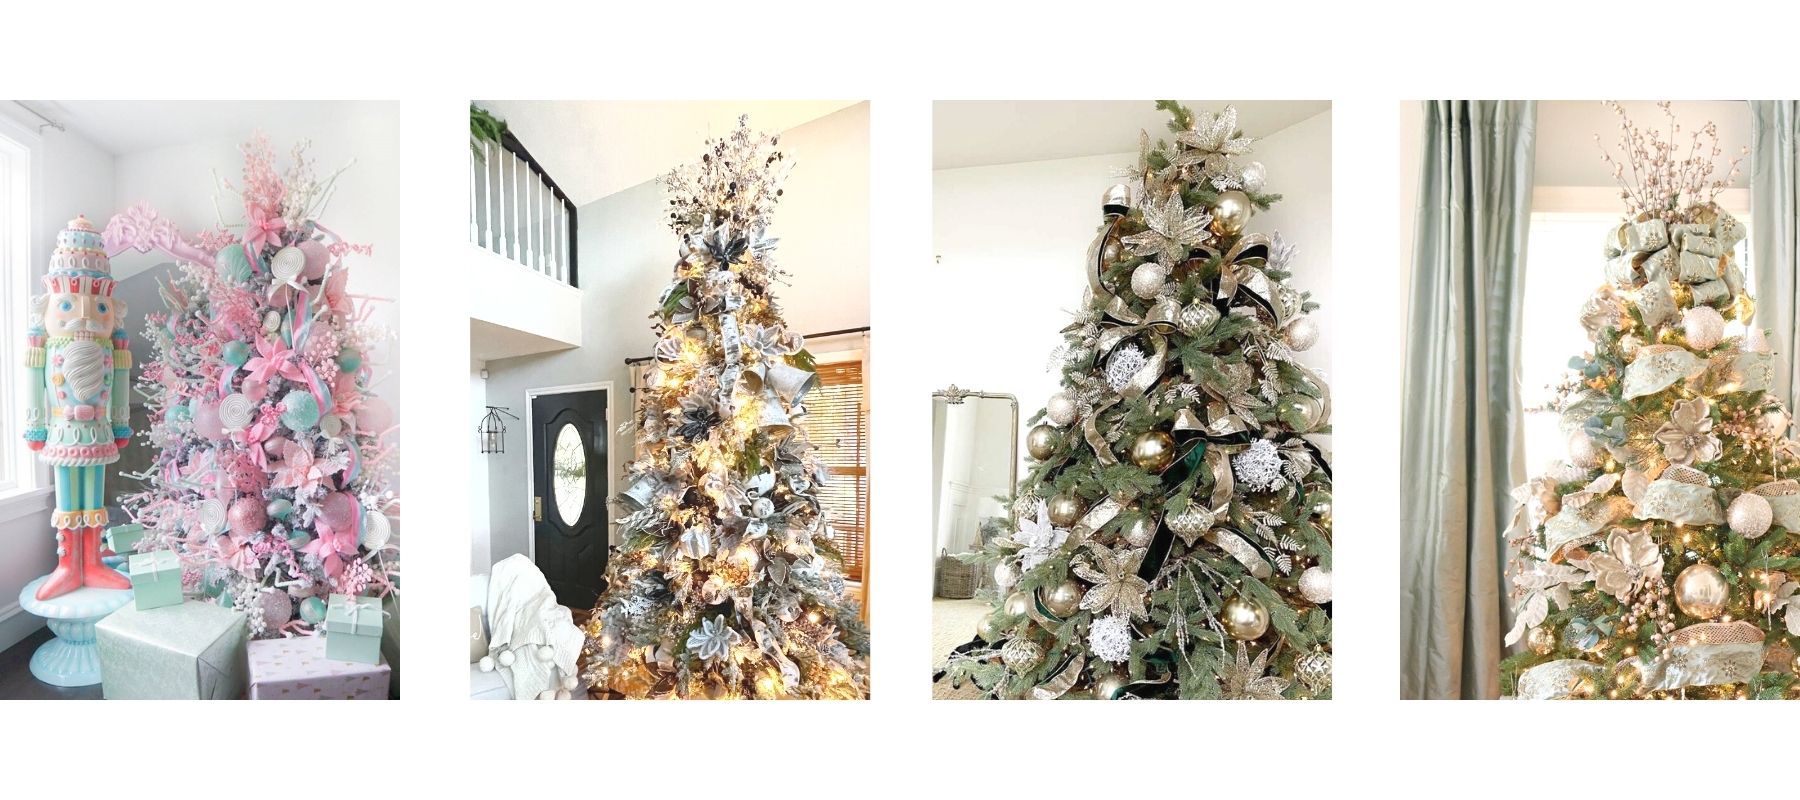
Christmas magic is here! I’m excited to reveal my whimsical “Sweet Treats Tree!” I’ve paired with Decorators Warehouse as part of their Home for the Holidays Christmas Tree Challenge to come up with a unique Christmas tree design! This tree was inspired by the visions of sugar plum fairies, pastel colors, and the elegant holiday sparkle of silver and gold. It’s adorned with tasty treats like gumdrops, popsicles, cookies, cotton candy, and cake pops with rainbow sprinkles. (Click on the bold words for links.)

I had the wonderful experience of going to Decorators Warehouse in September and being transported into a Christmas wonderland. Lights were twinkling from every inch of the ceiling and dreamy themed Christmas trees were everywhere you looked. The trees were beyond beautiful with ornaments, ribbon, and every detail one would need to create the tree of their dreams.

Before going to the store, I had originally thought of decorating my christmas tree in traditional christmas colors of red and white, possibly a candy cane theme. But that all changed when my eyes beheld the magic and enchantment of the sugar plum fairy tree dressed up in pastel colors! It reminded me of the sugar plum fairy costumes from the Nutcracker Ballet that my mom took my sister and I to when we were little girls. (I love the Nutcracker Ballet! I have the entire collection of Nutcracker Ballet Barbie dolls - each one dressed from different parts of the exquisite Ballet.)

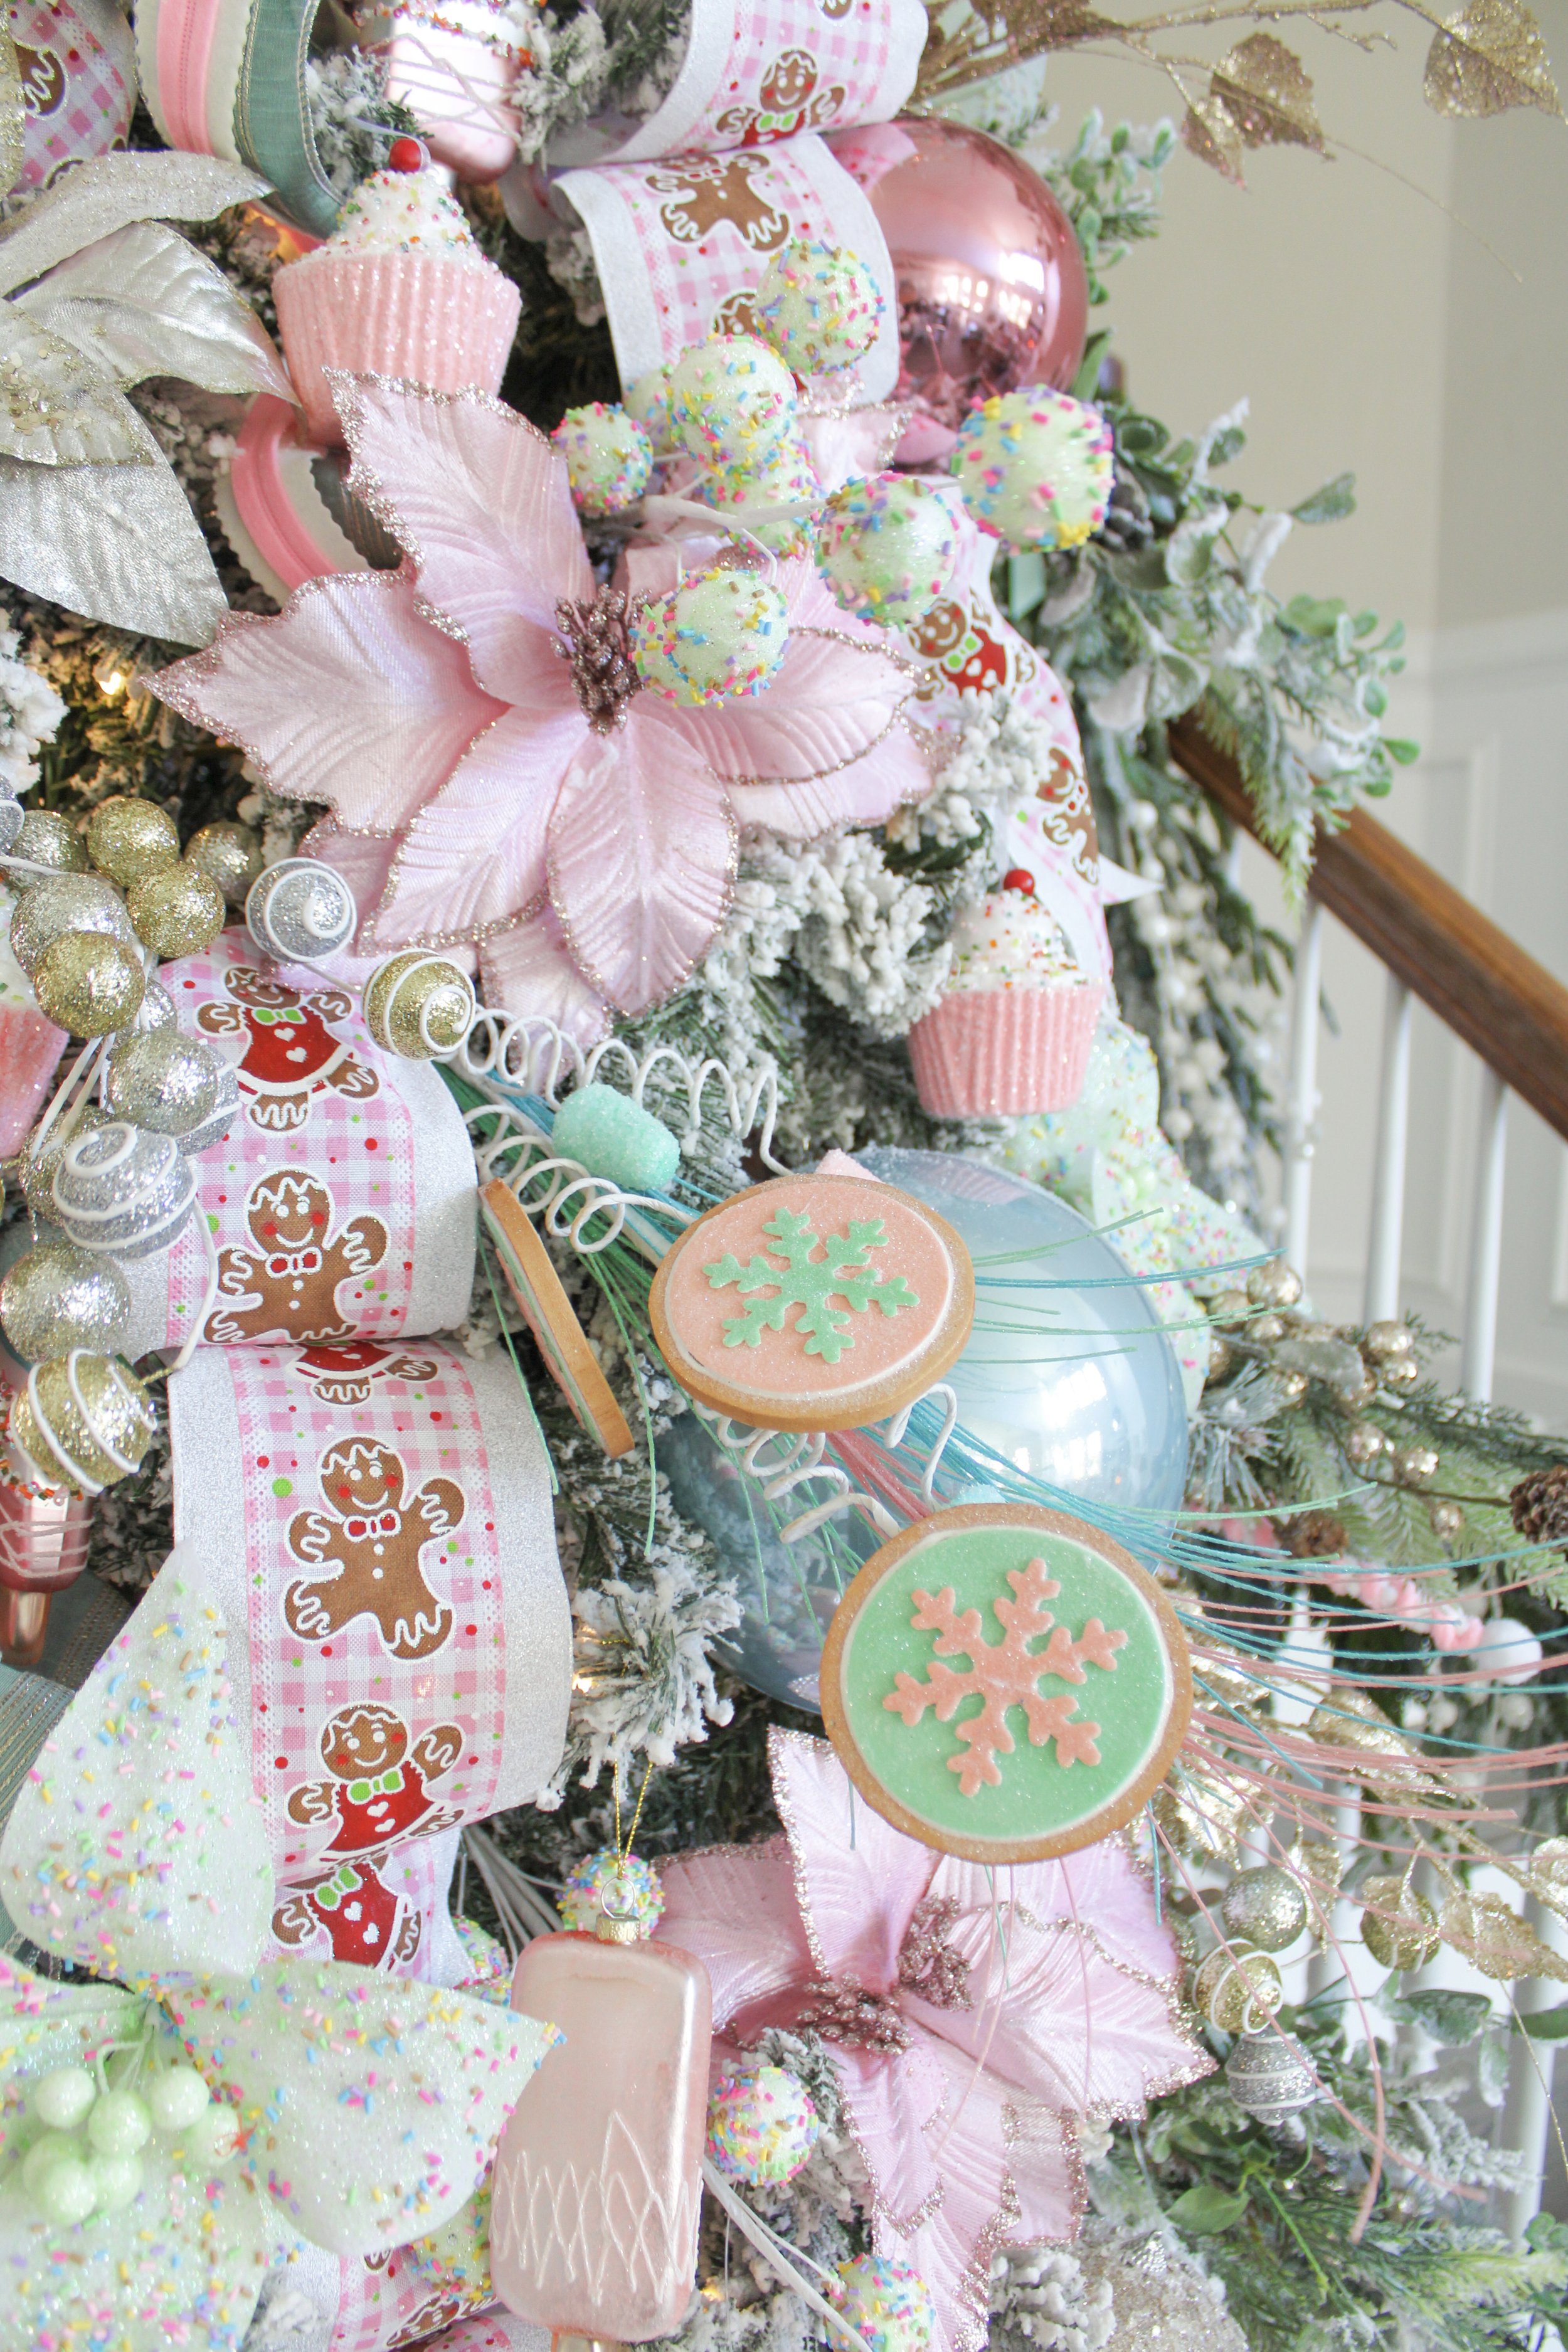
After falling in love with pieces from the sugar plum fairy tree, I came across the cutest gingerbread ribbon ever! Then I saw the most darling treat ornaments, and I knew I wanted to combine these three pieces. I still loved the look of a whimiscal fairy tree, but once I saw the adorable Christmas goodie ornaments, I decided to focus on happy colored Christmas treats. I decided to also incorporate elements like; glitter cupcakes ornaments, snowflake cookie gumdrop sprays, sprinkle balls, glass popsicles, and fuzzy cotton candy ornaments. From there the Sweet Treats Tree was born!

I was in love with the direction this tree was going - but it wasn’t finished yet. I wanted to make it elegant and give it bit more of grown up presence. To do that, I brought in the traditional Christmas colors of silver and gold with leaf sprays. I also added extra sparkle with pink and gold poinsettia stems edged with glitter. But my favorite item was the light up topper. To have lights at the top of the tree helps set the magical look!

My Christmas tree decorating guide:

  1. Make clusters of greenery with two different sprays and wrap the stems around each other to secure in place. I used 12 clusters throughout my nine 9 ft tree. 

  2. Add two types of ribbon. I cut them in 2-3 ft strips and placed them evenly around the tree going in a downward motion.

  3. Add two different types of large ornaments - I added pink and blue shatterproof ormaments.

  4. Add two different types of medium ornaments - I added pink and gold ormaments.

  5. Add four types of flowers/stems and small ornaments - I added my candy ornaments and gold and pink poinsettia stems.

  6. Add sprays to fill in any gaps or holes - I used Snowflake cookie gumdrop, cake pop and gold leaf sprays.   

My favorite ornaments on the tree are the glass pink and blue popsicles. They’re so pretty and shiny - they make me smile. Do you see a favorite ornament on the Sweet Treats Tree? My little ones are obsessed with all the darling food ornaments on this tree. What types of Christmas decor do you love?

No matter what your holiday decor preference, Christmas is a magical time of year full of tradition and spending time with family and friends. Decorate your home with the pieces, colors, and themes that speak to you and make you happy. 

Click here for all the sources for my Christmas tree! Plus you can use code NISSALYNN at checkout for 10% off your purchase at Decorator’s Warehouse! #DWChristmasAtHome #sponsored

Source: https://nissalynninteriors.squarespace.com...

DIY Thanksgiving Tablescape with American Farmhouse Style Magazine (Copy)

After a nation wide search with thousands of entries, I am honored to selected one of the top four finalist for the American Farmhouse Style Magazine Ambassador contest. Below is the DIY elevated tablescape riser I built for the final project. You can view the magazine article here.

As the seasons change, fall ushers in cool crisp nights, falling leaves, pumpkin decor, cider, and cozy sweaters. 

A Time for Gratitude

Thanksgiving will soon be here and families will gather around a loved one’s kitchen or dining room table to celebrate the season of gratitude and renewed blessings. Creating a fun and festive thanksgiving tablescape is my way to welcome family and friends into my home and help make the holiday feel special.

DIY Centerpiece for the Thanksgiving Tablescape

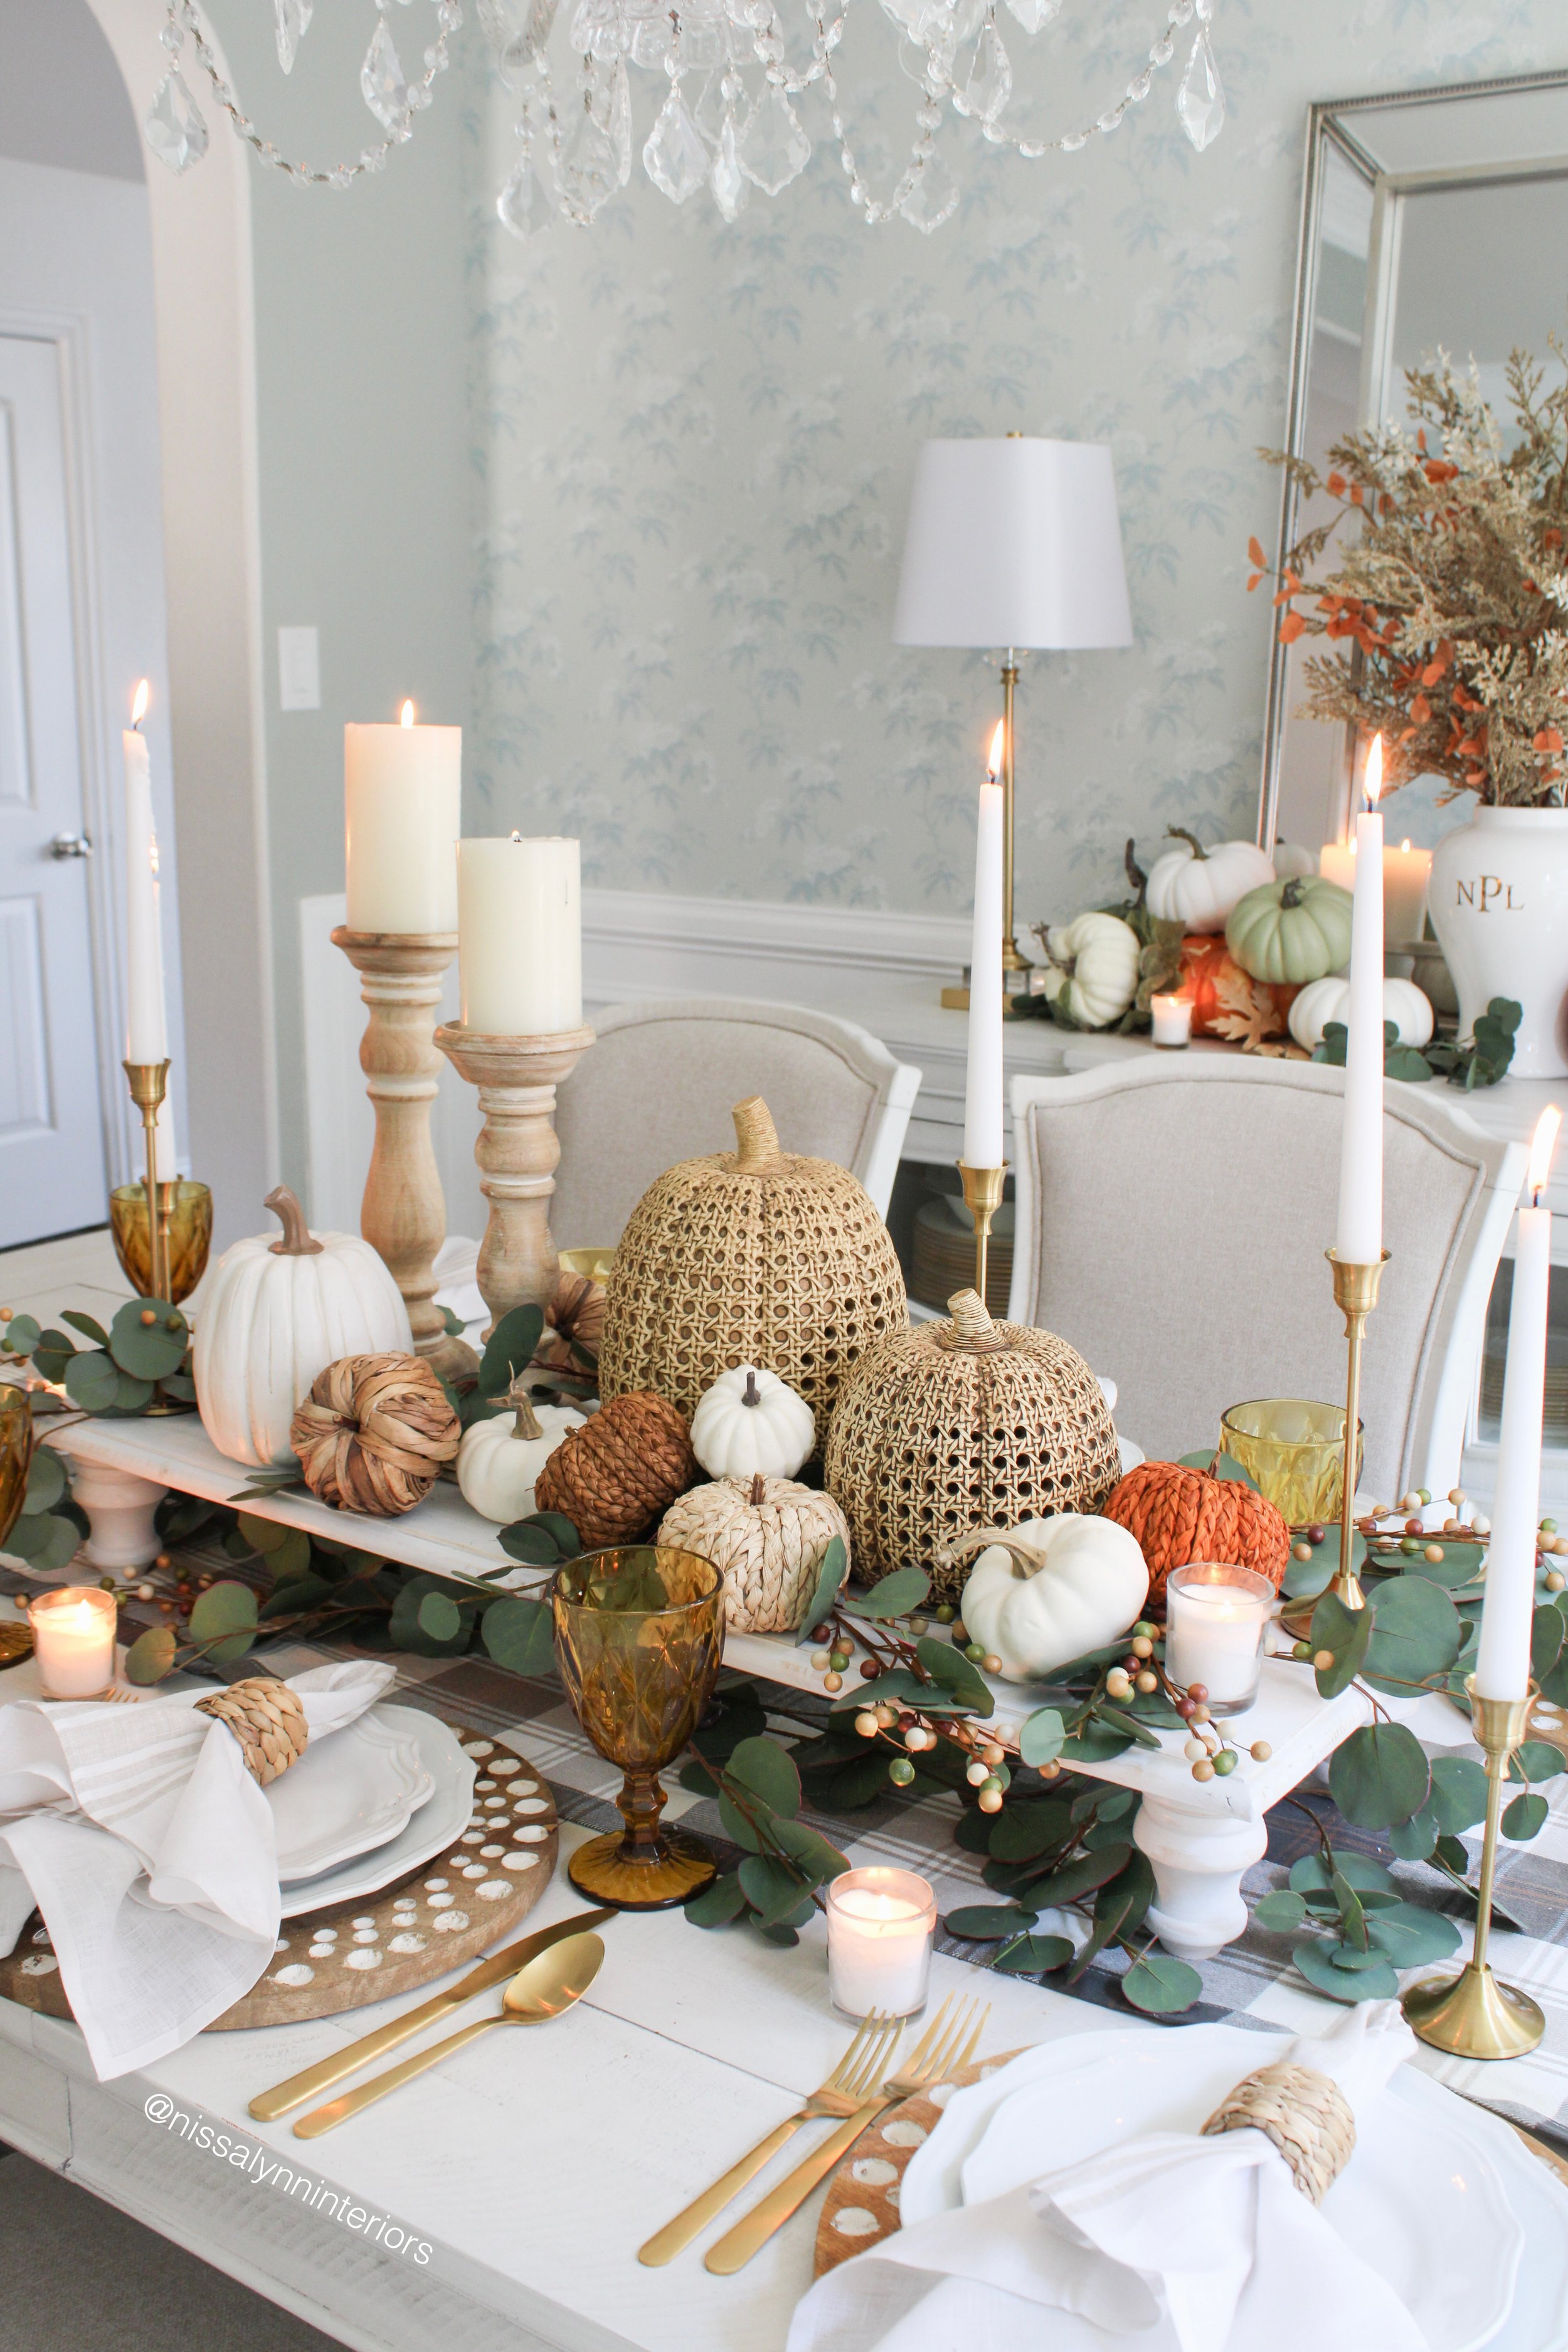
I love to think of an empty table as a canvas, and the pieces as the paint. Creating a Thanksgiving tablescape can be a wonderful way to be creative and expressive. I always start with the centerpiece and make it the focal point of the table.

My table is just over eight feet long, so I wanted to use an extra long elevated centerpiece. But I couldn’t find one in the stores so I decided to make my own! I went to my local hardware store and bought a large board and some furniture feet.

Once home, I gathered the materials and planned out my next steps. To make this centerpiece a bit more interesting, I used a router to create a decorative edge. If you don’t have a router, or want a simpler technique, just use sandpaper to round off the corners for a smooth finished look.

Afterwards, I drilled holes in one side of the board and hammered in threaded plugs to attach the feet. With the feet attached, it was time to paint. I chose a satin white spray paint for a quick durable finish. After the paint dried I went back over it with sandpaper to create a rustic texture for my Thanksgiving tablescape.

 Creating Coziness with Decor

With the board complete, it was time to decorate the table. (My favorite part!) Going around the table I started layering the plates using a charger as a base, followed by the dinner and salad plates. By putting the largest plates down first, it gives me an idea on how much room I have to add the decorative pieces, uch as candles near the centerpiece. 

Next I place the glasses, silverware napkins with napkin holders. (There’s a wide assortment of napkin holders available.) I love to mix in florals, pumpkins, faux leaves, and sprinkle them around the Thanksgiving table to create ambiance. You could also incorporate a small charcuterie board mixed in with the decor. 

I hope these ideas spark your creativity and get you excited for the upcoming holiday season! 
A Royal Christmas Tree

A few months ago I had the amazing opportunity to visit the Decorator's Warehouse in Arlington, TX. It was truly like stepping into a Christmas wonderland! Lights were twinkling everywhere, and themed Christmas trees were decorated to perfection!

B5460E58-4E9E-408F-8ECA-8196C941872B.jpeg

I met with Kristen, whose family has owned Decorator’s Warehouse for years, to pick out items to decorate a themed Christmas tree as part of the Home for the Holidays Christmas Tree Challenge with Decorator's Warehouse. #DWChristmasAtHome.

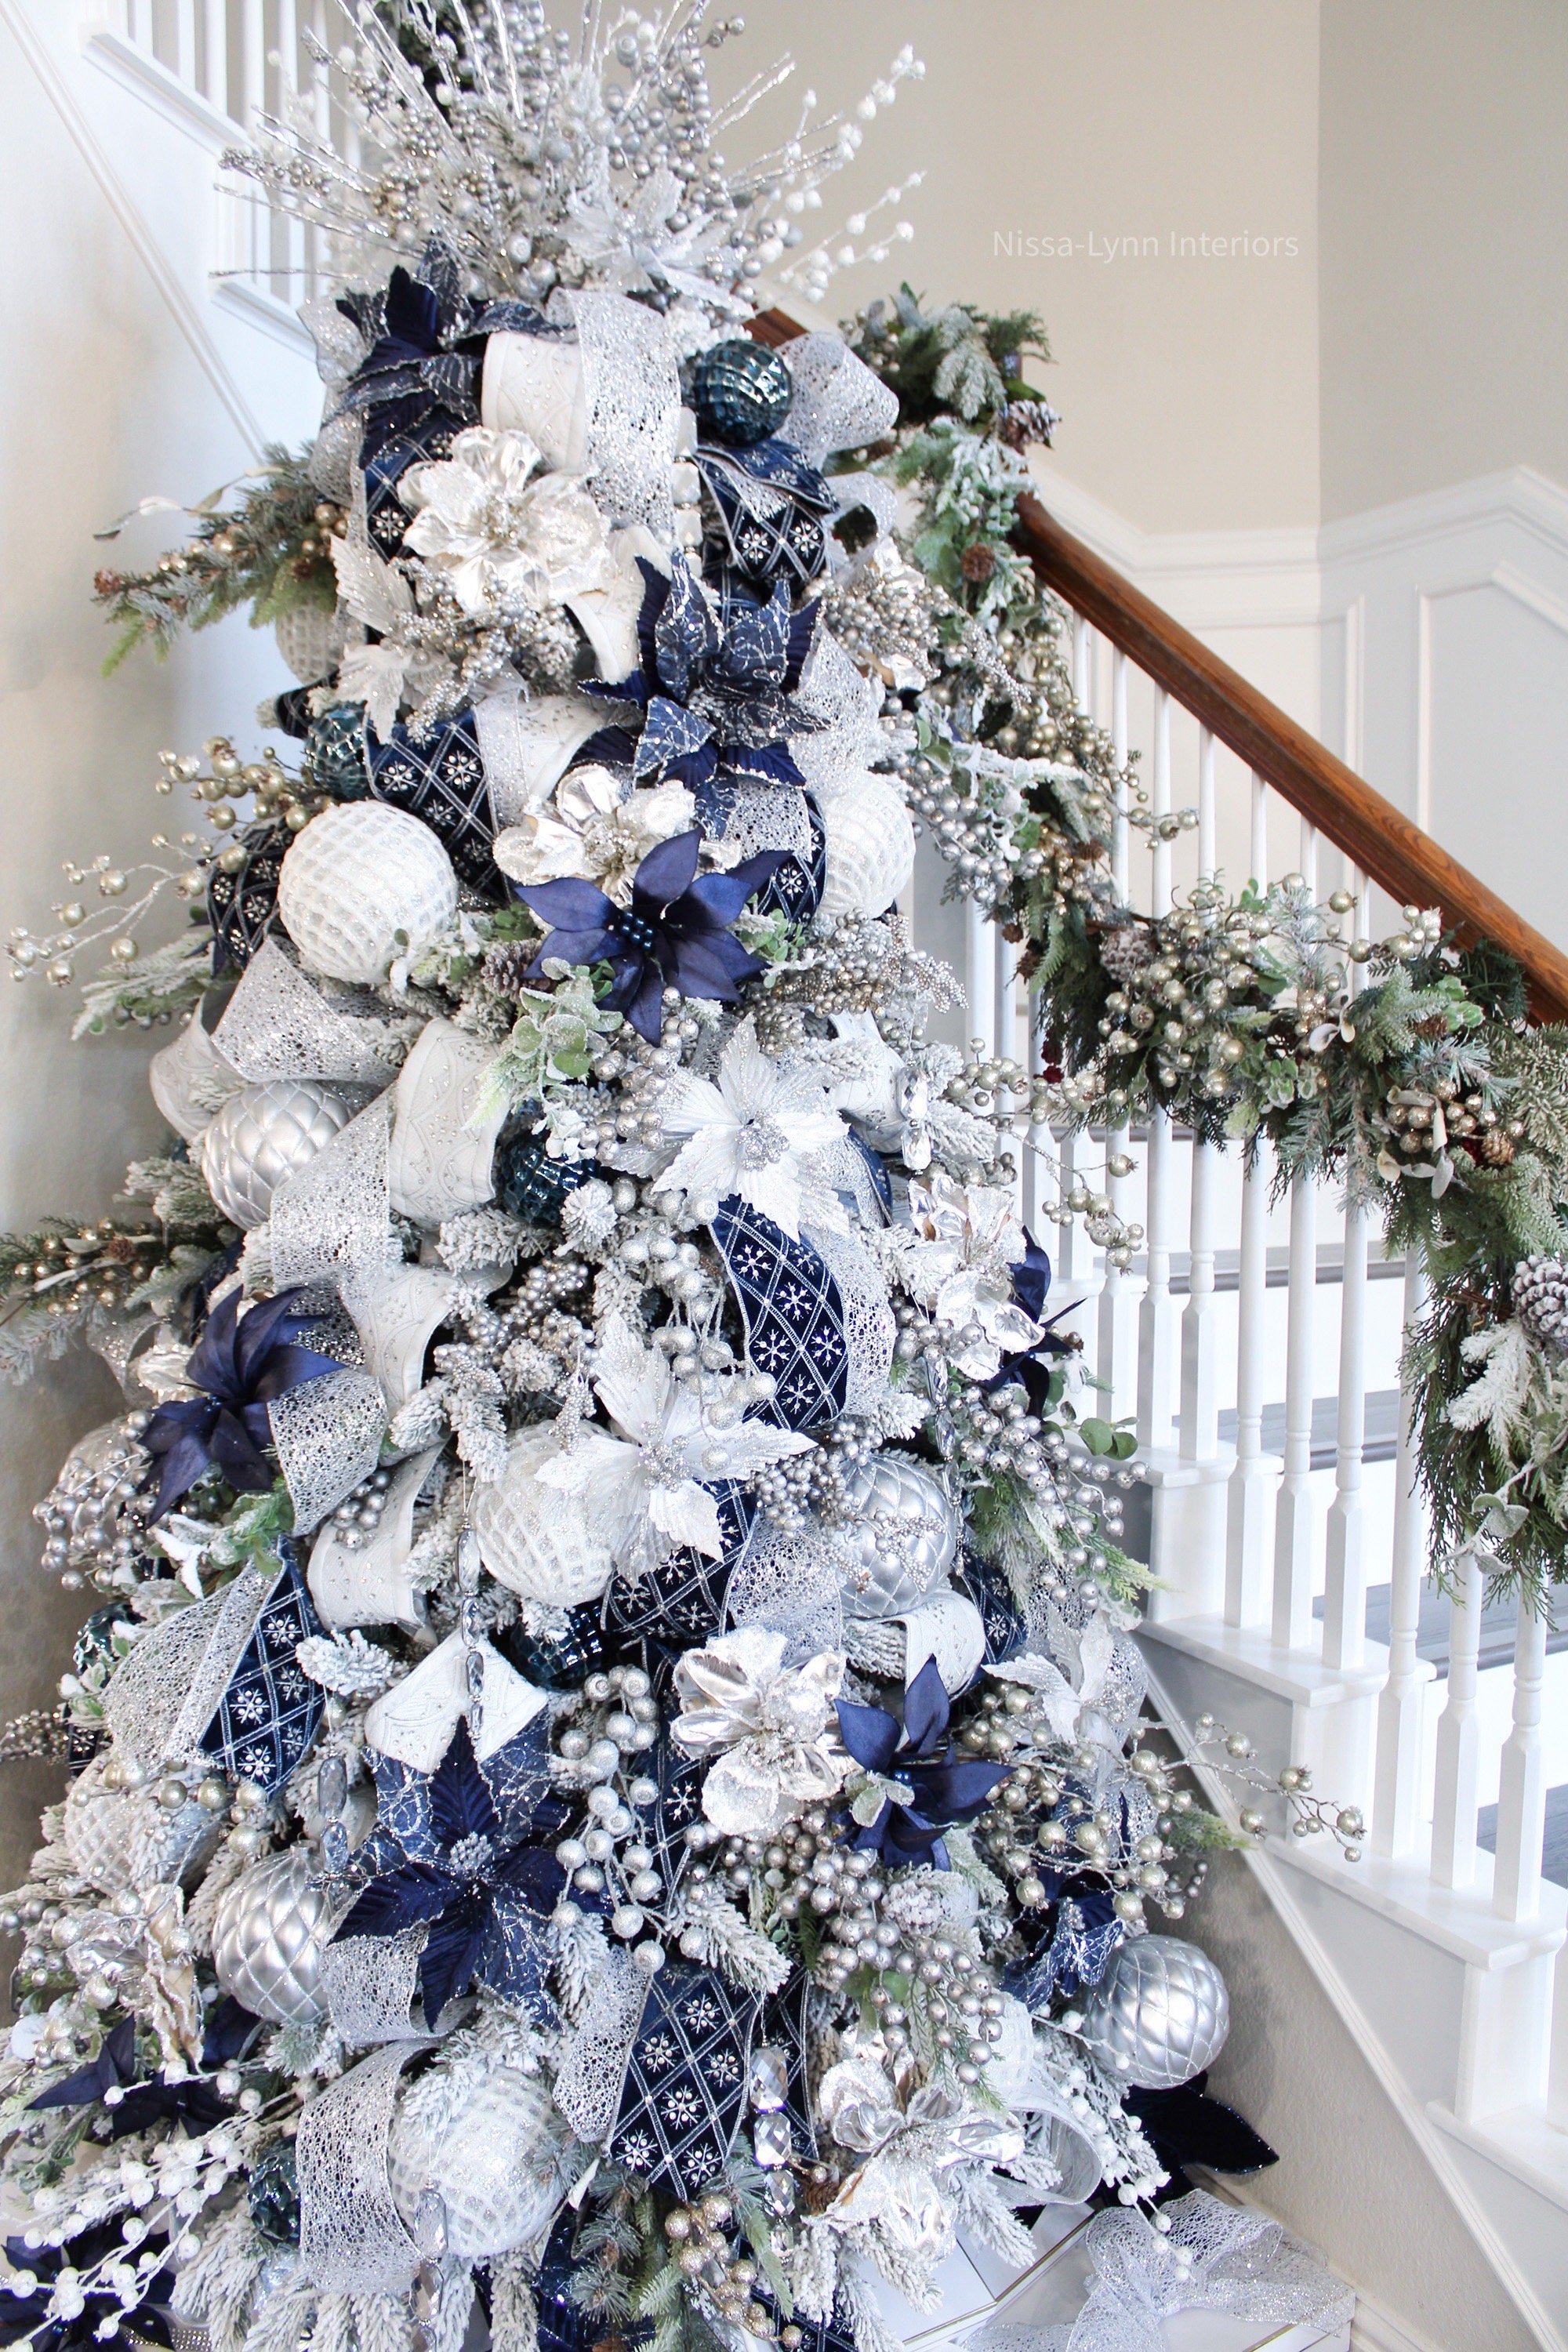
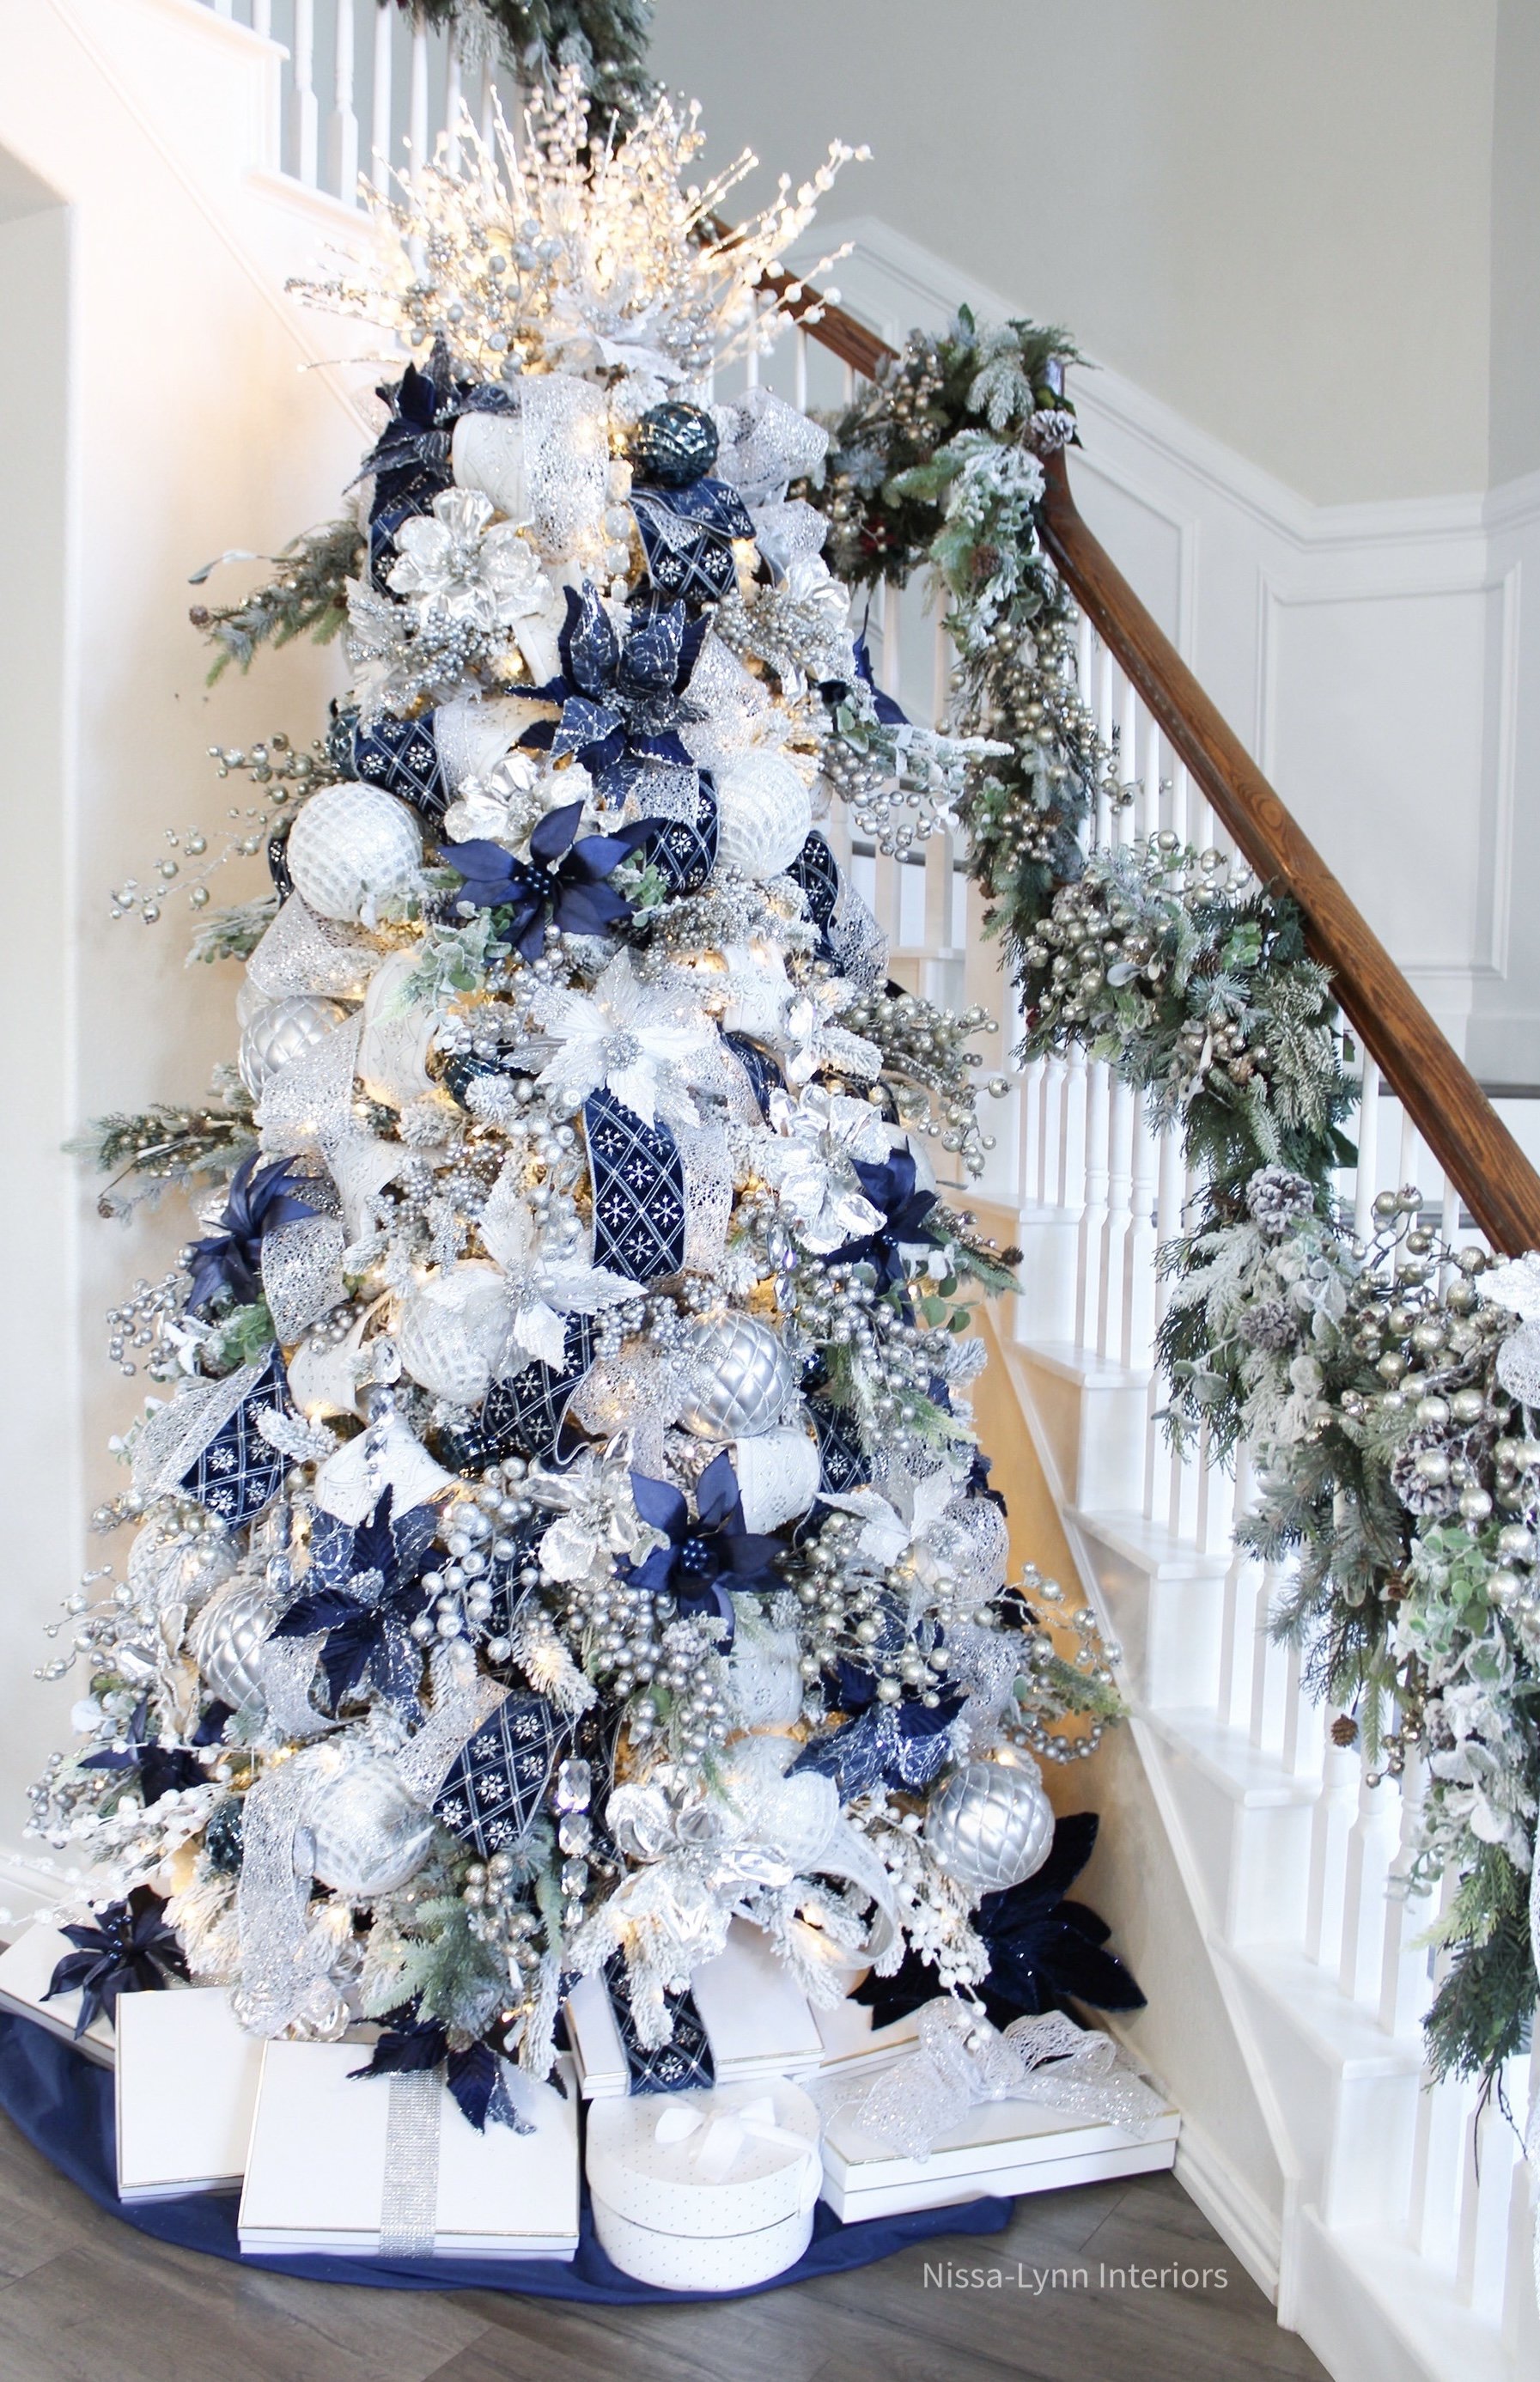
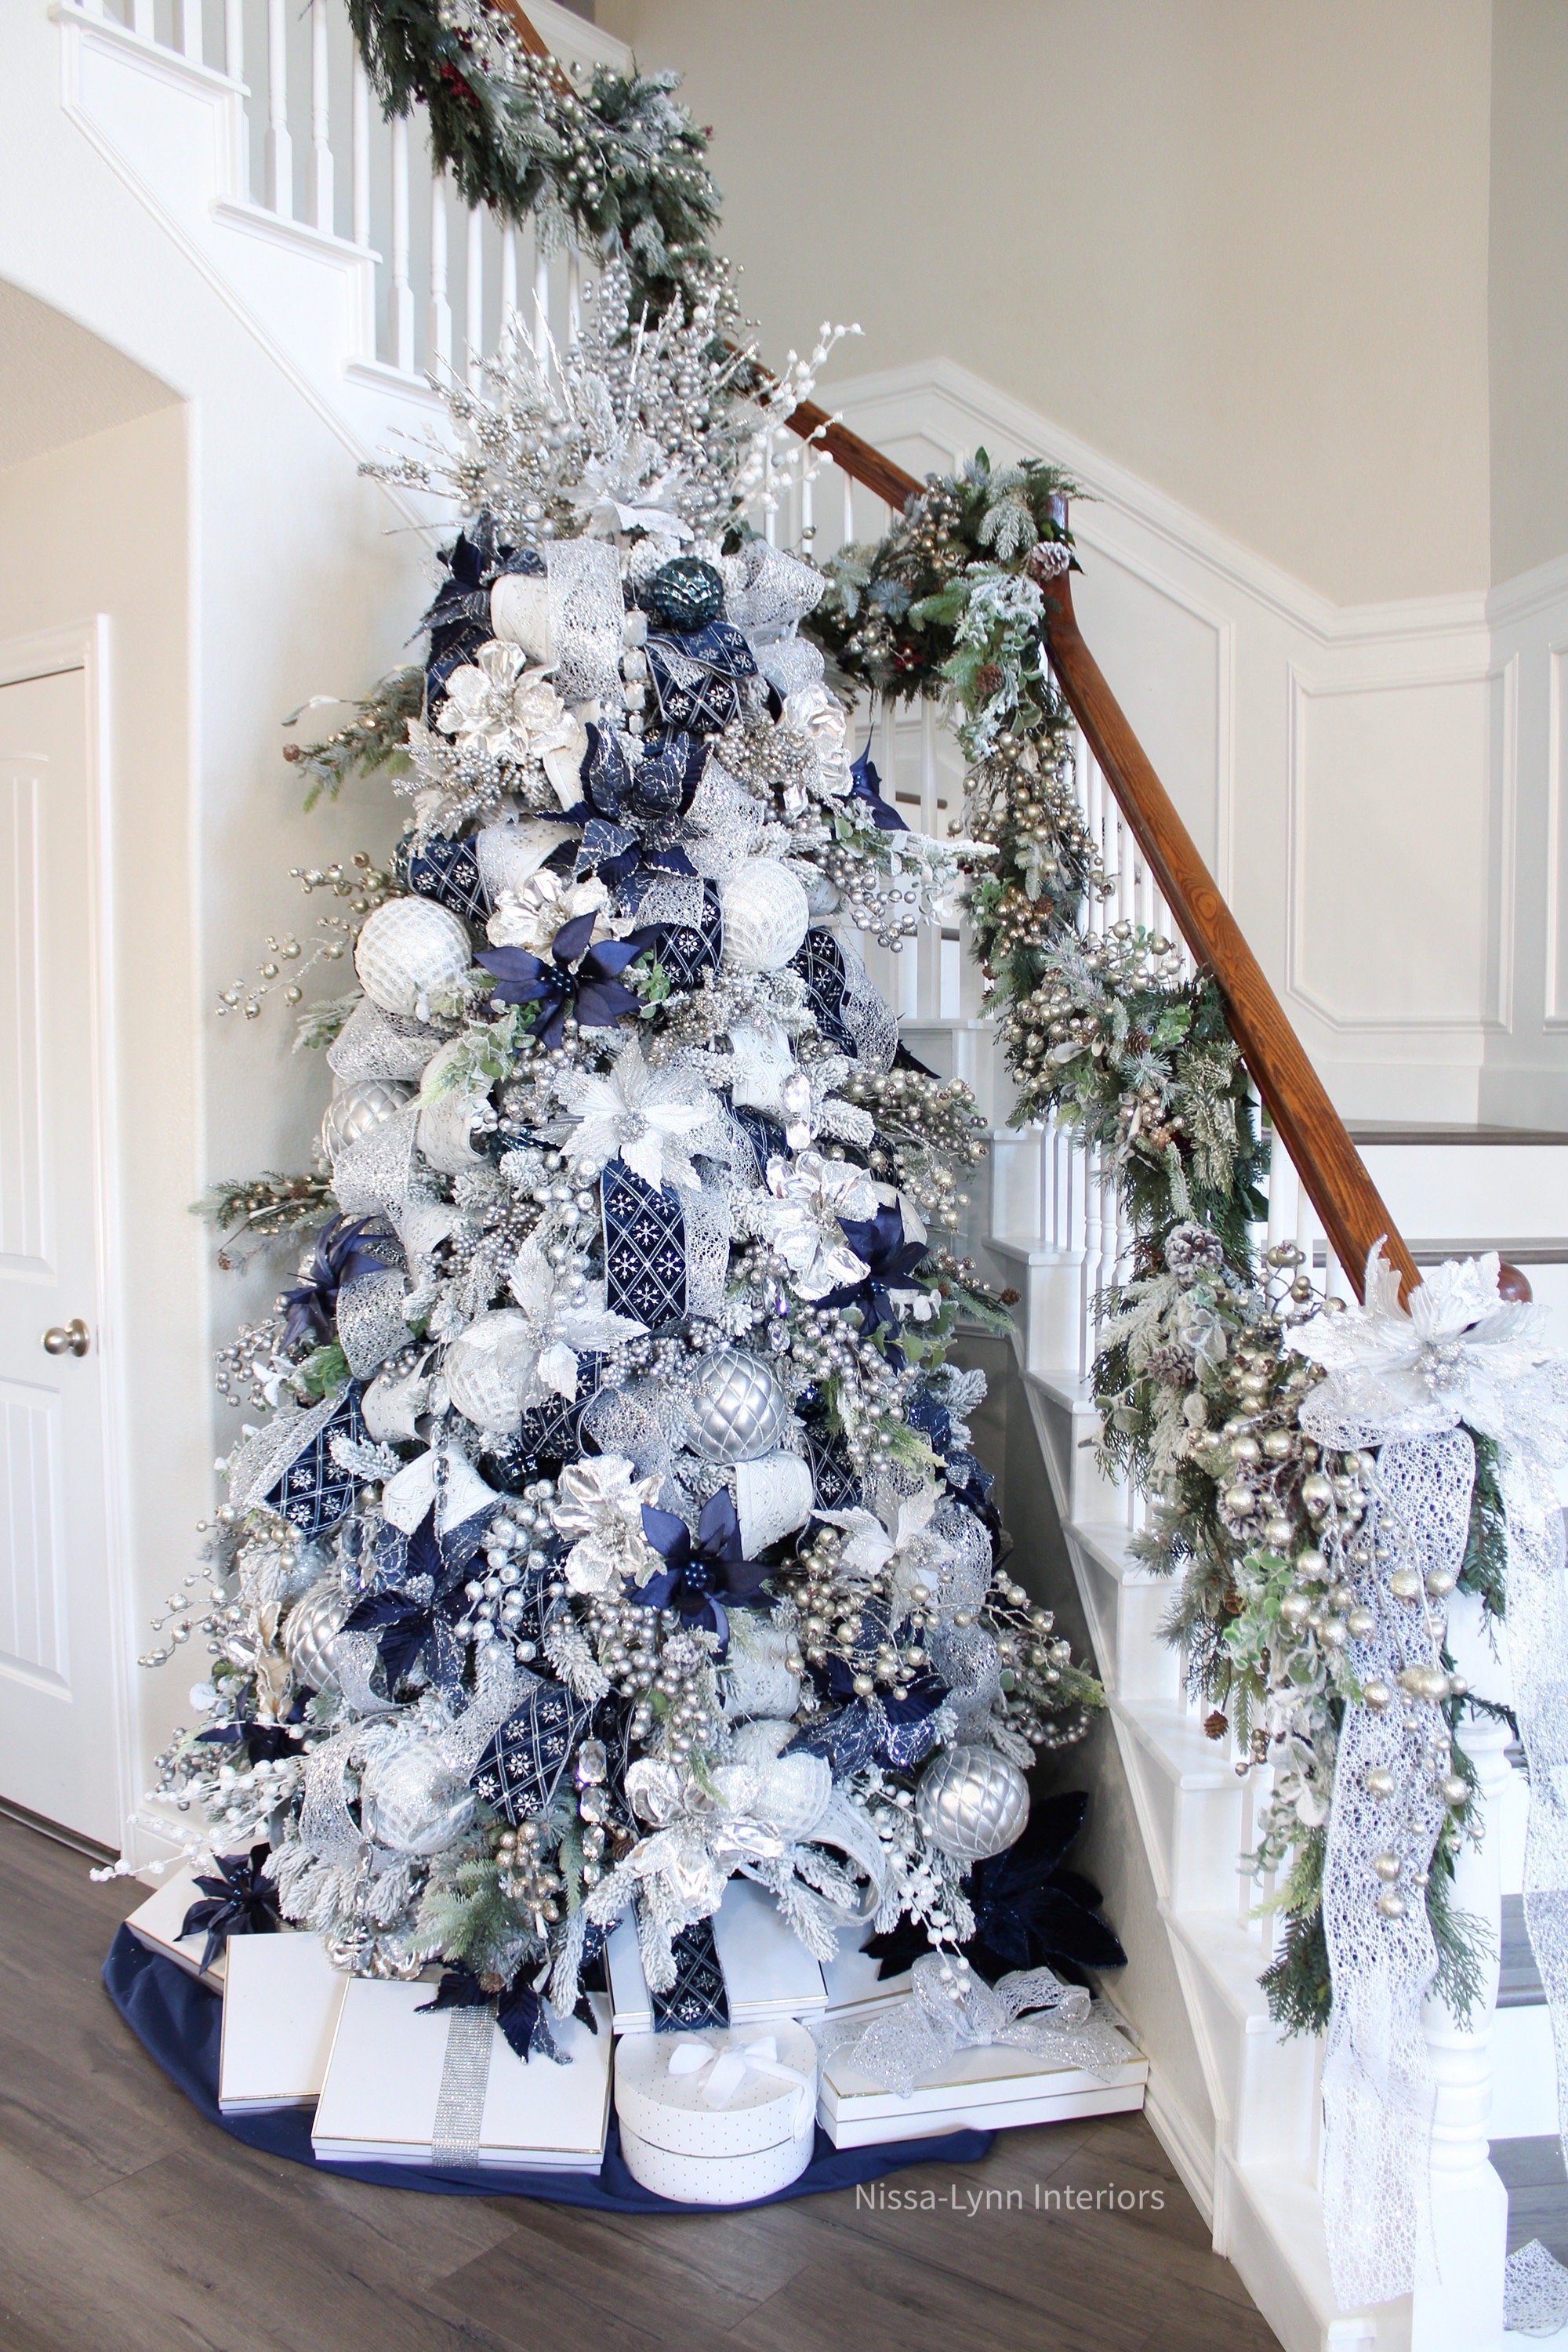
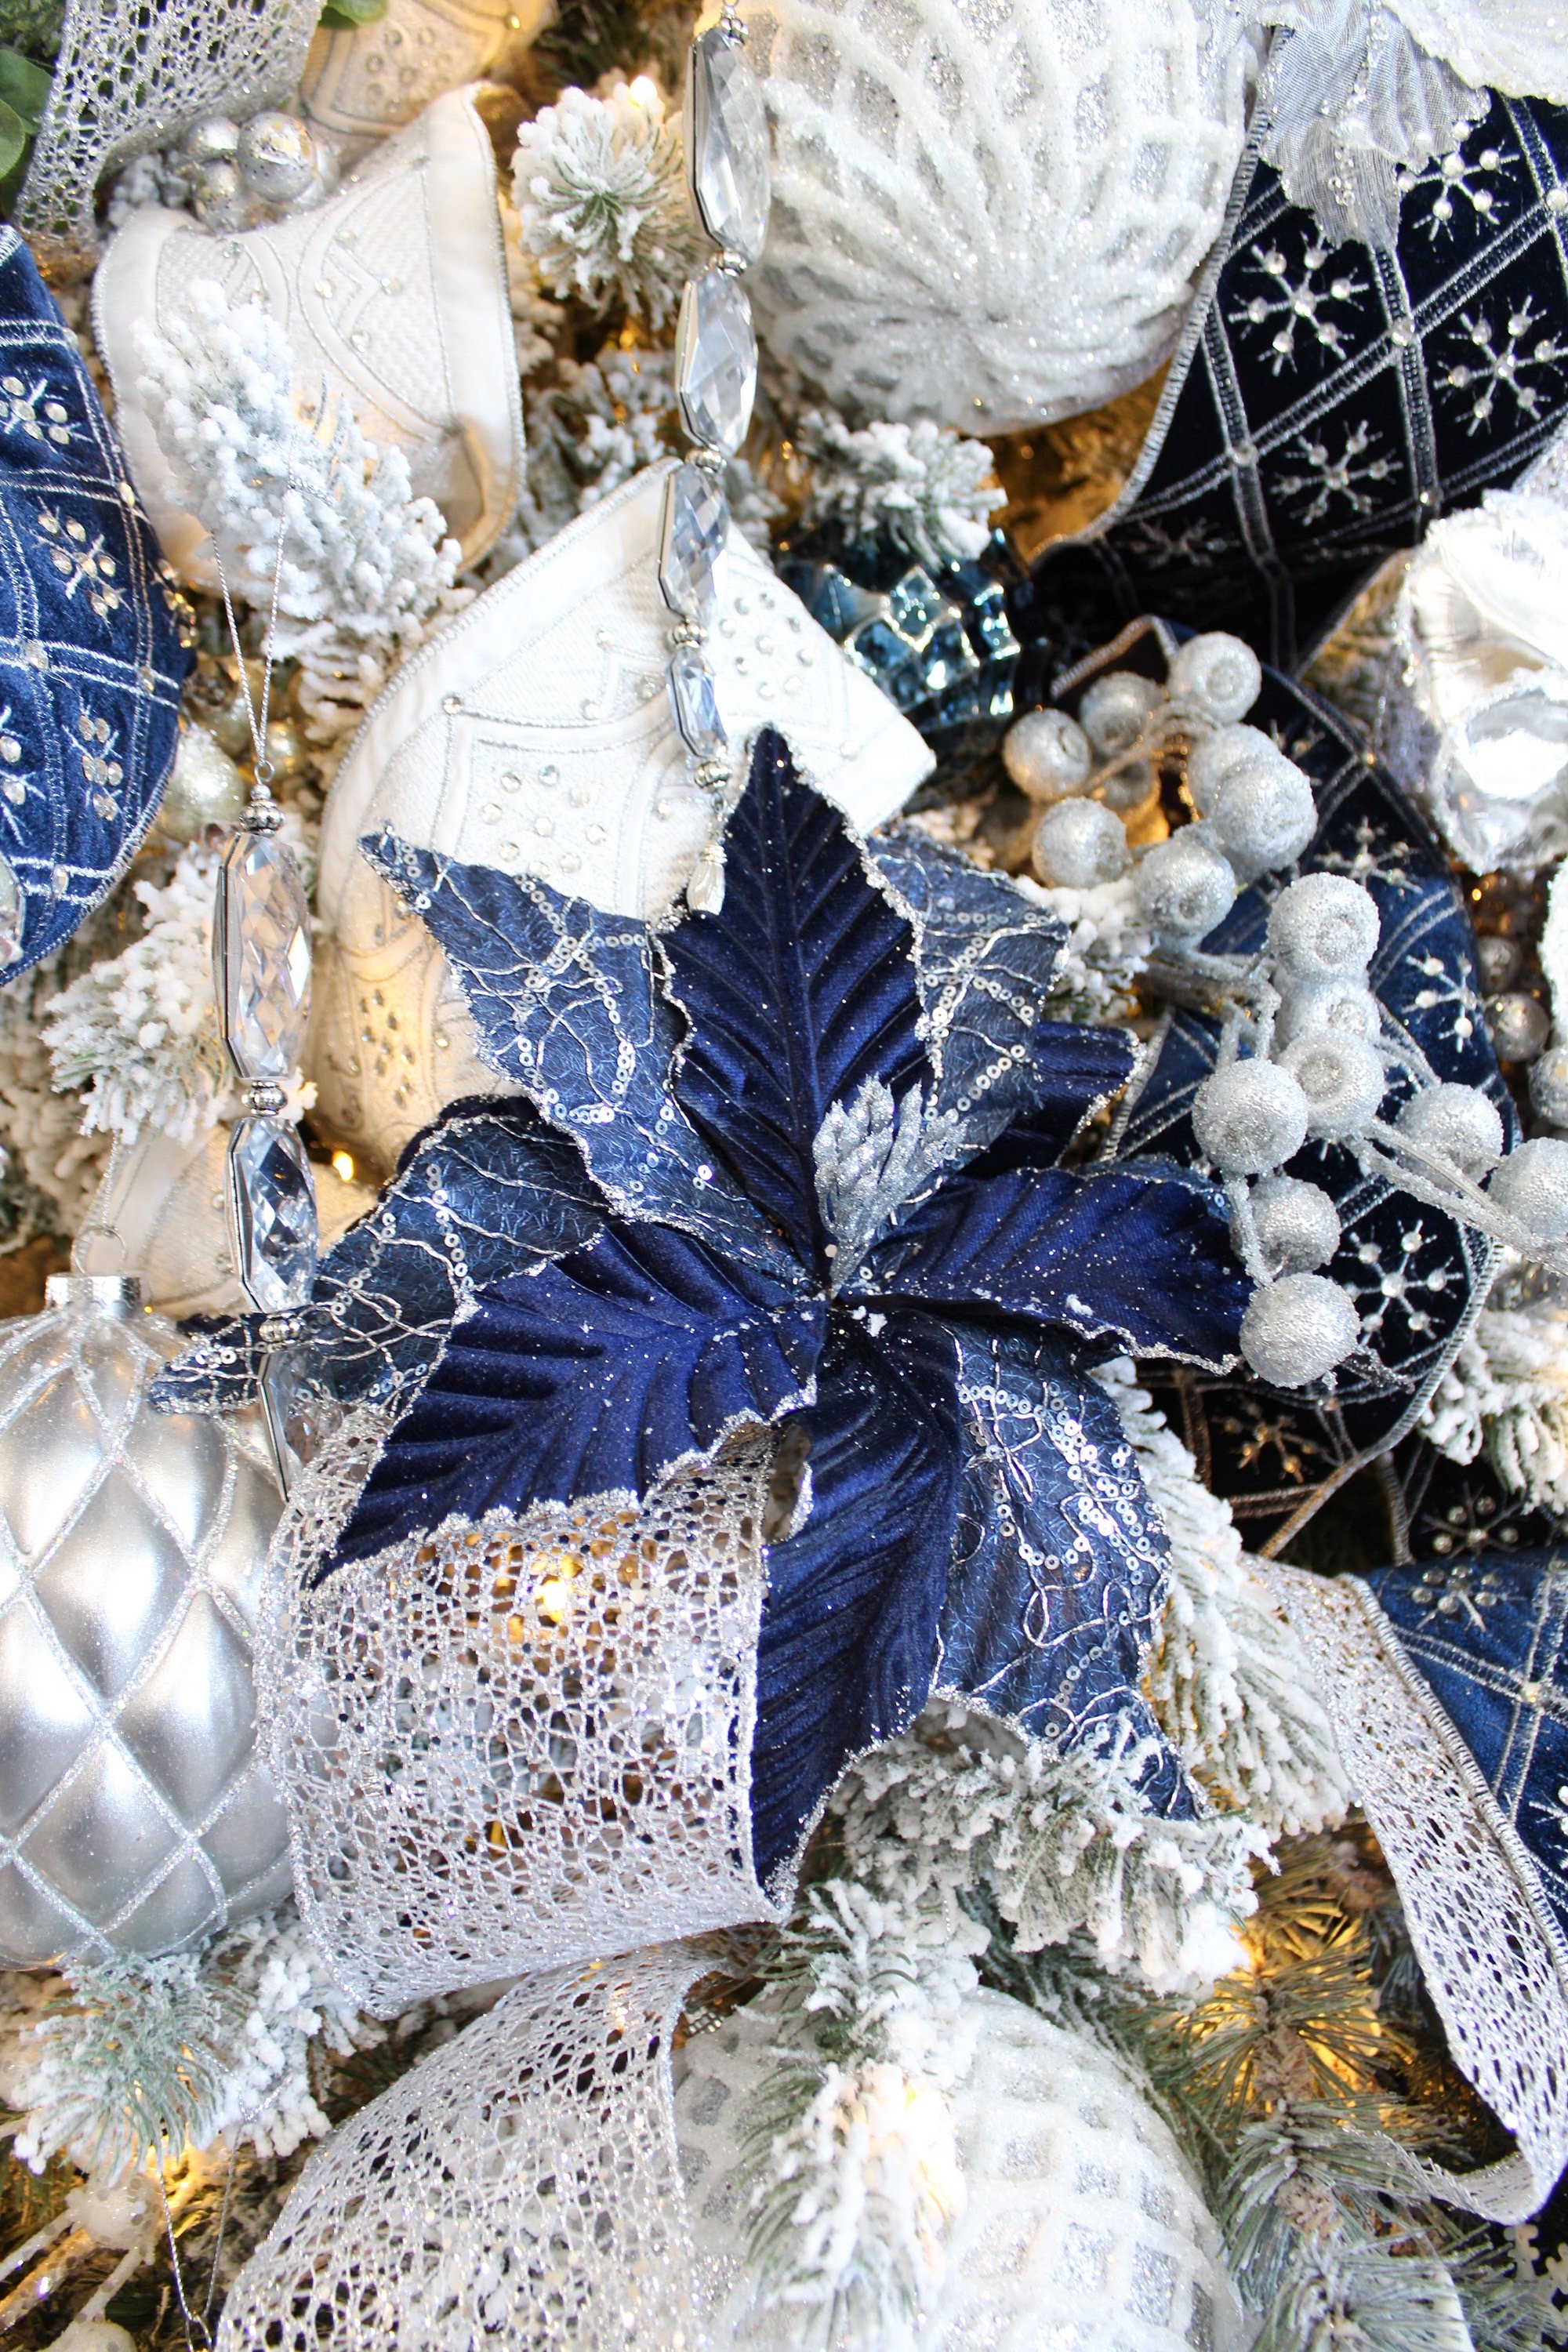
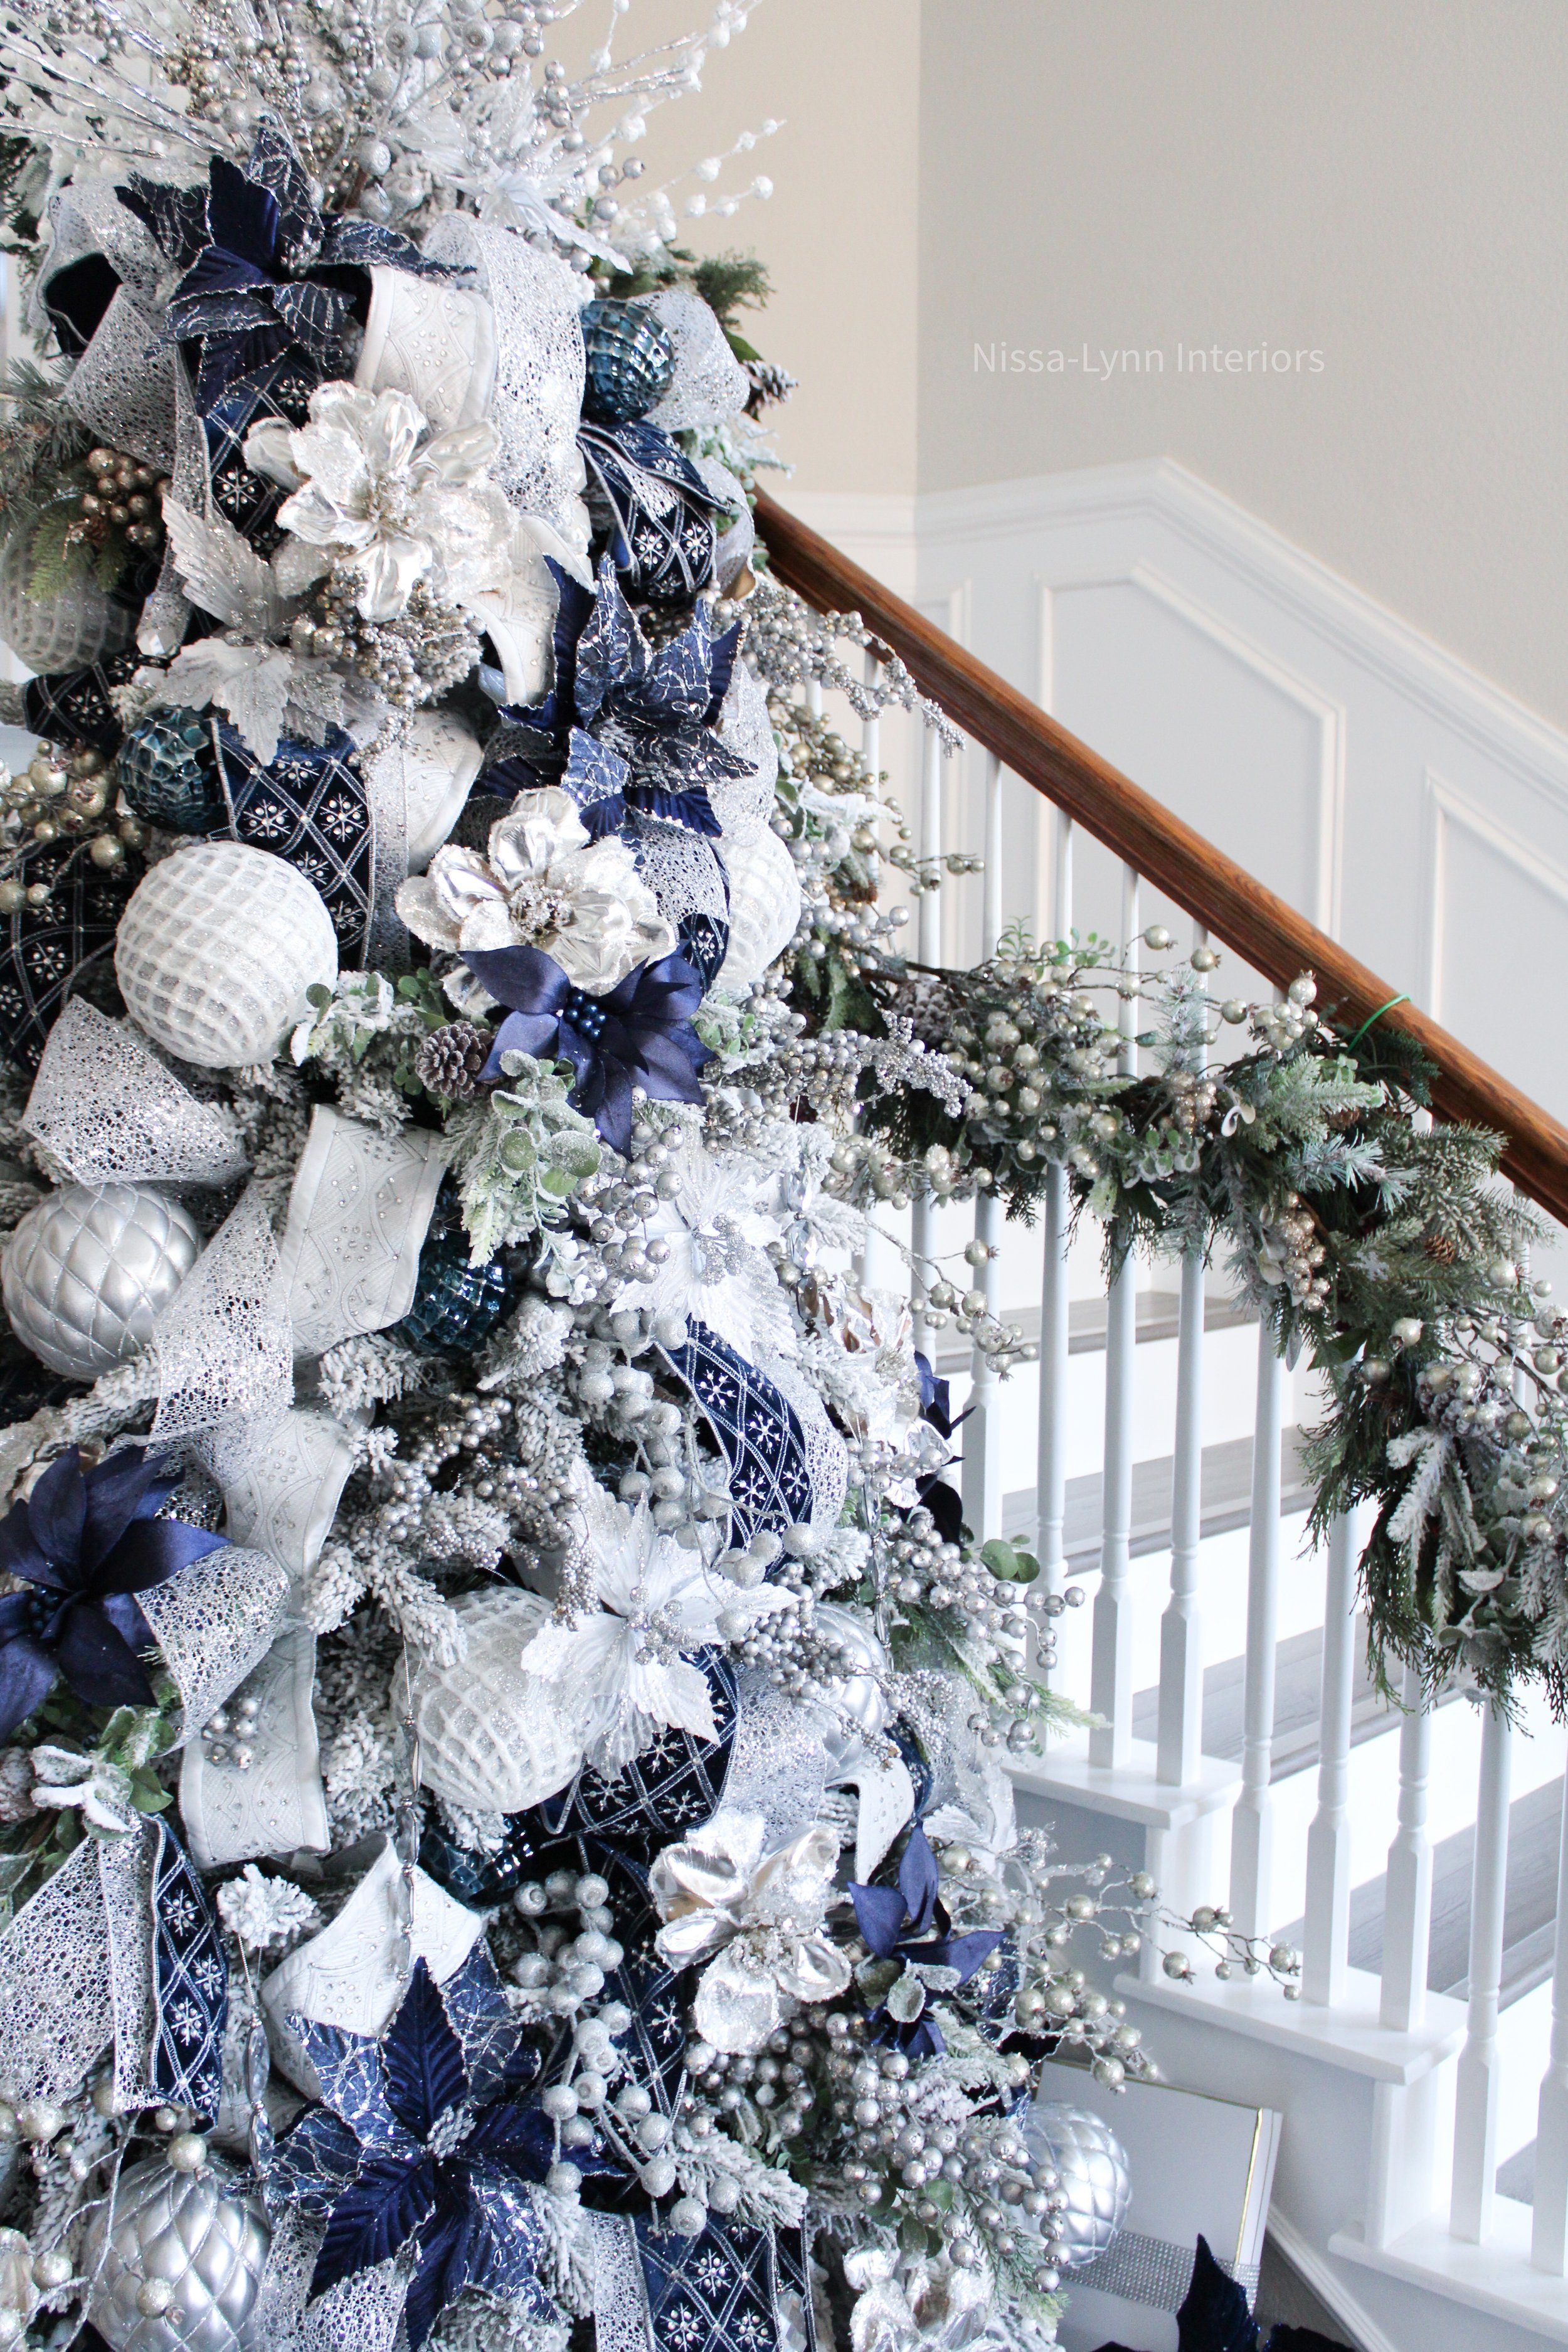
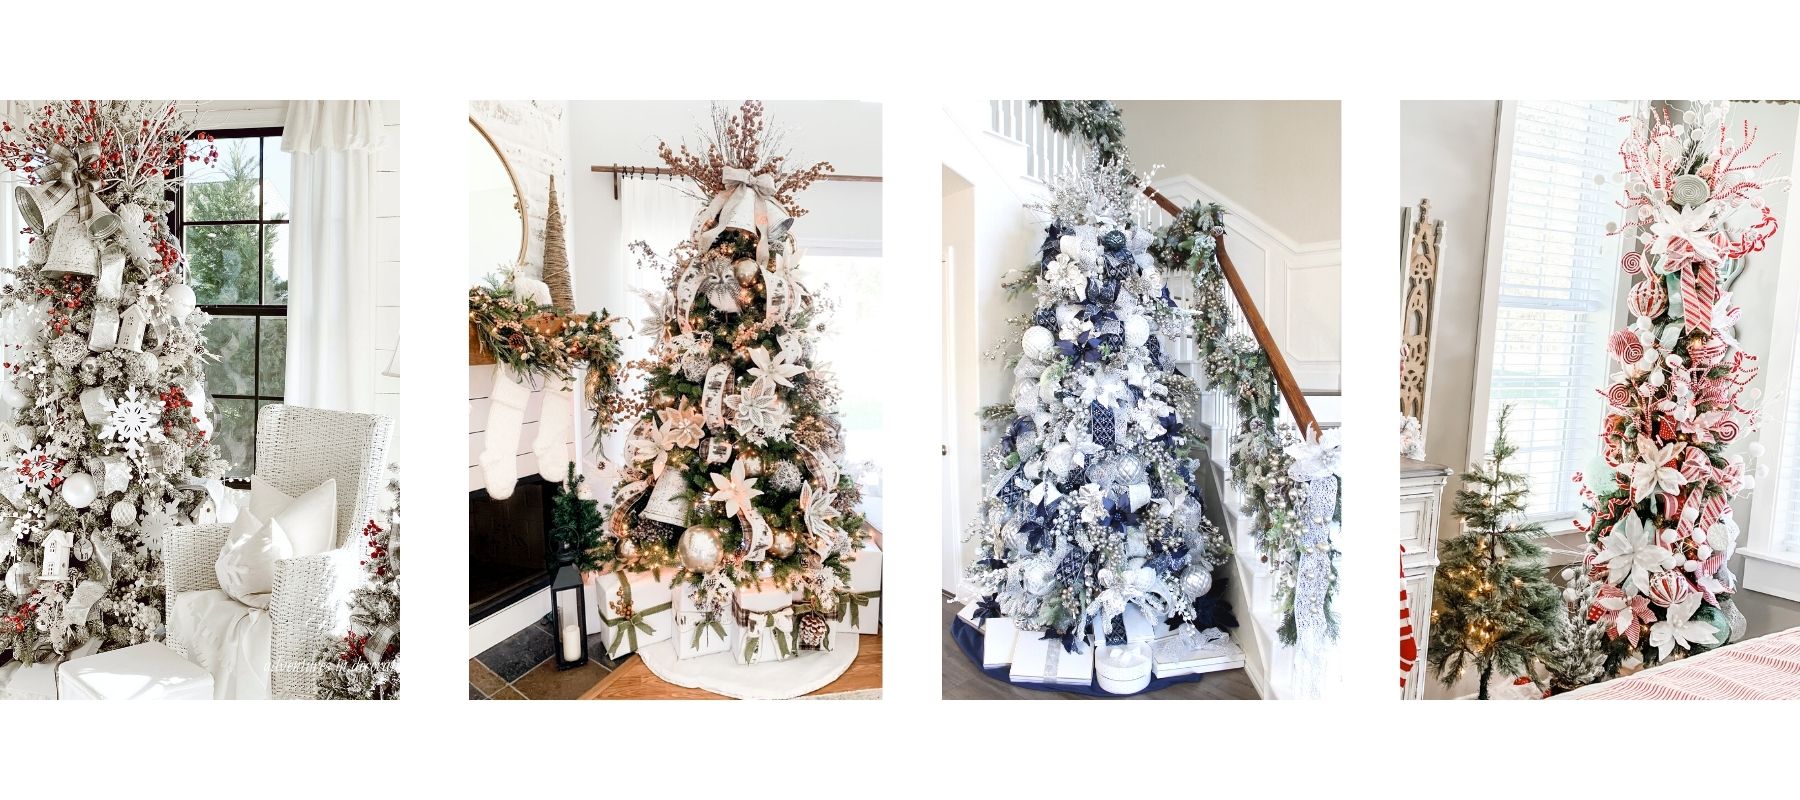
I knew I wanted to go for a regal look with luxurious Christmas ribbon and Christmas flowers adorned with silver and gold ornaments. I have always loved silver and gold trees and when I saw the navy flowers at the Decorator’s Warehouse store, I knew instantly I wanted to combine the two looks of silver and gold with navy accents to create an elegant Christmas tree with lots of sparkle and shine!

My love for elegant Christmas trees started when I was a little girl and frequently visited Macy’s department store on 33rd street in Manhattan, NYC. I remember being in awe of all the large shining Christmas ornaments, lights, and stunning ribbon. The department store felt like a palace.
Drawing upon those memories, I used silver, gold, and navy to bring my regal Christmas tree to life!✨

To  get started, I made fourteen clusters (groupings) with one flocked and champagne crabapple spray, a poinsettia stem and white Christmas flower. I then wrapped the stems around each other to secure them. Next I applied my navy blue velet Chrstimas ribbon in 2 ½ feet strips throughout the tree and added the larger balls. I placed in two different types: The Silver/White Christmas ornament and the 15 CM Glitter ball. After that I added tree different types of flowers - two white and one navy blue, along with a small navy blue ornament for an addition pop of the navy blue color. I also added the crystals to give the Christmas tree an extra dose of glam! The final step was to add several different sparkle sprays.

To simply:

  1. Make clusters.

  2. Add ribbon to Christmas tree. 

  3. Add two different types of large ornaments.

  4. Add four types of flowers and small ornaments.

  5. Add sprays to fill in any gaps or holes.

Click here for all the sources for my Christmas tree! Plus you can use code NISSALYNNINTERIORS at checkout for 10% off your purchase at Decorator’s Warehouse

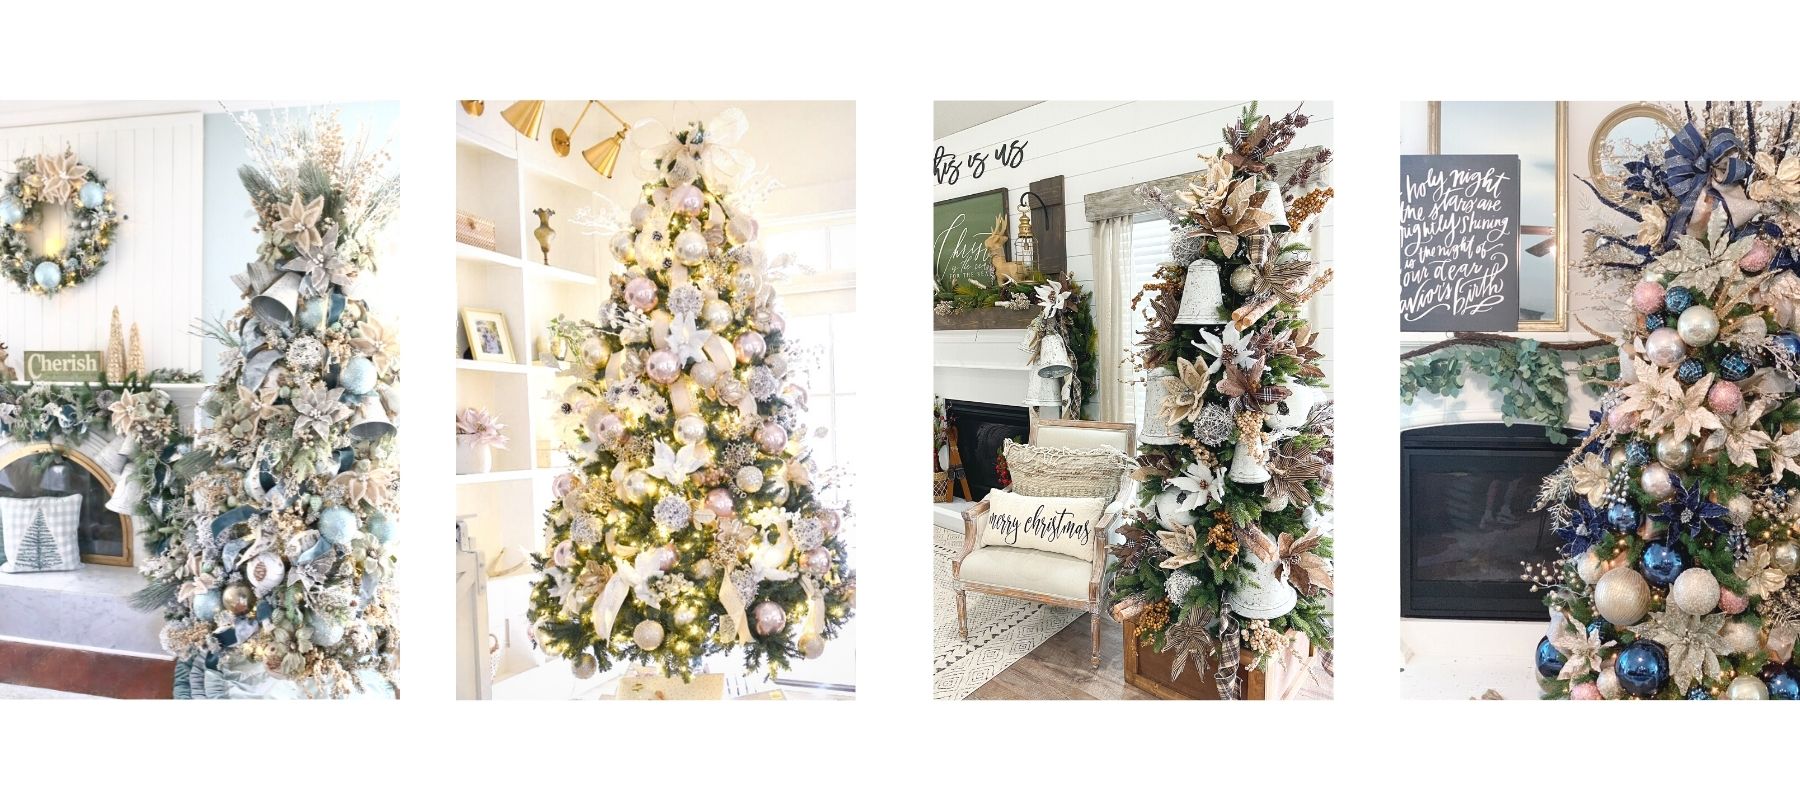
 I hope you enjoyed my new regal tree. Check some of my friends’ beautiful Decorator’s Warehouse Christmas trees below!

Falling For Fall

Do you like to change up your fall decor look? Every year I love to change up my fall decor. Some years I like to push the boundaries and decorate with pastels and creams, other years I like to stick to neutrals, muted grays or traditional jewel tones. 

I’m excited to show you a collection of my favorite fall photos through the years. Let’s go back five years ago to 2017 and work our way up to 2021.

In 2017 I saw this sage green pumpkin at Micheal’s Craft Store and knew I had to have it! The shape was so perfect and color was so calming. This one pumpkin ended up setting tone for that year’s entire fall look. I then added more soft hues mix with it like faux lambs ears. It was nice to have the light and airy feel cary over summer. To this day, this photo is still one of my most popular liked photos on Instagram. 

I loved that sage green pumpkin so much that I decided to try different coffee table arrangements with it. I created this lovely light colored display bringing in neutral colored florals, greenery in wood vases and a beaded garland.

For the fall of 2018, I decided to go more of a farmhouse rustic look. I celebrated the season with muted grays, soft greenery, and lots of darling farmhouse signs. I also brought in touches sunflowers in neutral colors. Who says you can’t mix sunflowers with fall decor?😉

The cute wood signs and pillows are from Krumpets Home Decor. You can always use code NISSALYNN for 10% off your entire order.

Brought in lots of neutral creams, soft hues and lots of texture during he year 2019. My inspiration came after I took a trip to Hobby Lobby and saw their lovely fall florals. I bought lots of fall colored stems and put them into a custom wood planter box my just built for me. 🍂

I was extra excited to decorate for fall in 2020! I wanted to usher in autumn in with traditional fall colors - but with a twist. I placed bright oranges and browns in my mantle garland, and I love how it looked against the white trim work and light walls. It definitely gave the room a much needed pop of color! I repeated the same colors for the coffee able but added different textured pumpkins. This photo of my coffee table and fall mantel has been shared thousands of times and featured on many social media accounts. It’s one of my favorites for sure!🍁

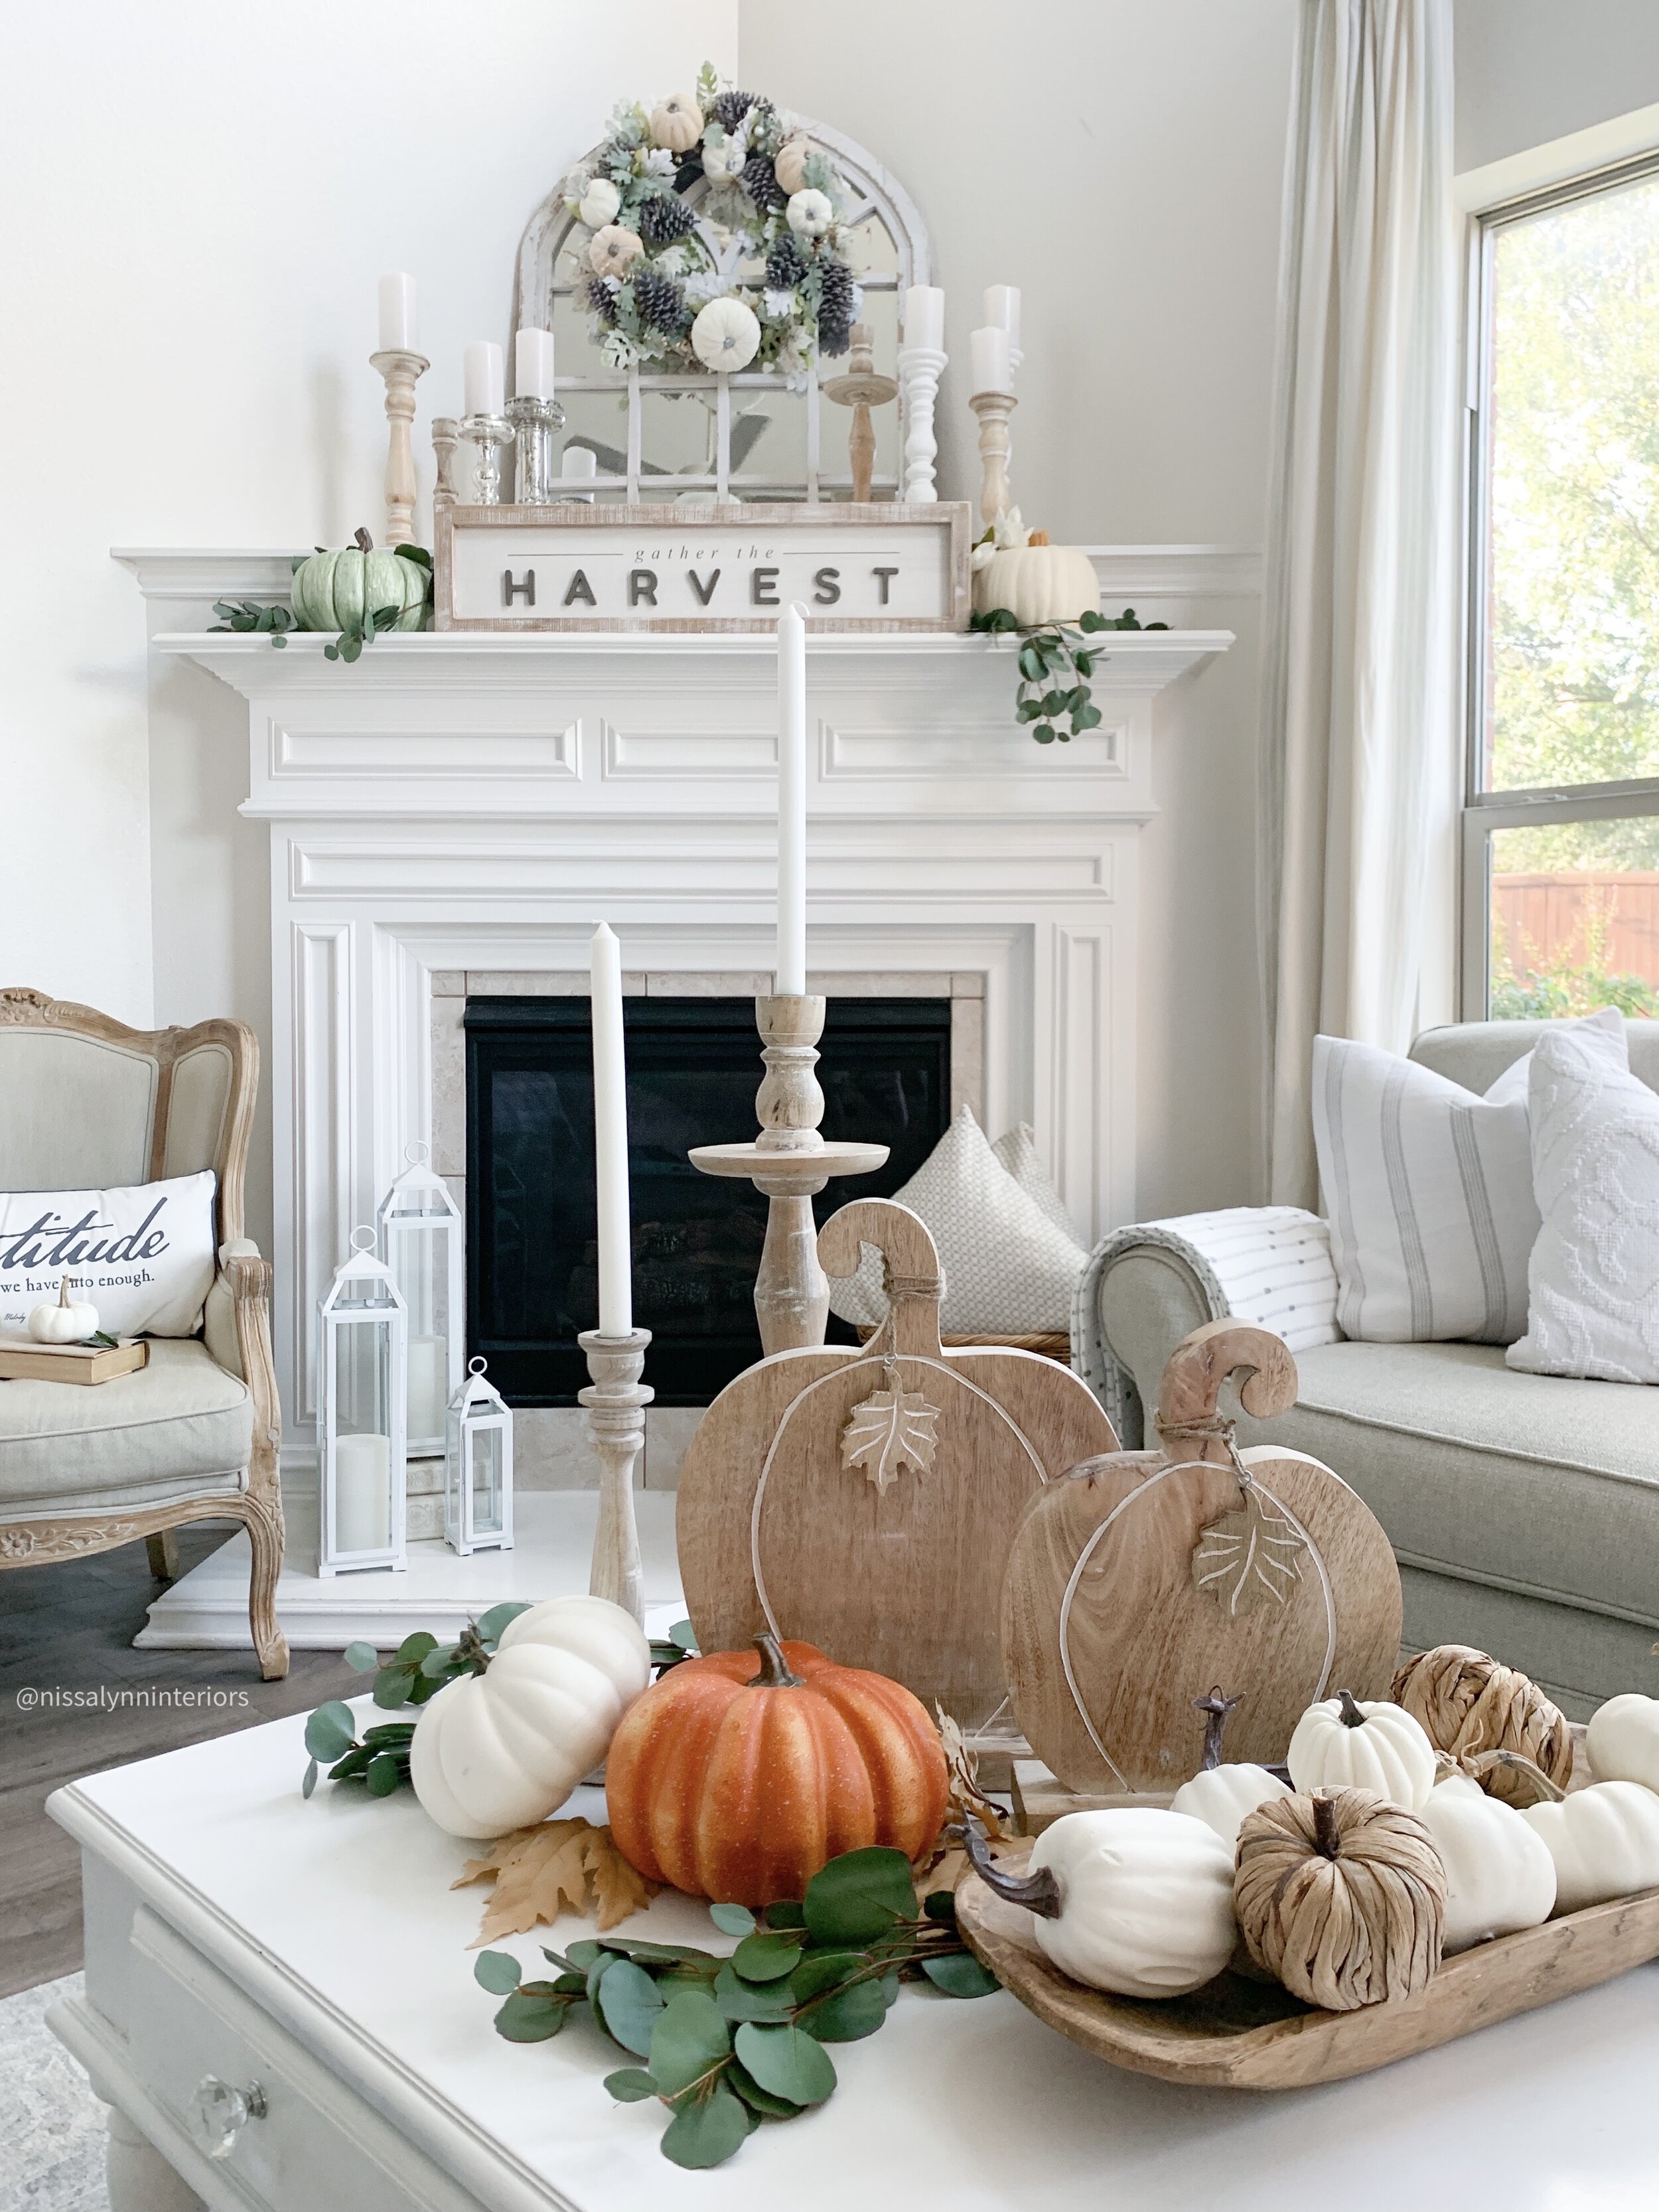
I discovered my love of Mango wood and incorporated it with the candle sticks on my coffee table. The clean leans lines and easy to read font made meI fell in love with this mid century modern sign for my mantle. Plus the mango pumpkins were too cute to not be seen by all.

This year, in 2021, I discovered my love of mango wood and incorporated it this year’s fall decor. I knew this mid century modern sign would be a perfect fit for my mantle - because of the clean lines and easy to read font.

These darling mango pumpkins are from Krumpets home. You can always use code NISSALYNN for 10% off your order at Krumpets.

These darling mango pumpkins are from Krumpets home. You can always use code NISSALYNN for 10% off your order at Krumpets.

I purchased these rattan pumpkins this year from Kirklands. I love that light brown color, and I know they will be pieces I will use in years to come!

I purchased these rattan pumpkins this year from Kirklands. I love that light brown color, and I know they will be pieces I will use in years to come!

I also had fun bringing fall decor into the kitchen this year by decorating this tiered tray. I purchase this tiered tray from Hobby Lobby a few years back and it was sage green.  After a year of having it, I spray painted it white to brighten it up.  The wooden leave cut outs are from 12timbers

I also had fun bringing fall decor into the kitchen this year by decorating this tiered tray. I purchase this tiered tray from Hobby Lobby a few years back and it was sage green. After a year of having it, I spray painted it white to brighten it up. The wooden leave cut outs are from 12timbers

Hopefully this has given you lots of fall decorating inspiration!
For links to where you can purchase items in this post click here.

Why I Decorate for Valentine's Day

It’s no secret, I’m obsessed with holidays. I love holidays. I love them because it helps bring a light to my life amidst all the normalcy of the day to day routine. Do I love decorating for them - yes. Is it work and tiring - yes. But the biggest reason that I decorate for holidays is for my family. My mother did the same thing, and her mother decorated as well. (My Aunt used to send me holiday wall clings in the mail for my younger kids. My mom and I would buy 35 mylar heart balloons from Party City and deliver them to friends and neighbors. I also still send Valentines in the mail to ladies I’ve know for years So maybe call it a family thing, in my case it is. Decorating for holidays has become a tradition passed down through the generations - and why? Because it makes people happy. It makes me happy. So here’s my Valentine’s Day decor for this year.

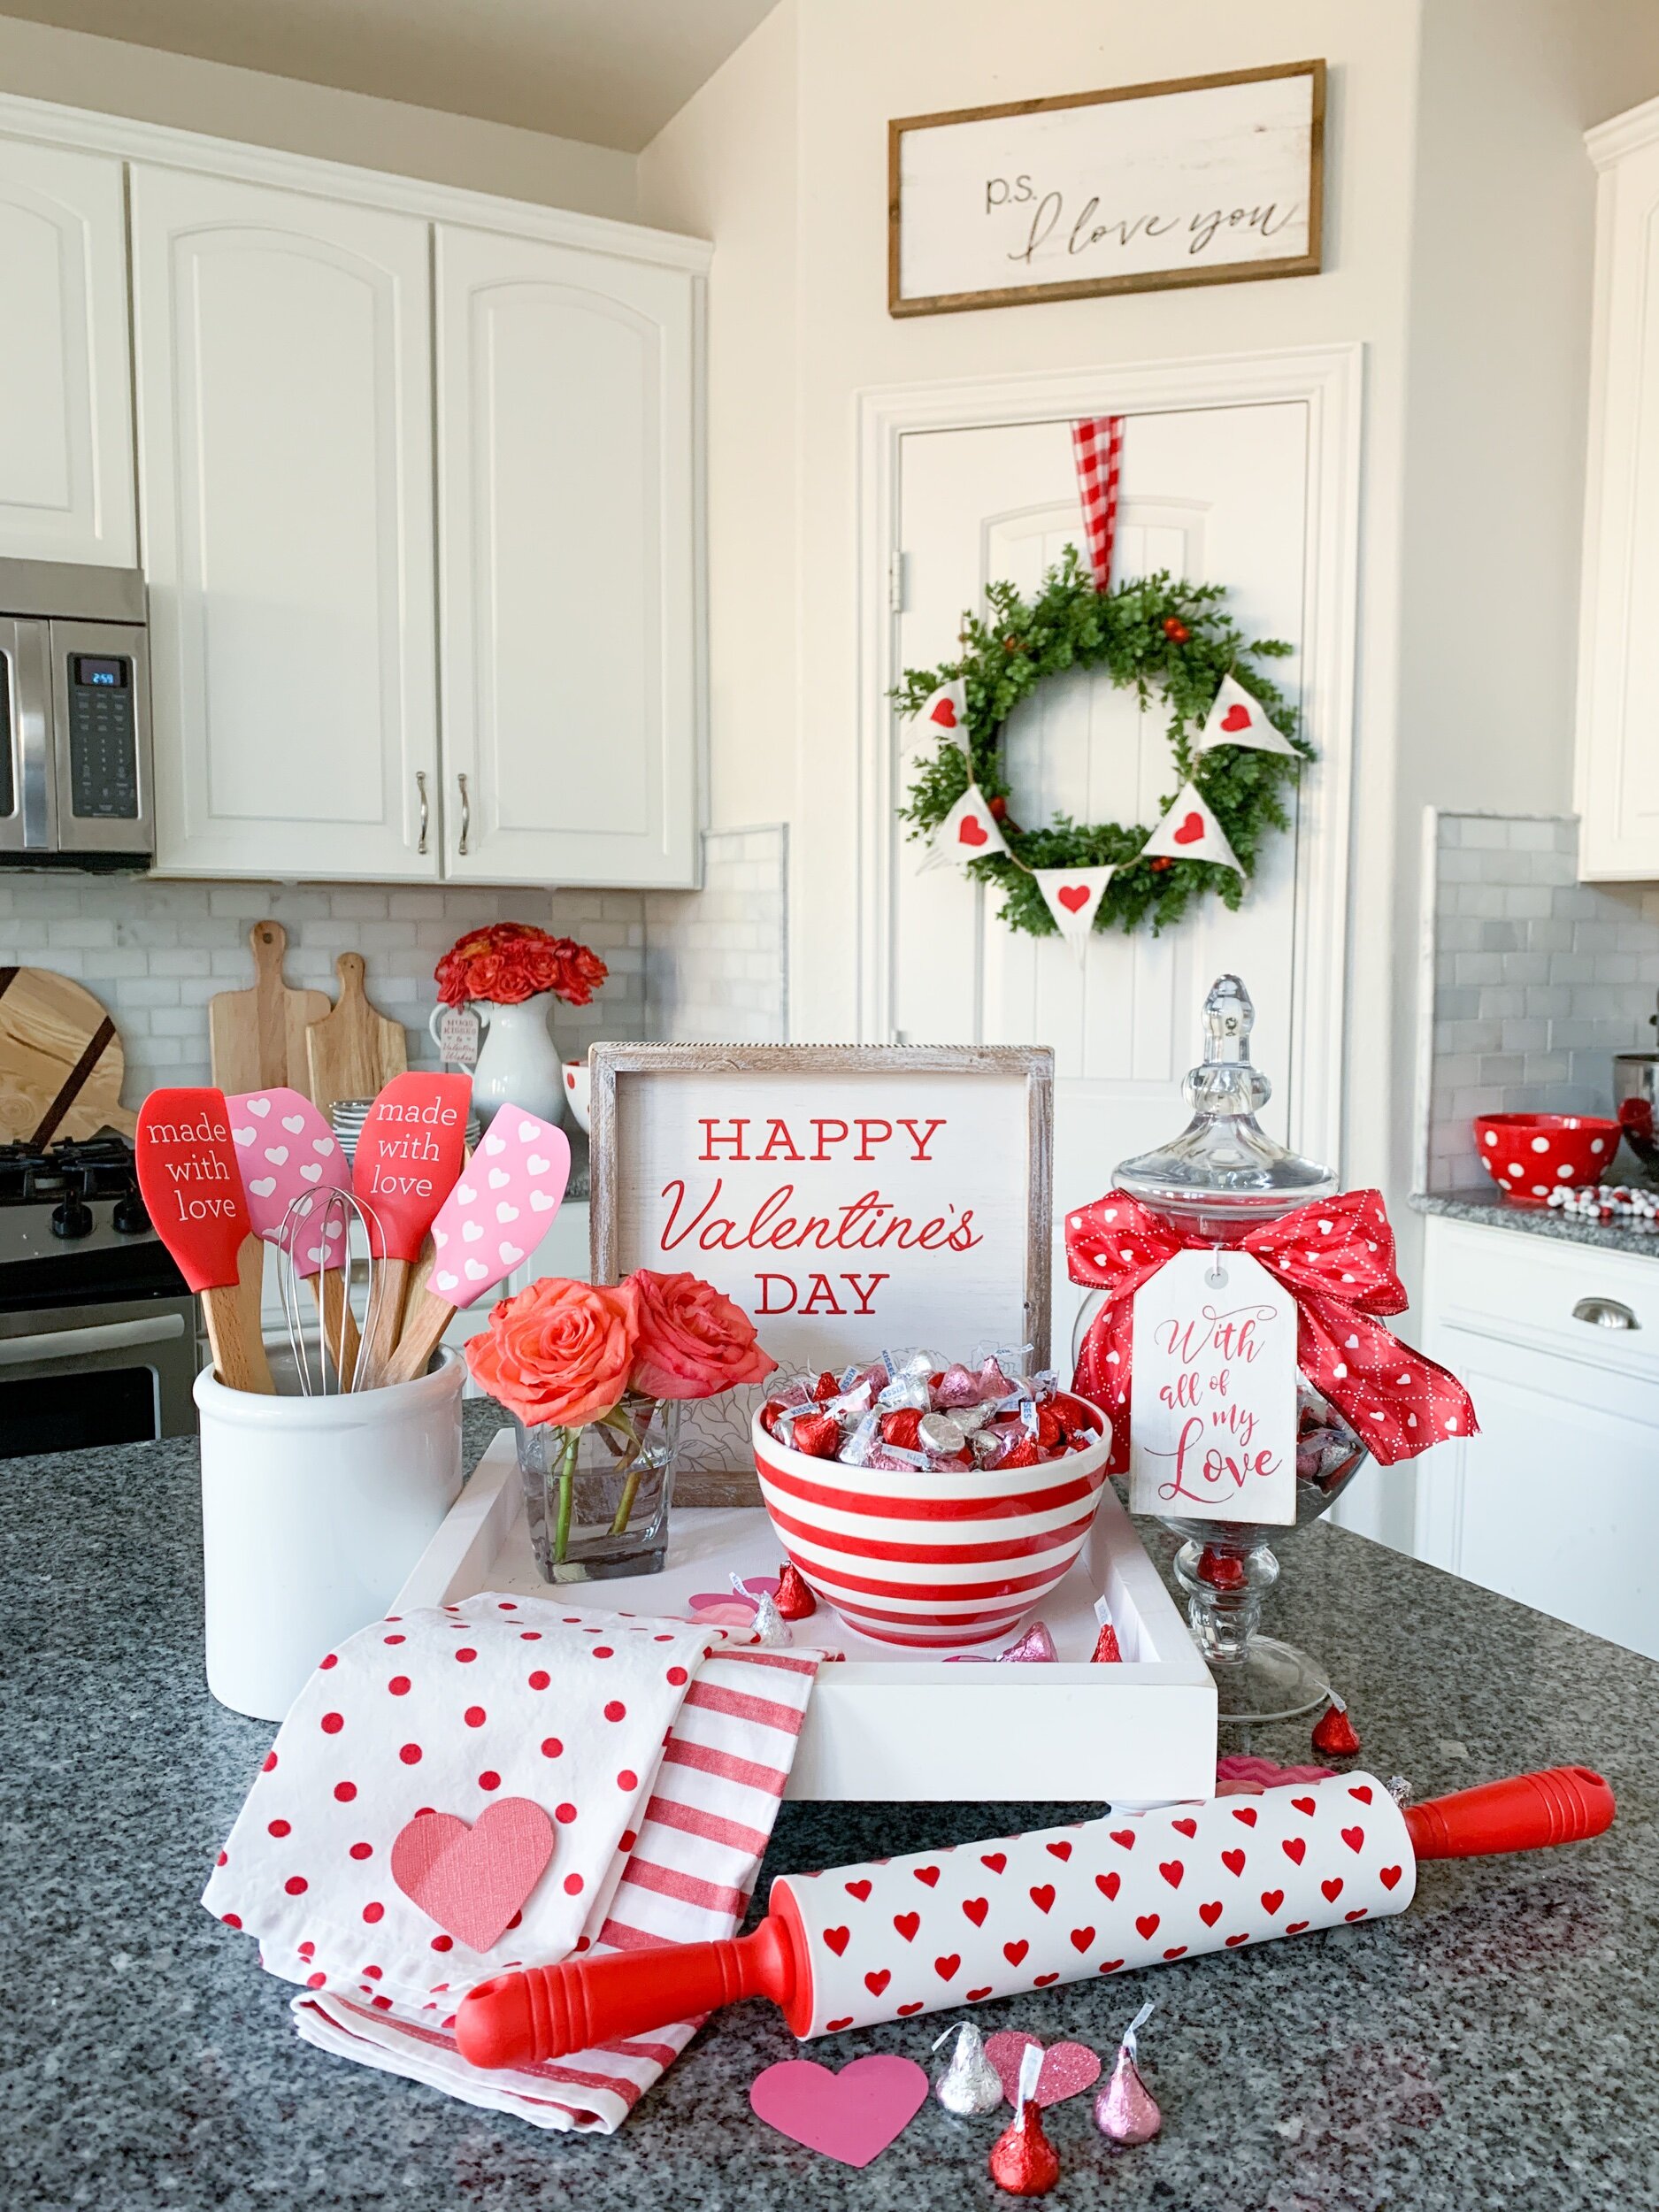
Decor Tip: When decorating, buy things that you can use multiple times a year. The red and white napkins and bowls in this pic I also use for Christmas, Valentine’s Day and Fourth of July!

Decor Tip: When decorating, buy things that you can use multiple times a year. The red and white napkins and bowls in this pic I also use for Christmas, Valentine’s Day and Fourth of July!

This year I used more red and orange tones. It was fun to branch out with brighter colors.

This year I used more red and orange tones. It was fun to branch out with brighter colors.

IMG_9307.jpeg
These beautiful flowers are from Milena Bouquet. You can use code: nissalynninteriors for 10% off your order.

These beautiful flowers are from Milena Bouquet. You can use code: nissalynninteriors for 10% off your order.

53B9E6E5-2B66-4171-ACB3-B099684BF571.jpeg
Adjustments.jpeg

Feeling the Love for Valentine’s Day

Hello friends! It’s bit a little while since I blogged but I’m back! I took a little time off after the holidays, but now I can’t wait to share some Valentine’s Day inspiration with you!

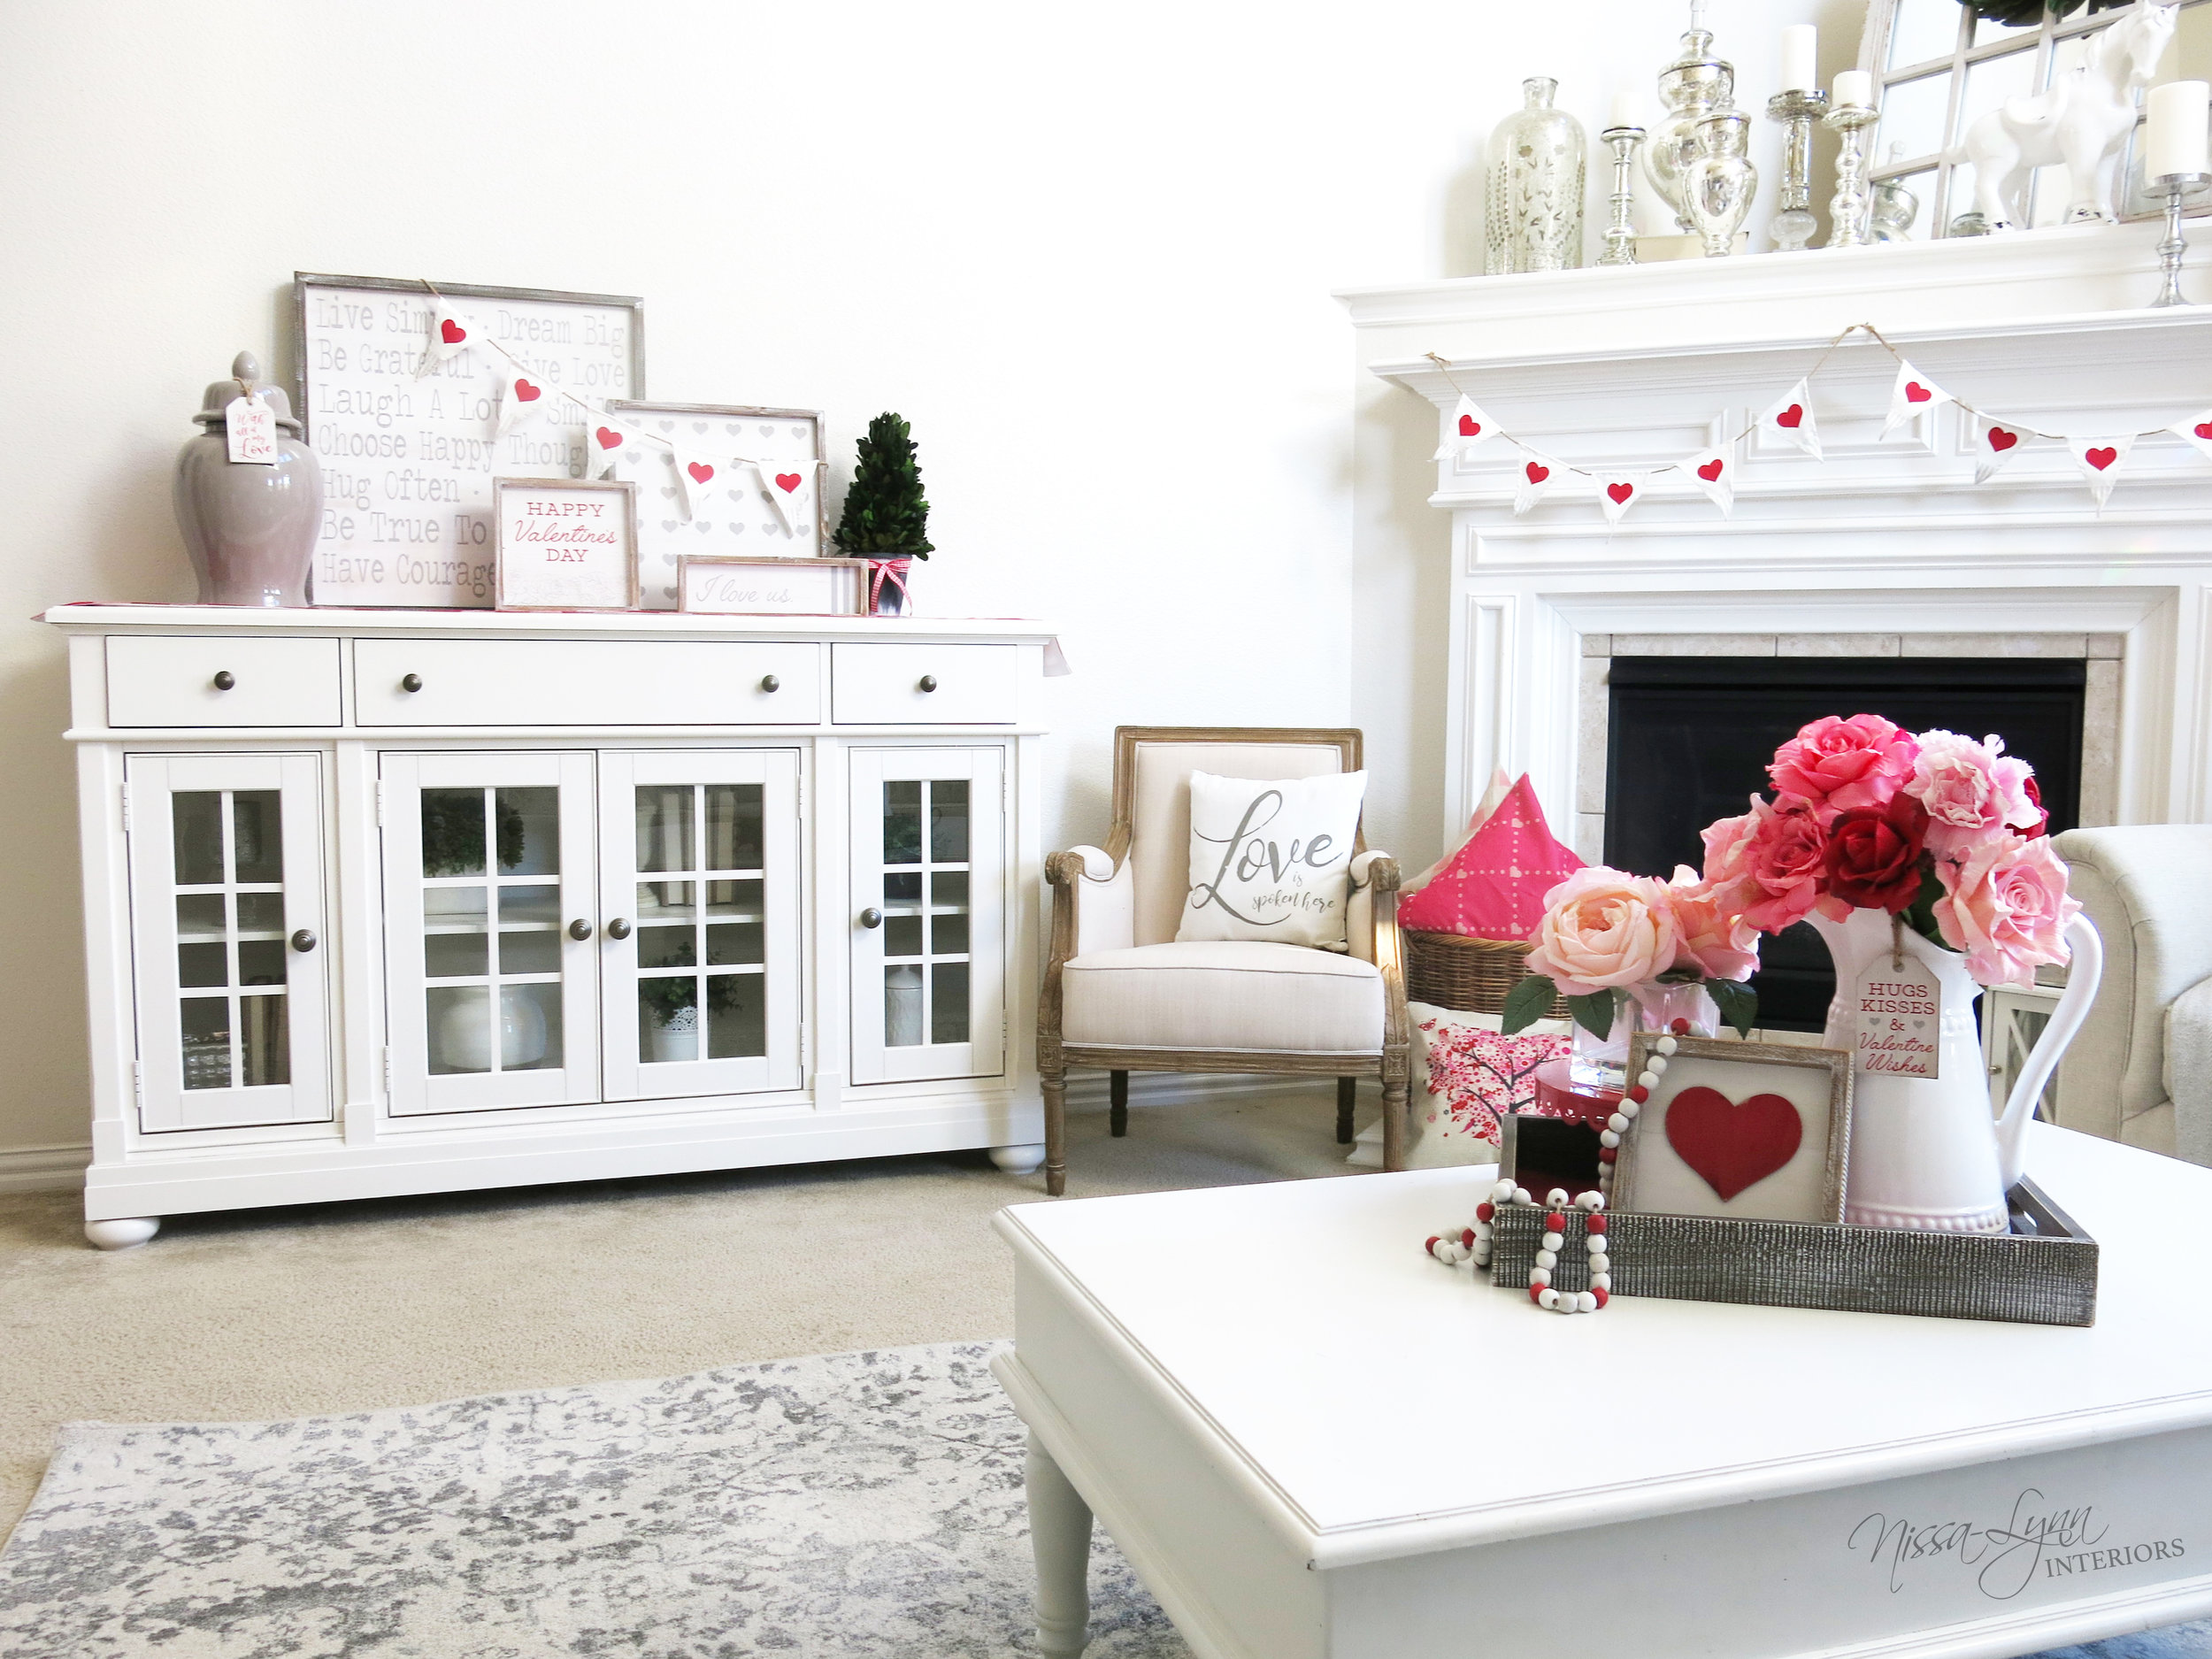
The heart sign, tag, pillow and wood tray came from Krumpet’s Home Decor. The roses are from Hobby Lobby.

The heart sign, tag, pillow and wood tray came from Krumpet’s Home Decor. The roses are from Hobby Lobby.

Let’s talk about the white ceramic pitcher holding the faux roses. This pitcher is from Home Goods, and it’s a staple in my home. I use it everywhere; on the kitchen counter, on my bedroom night stand, to hold fresh florals etc. I would recommend buying a few non-expensive pieces of white dish ware. White plates, platters, and serving bowls all photograph better than any other color dish ware. Have you ever noticed on the cooking shows they almost always display their final culinary product on white dish? That’s because of the contrast of the white dish against the colors in the food - it appeals to the eye!

The mix and matching wood signs, banner and green topiary are from Krumpet’s Home Decor

The mix and matching wood signs, banner and green topiary are from Krumpet’s Home Decor

I’m really into buying festive decor pieces that can be used for several different holidays . For example, the blush buffalo check pillow paired with the pink heart pillow, also doubles as part of my Easter decor. The red and white polka dot pillow is often used for decorating three different holidays: Valentine’s Day, Christmas, and Fourth of July. The same thing happens with the red and white bead garland seen in the tray on the coffee table.

75AC10CC-1B35-46CE-9182-C7E22E34BB2E.jpg
IMG_0519.jpg
The coffee table tray actually says hot cocoa on the bottom, so I lined it with a couple pieces of red and pink scrapbook paper and added the decor on top. Voila, it’s now a perfect tray for Valentine’s Day!

The coffee table tray actually says hot cocoa on the bottom, so I lined it with a couple pieces of red and pink scrapbook paper and added the decor on top. Voila, it’s now a perfect tray for Valentine’s Day!

IMG_0507.jpg

5 Tips for Arranging Fresh Flowers!

 Fresh flowers make any space beautiful! They're one of my favorite things to photograph. However, sometimes they can be tricky to to arrange right, so I always ask my daughter Kay-Lynn for advice. (She has her  Texas State Floral Licenseand lots of experience!)

Below are Kay-Lynn's TOP 5 TIPS for achieving the perfect fresh flower arrangement.

thumbnail3.jpg

Tip #1

Always rinse flowers first to get any and all pesticides off. Then cut off 1/4 to 1/2 inch off the flower stems, but only after you’ve planned and visualized what your arrangement will look like.


thumbnail.jpg
post2.jpg

Tip #2

If you're using floral foam. Let it soak for ten minutes before putting flowers in. Water foam every few days.

IMG_8516.jpg

Tip #3

Use chicken wire horizontally at the top of the vase to keep your flowers in place. This will help prevent the flowers from flopping down.

IMG_5203post.jpg

Tip #4

Drop pennies into the bottom of the vase to help the flowers stay fresh longer.

IMG_7425post.jpg

Tip #5

Place largest flowers first, then fill in with the smaller flowers and greenery. Make sure to keep looking all around the arrangement for balance and even placement.

IMG_7385p.jpg

Thanks for stopping friends! 

Hopefully these tips come in handy next time you have fresh flowers!